For 1990-2009 cars only
Removal Procedure
- Remove the rear seat cushion (1). Refer to Rear Seat Cushion Replacement .
- Remove the trim retainer rings (3) (hog rings) from the cover (2).
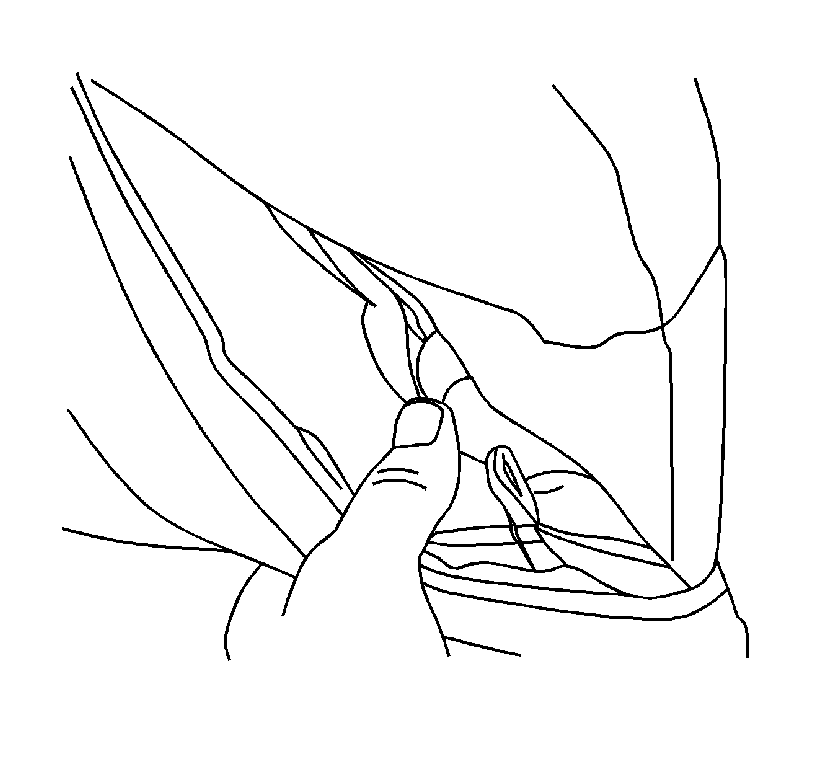
- In order to expose the bonded area, roll the trim cover away from the foam pad. Begin at the rear edge of the trim cover.
- Fold the glue strip back with the trim cover. Hold the trim cover with one hand.
- Press down with the other hand on the foam at the edge of the bonded area separating the foam from the cover.
- Gently pull back on the trim cover as the foam pad and the trim cover separates.
- Remove the rear seat trim cover from the pad.


Important: The trim cover is Windsor bonded (glued) to the cushion pad. If separation damages the trim or the pad, both the trim and the seat pad must be replaced.
Installation Procedure
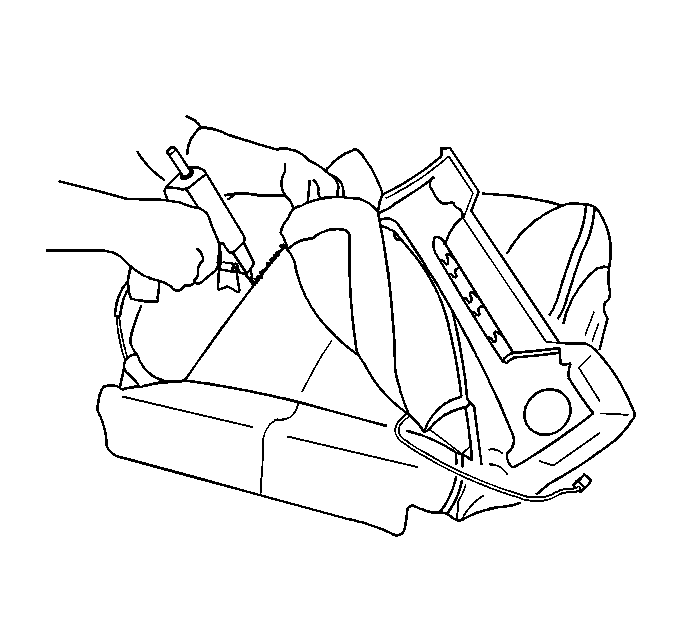
- Partially install the rear seat trim cover (2) to the pad.
- Use a 138°C (360°F) hot glue gun. Apply a 6 mm (1/4 in) bead of GM P/N 12377914 or Special Bostik Glue in a rear channel on one half of the cushion.
- Carefully place the trim cover over the foam so that the trim cover seam is positioned into the glue channel, within 30 seconds of the glue application.
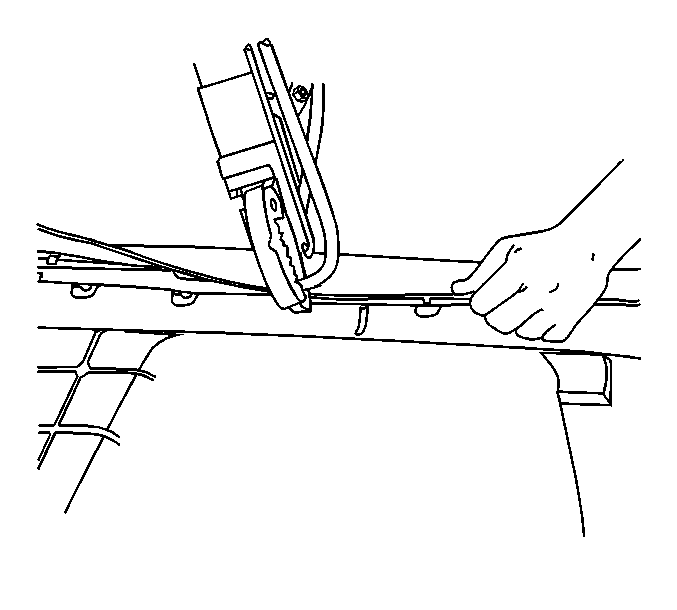
- Use a straight edge of the same length as the glued seam. Apply downward pressure (1-4 psi). Hold the trim cover for 1 minute.
- Lift the front of the trim cover. Apply a 6 mm (1/4 in) bead of glue in the two side channels.
- Apply downward pressure (1-4 psi). Hold the trim cover (2) for 1 minute until a firm bond is made.
- Repeat this procedure for the other half of the cushion.
- Pull the trim cover over the seat cushion frame.
- Install the trim retainer rings (3) (hog rings) to the rear seat cushion cover.
- Install the rear seat cushion (1). Refer to Rear Seat Cushion Replacement .

Important: Do not exceed (1/4 in) diameter of hot glue to the seat cushion foam.
Important: Glue one seam at a time so glue does not harden prematurely

