For 1990-2009 cars only
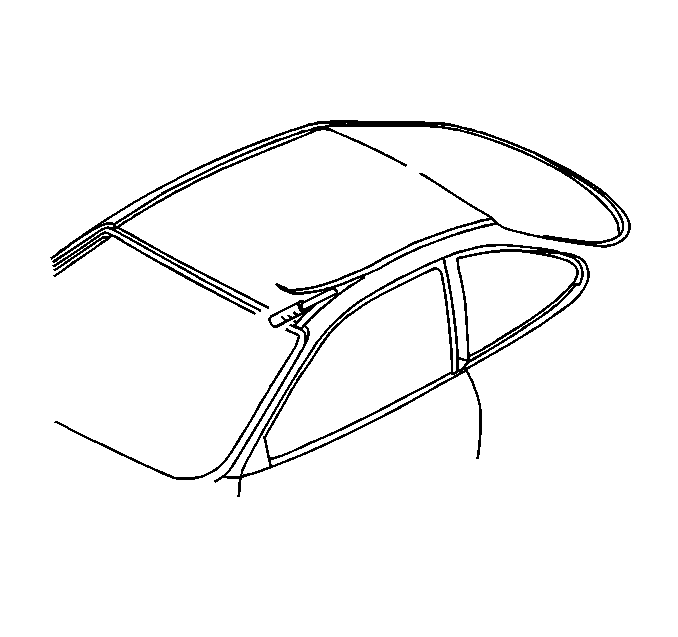
Roof Weld Joint Reveal Molding Replacement RPO B4U
Tools Required
J 25070 Heat Gun
Removal Procedure
- Heat the weld join molding, using a heat gun J 25070 152 mm (6 in) from the surface.
- To remove the weld joint molding from the roof, begin at one end and use a small plastic flat-bladed tool. Lift the weld joint molding away from the weld joint.
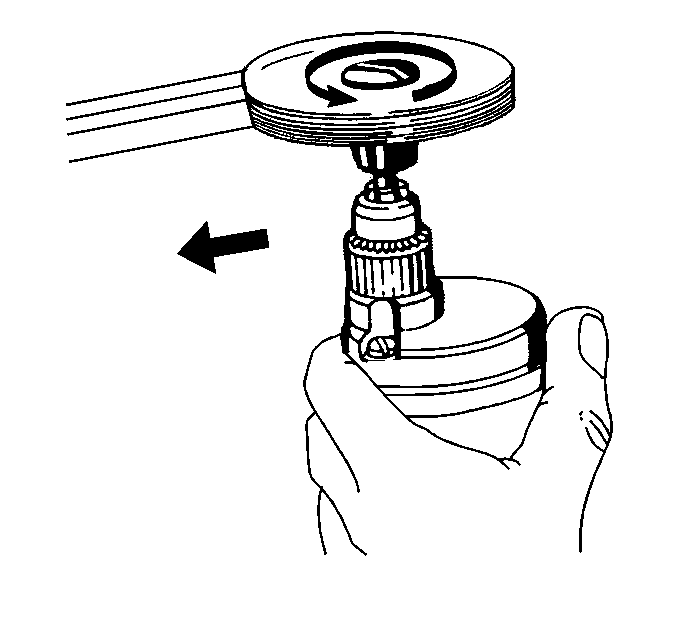
- Remove all adhesive from the body panel using 3M™ Scotch Brite molding adhesive remover disk 3M™ P/N 07501 or equivalent.
- Clean the body panel using Varnish Makers and Painters (VMP) naphtha.

Apply the heat using a circular motion for about 30 seconds.
Notice: Use a plastic, flat-bladed tool to prevent paint damage when removing an emblem/name plate.

Installation Procedure
- Warm the body panel with J 25070 to a minimum of 21°C (70°F).
- Remove the protective liner at the front edge of the weld joint molding.
- Align and center the front edge of the weld joint molding with the front edge of the weld joint.
- Use hand pressure to press the weld joint molding into place.
- Continue to remove the protective liner from the molding, centering the molding and pressing it into the weld joint.
- Hand roll the loose ends.

Important: Do not touch the adhesive backing on the molding.
Roof Weld Joint Reveal Molding Replacement With Out B4U
Removal Procedure
- To remove the roof weld joint molding, use Kent special release agent spray along inside and outside of the molding. Allow to set for 5 minutes.
- To remove the weld joint molding from the roof, begin at one end using a small plastic flat-bladed tool. Lift the weld joint molding away from the weld joint.
- Remove all adhesive from the weld joint using 3M™ Scotch Brite molding adhesive remover disk 3M™ P/N 07501 or equivalent.
- Clean the body panel using Varnish Makers and Painters (VMP) naphtha.

Notice: Use a plastic, flat-bladed tool to prevent paint damage when removing an emblem/name plate.
Installation Procedure
- Prep channels for weld joint moldings. Clean area with isopropyl alcohol and allow to flash off for 30 seconds.
- Apply a 5 mm (0.2 in) bead of silaprene along the entire length of the weld joint channels keeping bead in center of channel.
- Wipe under side of roof weld joint molding with isopropyl alcohol.
- Starting at the front, slide the front of the roof weld joint molding tab under the windshield lace and set molding into joint, then go to rear of molding and slide the molding so that it aligns evenly to the rear window lace.
- Clean up any excess silaprene and then tape weld joint molding into place.
- Allow for the adhesive to dry, and remove the tape from the weld joint molding.

