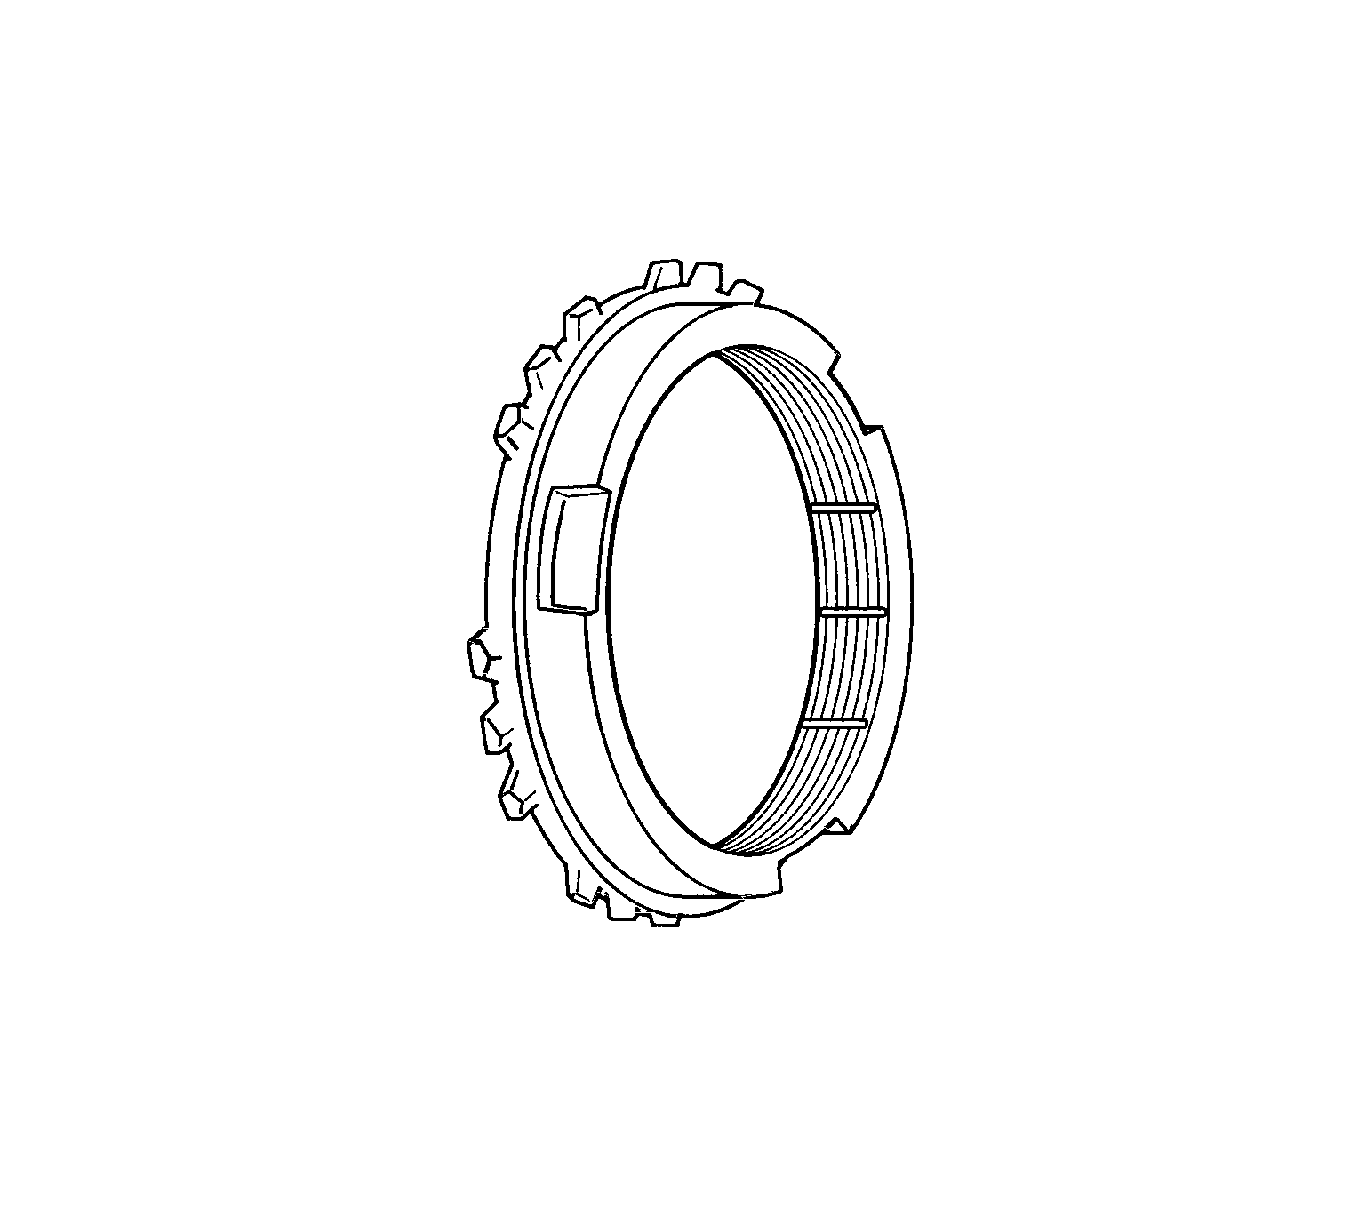
For 1990-2009 cars only
- Inspect wear of the cone area -- After matching synchronizer ring to gear, measure as shown below. Replace if it is below limit.
- Inspect cone contact condition -- When the synchronizer mechanism is abnormal in operation, the connection between the ring inner surface and the gear cone area is considered to be partially defective in spite of correct clearance between gear and ring. Therefore, the cone area and the ring inner surface shall be inspected. In this case, the ring inner surface shall be glossy. Black area is abnormal and if inspection is difficult, check again after applying red lead. The cone area can be worn in wave form.
- Inspecting key slot width of synchronizer ring -- Measure key slot width of synchronizer ring as shown below. Measure as shown below. Replace if it exceeds the limit.
- Check for worn or damaged synchronizer ring teeth. Replace it if necessary.
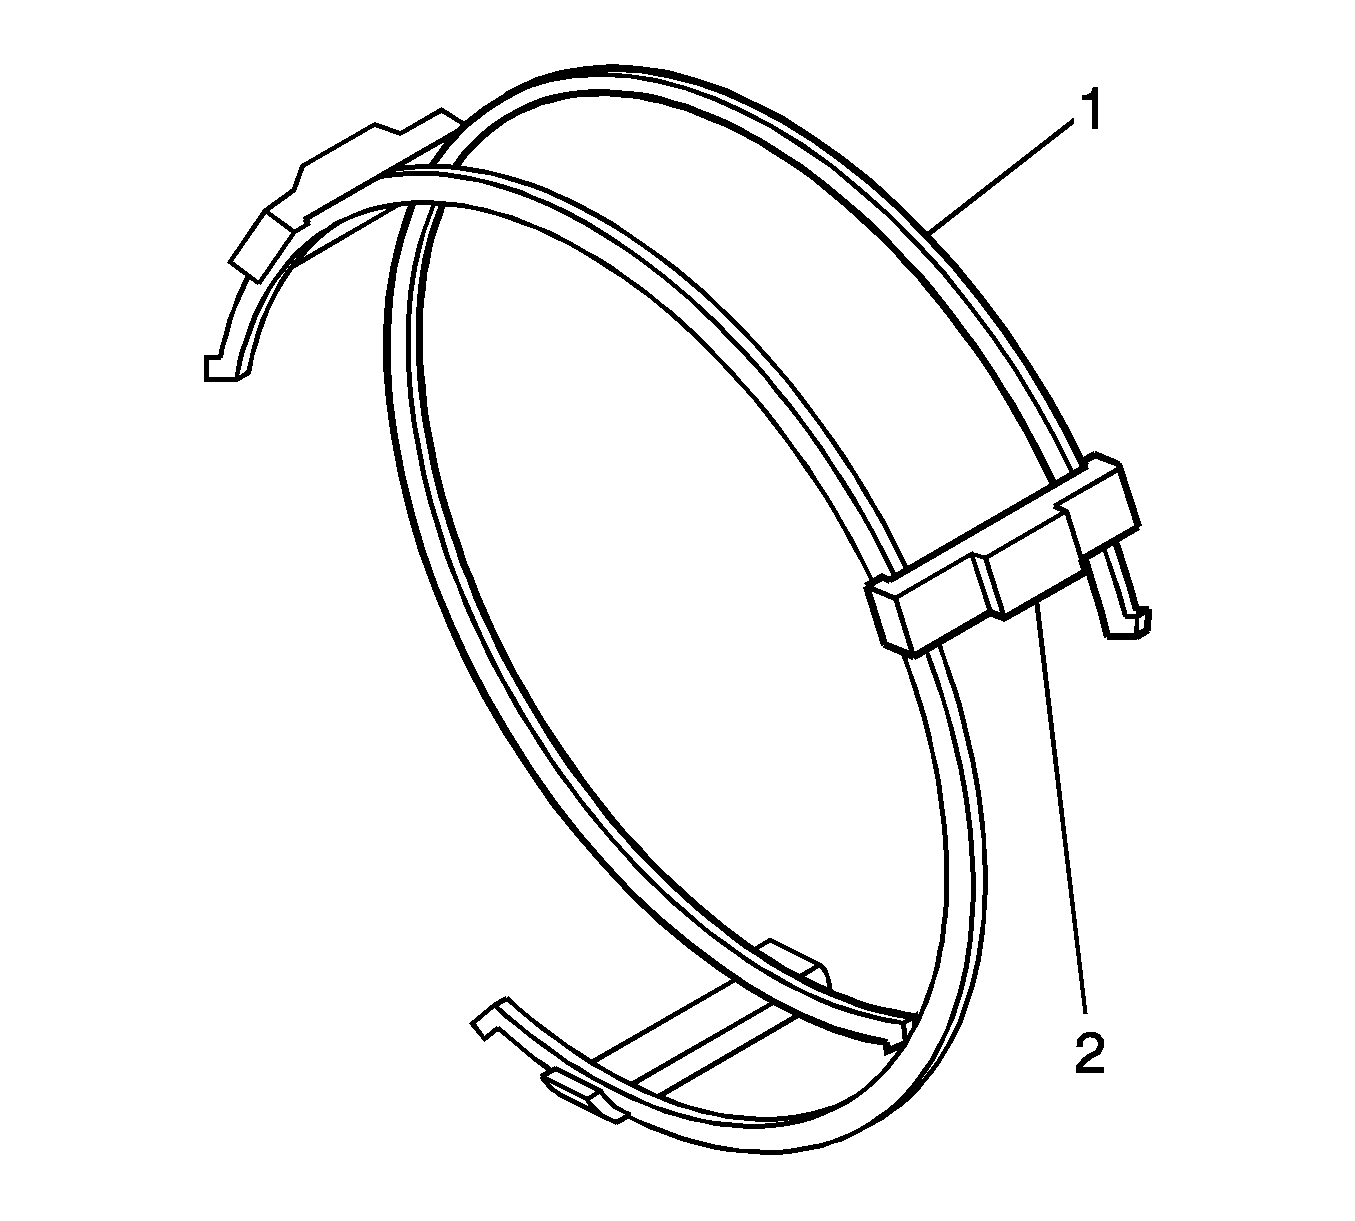
- Check for worn synchronizer key (2).
- Check for weak, damaged or broken spring (1).
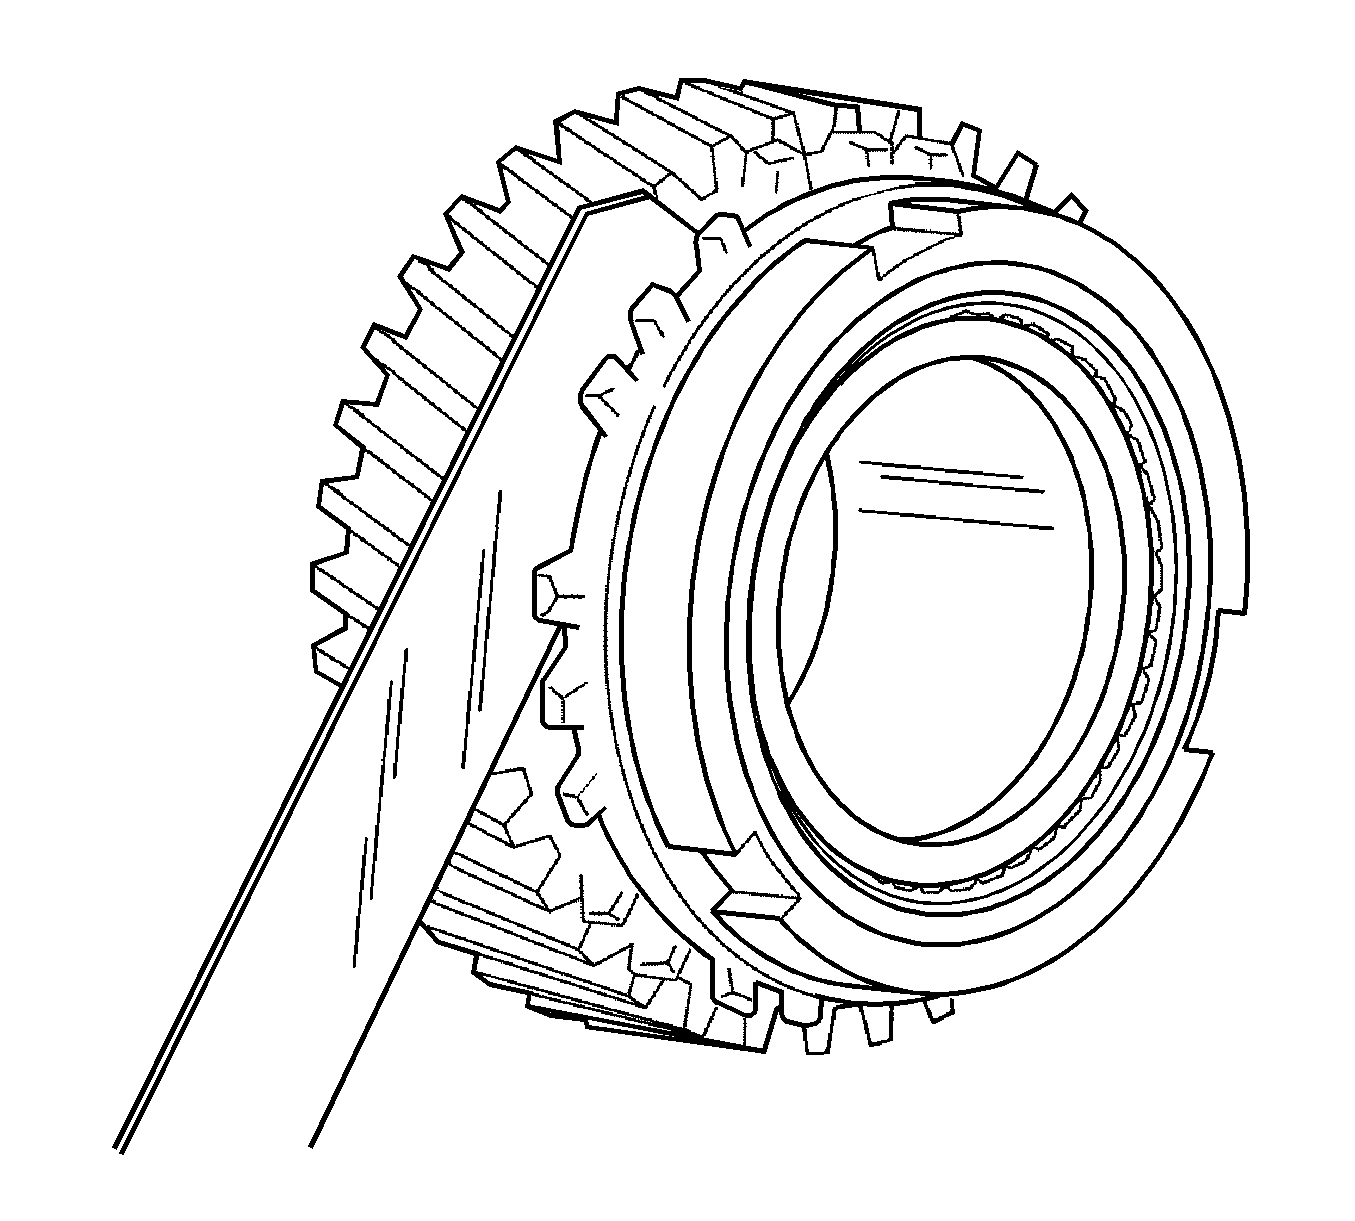
Specifications
| • | The Standard Clearance between the gear and the ring is 1.0 mm (0.039 in). |
| • | The Limit Clearance between the gear and the ring is 0.5 mm (0.020 in). |
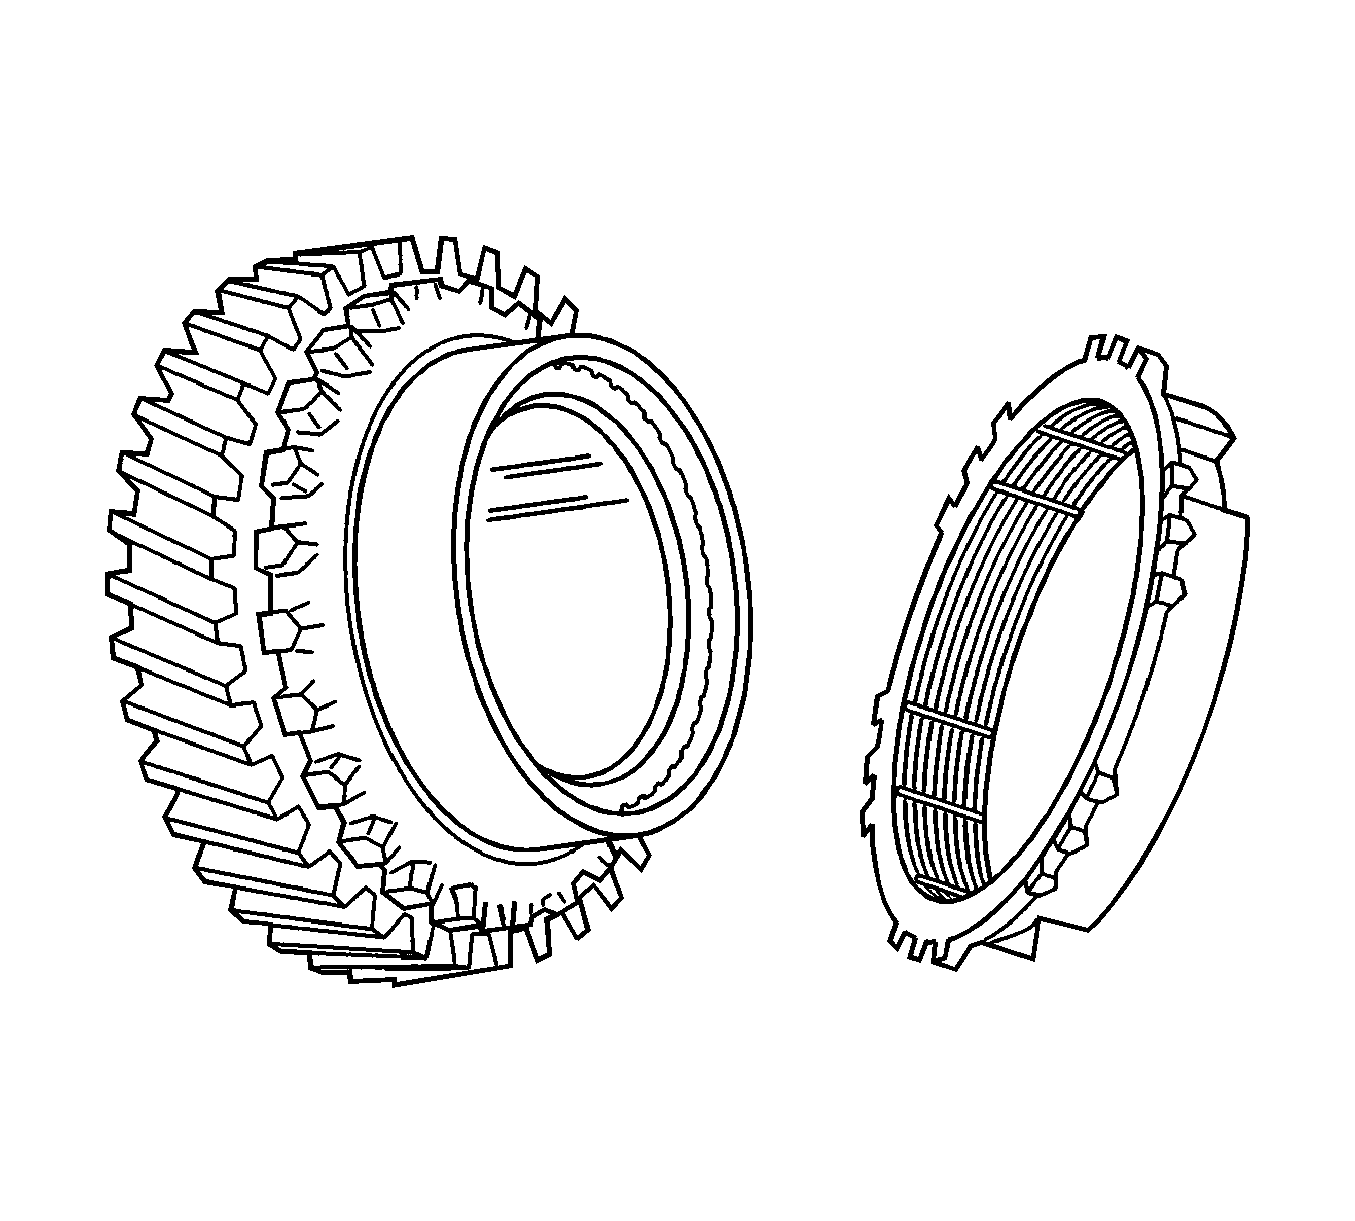
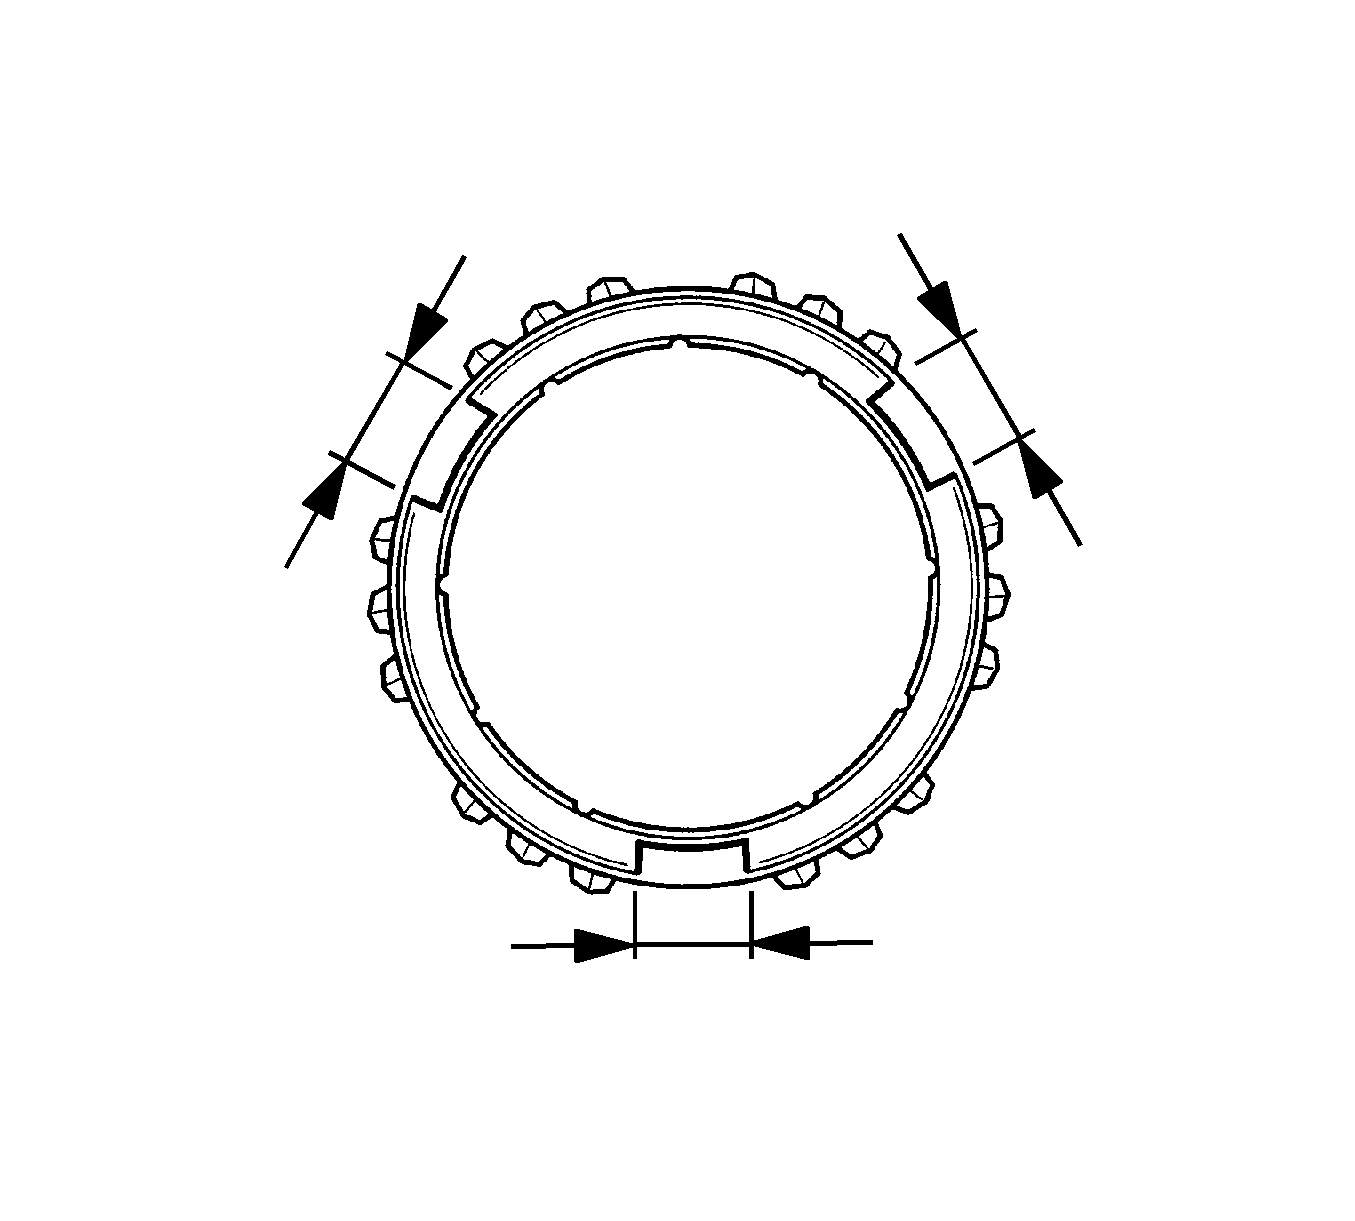
Specifications
| • | 1st, 2nd, 3rd, 4th Gear Standard is 9.6 mm (0.378 in) and the Limit is 10 mm (0.394 in). |
| • | 5th Gear Standard is 9.4 mm (0.370 in) and the Limit is 9.8 mm (0.386 in). |
