Brake Pressure Modulator Valve Assembly Replacement Delphi
Removal Procedure
- Disconnect the negative battery cable.
- Remove the cooling surge tank. Refer to Radiator Surge Tank Replacement in Engine Cooling.
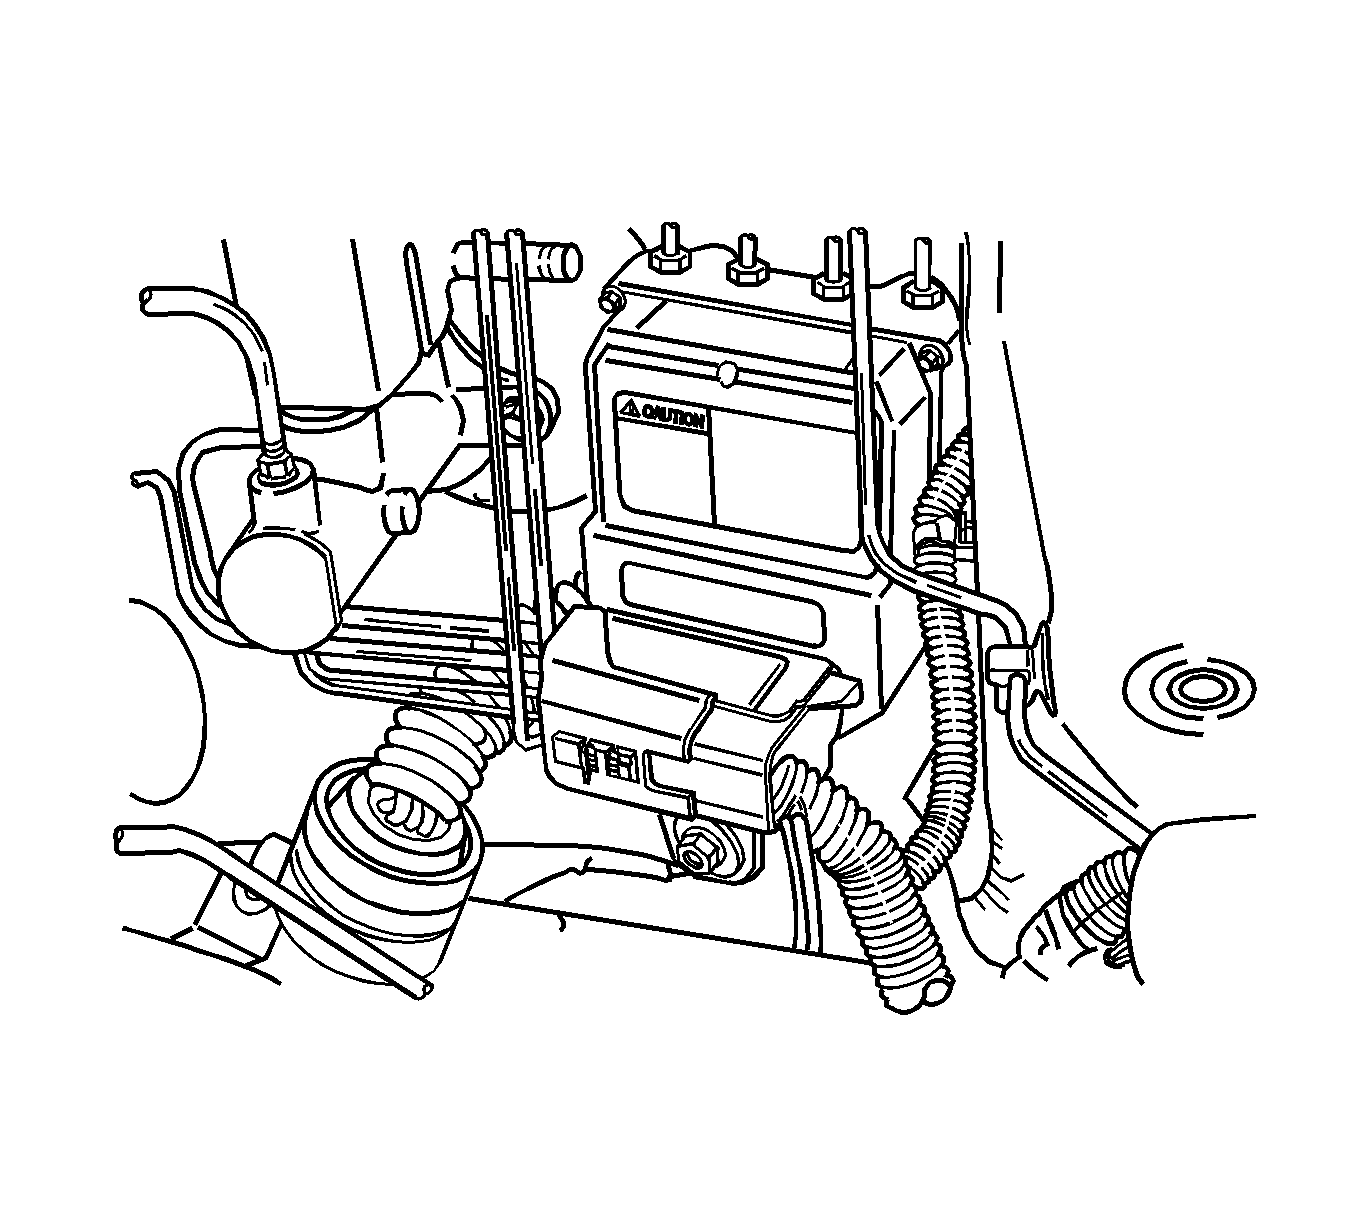
- Disconnect the ABS wiring harness connector from its socket on the EBCM.
- Cover the connector and the socket with shop cloths to protect them from brake fluid.
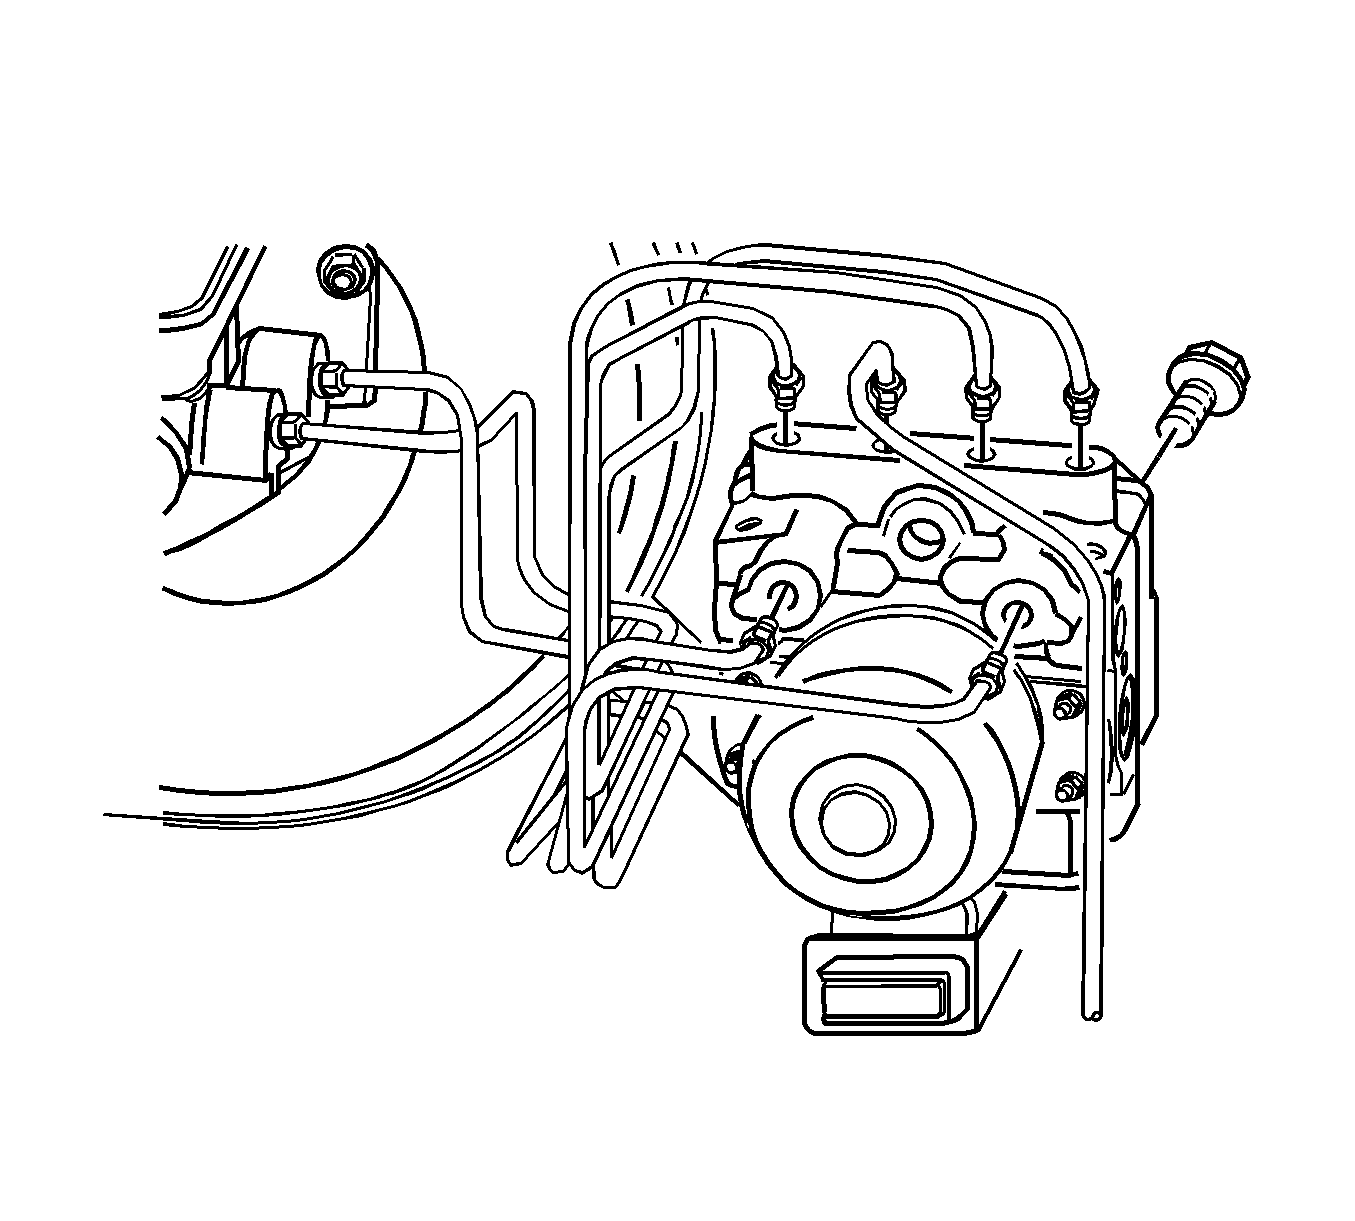
- Remove the brake pipes fitting nuts from the hydraulic unit.
- Remove the mounting bracket bolts on the hydraulic unit.
- Remove the brake modulator assembly.
Caution: Refer to Battery Disconnect Caution in the Preface section.

Caution: For safety reasons, the Brake Pressure Modulator Valve (BPMV) must not be repaired; the complete unit must be replaced. With the exception of the EBCM/EBTCM, no screws may be loosened. If screws are loosened, it will not be possible to get the brake circuits leak-tight and personal injury may result.
Caution: Brake fluid may irritate eyes and skin. In case of contact, take the
following actions:
• Eye contact - rinse thoroughly with water. • Skin contact - rinse with soap and water. • If ingested - consult a physician immediately.
Notice: Avoid spilling brake fluid on any of the vehicle's painted surfaces, wiring, cables or electrical connectors. Brake fluid will damage paint and electrical connections. If any fluid is spilled on the vehicle, immediately flush the area with water to minimize the potential for damage.
Notice: To prevent equipment damage, never connect or disconnect the wiring harness connection from the EBCM with the ignition switch in the ON position.

Important: Do not allow air into the hydraulic unit or into the brake pipes from the master cylinder. If air gets into the hydraulic unit, it will require a bleeding procedure using a scan tool programmed for the brake modulator system. As long as no air enters the hydraulic unit, a simple bleeding procedure is all the system will require.
Installation Procedure
- Install the brake modulator assembly.
- Install the mounting bracket bolts on the hydraulic unit.
- Install the brake pipes fitting nuts from the hydraulic unit.
- Connect the ABS wiring harness connector to its socket on the EBCM.
- Connect the negative battery cable.
- Add new brake fluid and bleed the brake system. Refer to Hydraulic Brake System Bleeding .
- Inspect the brake system for leaks.
Notice: Refer to Fastener Notice in the Preface section.
Tighten
Tighten the torque ABS mounting bracket bolts to
22 N·m (16 lb ft).
Tighten
Tighten the torque brake pipe fitting nuts to 16 N·m
(12 lb ft).
Notice: Refer to Brake Fluid Effects on Paint and Electrical Components Notice in the Preface section.
Brake Pressure Modulator Valve Assembly Replacement Mando
Removal Procedure
- Disconnect the negative battery cable.
- Remove the cooling surge tank. Refer to Radiator Surge Tank Replacement in Engine Cooling.
- Disconnect the ABS wiring harness connector from its socket on the electronic brake control module (EBCM).
- Cover the connector and the socket with shop cloths to protect them from brake fluid.
- Remove the brake pipes fitting nuts from the hydraulic unit.
- Remove the mounting bracket bolts on the hydraulic unit.
- Remove the brake modulator assembly.
Caution: Refer to Battery Disconnect Caution in the Preface section.

Caution: For safety reasons, the Brake Pressure Modulator Valve (BPMV) must not be repaired; the complete unit must be replaced. With the exception of the EBCM/EBTCM, no screws may be loosened. If screws are loosened, it will not be possible to get the brake circuits leak-tight and personal injury may result.
Caution: Brake fluid may irritate eyes and skin. In case of contact, take the
following actions:
• Eye contact - rinse thoroughly with water. • Skin contact - rinse with soap and water. • If ingested - consult a physician immediately.
Notice: Avoid spilling brake fluid on any of the vehicle's painted surfaces, wiring, cables or electrical connectors. Brake fluid will damage paint and electrical connections. If any fluid is spilled on the vehicle, immediately flush the area with water to minimize the potential for damage.
Notice: To prevent equipment damage, never connect or disconnect the wiring harness connection from the EBCM with the ignition switch in the ON position.

Important: Do not allow air into the hydraulic unit or into the brake pipes from the master cylinder. If air gets into the hydraulic unit, it will require a bleeding procedure using a scan tool programmed for the brake modulator system. As long as no air enters the hydraulic unit, a simple bleeding procedure is all the system will require.
Installation Procedure
- Install the brake modulator assembly.
- Install the mounting bracket bolts on the hydraulic unit.
- Install the brake pipes fitting nuts from the hydraulic unit.
- Connect the ABS wiring harness connector to its socket on the EBCM.
- Connect the negative battery cable.
- Add new brake fluid and bleed the brake system. Refer to Hydraulic Brake System Bleeding in Hydraulic Brakes.
- Inspect the brake system for leaks.
Notice: Refer to Fastener Notice in the Preface section.
Tighten
Tighten the torque ABS mounting bracket bolts to
22 N·m (16 lb ft).
Tighten
Tighten the torque brake pipe fitting nuts to 16 N·m
(12 lb ft).
Notice: Refer to Brake Fluid Effects on Paint and Electrical Components Notice in the Preface section.
