For 1990-2009 cars only
Removal Procedure
- Disconnect the negative battery cable. Refer to Battery Negative Cable Disconnection and Connection in Engine Electrical.
- Raise the vehicle on a hoist until the tires are off the ground. Refer to Lifting and Jacking the Vehicle in General Information.
- Remove the drive belt tensioner. Refer to Drive Belt Tensioner Replacement - Supercharger in Engine Mechanical - 2.0L.
- Remove the #4 ignition coil and spark plug.
- Rotate the engine to bring the cylinder #4 to top dead center (TDC) compression stroke.
- Remove the engine control module (ECM) from the mounting bracket.
- Remove the underhood electrical center. Refer to Underhood Electrical Center or Junction Block Bracket Replacement in Wiring Systems.
- Remove the two fasteners holding the clutch master cylinder to the front of the dash to allow easier access to the camshaft position sensor housing.
- Remove the brake booster vacuum hose from the supercharger and set aside.
- Remove the two fasteners holding the camshaft position sensor housing assembly to the cylinder head.
- Slide the camshaft position sensor housing assembly back away from the cylinder head.
- Remove and discard the camshaft position sensor housing seal.
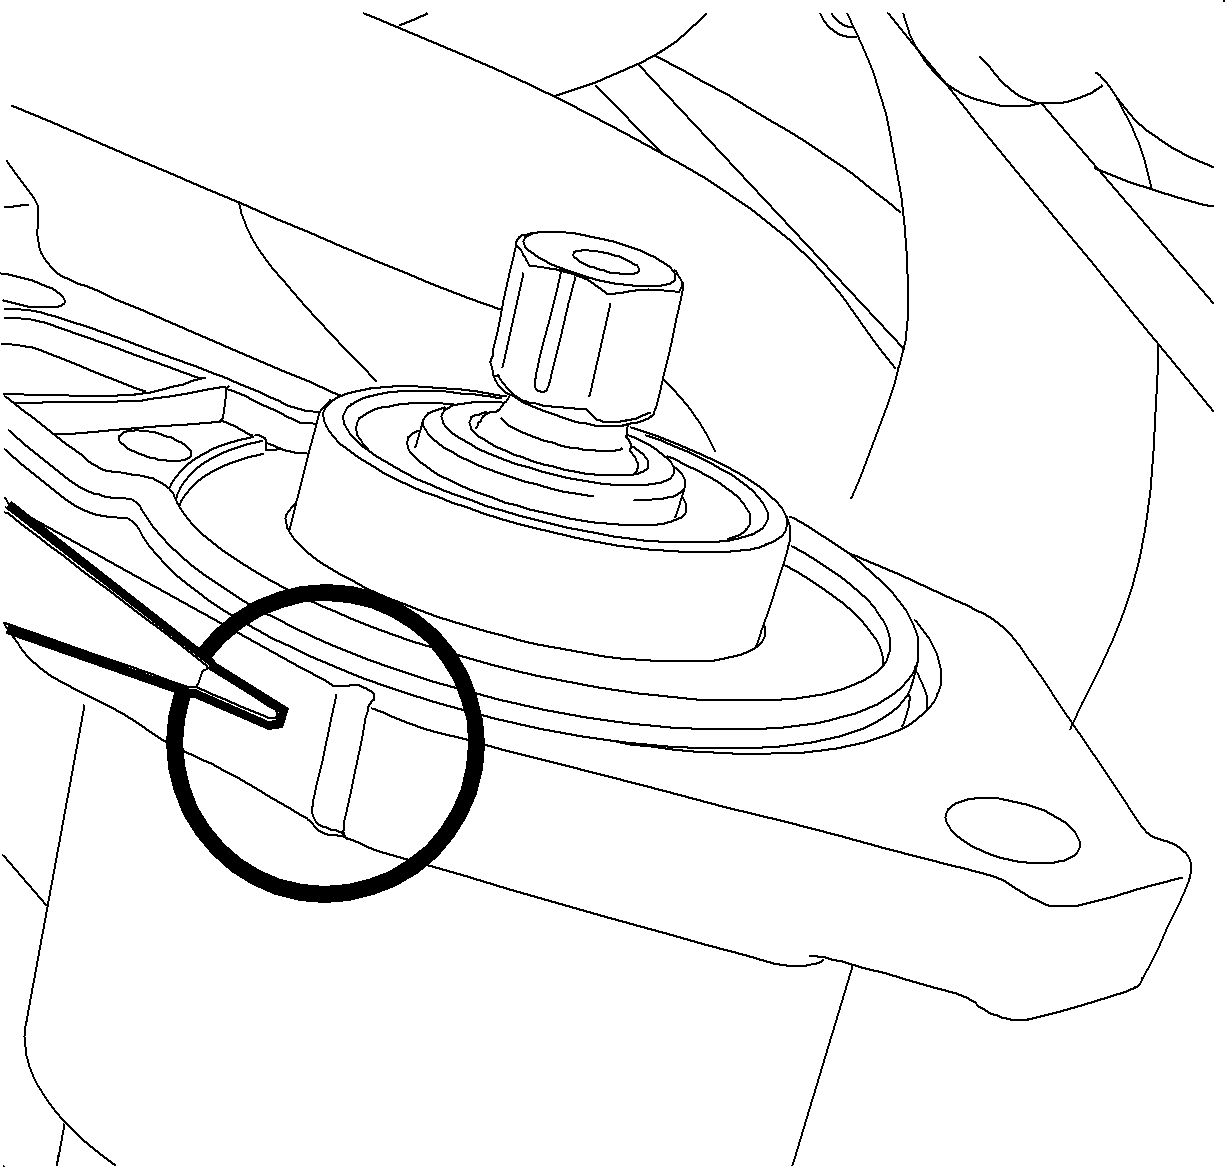
- Using a shop towel, wipe clean the "Cog" of the trigger and the mating surfaces of the camshaft position sensor housing assembly and the cylinder head.
- Install a NEW camshaft position sensor housing seal.
- Align the timing mark on the "Cog" to the timing mark on the camshaft position sensor housing assembly.

The crankshaft pulley-timing notch should be aligned with the timing mark on the front cover.
Important: To determine a #4 TDC compression stroke, rotate the engine by the crankshaft pulley. A puff of air will be felt as the piston travels upward on the compression stroke. Once a puff of air is felt, continue to rotate the crankshaft pulley until the timing mark is aligned as shown in illustration.

Important: Make sure the "Cog" does not rotate before it seats inside the camshaft.
Installation Procedure
- Install the camshaft position sensor housing assembly to the cylinder head.
- Install the two fasteners for the camshaft position sensor housing assembly.
- Install the brake booster vacuum hose to the supercharger.
- Install the two fasteners to the clutch master cylinder.
- Install the underhood electrical center. Refer to Underhood Electrical Center or Junction Block Bracket Replacement in Wiring Systems.
- Install the ECM.
- Install the drive belt tensioner. Refer to Drive Belt Tensioner Replacement - Supercharger in Engine Mechanical - 2.0L.
- Lower the vehicle.
- Install the negative battery cable. Refer to Battery Negative Cable Disconnection and Connection in Engine Electrical.

Notice: Refer to Fastener Notice in the Preface section.
Tighten
Tighten the fasteners to 22 N·m (16 lb ft).
Tighten
Tighten the fasteners to 10 N·m (89 lb in).
Tighten
Tighten the battery cable to 17 N·m (14 lb ft).
