For 1990-2009 cars only
Radiator Replacement L81
Removal Procedure
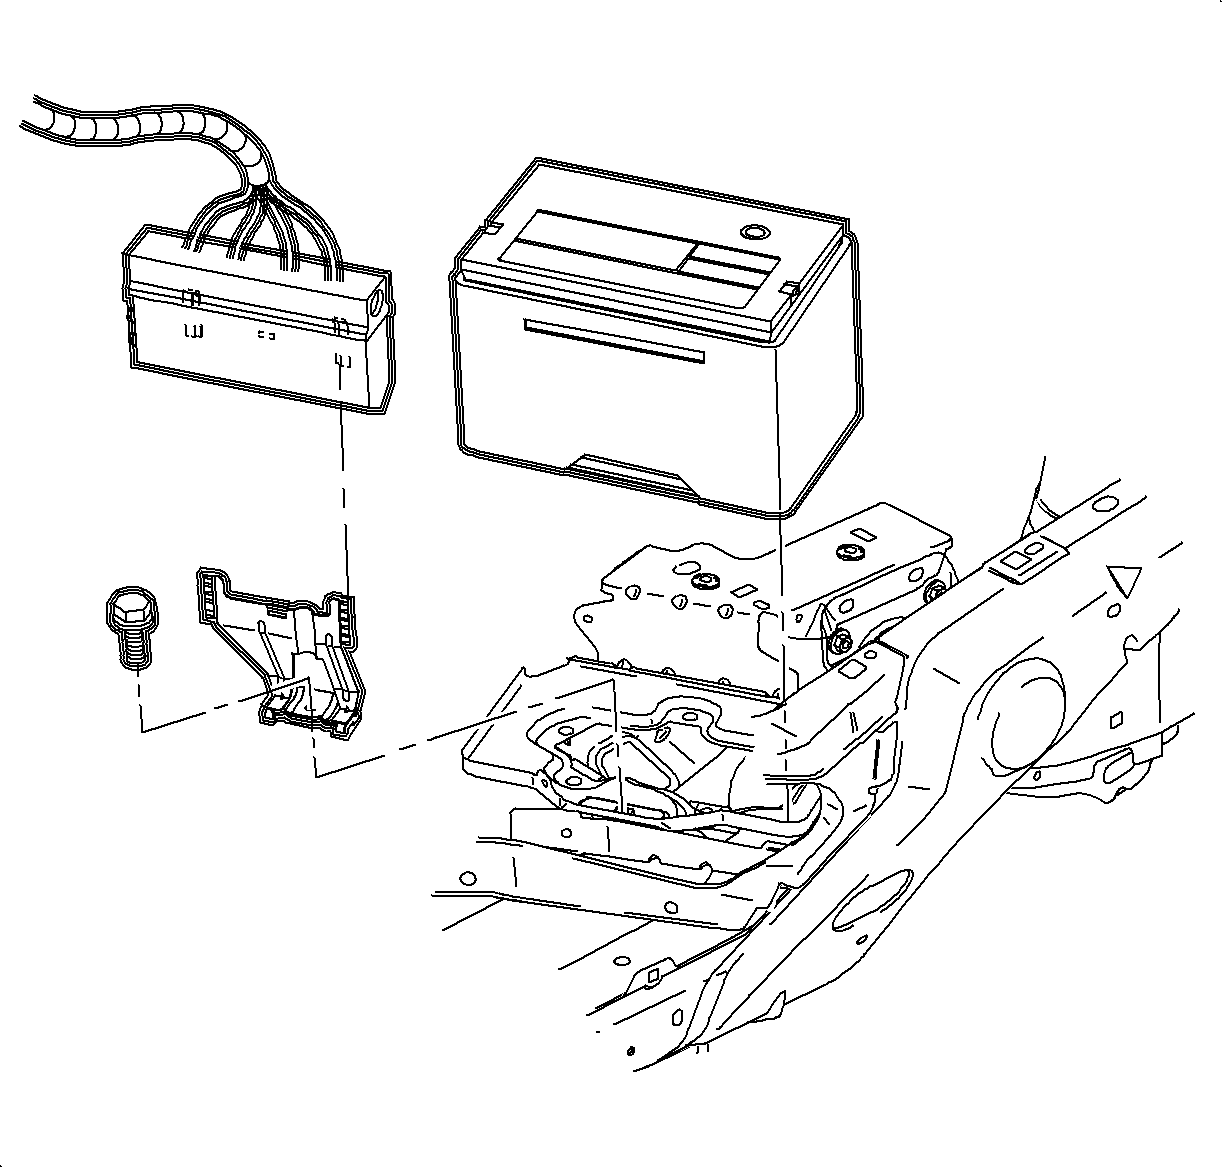
- Remove the battery. Refer to Battery Replacement in Engine Electrical.
- Drain the coolant. Refer to Cooling System Draining and Filling .
- Remove the bolts which secure the power steering fluid reservoir to the fan shroud.
- Position the reservoir rearward in the car.
- Disconnect both of the cooling fan electrical connectors.
- Remove the electrical connectors from the connector retainer by sliding the connector as shown.
- Remove the pusher fan electrical harness from the fan shroud retainer tabs.
- Remove the upper transaxle cooler line from the radiator end tank and unsnap the front end tank retainer.
- Cap or tape off the cooler line to prevent oil loss or contamination.
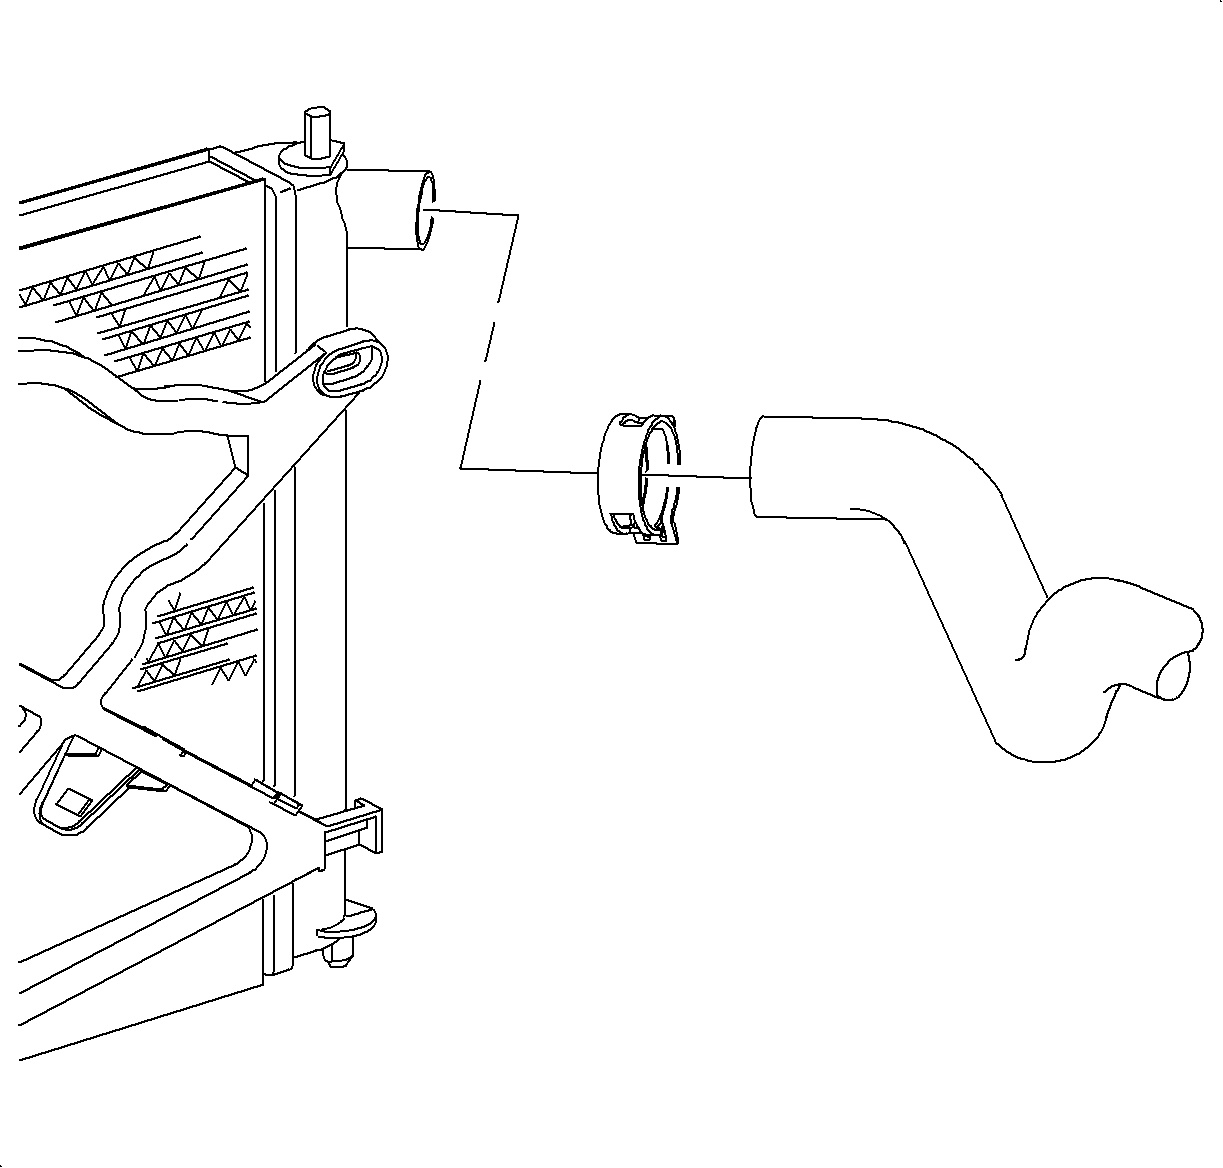
- Remove the clamp which secures the upper radiator hose to the radiator.
- Remove the upper radiator hose from the radiator.
- Remove the fan shroud bolts.
- Remove the fan shroud from the radiator.
- Remove the forward wiring harness from the retaining clips.
- Remove the lower radiator hose clamp.
- Remove the hose from the radiator.
- Remove the lower transaxle cooler line from the radiator.
- Cap or tape the cooler line and the end tank to prevent oil spillage or contamination.
- Remove the wiring harness clips from the upper radiator mounting bracket.
- Remove the bolts from the radiator upper mount bracket.
- Remove the bracket and the rubber mounts.
- Remove the clamp from the radiator coolant air bleed hose.
- Remove the hose from the radiator.
- Using a piece of wire or a plastic tie, support the condenser from the upper rail.
- Remove the bolt which secures the condenser block to the radiator end tank.
- Remove the bolts which secure the condenser to the radiator.
- Pull the condenser and the pusher fan assembly down slightly to disengage the tabs from the radiator.
- Leaving the condenser and pusher fan in the vehicle, remove the radiator from the vehicle.
- Remove the gaskets which separate the upper and the lower radiator from the condenser.


Important: Do not open up the A/C system.


Installation Procedure
- Install the gaskets between the upper and lower radiator and the condenser.
- Install the radiator lower mounting pins into the rubber mounts.
- Install the radiator coolant air bleed hose to the radiator.
- Install the radiator coolant air bleed hose clamp at the 1 o'clock position.
- Install the wiring clips to the upper radiator mounting bracket.
- Position the upper radiator mounts over the upper pins.
- Install the radiator bracket bolts
- Install the wiring clips to the upper radiator mount bracket.
- Position the condenser tabs under the radiator tabs.
- Install the condenser to radiator bolts.
- Install the lower radiator to the condenser gasket.
- Install the bolt which secures the condenser block to the radiator end tank.
- Remove the condenser support wire or the plastic tie.
- Remove the cap and install the lower transaxle cooler line to radiator.
- Install the lower radiator hose to the radiator.
- Install the forward wiring harness into the forward rail clips.
- Install the fan and shroud assembly onto the radiator lower tabs.
- Install the bolts that secure the fan shroud to the radiator.
- Install the upper transaxle oil cooler line into the radiator end tank retainer.
- Remove the cap from the oil cooler line.
- Install the oil cooler line to the radiator.
- Route the pusher fan electrical harness around the outside of the radiator end tank to the upper fan shroud.
- Install the fan electrical connectors to the connector retainers as shown.
- Connect the fan electrical connectors.
- Install the pusher fan harness under the routing tabs on the fan shroud.
- Install the upper radiator hose to the radiator.
- Install the bolts which secure the power steering fluid reservoir to the fan shroud.
- Install the battery. Refer to Battery Replacement in Engine Electrical.
- Install the fan control module by sliding down onto the bracket.
- Fill the cooling system. Refer to Cooling System Draining and Filling .


Notice: Refer to Fastener Notice in the Preface section.
Tighten
Tighten the bolts to 6 N·m (53 lb in).

Tighten
Tighten the bolts to 4 N·m (35 lb in).


Tighten
Tighten the bolt to 4 N·m (35 lb in).

Tighten
Tighten the cooler line to 4 N·m (35 lb in).

Important: The white line on the hose should be installed at the 12 o'clock position.
Install the clamp at the 11 o'clock position.


Important: Verify that the pusher fan electrical harness is not between the fan shroud and the radiator.
Tighten
Tighten the bolts to 4 N·m (35 lb in).

Tighten
Tighten the cooler line to 25 N·m (18 lb ft).


Install the clamp to the 12 o'clock position.

Tighten
Tighten the bolts to 5 N·m (44 lb in).

