Removal Procedure
- Ensure that the fuel level in tank is less than 1/4 full. If necessary, drain the fuel tank to at least this level. Refer to Fuel Tank Draining .
- Position the vehicle on the hoist.
- Disconnect the negative battery cable
- Remove the fuel filler cap and rubber closeout grommet around the fuel filler pipe neck, inside the fuel filler door.
- Remove the attachment screw at the upper end of filler pipe.
- Raise the vehicle to a comfortable working position.
- Remove the wheel house inner liner.
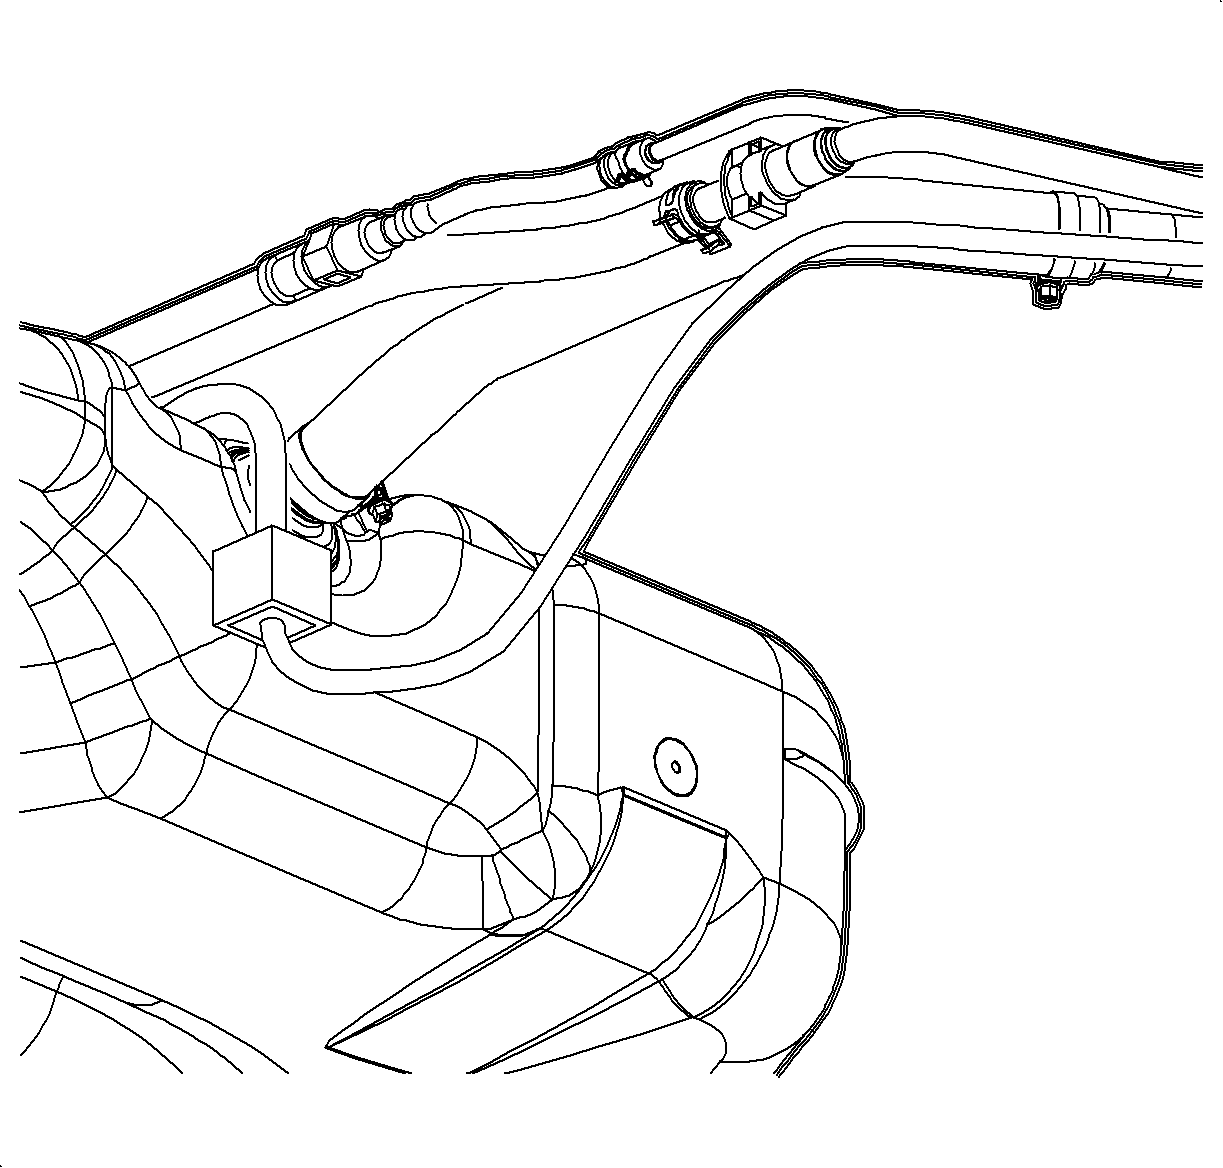
- Disconnect the wiring harness connector at the evaporative emission (EVAP) canister vent solenoid.
- Remove the fuel filler pipe lower bracket attachment screw.
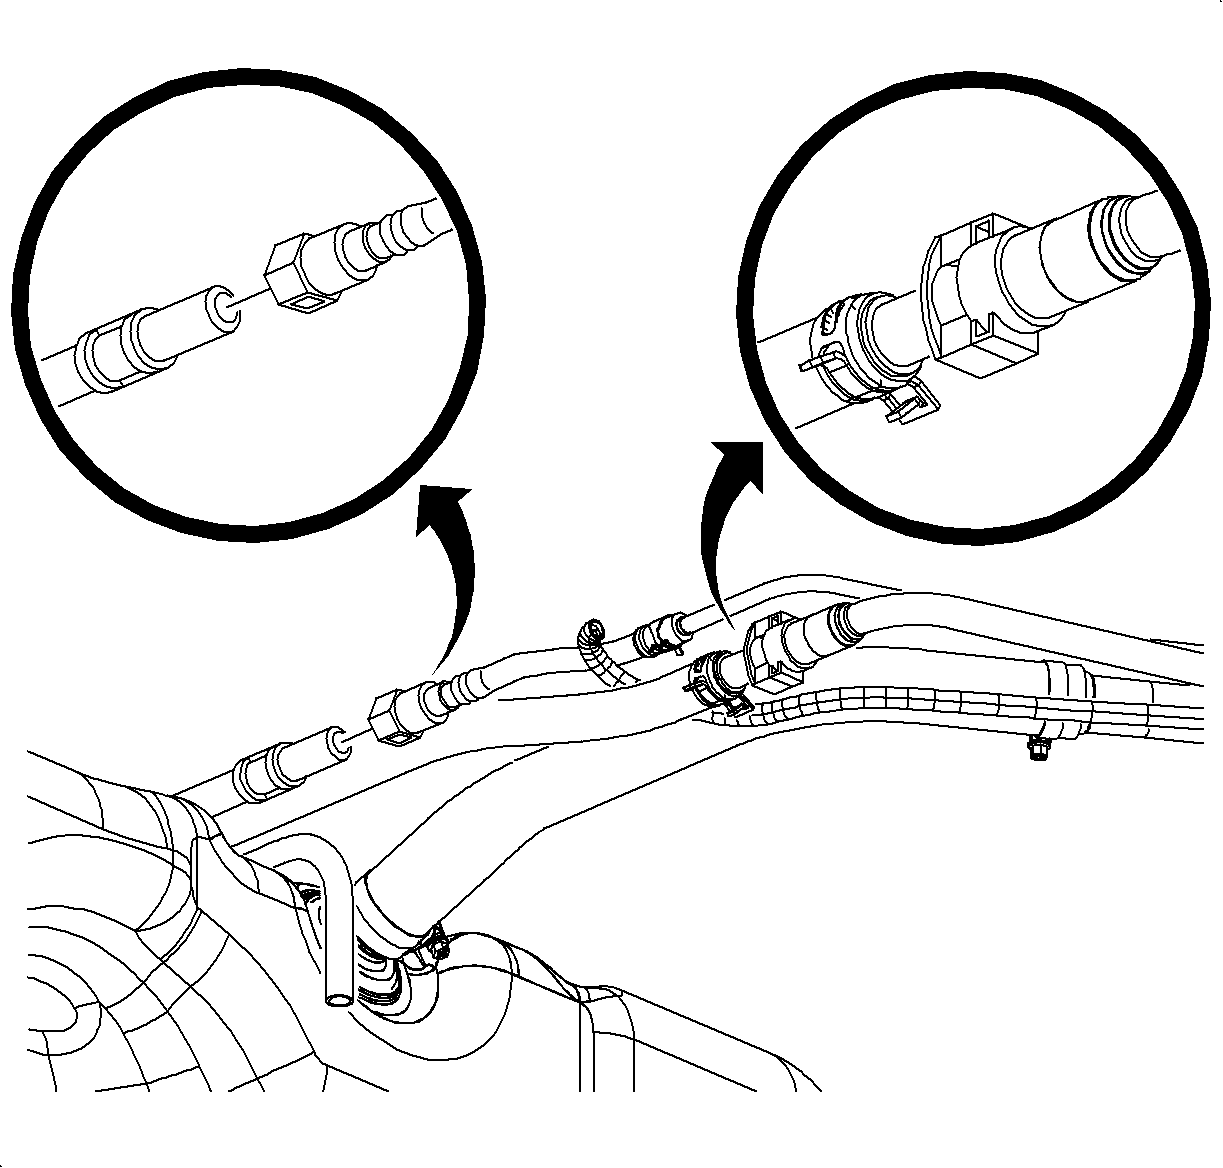
- Disconnect the EVAP canister hose.
- Loosen the fuel filler pipe hose clamp closest to the fuel tank.
- Disengage the filler pipe hose from the fuel tank and remove the fuel filler pipe.
Caution: Refer to Gasoline/Gasoline Vapors Caution in the Preface section.

Caution: Refer to Vehicle Lifting Caution in the Preface section.

Installation Procedure
- Raise the vehicle to comfortable working height.
- Position the filler pipe into the wheel opening with the top of the pipe within the body panel opening.
- Install the fuel filler pipe into the fuel tank opening.
- Loosely install the filler pipe lower bracket attachment screw, but do not tighten.
- Lower the vehicle and install the filler pipe upper bracket attachment screw.
- Install the rubber closeout grommet to the body and filler pipe.
- Install the fuel cap.
- Raise the vehicle to a comfortable working height.
- Tighten the hose clamp on the filler pipe to fuel tank connecting hose.
- Connect the EVAP canister vent pipe at the quick connect to canister vent hose.
- Connect the recirculation line (5/16 in) quick connection.
- Tighten the lower attachment screw on the filler pipe to the underbody.
- Connect the harness connector to the EVAP vent solenoid.
- Install the wheelhouse inner liner to the wheel opening.
- Connect the negative battery cable.

Important: To ease installation, lightly wipe the outside of the fuel tank inlet connector with plain water.
Important: Ensure that the EVAP vent solenoid pipe is installed in position on the filler pipe bracket.
Notice: Refer to Fastener Notice in the Preface section.

Tighten
Tighten the fuel fill pipe-to-body (upper) to 2.5 N·m
(22 lb in).

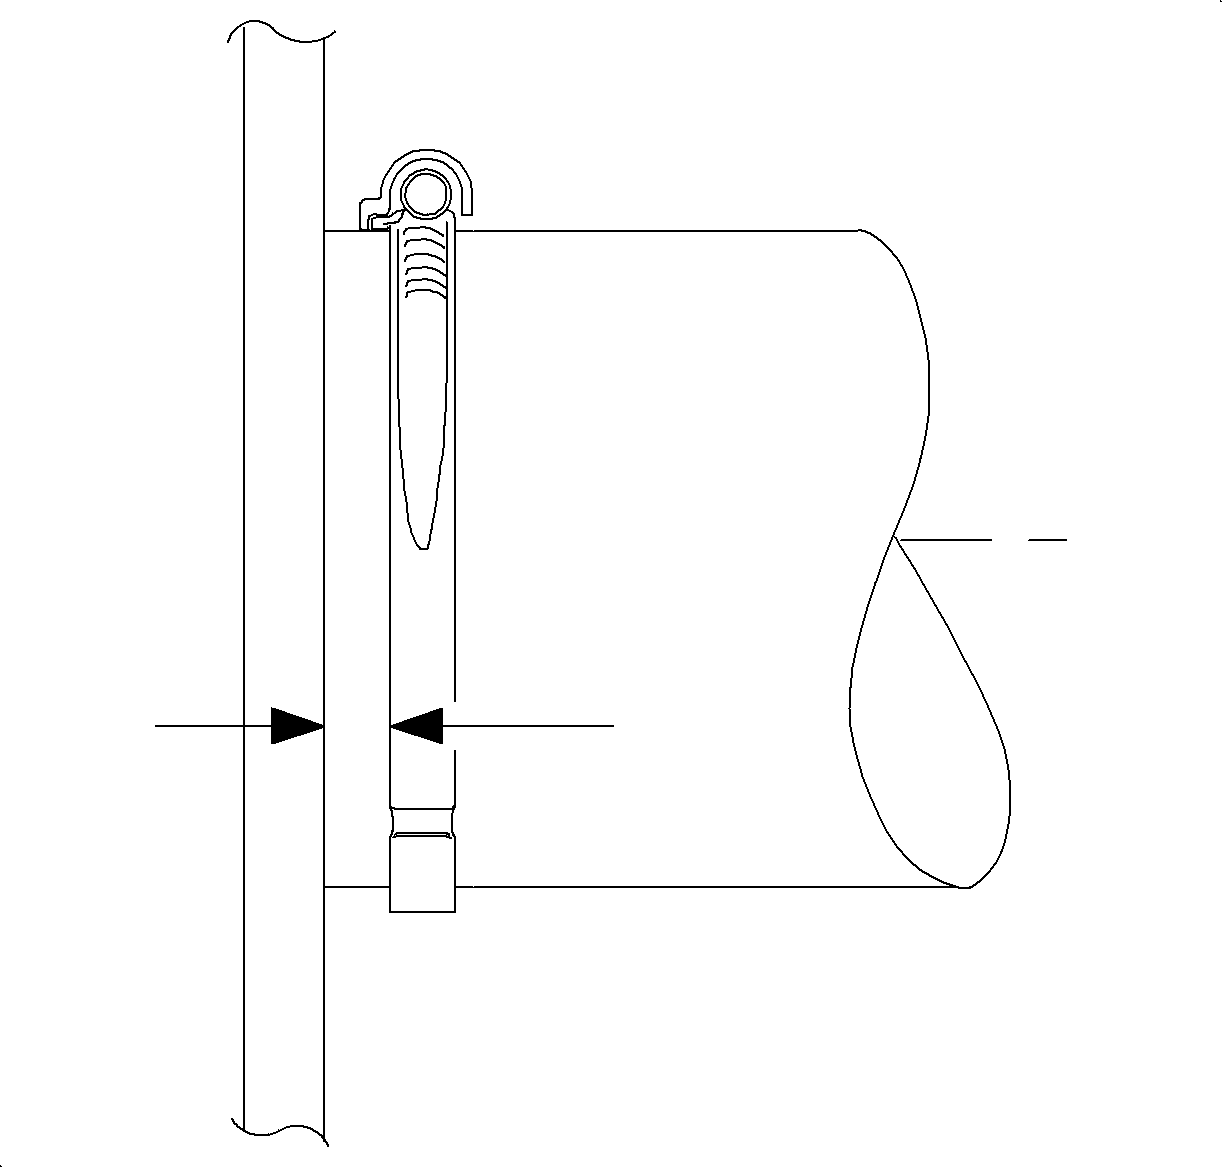
Important: Ensure that the fuel pipe connecting hose is installed until it touches the fuel tank body. The hose clamp should be located within 6 mm (1/4 in) of the end of the connecting hose.
Tighten
Tighten the fuel fill neck-to-fuel tank clamp to
5 N·m (44 lb in).

Tighten
Tighten the fuel fill pipe-to-body (lower) to 13 N·m
(9.5 lb ft).
Tighten
Tighten the battery terminal bolts to 17 N·m
(13 lb ft).
