For 1990-2009 cars only
Removal Procedure
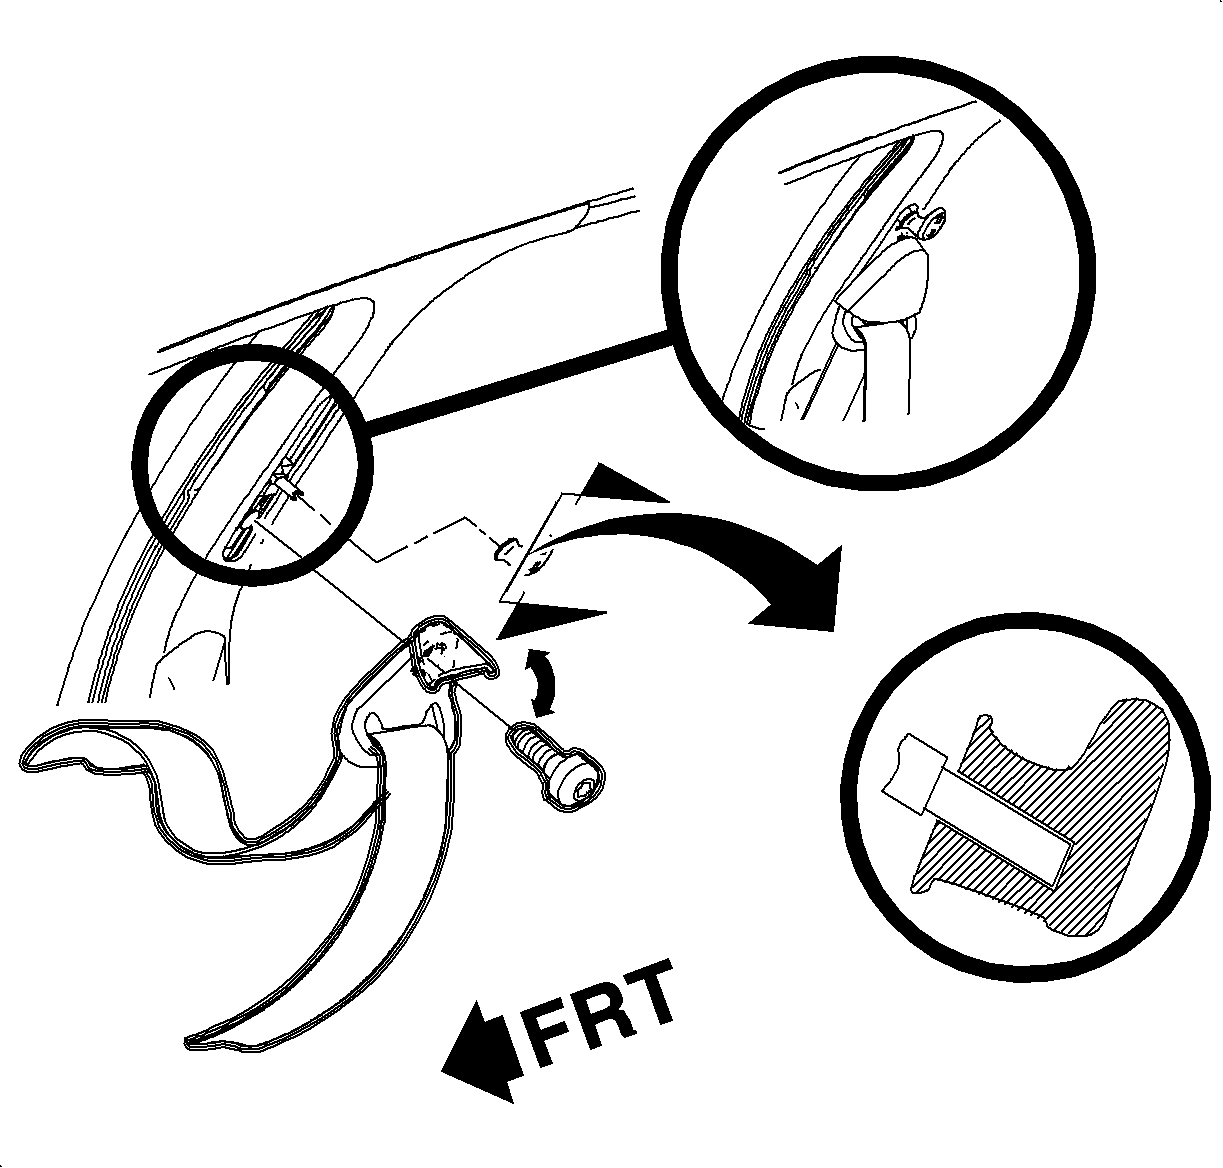
- Remove the front seat belt shoulder guide adjuster knob by unsnapping the locking clip with an awl.
- Open the shoulder belt guide bracket bolt cover at the top of the seat belt unit.
- Remove the cover and bolt from the shoulder belt guide bracket assembly.
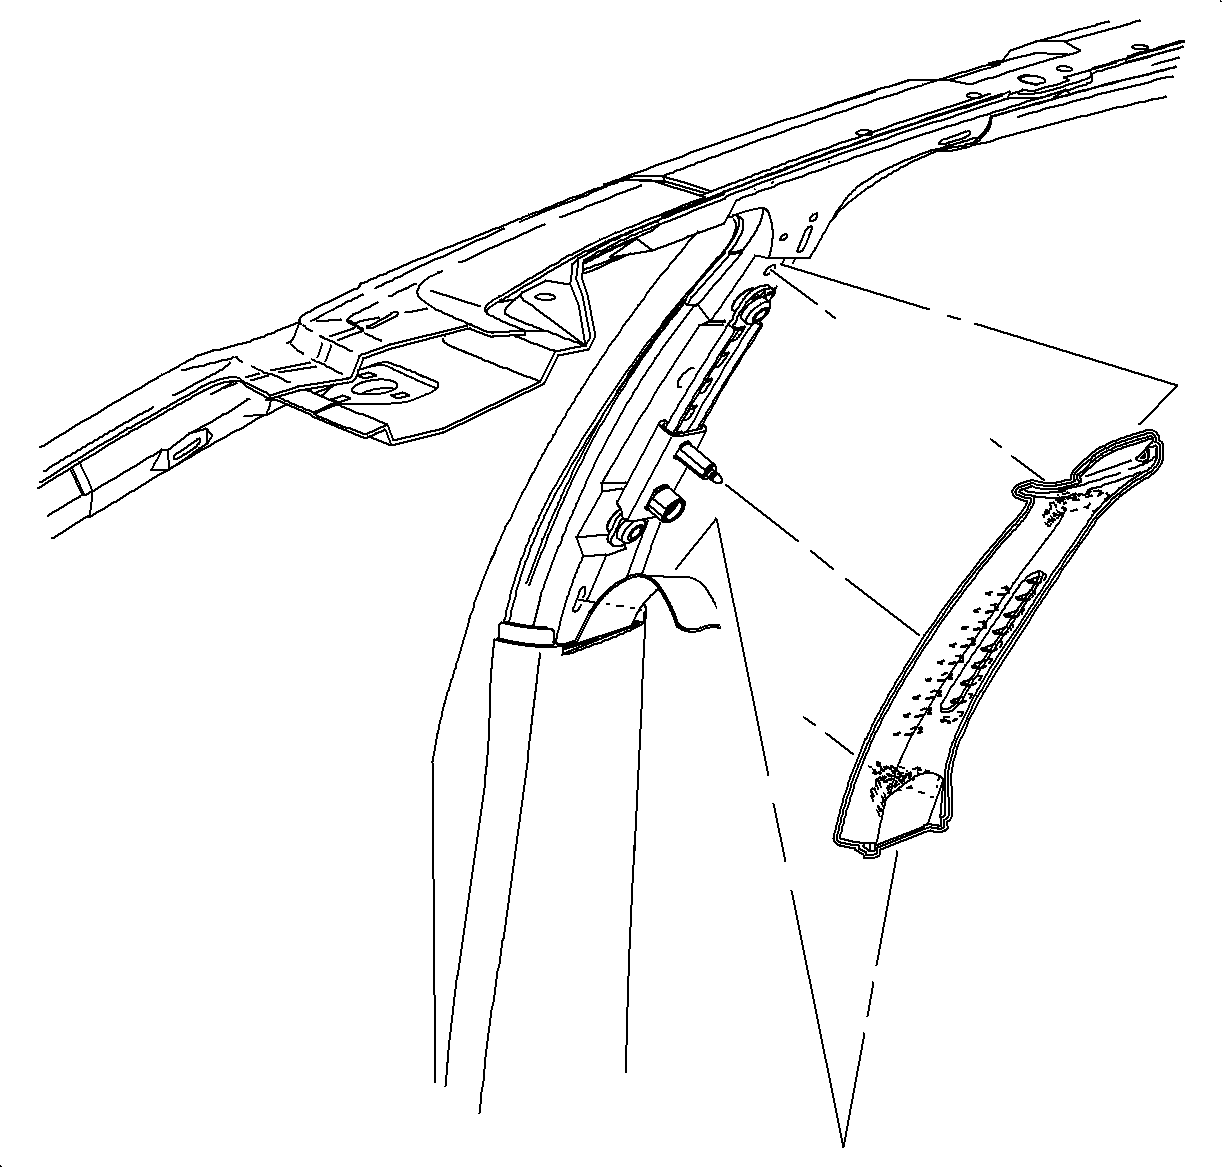
- For 1st design vehicles, partially remove the windshield garnish molding to expose the guide bracket assembly.
- For 2nd design vehicles, remove the center pillar upper garnish molding.
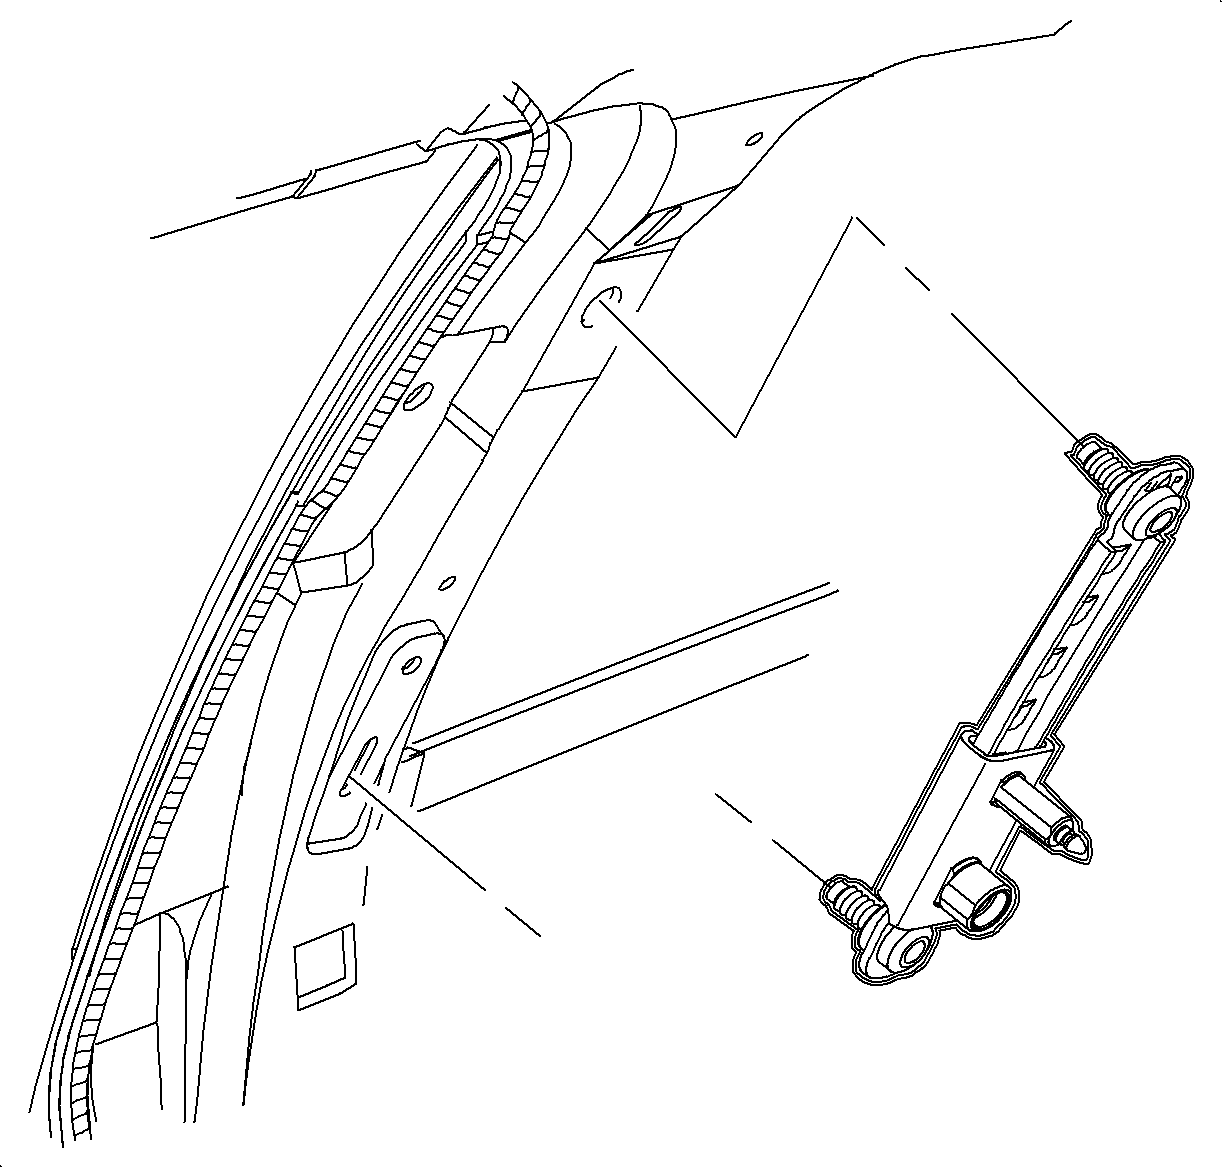
- Remove the bracket bolts and the seat belt shoulder guide bracket assembly from the center pillar.


Installation Procedure
Notice: Refer to Fastener Notice in the Preface section.
Important: Apply LOCTITE 242®, or equivalent, on all restraint fasteners prior to installation.
- Position the bracket assembly on the center pillar and install the bolts.
- For 1st design vehicles, snap the windshield garnish molding in place.
- For 2nd design vehicles, install the center pillar upper garnish molding.
- Insert the bolt into the cover and install.
- Close the seat belt cover.
- Install the shoulder belt guide adjuster knob by snapping into place.
- Check the shoulder belt for twists and guide the bracket assembly for proper operation.

Tighten
Tighten the front seat should belt guide bracket fasteners to 40 N·m
(30 lb ft).

Tighten
Tighten the seat belt bolt to 50 N·m (37 lb ft).
