Front Side Door Trim Panel Insert Replacement Sedan/Wagon
Removal Procedure
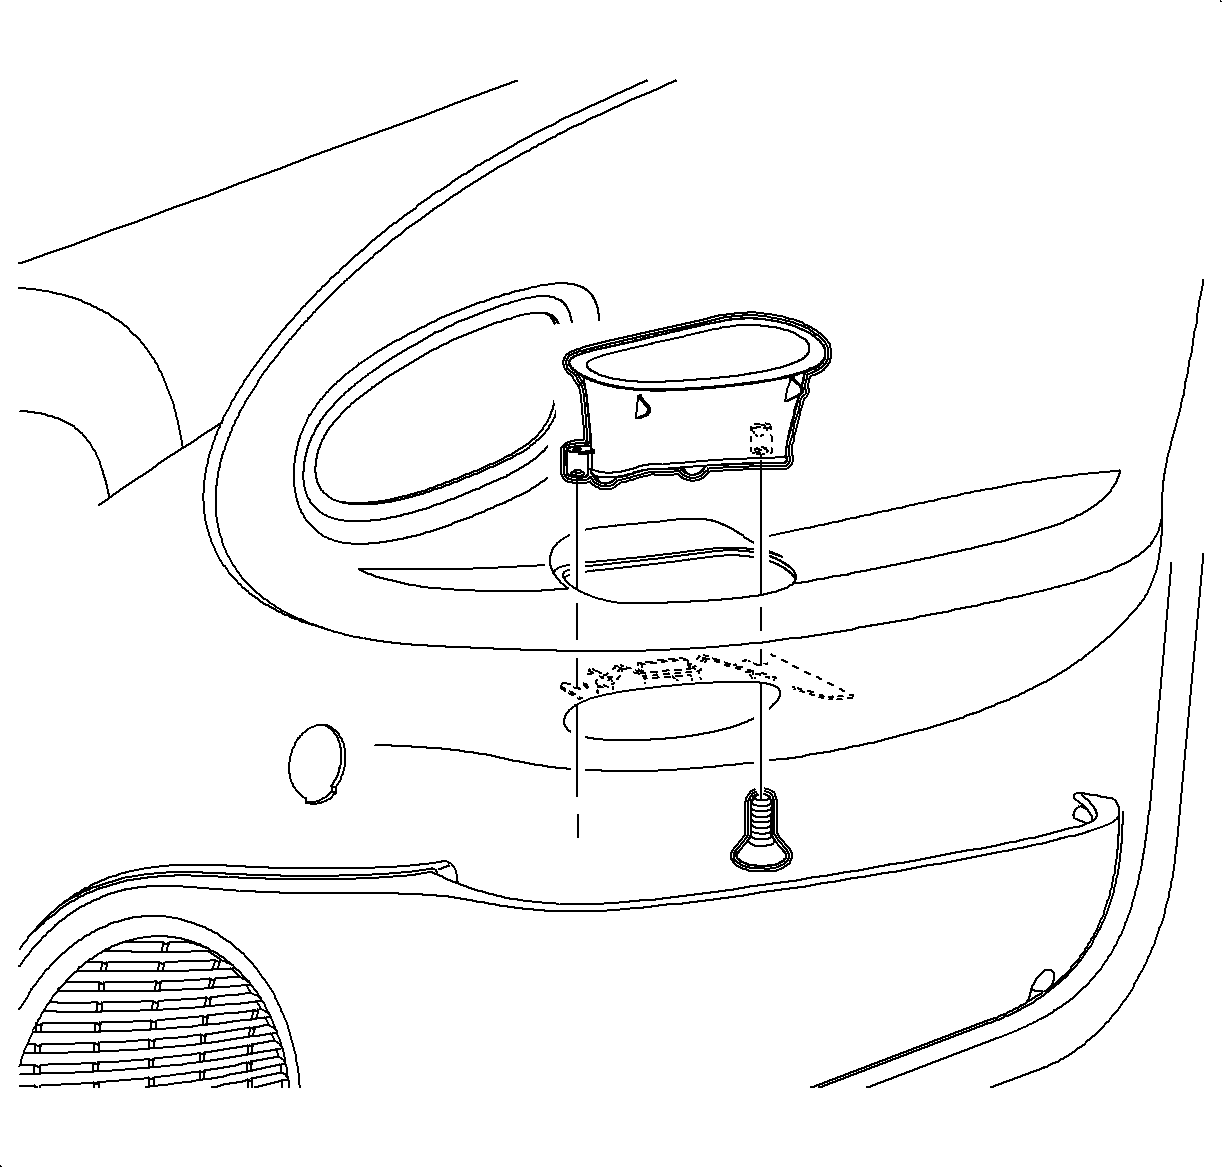
Caution: If energy absorber is removed or damaged it must be replaced with a new part. If omitted, the vehicle will not meet federal motor vehicle safety standards (FMVSS), subjecting the retailer to possible civil penalties for making the vehicle inoperative to the FMVSS, and increasing the risk of injury to the vehicle occupants.
- Remove the door trim panel. Refer to Front Side Door Trim Panel Replacement .
- Remove the door pull cup.
- Place the door trim panel, heat-skated side up, on a work bench with a cloth-type material to protect the panel's finish.
- Using a 7 mm (9/32 in) drill bit, drill out the round heat-staked studs.
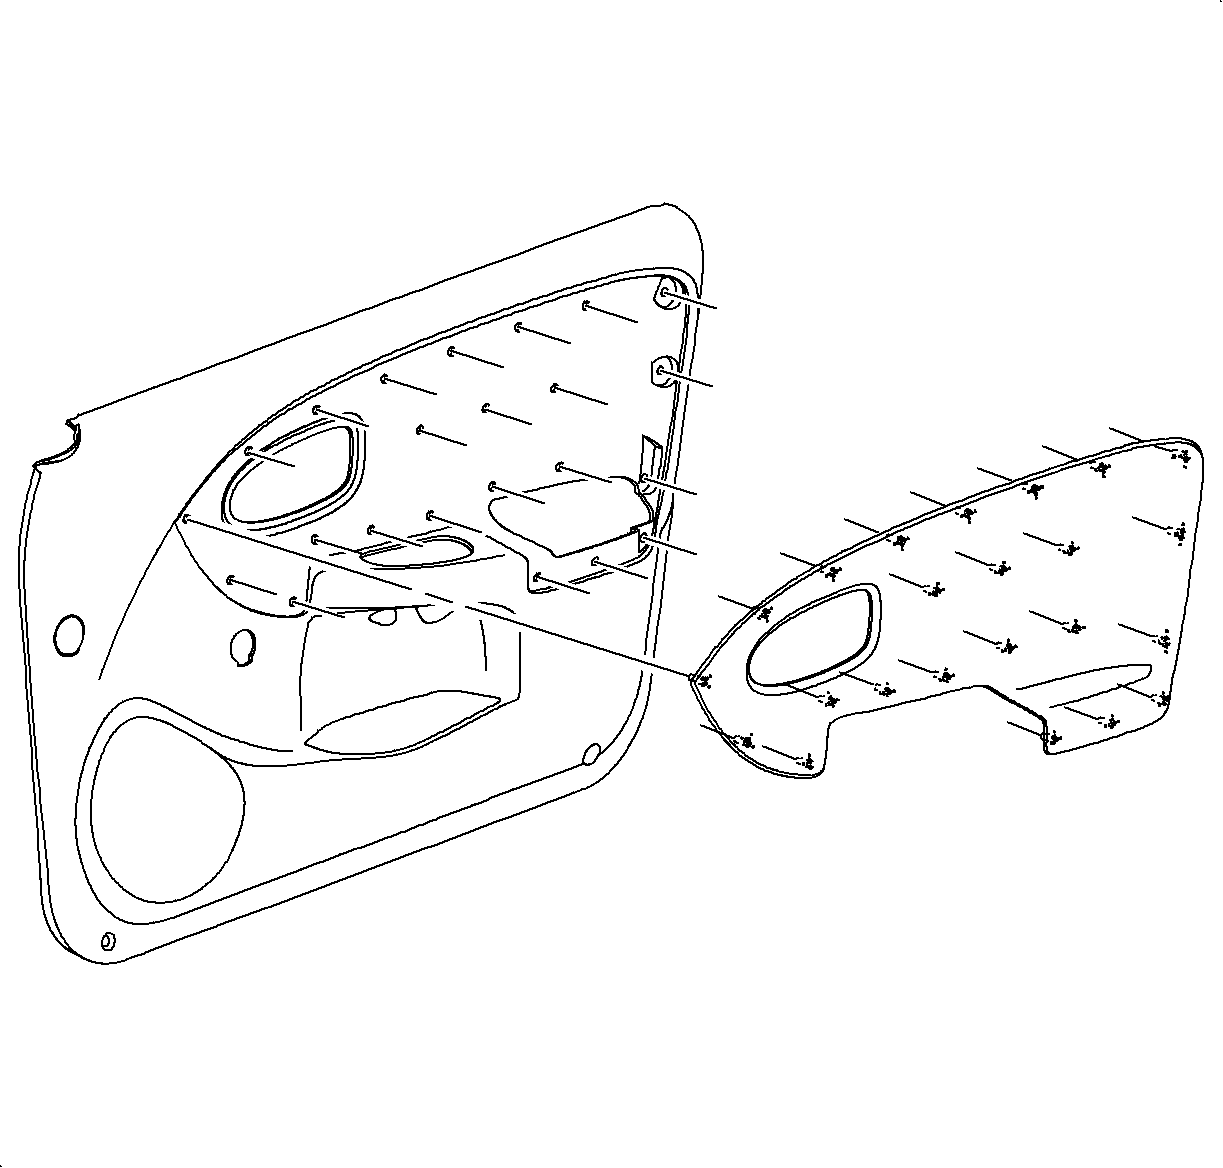
- Remove the old door insert from the door trim panel.
- Remove any heat stake material that may be left in the door trim panel holes or on the door trim panel substrate.

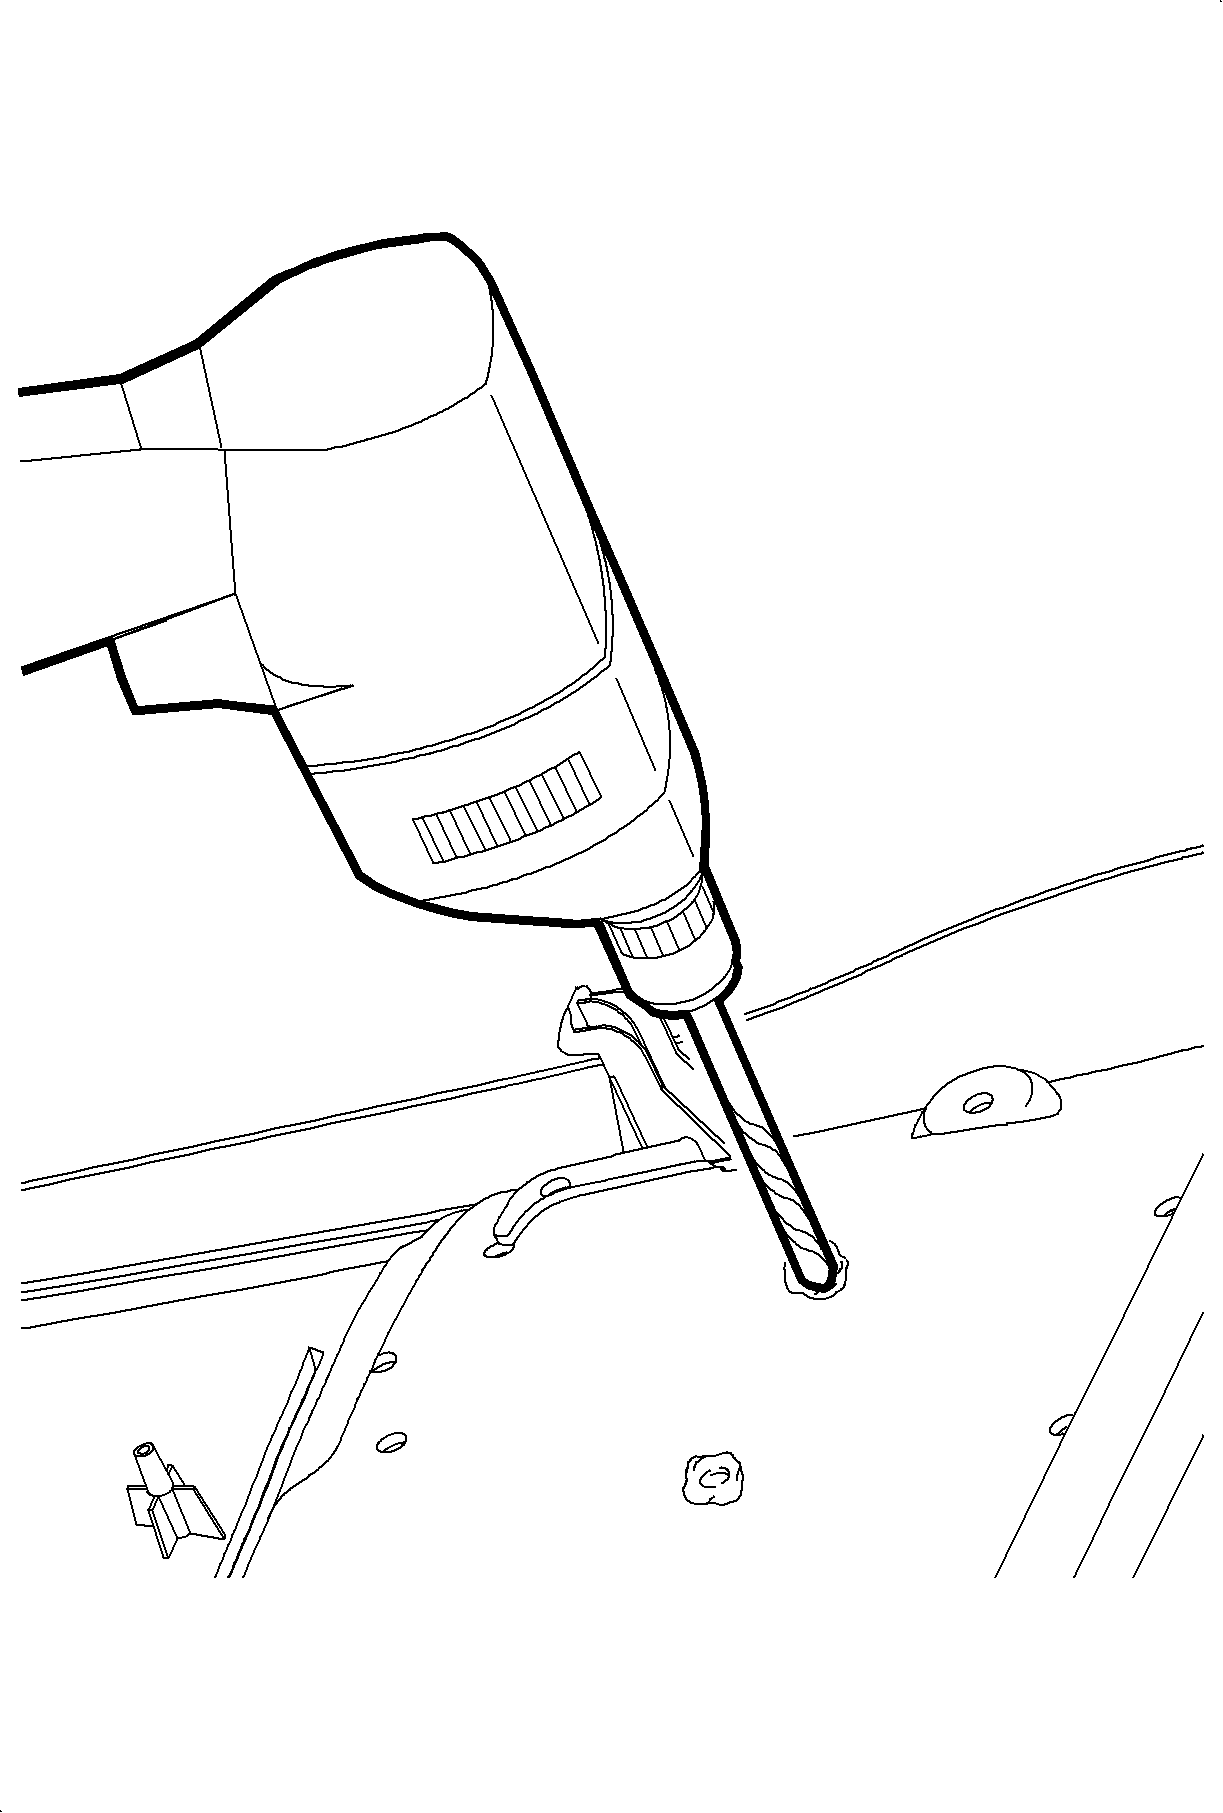
Important: Drill into the heat-staked stud just enough to cause the stud material to separate from the substrate (door trim panel) material.
Installation Procedure
- Center the new door insert on the door trim panel substrate.
- Place the door trim panel assembly back on the cloth-type protective material with the heat-stake side up.
- Place one hand on the front side of the door trim panel, the side that is on the work bench, at one of the door insert corners. Press and hold the door insert heat stake against the door trim panel substrate.
- Using a Weller® model 8200 soldering gun, or equivalent, equipped with a flat tip, use a circular motion around the heat stake. Apply firm steady pressure to spread the heat stake material onto the door trim panel substrate to achieve a proper weld.
- After the heat stake has been melted, keep steady pressure with your hand on the door insert for 30 seconds, to allow the heat stake to harden.
- Repeat Steps 3-5 for the remaining door insert corners.
- Continue to press and hold the door insert against the door trim panel substrate and heat stake the remaining door insert studs.
- Verify that the door insert is securely heat staked to the door trim panel substrate in all locations.
- Install the door pull cup.
- Install the door trim panel. Refer to Front Side Door Trim Panel Replacement .

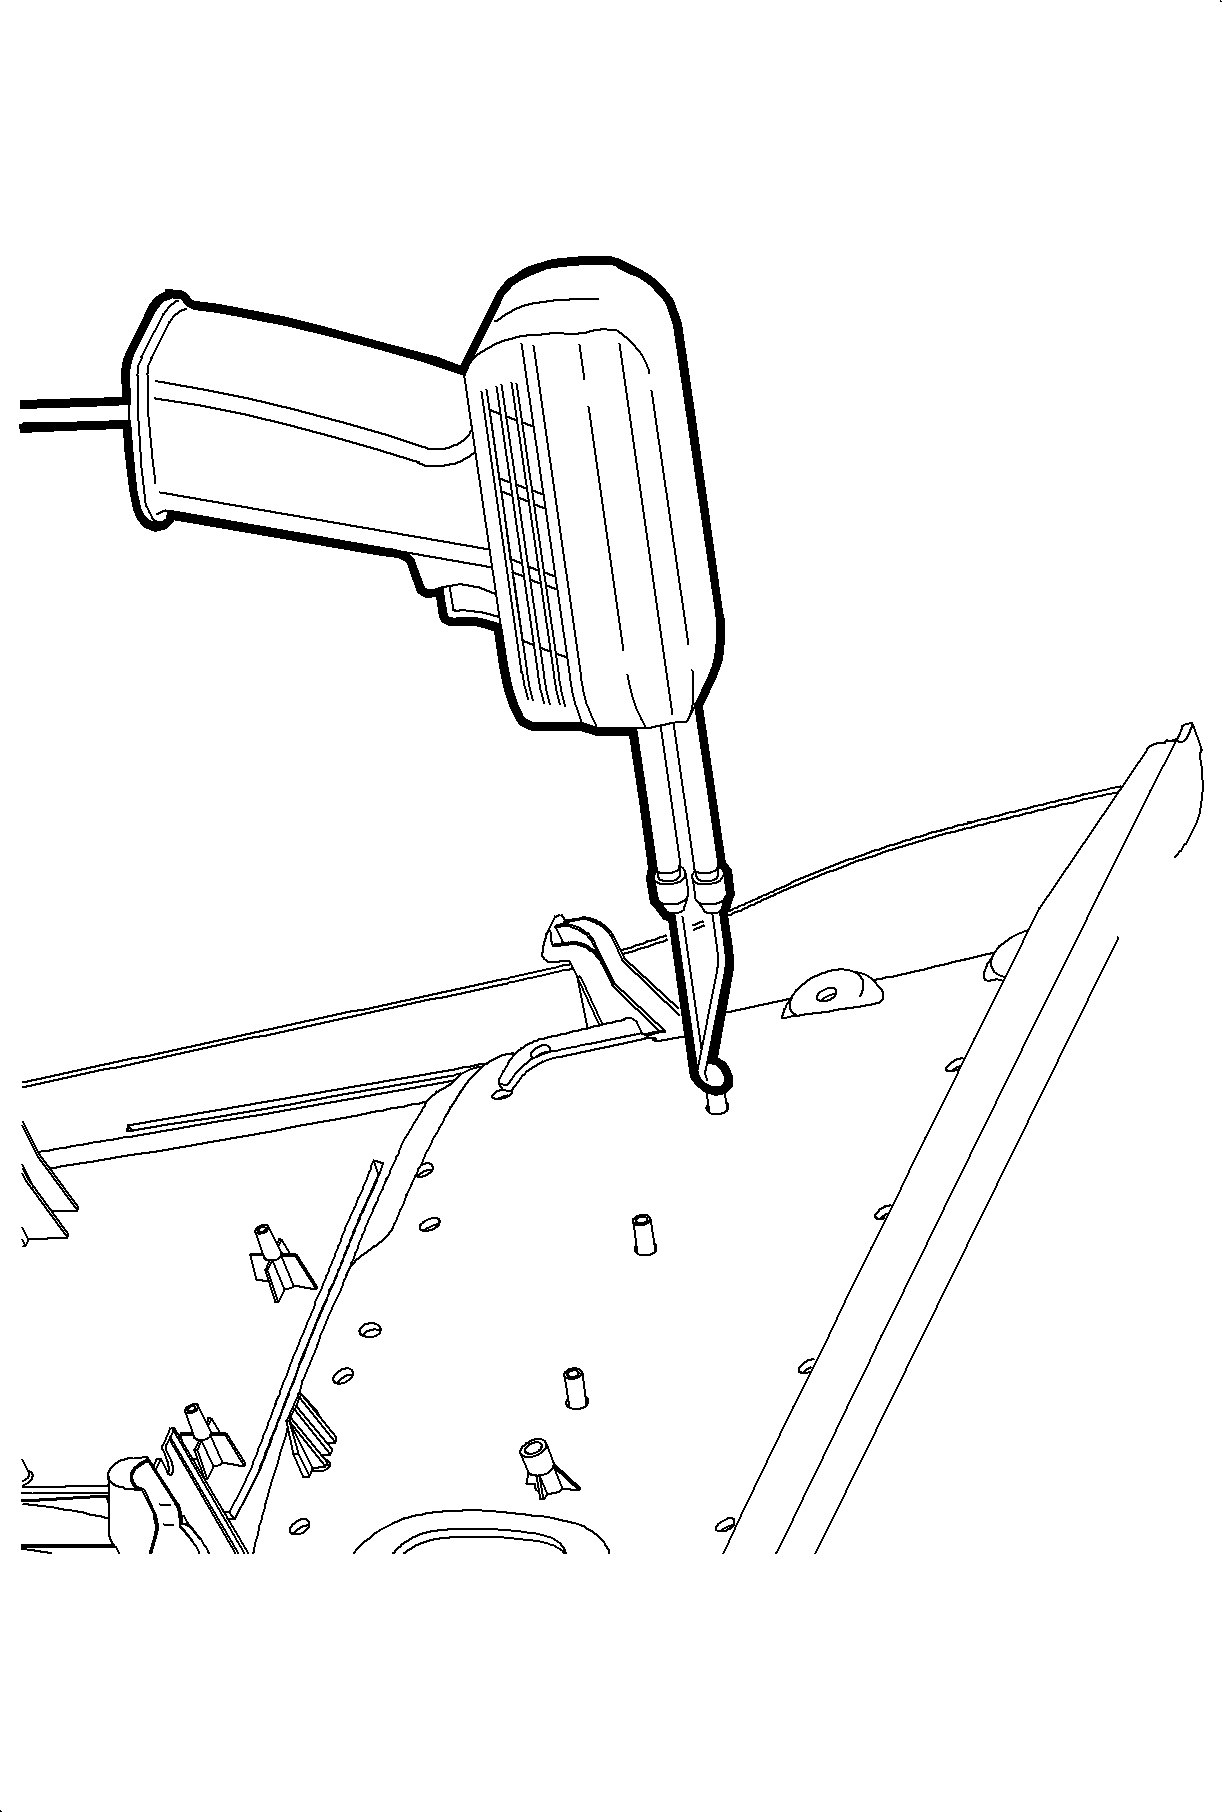
Important: A desirable round heat stake weld should have an approximate diameter of 10 mm (13/32 in) and height 2 mm (3/32 in).

Front Side Door Trim Panel Insert Replacement Coupe
Removal Procedure
- Remove the door trim panel. Refer to Front Side Door Trim Panel Replacement .
- Remove the door pull cup.
- Place the door trim panel, heat-staked side up, on a work bench with a cloth-type material to protect the panel's finish.
- Using a 7 mm (9/32 in) drill bit, drill out the round heat-staked studs.
- Remove the old door insert from the door trim panel.
- Remove any heat stake material that may be left in the door trim panel holes or on the door trim panel substrate.

Caution: If energy absorber is removed or damaged it must be replaced with a new part. If omitted, the vehicle will not meet federal motor vehicle safety standards (FMVSS), subjecting the retailer to possible civil penalties for making the vehicle inoperative to the FMVSS, and increasing the risk of injury to the vehicle occupants.
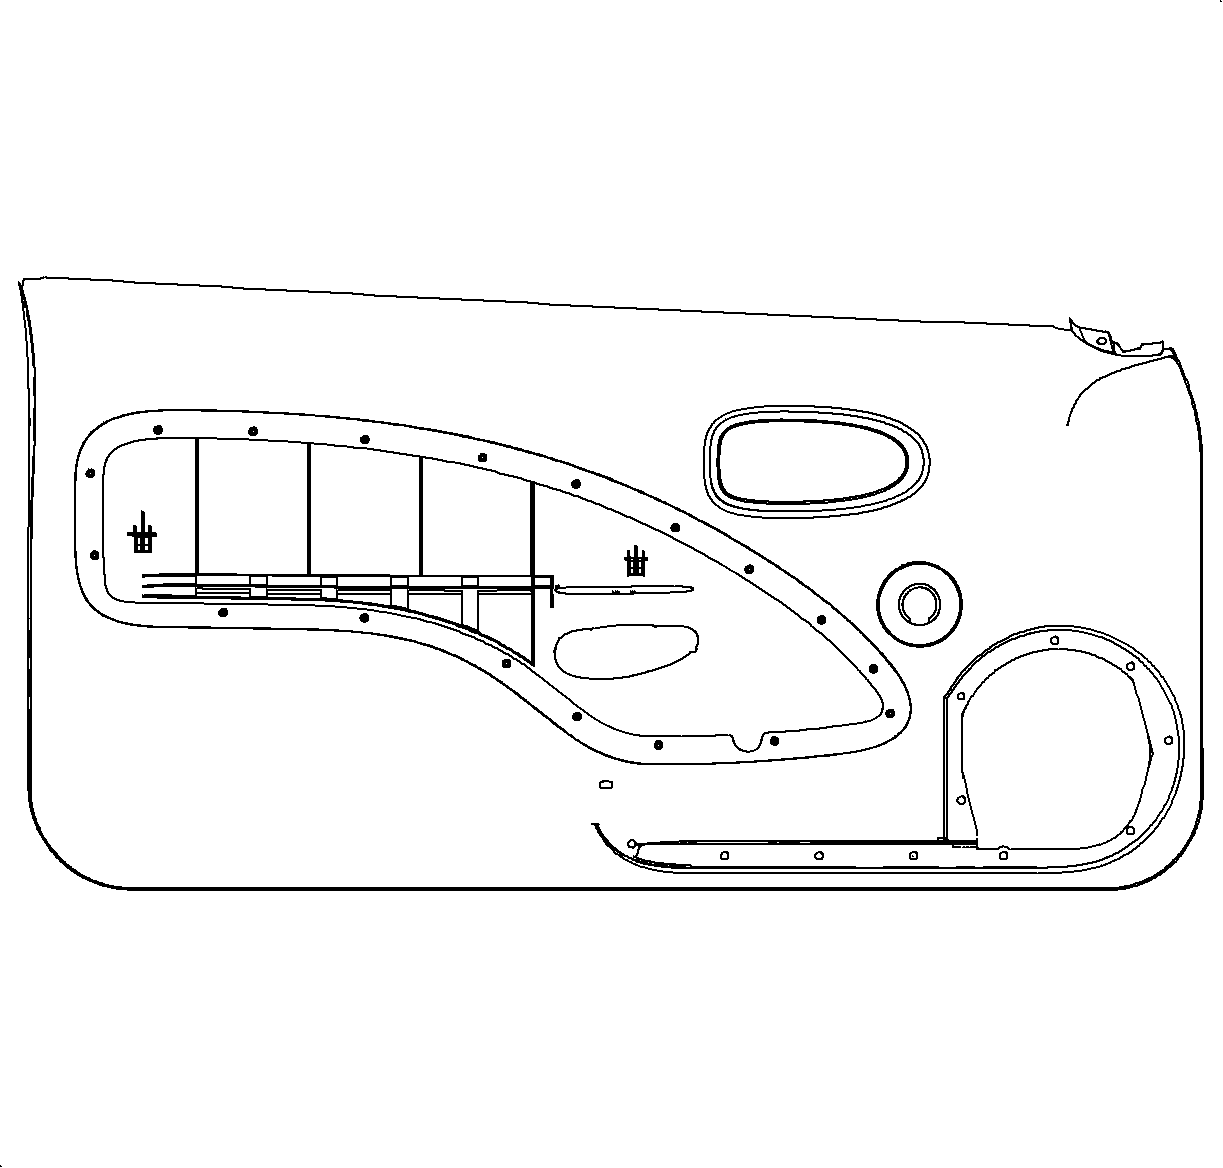

Important: Drill into the heat-staked stud just enough to cause the stud material to separate from the substrate (door trim panel) material.
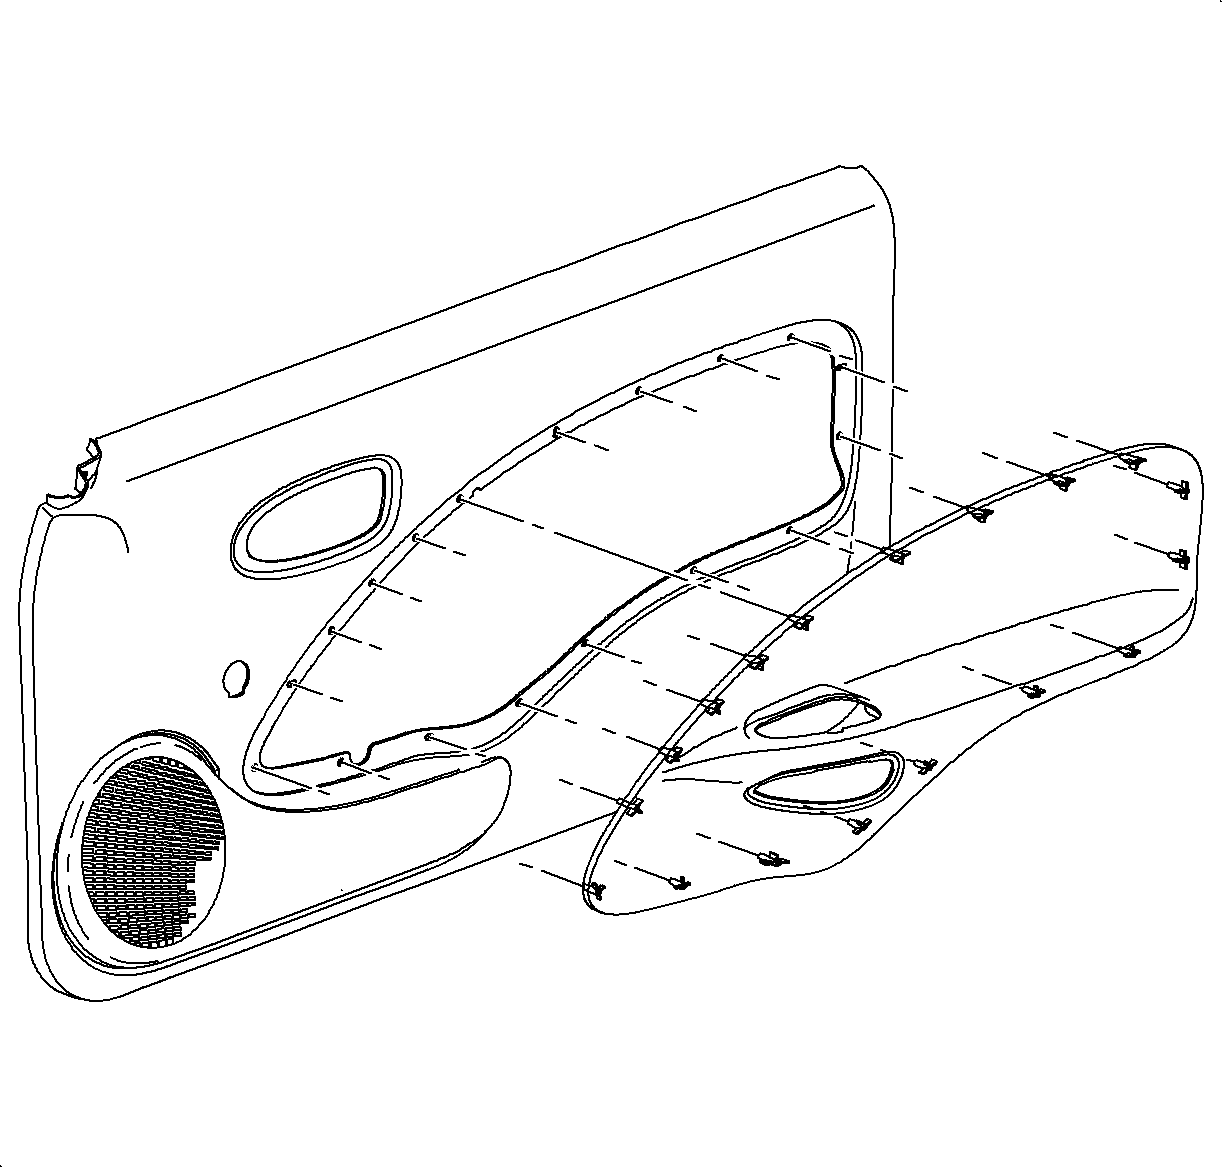
Installation Procedure
- Center the new door insert on the door trim panel.
- Place the door trim panel assembly back on the cloth-type protective material with the heat-stake side up.
- Place one hand on the front side of the door trim panel, the side that is on the work bench, at one of the door insert corners. Press and hold the door insert heat stake against the door trim panel substrate.
- Using a Weller® model 8200 soldering gun, or equivalent, equipped with a flat tip, use a circular motion around the heat stake. Apply firm steady pressure to spread the heat stake material onto the door trim panel to achieve a proper weld.
- After the heat stake has been melted, keep steady pressure with your hand on the door insert for 30 seconds to allow the heat stake to harden.
- Repeat Steps 3-5 for the remaining door insert corners.
- Continue to press and hold the door insert against the door trim panel substrate and heat stake the remaining door insert studs.
- Verify that the door insert is securely heat staked to the door trim panel substrate in all locations.
- Install the door pull cup.
- Install the door trim panel. Refer to Front Side Door Trim Panel Replacement .


Important: A desirable round heat stake weld should have an approximate diameter of 10 mm (13/32 in) and height 2 mm (3/32 in).

