Service Information for LCD Digital Odometer Cluster

| Subject: | Additional Service Information for LCD Digital Odometer Cluster. This bulletin is being reissued to provide additional service and diagnostic instructions and to include the 1999 model year. This bulletin supersedes 97-T-37 which should be discarded. |
| Models: | 1998 and 1999 Saturns equipped with an LCD digital odometer cluster. |
Important: Refer to the service parts catalog for detailed VIN breakpoint information.
Purpose:
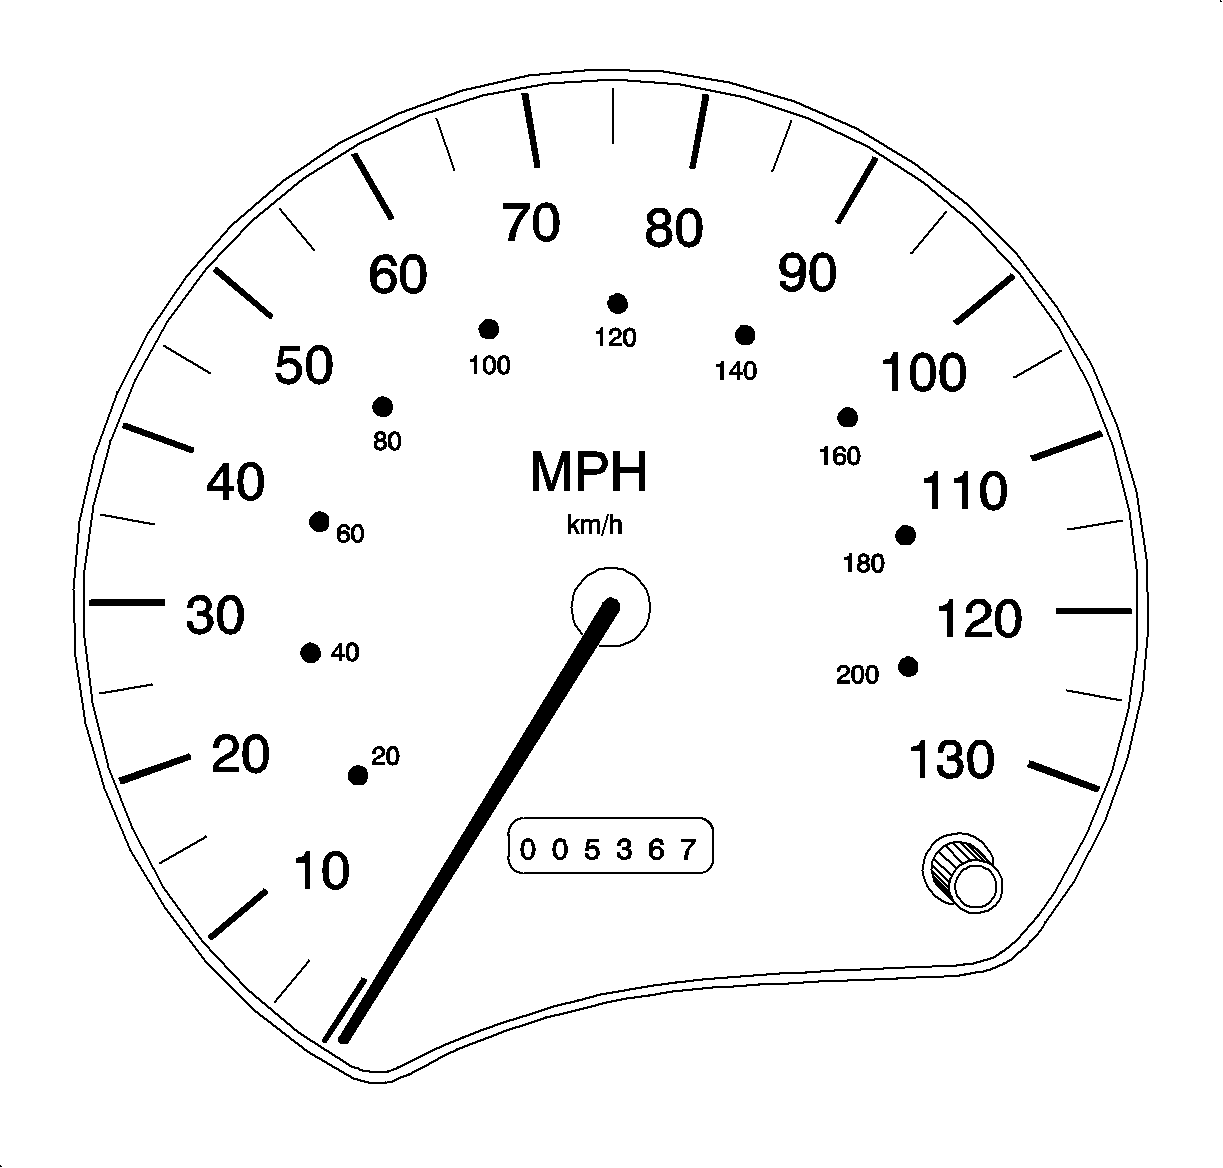
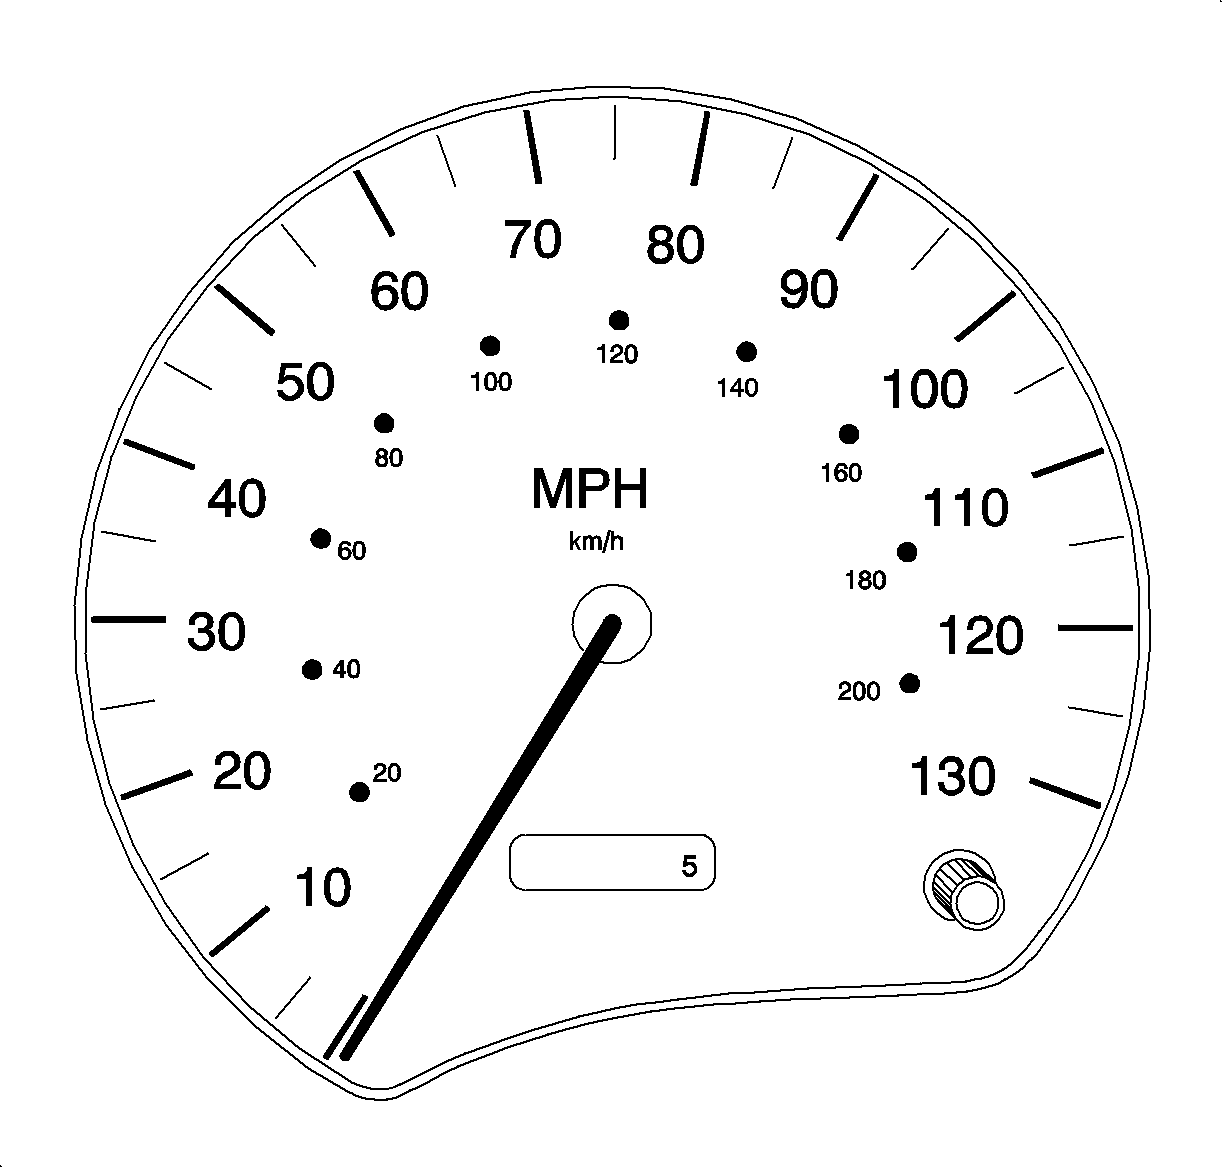
A new design instrument cluster assembly with a liquid crystal display (LCD) digital odometer has been introduced on 1998 and 1999 Saturns as shown in the illustration.
INSERT GRAPHIC NUMBER UNKNOWN
Important: The new design instrument cluster assembly with the LCD digital odometer is not used top service 1995-1997 vehicles, or 1998 vehicles built with the previous design instrument cluster.
If replacement of the instrument cluster is necessary, the odometer must be programmed. The procedure to set the correct vehicle mileage is contained in this bulletin and is published in the 1998-1999 Audio and Instrument Cluster service manual. A copy of the procedure is also included with each service replacement cluster assembly.
Notice: New instrument clusters with an LCD digital odometer must be programmed with the correct vehicle mileage before the vehicle is driven, or a road speed is commanded by a scan tool. Once the odometer procedure is completed or the cluster detects a speed signal the mileage will be stored in memory and cannot be changed. A second programming attempt is not possible.
Mileage Determination
Service replacement instrument cluster assemblies with the LCD digital odometer require that the odometer mileage be programmed upon installation into the vehicle. For odometer programming, refer to the following procedure. The mileage set on the replacement odometer must match exactly the mileage on the odometer of the assembly being replaced. If the exact mileage cannot be determined, refer to Section 3.8.3 of the Saturn Service Policies and Procedures Manual.
Serviceable Components
Serviceable components of the new design instrument cluster assembly with the LCD odometer include the lens, telltale and illumination bulbs as well as the complete instrument cluster assembly. Other individual components are not serviceable. Service replacement instrument cluster assemblies with the LCD digital odometer are available from Saturn Service Parts Operation.
Please refer to the chart contained in this bulletin for specific part number.
Over the Counter Sales
If a customer or other repair facility purchases a replacement cluster over-the-counter, the retailer should review the programming instructions with the customer. The retailer may want to offer the programming service to the customer. Please inform the customer that if , prior to programming, the vehicle is driven with ignition voltage at the cluster, the mileage will instantly set to (zero). A second programming attempt is not possible.
Procedures
Odometer Display Description
The LCD digital electronic odometer is backlit with a type 73 bulb (blue or black base) to make viewing possible in all lighting conditions. The intensity of the backlight bulb is controlled by the I/P dimmer when the headlights are on. With headlights off, the bulb is at full brightness. If the backlight bulb fails, the odometer display will still be active but will be more difficult to view in poor lighting conditions. When the vehicle's ignition is turned OFF, the odometer mileage will continue to be displayed for several minutes without the backlight.
If a customer claims that the odometer appears to be blank, first check the display (with the ignition ON) carefully to insure that the backlight bulb is working. If the vehicle mileage is readable, remove the cluster per the service manual procedure and replace the bulb. If after verifying that the backlight bulb is OK. and the display is still not readable, the millage may be recovered by returning the cluster to VDO North America. Remove the cluster from the vehicle and contact your PSA for shipping instructions. When the cluster is received by VDO North America, they will attempt to recover the mileage and fax documentation back to the retailer. The retailer must obtain a replacement cluster through normal parts channels and program the correct vehicle mileage per the programming procedures included in this bulletin. If the odometer mileage cannot be recovered, the replacement cluster must be set to 0 (zero) and a label affixed to the drivers door. Under no circumstances should the mileage on a replacement cluster be estimated. Refer to the Service Policies and Procedure manual Section 3.8.3 for complete details.
DRL and High Beam Telltale Logic Operation
The DEL and High Beam Telltale lamps are controlled by a logic circuit contained within the cluster. The system includes circuit 1200E which is connected between the right and left high beam headlights through circuit 1200C. The logic monitors the voltage on circuit 1200E to determine the status of the telltales according to the following chart:
Voltage on Circuit 1200E | H/B TT | DRL TT |
|---|---|---|
Less than 1.5 V | ON | OFF |
Half of ignition voltage (+2.5 V -- 0.5 V)* | OFF | ON |
Within 1 V of ignition 1 voltage | OFF | OFF |
*For example: if ignition 1 voltage is 13 volts, then the expected voltage on circuit 1200E should be between 6 - 9 volts for proper telltale operation.
To diagnose this system, measure the voltage at terminal N of the black 18-way I/P cluster connector. Since the high beam bulbs are connected in series during DRL operation, the voltage expected on circuit 1200E is approximately one half of ignition voltage. If the voltage drop across the left and right high beam bulbs are not closely matched, the DRL telltale may flicker or become inoperative.
Important: The Daytime Running Light mode will not operate if the left high beam circuit is opened and then reconnected (the bulb removed and replaced) while the ignition is ON. To resume DRL mode, cycle the ignition switch.
LCD Digital Odometer Programming Procedure
Notice: New instrument clusters with an LCD digital odometer must be programmed with the correct vehicle mileage before the vehicle is driven, or a road speed is commanded by a scan tool. Once the odometer procedure is completed or the cluster detects a speed signal the mileage will be stored in memory and cannot be changed. A second programming attempt is not possible.

Important: The programming procedure must be followed in the exact order as specified or the mileage programming will not be successful.
- Disconnect the negative battery cable.
- Remove the old instrument cluster assembly and install the new instrument cluster assembly. Refer to the Instrument Panel Cluster removal and installation procedure in the 1998-1999 Audio System and I/P cluster Service Manual.
- Reconnect the negative battery cable.
- Turn the ignition switch ON.
- Select the season odometer mode, six digits displayed, by pressing the trip odometer reset button.
- Press the trip odometer reset button and hold for 10 seconds or more, then release the button. When the button is released, a single 0 will appear in the right most digit.
- Press and release the reset button, for less than one second, to increment the digit. Continue pressing and releasing the reset button until the desired digit is displayed.
- When the desired digit is displayed, press and hold for longer than 3 seconds, but no more than 10 seconds or it will be storeed permanently. A second programming attempt is not possible. Release the button and the digit will shift left one position with a 0 once again appearing in the right most position.
- Repeat steps 7 and 8 until the correct vehicle mileage is set.
- With the correct vehicle mileage displayed, press and hold the odometer reset button for 15 seconds. hen the reset button is released, leading zeros will appear and gages will drop momentarily, indicating programming has been completed successfully.
- Turn the ignition OFF for 5 or more seconds.
- Turn the ignition ON and verify the new mileage is correct.

Important: The mileage must be programmed with the highest place value being programmed first, e.g., a vehicle mileage of 5367 would have the 5 being programmed first and the 7 last.
Important: The mileage programming procedure can be aborted by turning OFF the ignition and disconnecting the battery before performing step 10.

Part Number | Description |
|---|---|
21024770 | Cluster Assembly -- Inst DOHC (LL0) US (Special Edition White Dial) |
21023690 | Cluster Assembly -- Inst SOHC (LL0) US |
21023691 | Cluster Assembly -- Inst DOHC (L24) US |
21023692 | Cluster Assembly -- Inst SOHC (L24) Canada |
21023693 | Cluster Assembly -- Inst DOHC (LL0) Canada and Japan |
21023209 | Lens -- Asm - Cluster |
21020635 | Bulb -- I/P C/LP (Type 74 Gray) |
21022938 | Bulb -- Inst Cstr LP (Type 118 Red) |
21020634 | Bulb -- I/P C/LP (Type 73 Blue or Black) |
Claim Information: | To Receive credit for this repair during the warranty coverage period, submit a claim through the Saturn Dealer System as follows: | |||
|---|---|---|---|---|
-- | Case Type | Description | Labor Operation Code | Time |
-- | VW | Instrument cluster assembly -- replace -- includes programming mileage. | N4180 | 1.2 hrs |
-- | VW | Instrument cluster lens -- replace | N4115 | 1.2 hrs |
-- | VW | Instrument cluster telltale-- replace | N0647 | 1.1 hrs |
-- | VW | Instrument cluster illum. -- replace | N0627 | 1.1 hrs |
