For 1990-2009 cars only
Removal Procedure
- If one side of the seat adjuster is not working, perform the following procedure:
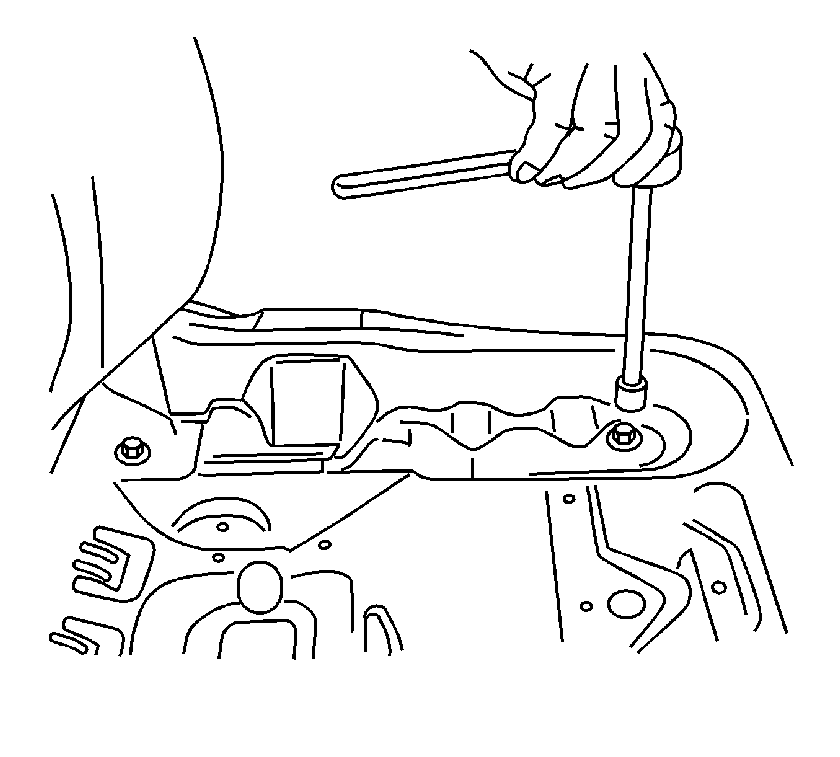
- If the power seat motor is not operable, and the bolts that secure the adjuster to the floor pan are not accessible, perform the following procedure:
- Remove the front seat. Refer to Front Seat Replacement - Bucket .
- Remove the seat trim panel. Refer to Front Seat Adjuster Track Finish Cover Replacement .
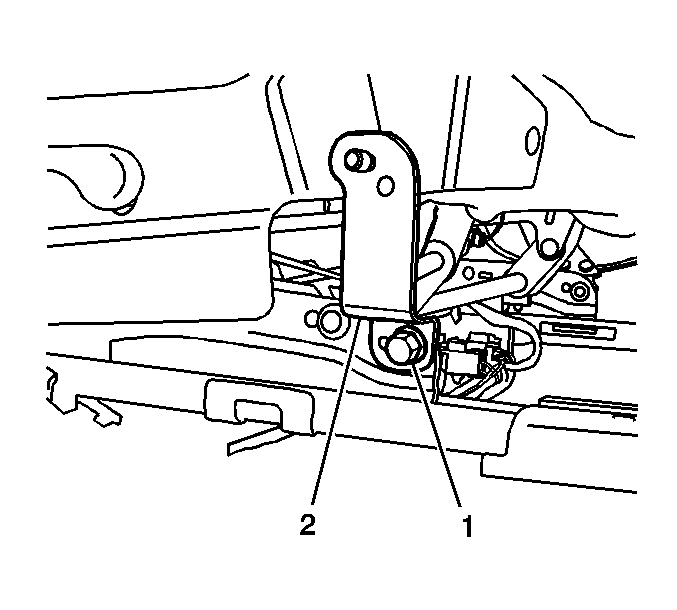
- Remove the seat belt bracket (2) on the door side of the seat. The new seat adjuster does not have this part.
- Remove the seat belt pretensioner. Refer to Seat Belt Buckle Pretensioner Replacement.
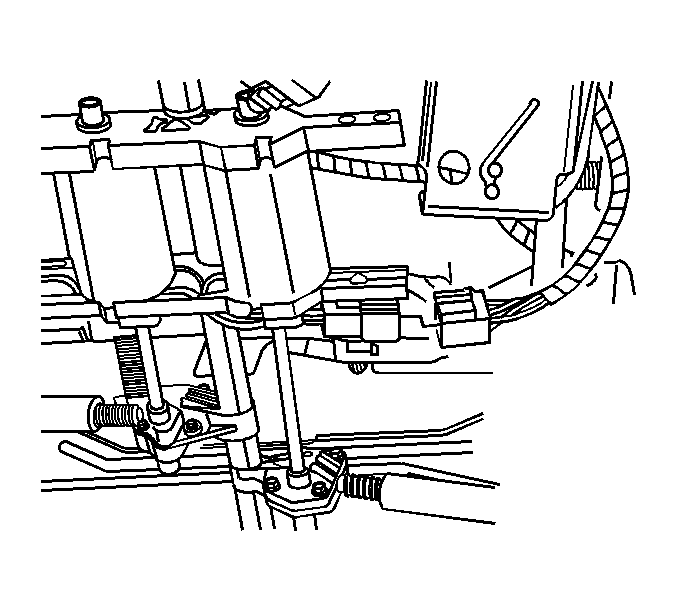
- If equipped, remove the electrical harness from the power seat motor harness.
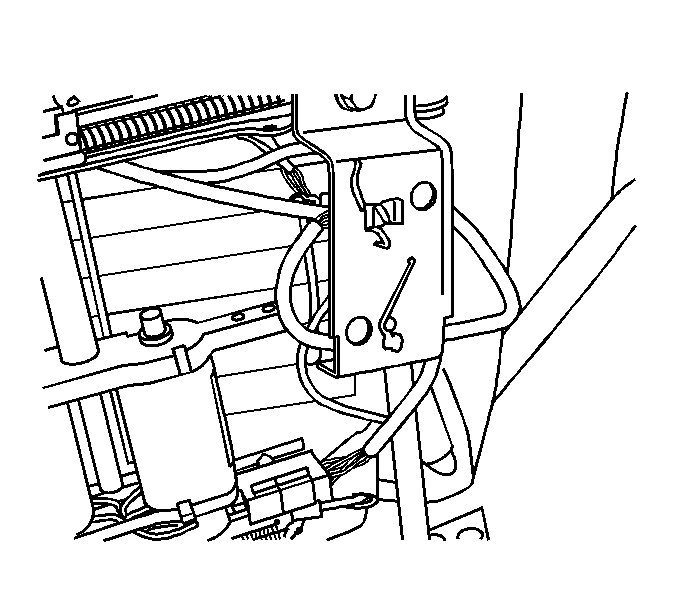
- Remove the electrical harness clip and disconnect the harness retainer from the adjuster bracket.
- Recline the seat back to the full reclined position.
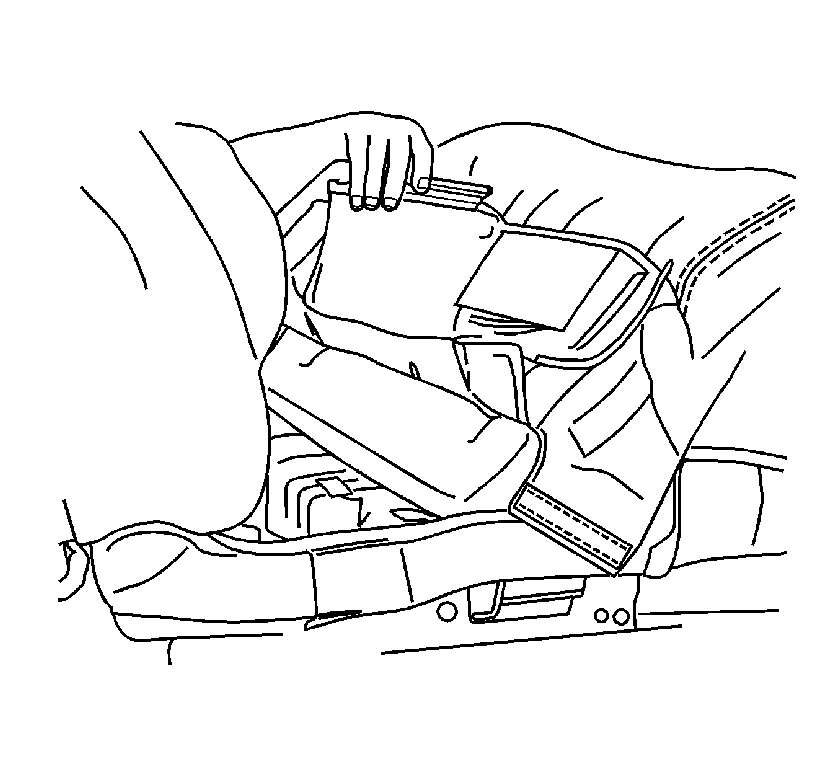
- Remove the trim cover J-hooks from under the seat pan.
- Remove the seat trim and the pad to access the seat pan bolts.
- Remove the 4 seat pan bolts.
- Remove the seat pan
- Remove the 2 adjuster cover plates.
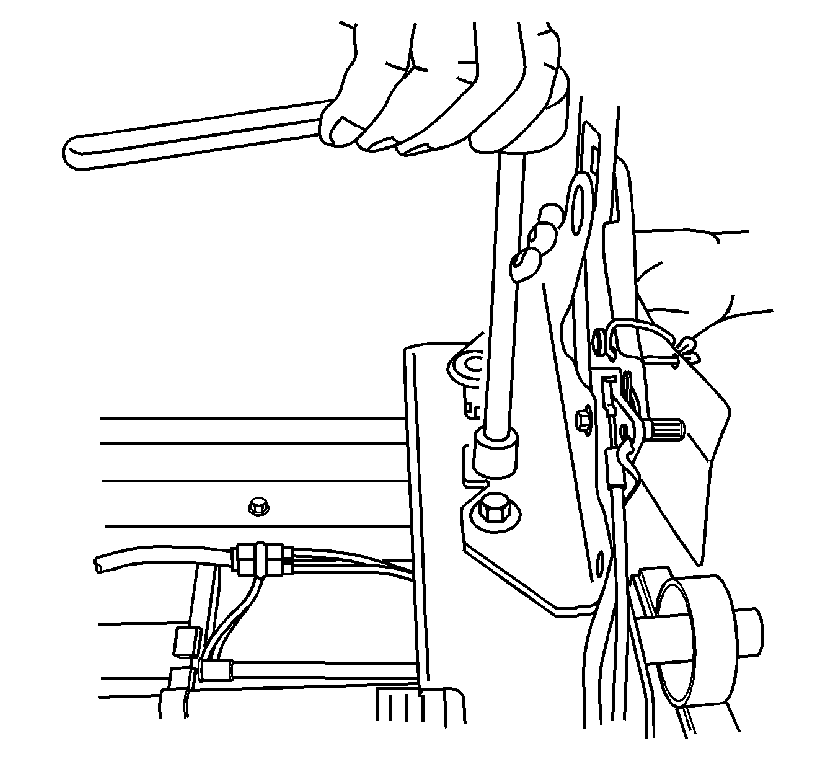
- Remove the seat back frame bolts.
- Remove the seat back from the adjuster.
- Remove the seat adjuster.
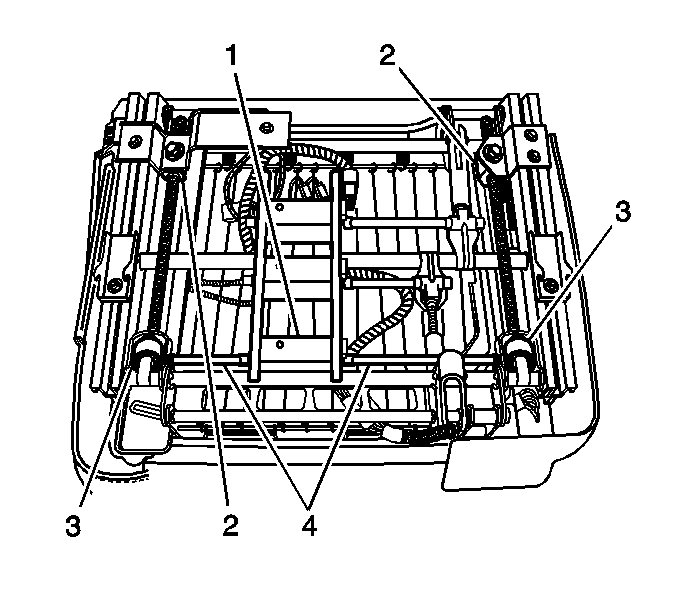
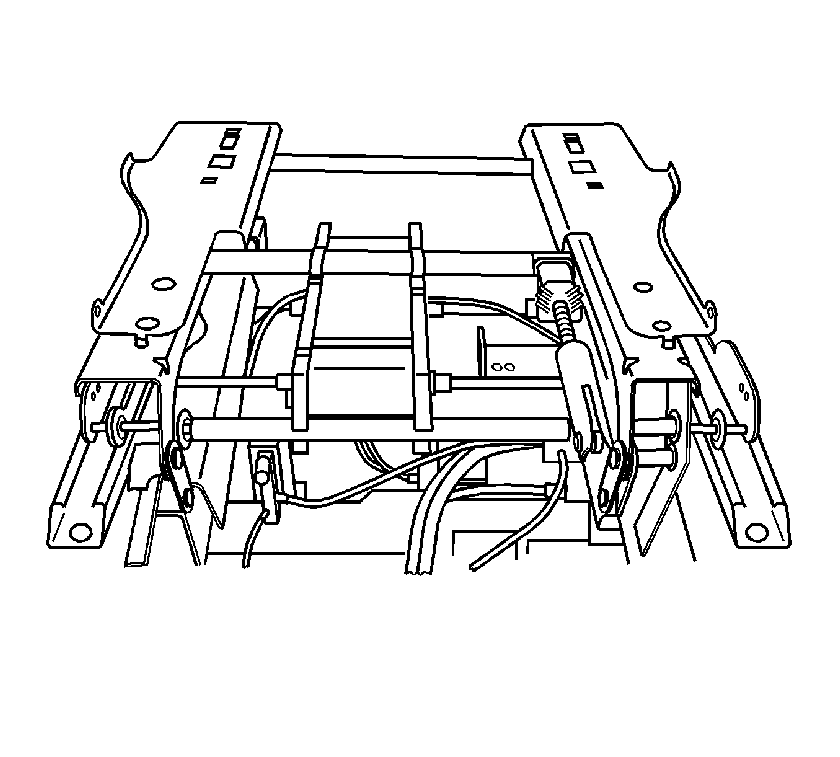
| 1.1. | The horizontal drive motor (1) and drive cables (4) are located at the front of the seat. Verify that both cables are straight. If a cable is bent an end will be pulled out of the drive motor or drive screw. Straighten the cable. You may have to toggle the seat switch to get the cable ends to properly seat. |
| 1.2. | Run the seat forward until the seat removal bolts are accessible. |
| 1.3. | Once the seat is removed examine the cables to assure that no damage has occurred. |
| 1.4. | The two sides of the seat adjuster will now be out of sync. Align these sides or the adjuster may be noisy and the motor may overheat and fail. |
Use the following steps to align the adjuster:
| 1.4.1. | Tip the seat rearward. |
| 1.4.2. | Reconnect the adjuster to the power switch. |
| 1.4.3. | Run the seat adjuster rearward until the drive bracket (3) and the anchor bracket (2) are together on one side of the adjuster. |
| 1.4.4. | Disconnect the drive cable on that side and run the opposite side rearward until its brackets touch. |
| 1.4.5. | Re-attach the cables (4) to the motor and verify that the cables are straight between the motor (1) and the drive brackets (3). |
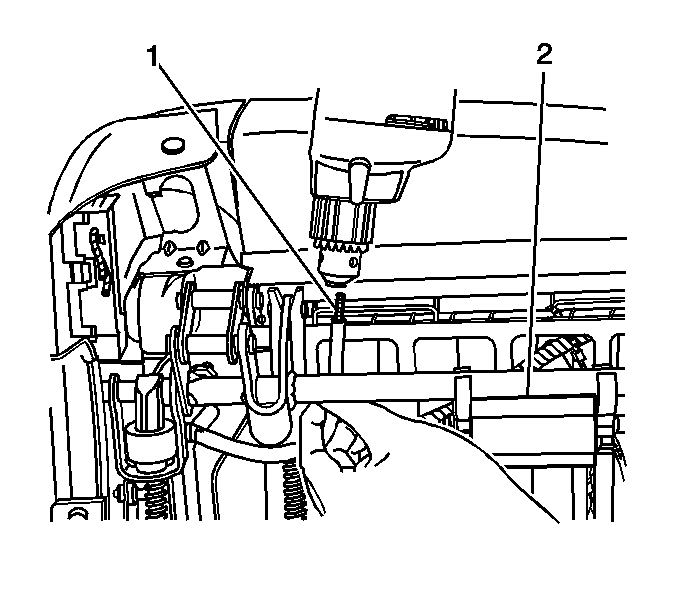
| 2.1. | From the front of the seat, disconnect both drive cables at the horizontal drive motor (2), which is located at the front of the seat adjuster. |
| 2.2. | Attach a drill motor to a drive cable (1). |
| 2.3. | Alternately run both sides of the adjuster forward until the seat removal bolts are accessible. |
Installation Procedure
- Place the adjuster covers on the seat adjuster.
- Place the seat back frame on the adjuster covers.
- Install the bolts that secure the seat back to the adjuster.
- Install the seat pan.
- Install the bolts that secure the seat pan to the adjuster.
- Install the seat pad and trim cover together.
- Install the seat cushion J-hooks and the hook and loop retainers to secure the trim to the seat pan.
- Press down on the cushion trim pad to secure the hook and loop retainers to the seat pad.
- Install the electrical harness clip and the retainer on the adjuster bracket.
- Connect the electrical harness to the seat motor harness.
- Install the seat belt pretensioner. Refer to Seat Belt Buckle Pretensioner Replacement.
- Install the seat belt bracket.
- Install the seat trim panel. Refer to Front Seat Adjuster Track Finish Cover Replacement .
- Install the front seat. Refer to Front Seat Replacement - Bucket .


Notice: Refer to Fastener Notice in the Preface section.
Tighten
Tighten the bolts to 24 N·m (18 lb ft).

Tighten
Tighten the bolts to 24 N·m (18 lb ft).


Important: Inspect the drive cables. Verify that the cables are straight between the motors and the drive screws.
