For 1990-2009 cars only
Removal Procedure
- Remove the front door trim panel enough to access the courtesy lamp. Refer to Front Side Door Trim Panel Replacement.
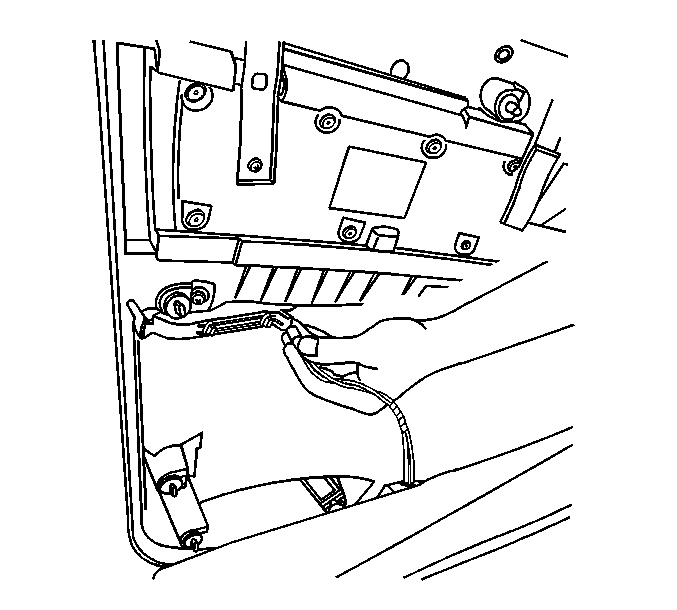
- Disconnect the electrical connector from the courtesy lamp.
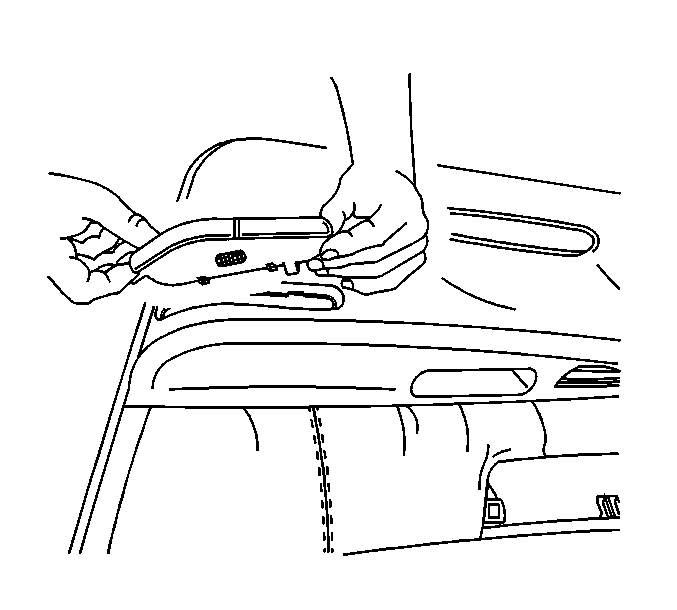
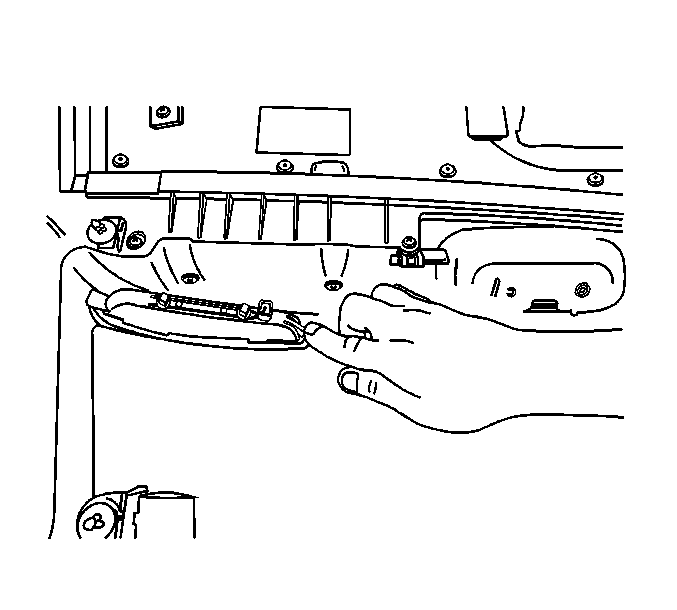
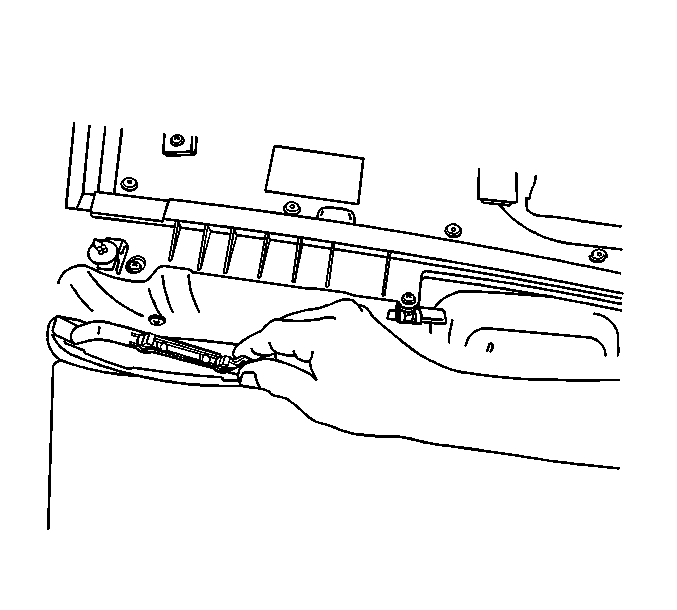
- Release the courtesy lamp by depressing the forward retainer.
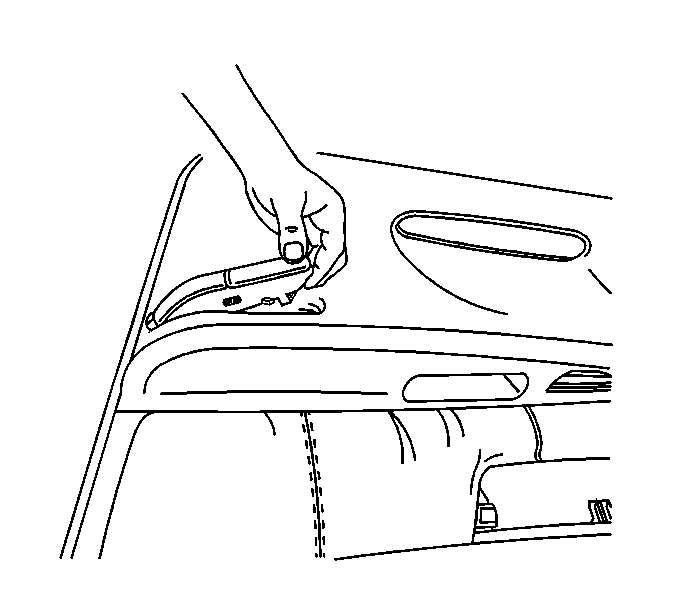
- Remove the courtesy lamp out of the front door trim panel, by pressing outward on the courtesy lamp and pulling out from the front of the door trim panel.
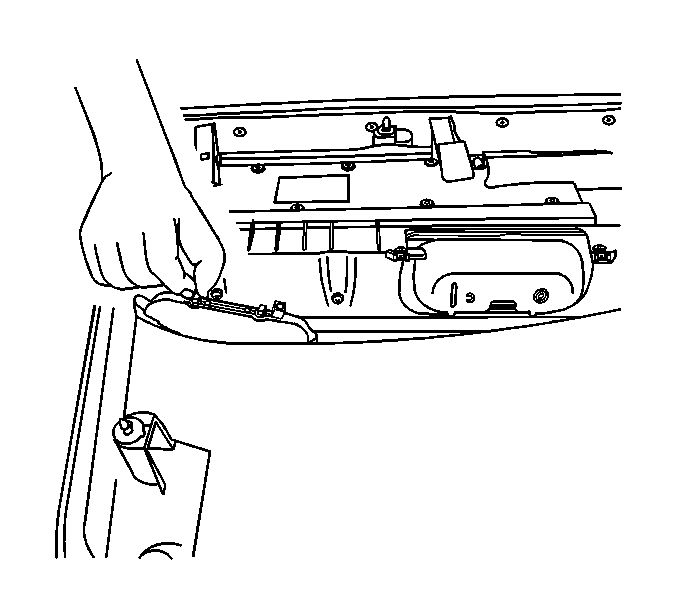
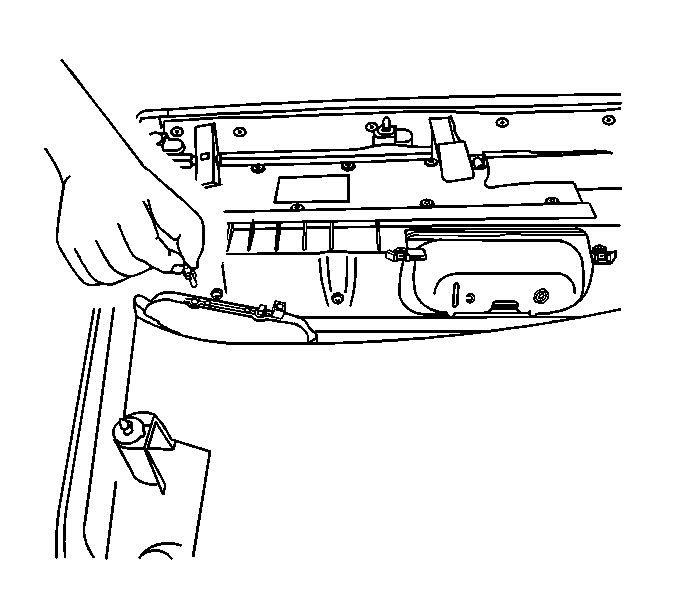
- Rotate the lamp socket counterclockwise to release the socket from the lamp housing, then remove the socket.
- Remove the bulb from the socket.
Installation Procedure
- Install the bulb to the door courtesy lamp socket.
- Install the lamp socket to the courtesy lamp housing, then rotate the socket clockwise.
- Position the courtesy lamp to the front door trim panel.
- Align the rear edge of the courtesy lamp retainer tab to the front door trim panel.
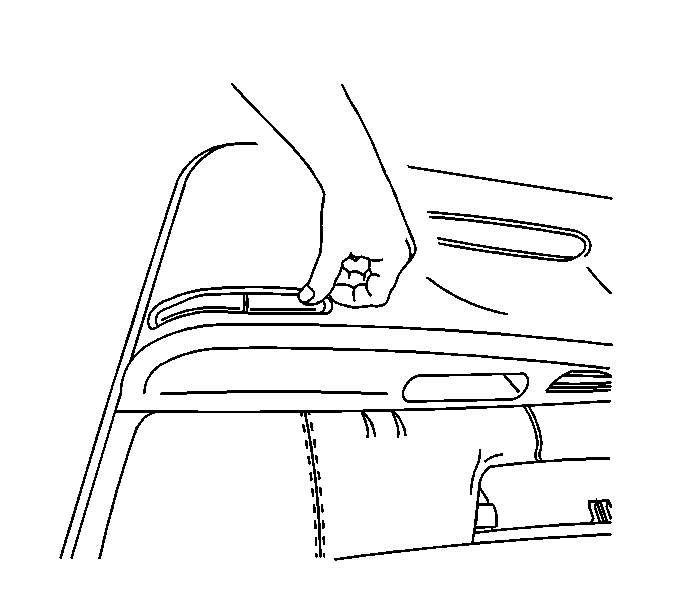
- Install the courtesy lamp to the front door trim panel pressing the forward edge into place until the retainer is fully seated.
- Connect the electrical connector from the courtesy lamp.
- Install the front door trim panel. Refer to Front Side Door Trim Panel Replacement.


