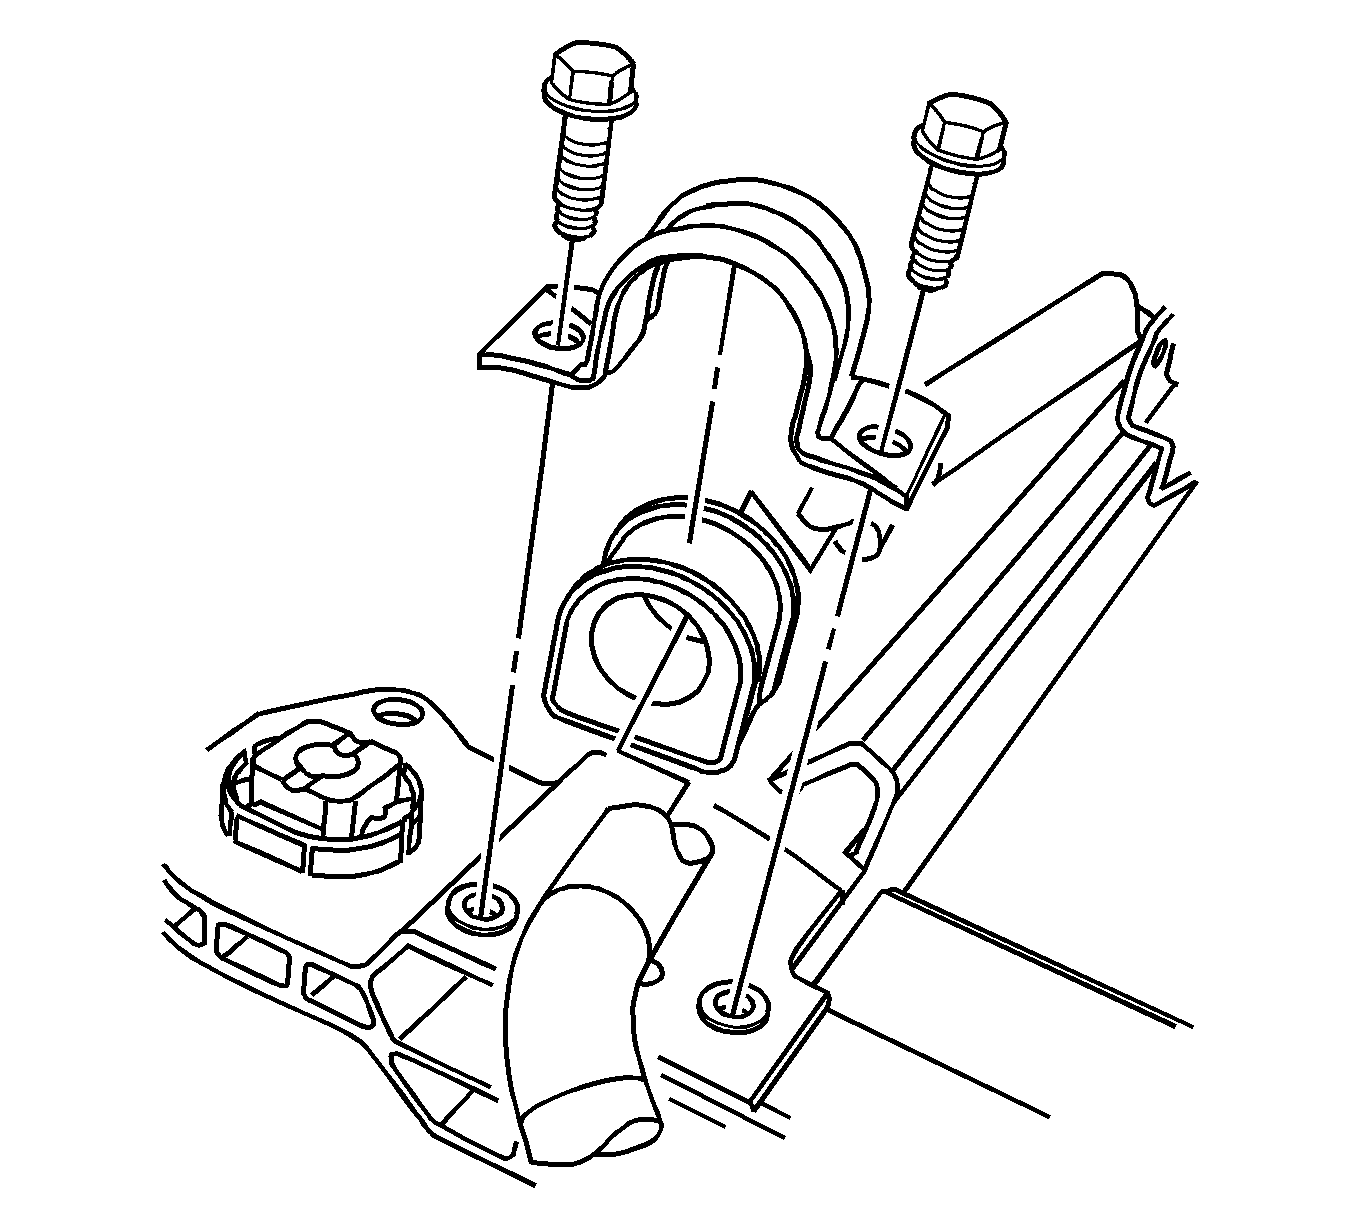
For 1990-2009 cars only
Removal Procedure
Caution: Failure to disconnect intermediate shaft from rack and pinion stub shaft can result in damage to steering gear and/or intermediate shaft. This damage can cause loss of steering control which could result in personal injury.
- Raise and suitably support the vehicle. Refer to Lifting and Jacking the Vehicle.
- Remove the left tire and wheel assembly. Refer to Tire and Wheel Removal and Installation.
- Remove the pinch bolt from the lower intermediate steering shaft. Refer to Intermediate Steering Shaft Replacement.
- Loosen all the insulator clamp bolts from the frame.
- Place a jackstand under the center of the powertrain frame rear crossmember.
- Lower the rear of the frame enough to gain access to the stabilizer shaft. Refer to Frame Replacement.
- Remove the insulator clamp bolts from the frame.
- Remove the stabilizer shaft links from the stabilizer shaft. Refer to Stabilizer Shaft Link Replacement
- Remove the stabilizer shaft from the left side of the vehicle.

Installation Procedure
- Loosely install the stabilizer shaft to the vehicle.
- Connect the stabilizer shaft links to the stabilizer shaft. Do not tighten at this time.
- Install the insulator clamps and bolts to the frame and tighten to 42 N·m (31 lb ft)..
- Raise the frame into position. Refer to Frame Replacement
- Remove the jackstand.
- Install the pinch bolt to the steering shaft and tighten. Refer to Intermediate Steering Shaft Replacement.
- Tighten the stabilizer link nuts. Refer to Stabilizer Shaft Link Replacement
- Install the left tire and wheel assembly. Refer to Tire and Wheel Removal and Installation.
- Lower the vehicle.
Caution: Refer to Fastener Caution in the Preface section.

