For 1990-2009 cars only
Special Tools
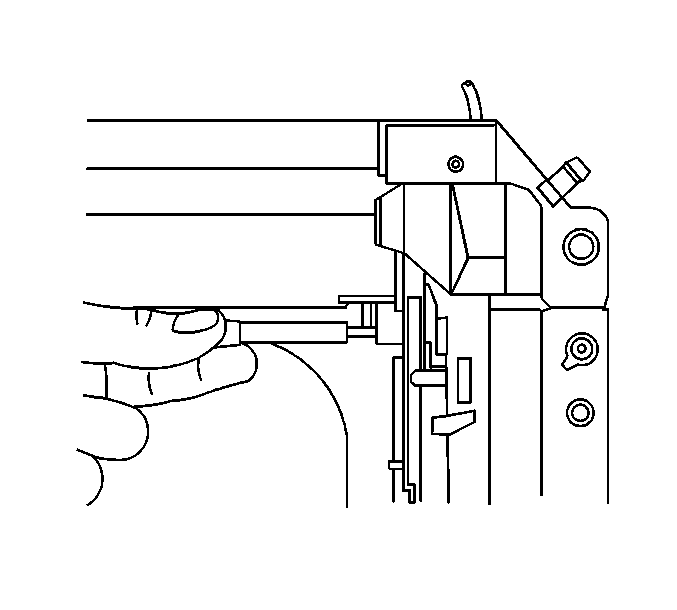
J 41718 Sunroof Timing Pins
Removal Procedure
- Position the sunroof window panel to the fully closed position.
- It is only necessary to lower the headliner. Only do those step in headliner replacement that will lower the headliner enough to gain access to the part. Refer to Headlining Trim Panel Replacement.
- Remove the right and left front screw from the sunroof window panel. Refer to Sunroof Window Replacement.
- Install the sunroof timing pins into the front sunroof window panel screw holes to retain the cable adjustment.
- Disconnect the electrical connector from the sunroof module actuator.
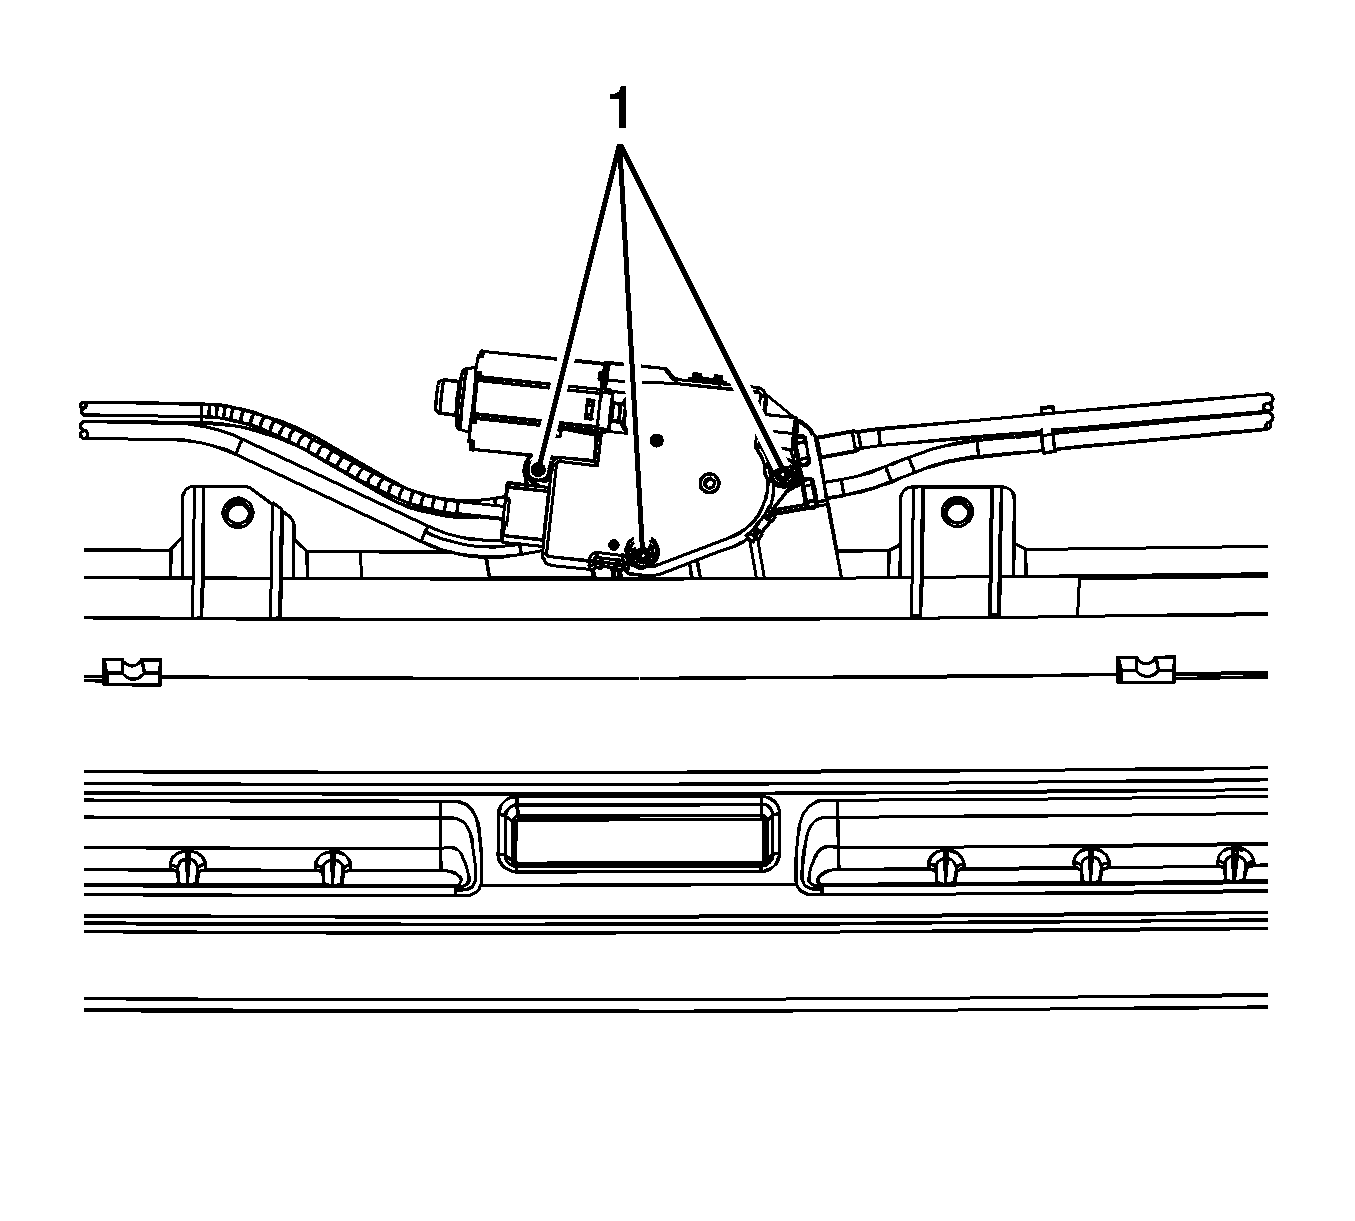
- Remove the bolts (1) from the sunroof actuator.
- Remove the sunroof actuator from the sunroof module.
Note: This sunroof system is timed from the factory in order to allow the actuator to shut off automatically when the sunroof window reaches a certain position. Use extreme care when removing the sunroof actuator from the sunroof module. Improper removal may cause the timing to be thrown off. Anytime the sunroof actuator requires removal from the sunroof module, ensure that the sunroof window is in the fully closed position and the J 41718 are installed.

Note: Before removing the sunroof actuator, ensure that J 41718 are tight and holding the cable.

Installation Procedure
- Install the sunroof actuator screw (1) to the sunroof module.
- Install the sunroof actuator bolts.
- Connect the electrical connector to the sunroof actuator.
- Remove the J 41718 .
- Install the front screws to the sunroof glass panel. Refer to Sunroof Window Replacement.
- Perform the Initialization/Teach Procedure. Refer to Sunroof Motor/Actuator Initialization/Teach Process.
- Inspect for proper operation of the sunroof.
- Install the headliner. Refer to Headlining Trim Panel Replacement.
- Refer to Control Module References for programming and setup information.

Caution: Refer to Fastener Caution in the Preface section.
Tighten
Tighten the sunroof actuator bolts to 4 N·m (35 lb in).

