Connecting Rod Bearing Replacement for Buick Century 1997
Removal Procedure
Tools Required
J 41507 Connecting Rod Assembly Guide

- Remove the oil pan. Refer to Oil Pan Replacement .
- Position the connecting rod to be serviced to BDC (Bottom Dead Center) by rotating the crankshaft.
- Remove the connecting rod cap bolts.
- Remove the connecting rod cap and lower connecting rod bearing.
- Remove the lower connecting rod bearing.
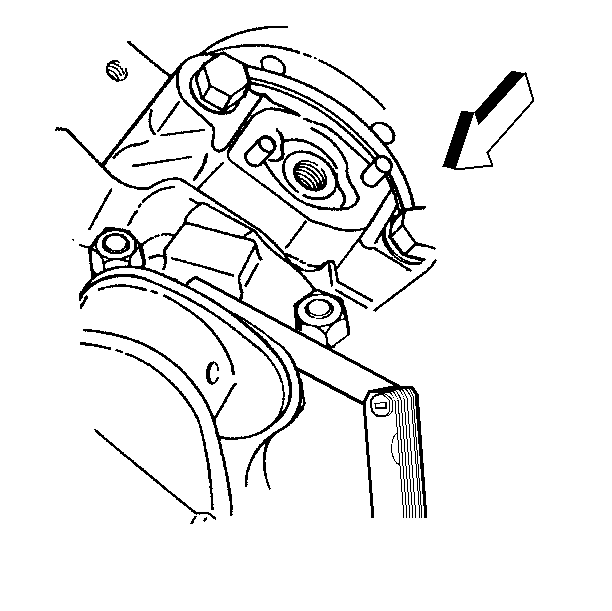
- Install J 41507 to the connecting rod.
- Use J 41507 , in order to push up the connecting rod and piston and access the upper connecting rod bearing.
- Remove the upper connecting rod bearing.
- Wipe the oil from the bearings.
- Inspect the connecting rod bearings.
- Measure the bearing clearance.
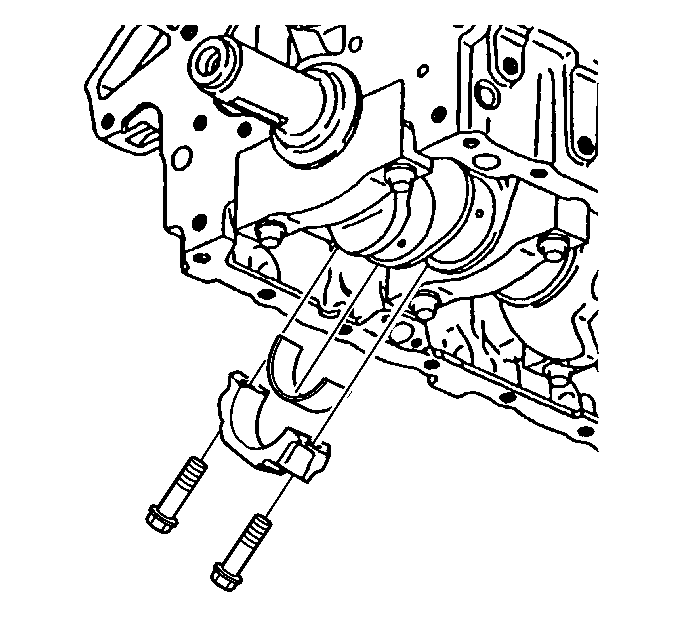
Important: Keep the bearings with the original connecting rod and cap. Do this in order to reassemble the connecting rod.
Installation Procedure
Tools Required
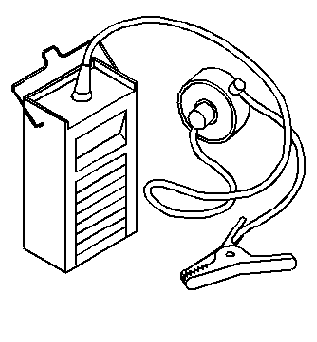
| • | J 36660-A Torque Angle Meter |
| • | J 41507 Connecting Rod Assembly Guide |
- Dip the bearing cap bolts in clean engine oil.
- Use clean engine oil in order to lubricate the bearing surface.
- Install the upper connecting rod bearing.
- Use J 41507 , in order to pull down the piston, connecting rod and upper connecting rod bearing.
- Remove J 41507 .
- Install the lower connecting rod bearing to the bearing cap.
- Install the bearing cap.
- Install the connecting rod bolts.
- Pry the connecting rod back and forth in order to check for binding. If necessary, loosen and then retighten the bearing cap.
- Measure the connecting rod side clearance.
- Install the oil pan. Refer to Oil Pan Replacement .
Notice: Do not scrape, shim, or file bearing inserts. If the bearing surface of the insert is touched with bare fingers, the skin oil and acids will etch the bearing surface.
Important: Ensure that the bearing cap bolt holes and the cap mating surfaces are clean and dry.
Tighten
Tighten the bolts to 27 N·m (20 lb ft). Use J 36660-A
in order to rotate the
bolts an additional 50 degrees.
Notice: Use the correct fastener in the correct location. Replacement fasteners must be the correct part number for that application. Fasteners requiring replacement or fasteners requiring the use of thread locking compound or sealant are identified in the service procedure. Do not use paints, lubricants, or corrosion inhibitors on fasteners or fastener joint surfaces unless specified. These coatings affect fastener torque and joint clamping force and may damage the fastener. Use the correct tightening sequence and specifications when installing fasteners in order to avoid damage to parts and systems.