For 1990-2009 cars only
Removal Procedure
- Remove the front seats. Refer to Front Seat Replacement - Bucket or to Split Bench Seat Replacement in Seats.
- Remove the center console, if equipped. Refer to Front Floor Console Replacement in Instrument Panel, Gauges and Console.
- Remove the rear seat cushion. Refer to Rear Seat Cushion Replacement in Seats.
- Remove the carpet retainers. Refer to Front Carpet Retainer Replacement .
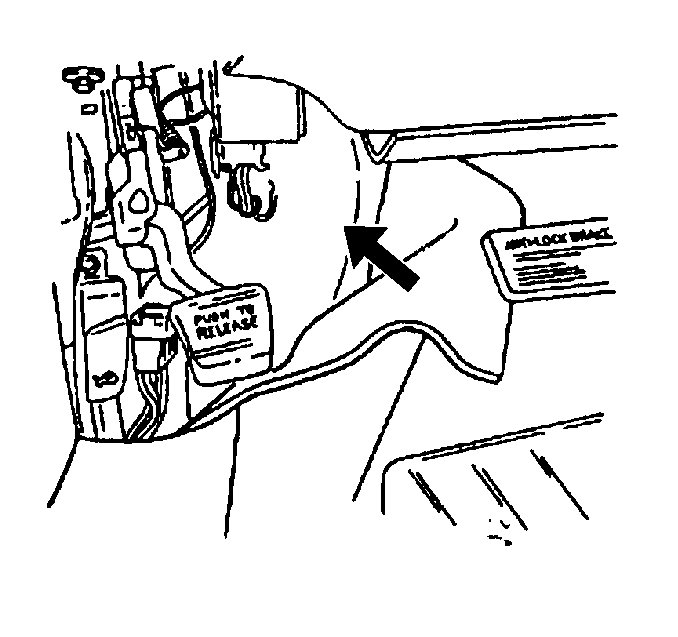
- Remove the right hand I/P insulator. Refer to Instrument Panel Insulator Replacement in Instrument Panel, Gauges and Console.
- Remove the center pillar lower trim panel. Refer to Center Pillar Lower Trim Panel Replacement .
- Remove the quarter lower trim. Refer to Rear Quarter Lower Trim Panel Replacement .
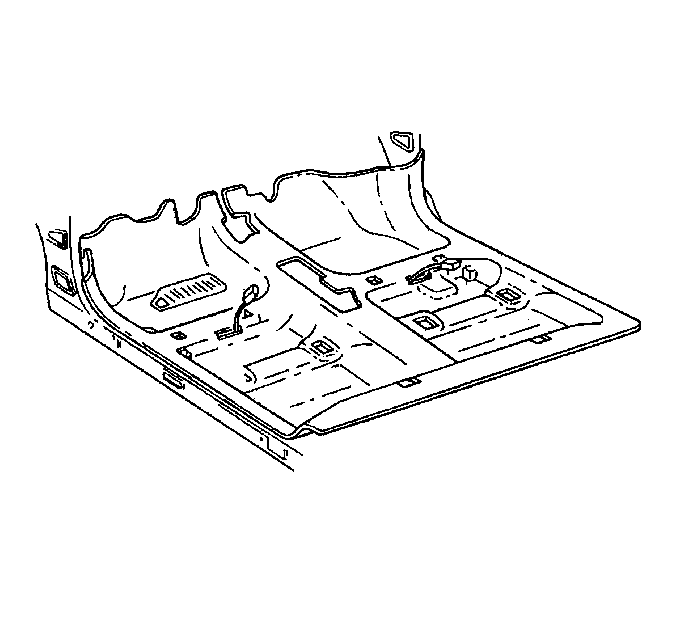
- Remove the carpet from the vehicle.


Installation Procedure
- Install the carpet.
- Install the quarter lower trim. Refer to Rear Quarter Lower Trim Panel Replacement .
- Install the center pillar lower trim panel. Refer to Center Pillar Lower Trim Panel Replacement .
- Install the carpet retainers. Refer to Front Carpet Retainer Replacement
- Install the right hand I/P insulator. Refer to Instrument Panel Insulator Replacement in Instrument Panel, Gauges and Console.
- Install the rear seat cushion. Refer to Rear Seat Cushion Replacement in Seats.
- Install the center console, if equipped. Refer to Front Floor Console Replacement in Instrument Panel, Gauges and Console.
- Install the front seats. Refer to Front Seat Replacement - Bucket or to Split Bench Seat Replacement in Seats.

Caution: In order to avoid personal injury or vehicle damage when you repair or replace the carpet, use the same thickness and material size as the original installation. Always return the carpet to the original location.

