For 1990-2009 cars only
Special Tools
| • | CH 48894 Wheel Drive Shaft Boot Clamp Pliers |
| • | J 35910 Drive Axle Seal Clamp Pliers |
Disassemble Procedure
- Remove the wheel drive shaft from the vehicle. Refer to Front Wheel Drive Shaft Replacement.
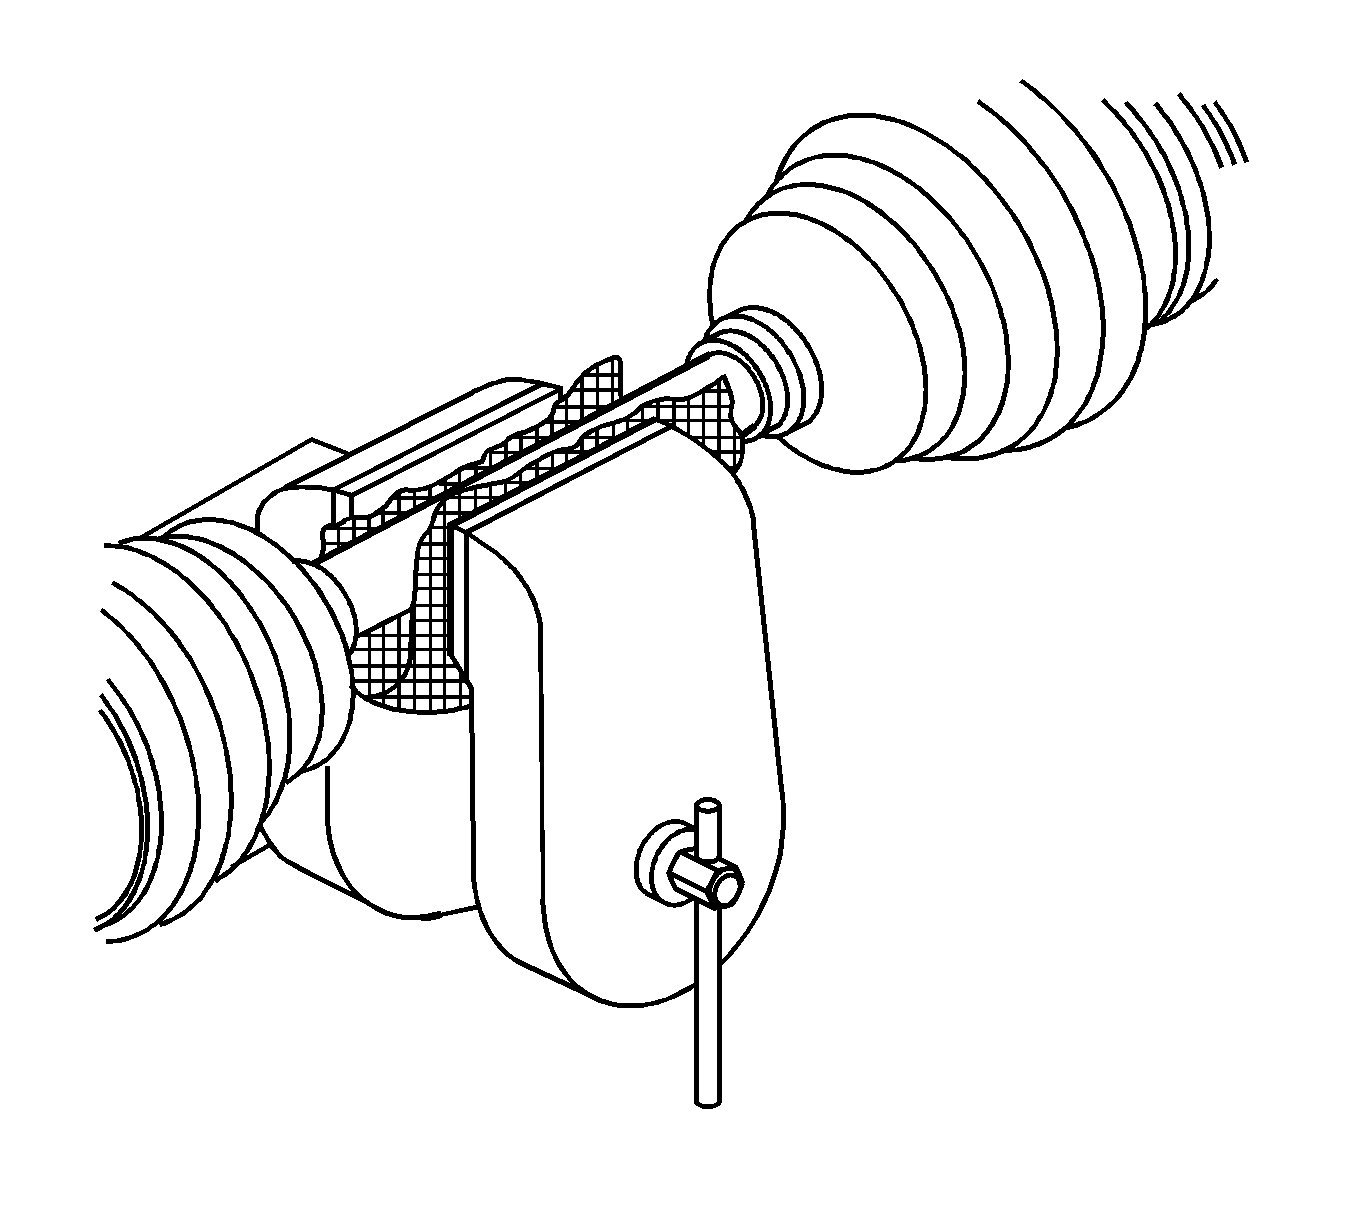
- Install the drive axle shaft in a soft jawed vice.
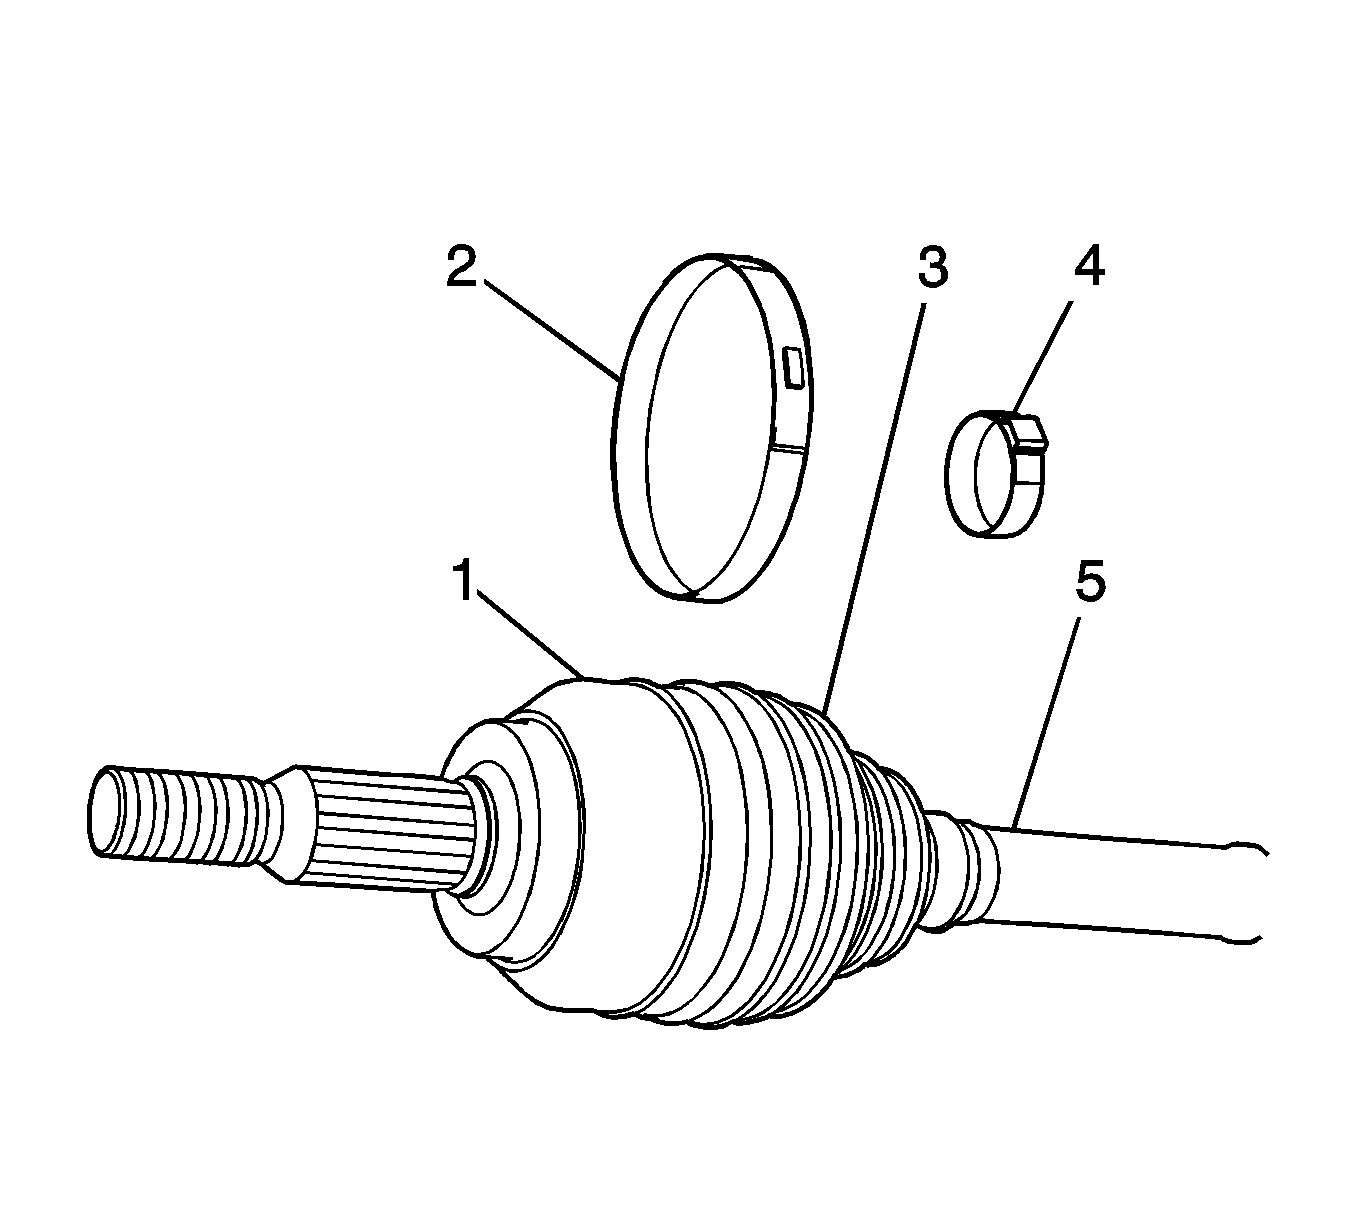
- Use a flat-bladed tool, remove the boot clamp (2) from the constant velocity (CV) joint (1) and the boot (3).
- Using a pair of side cutters, remove the boot clamp (4) from the boot (3) and the wheel drive shaft (5).
- Discard the boot clamps (2) and (4). Use NEW clamps only.
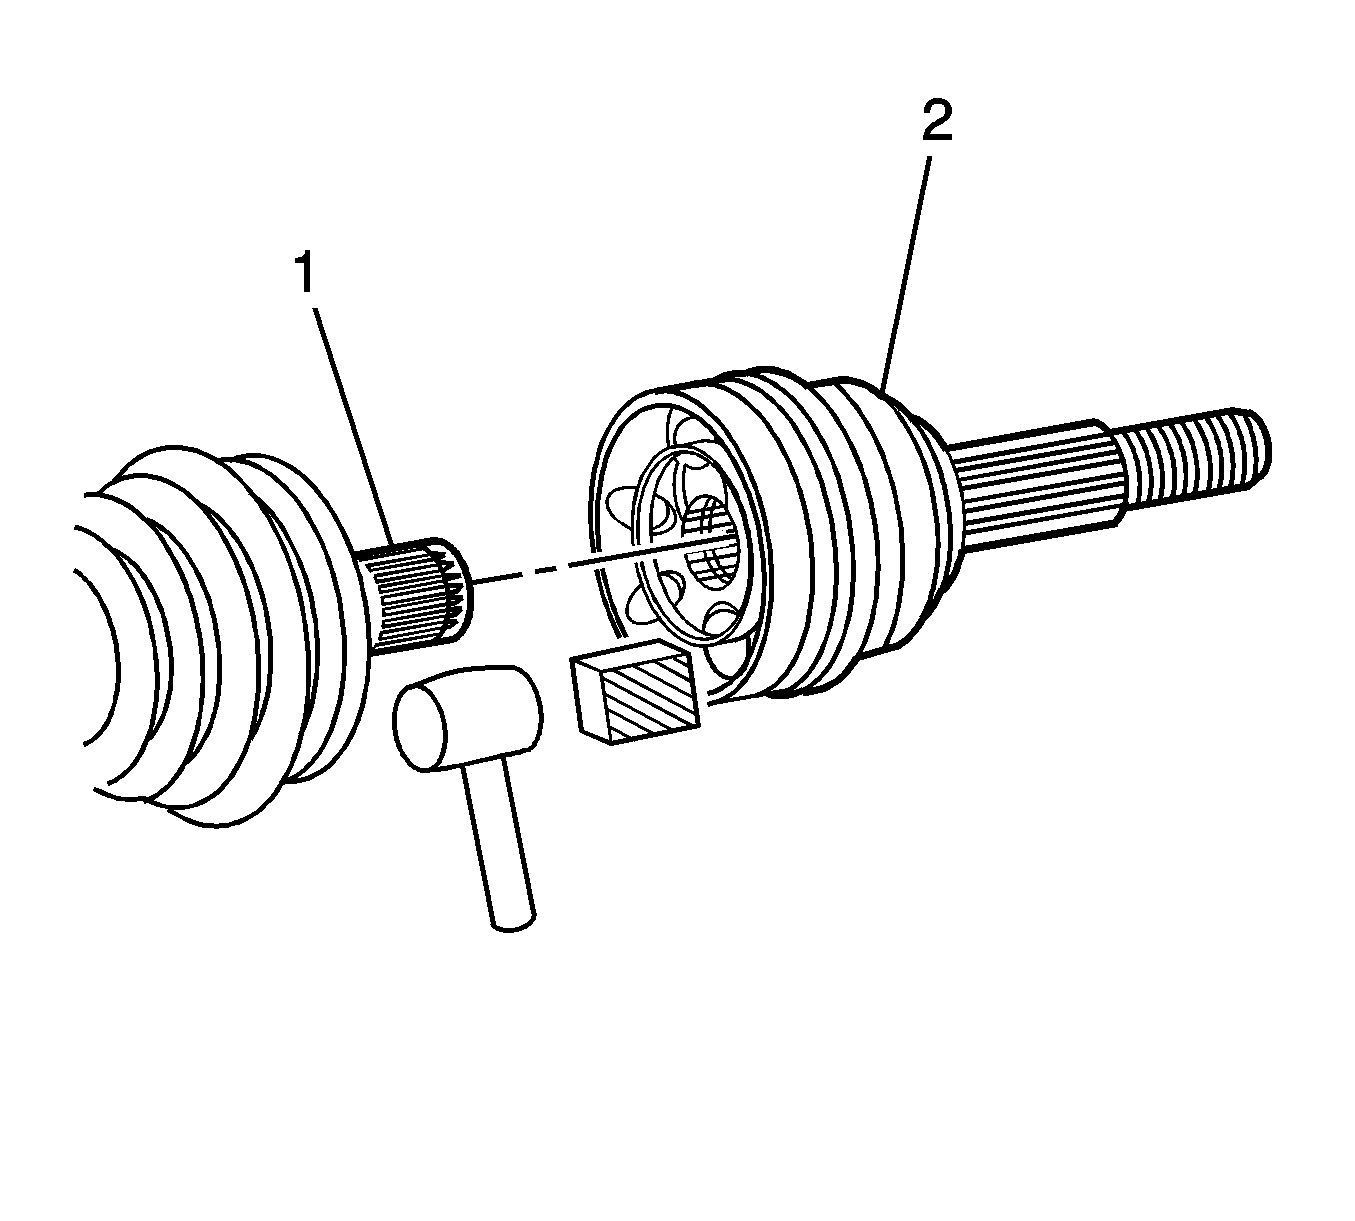
- Using a block of wood and a hammer, remove the CV joint (2) from the wheel drive shaft (1).
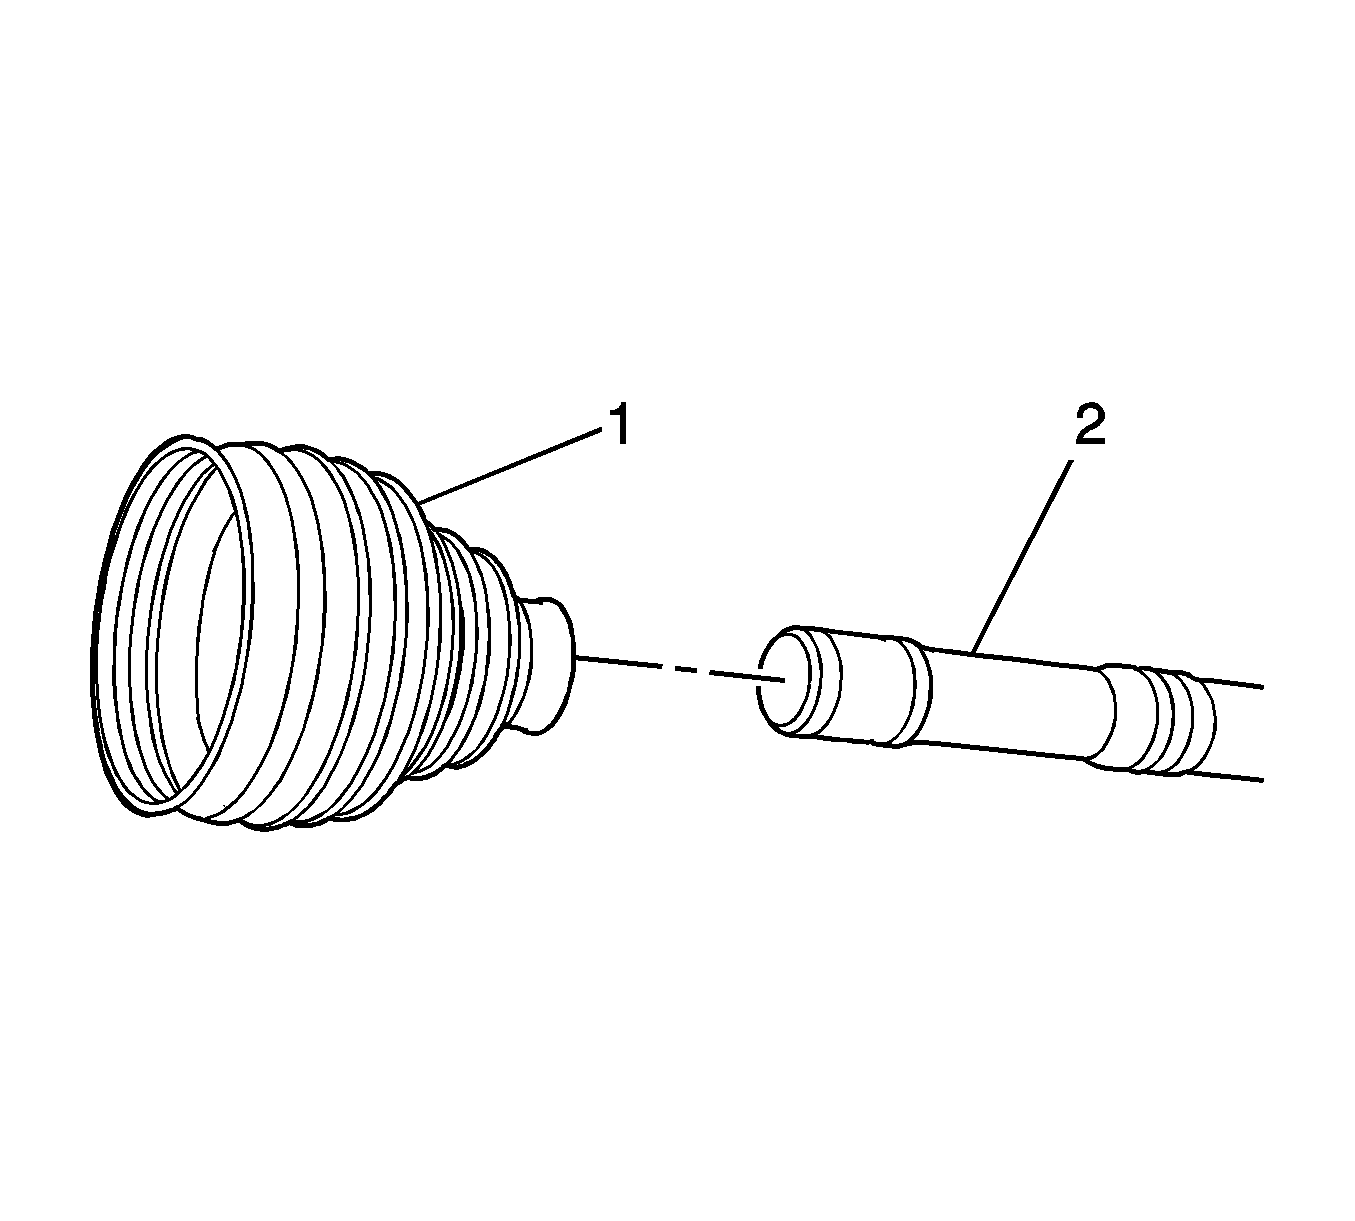
- Remove the boot (1) from the wheel drive shaft (2).
- Inspect the outer CV joint for damage and wear. Refer to Wheel Drive Shaft Outer Joint Inspection.
Caution: Do not cut through the wheel drive shaft inboard or outboard boot during service. Cutting through the boot may damage the sealing surface of the housing and the tripot or the constant velocity joint bushing. Damage to the sealing surface may lead to water and dirt intrusion and premature wear of the constant velocity joint.
Assemble Procedure
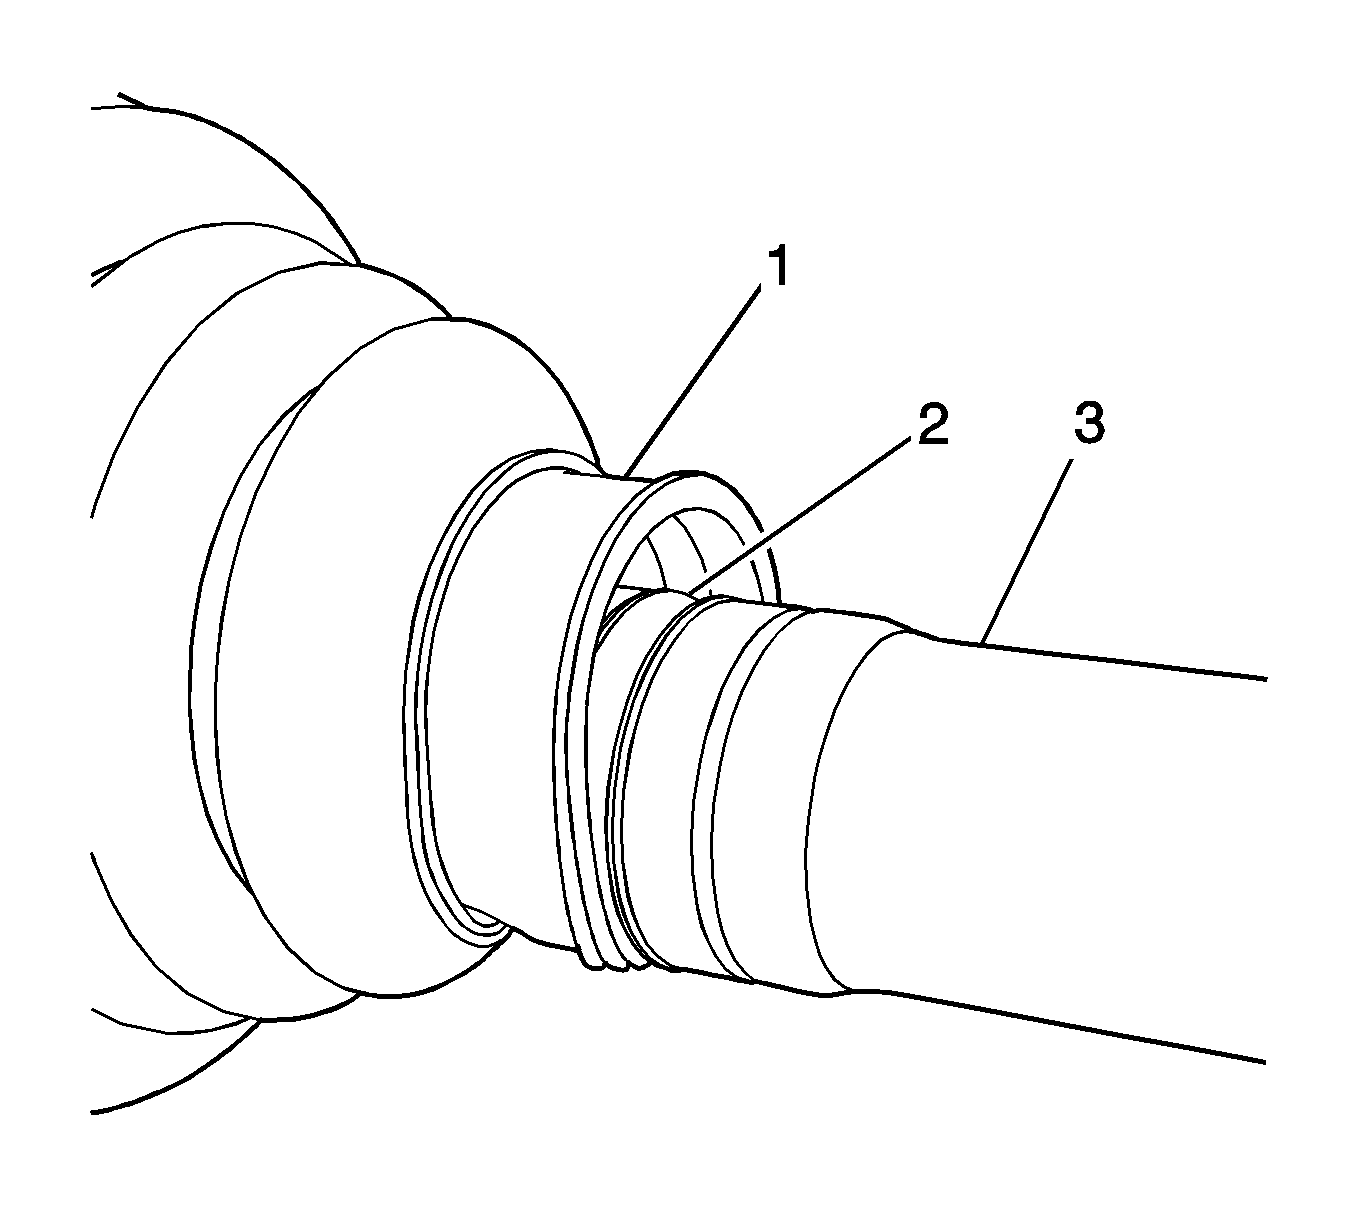
- Position the boot (1) on the wheel drive shaft (2).
- Ensure that the boot (1) is properly seated in the grooved (2) wheel drive shaft (3).
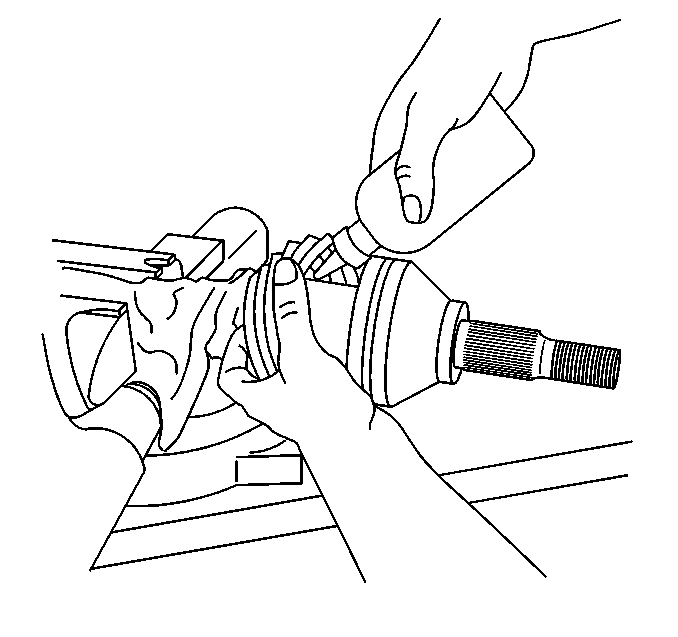
- Place approximately half the lubricant from the service kit inside the outboard boot and pack the CV joint with the remaining lubricant.
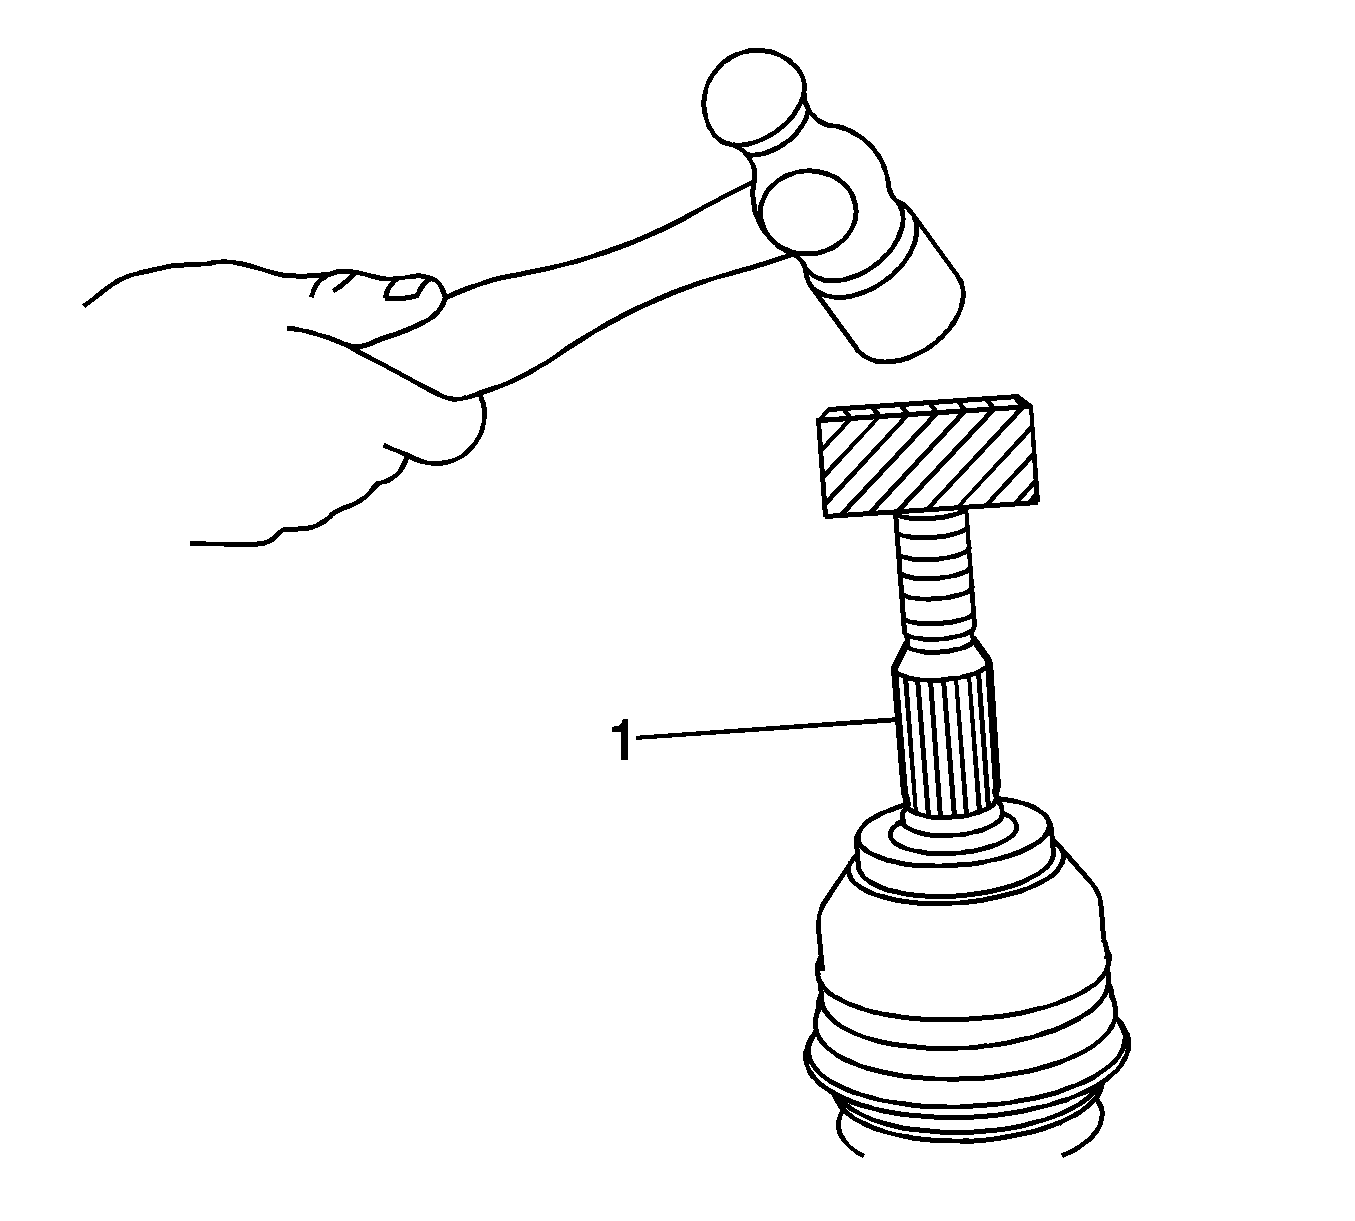
- Using a block of wood and a hammer, install the CV joint (1) on the wheel drive shaft.
- Install the boot clamp (4) on the boot (3) and the wheel drive shaft (5).
- Install the boot clamp (2) on the boot (3) and the CV joint housing (1).
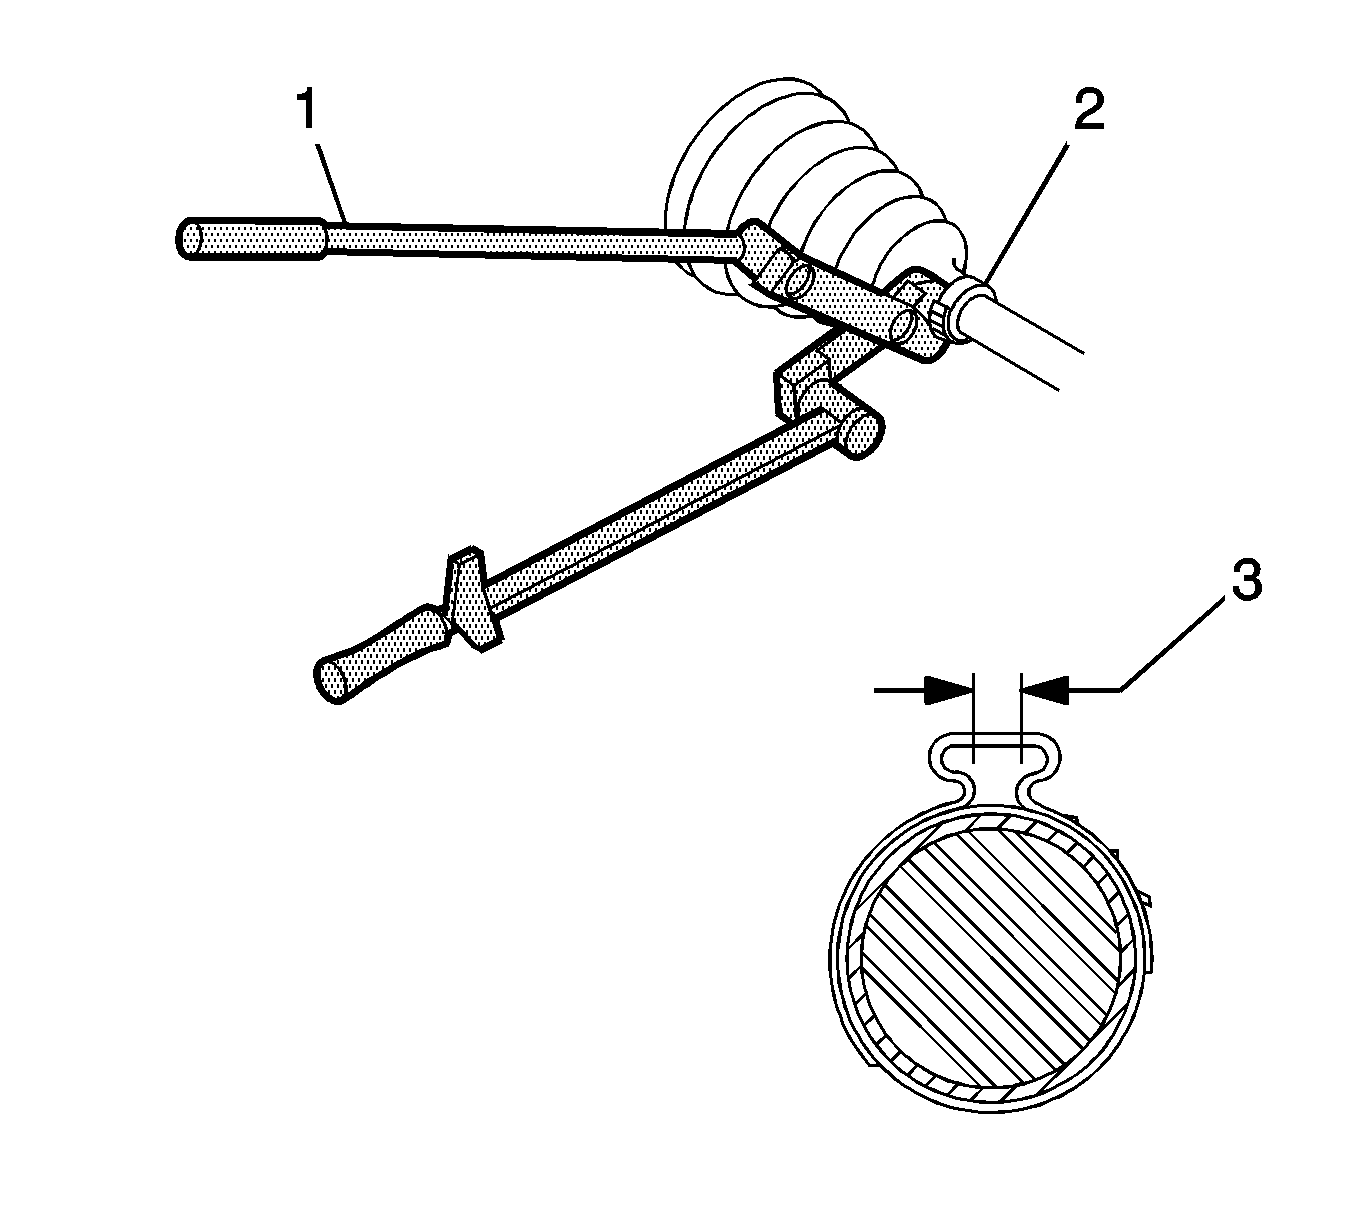
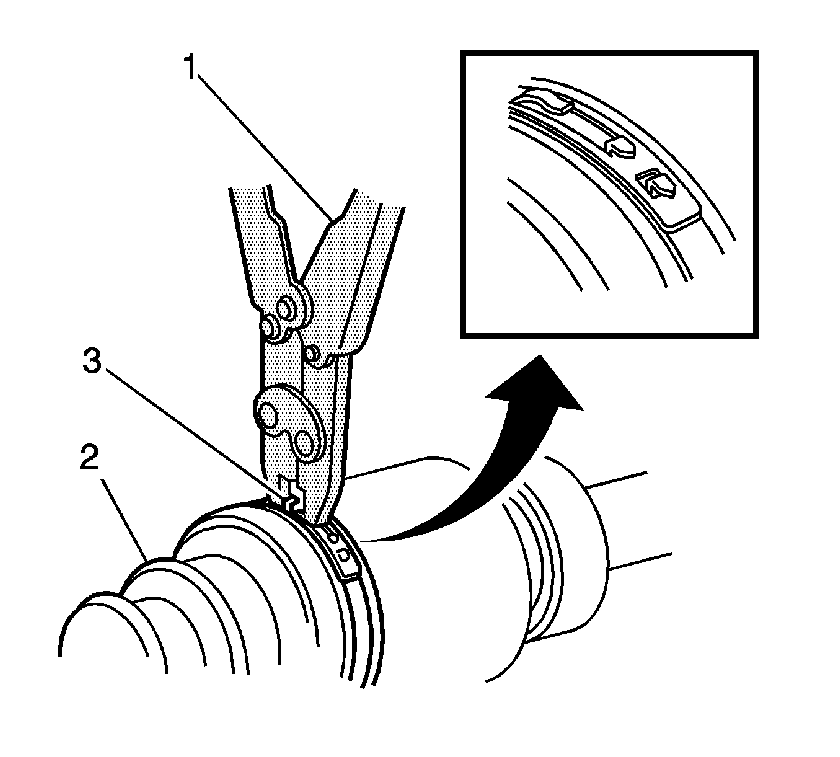
- Using the J 35910 Drive Axle Seal Clamp Pliers , tighten the boot clamp (2) until the gap (3) in the boot clamp measure 1.9 mm (0.07 in).
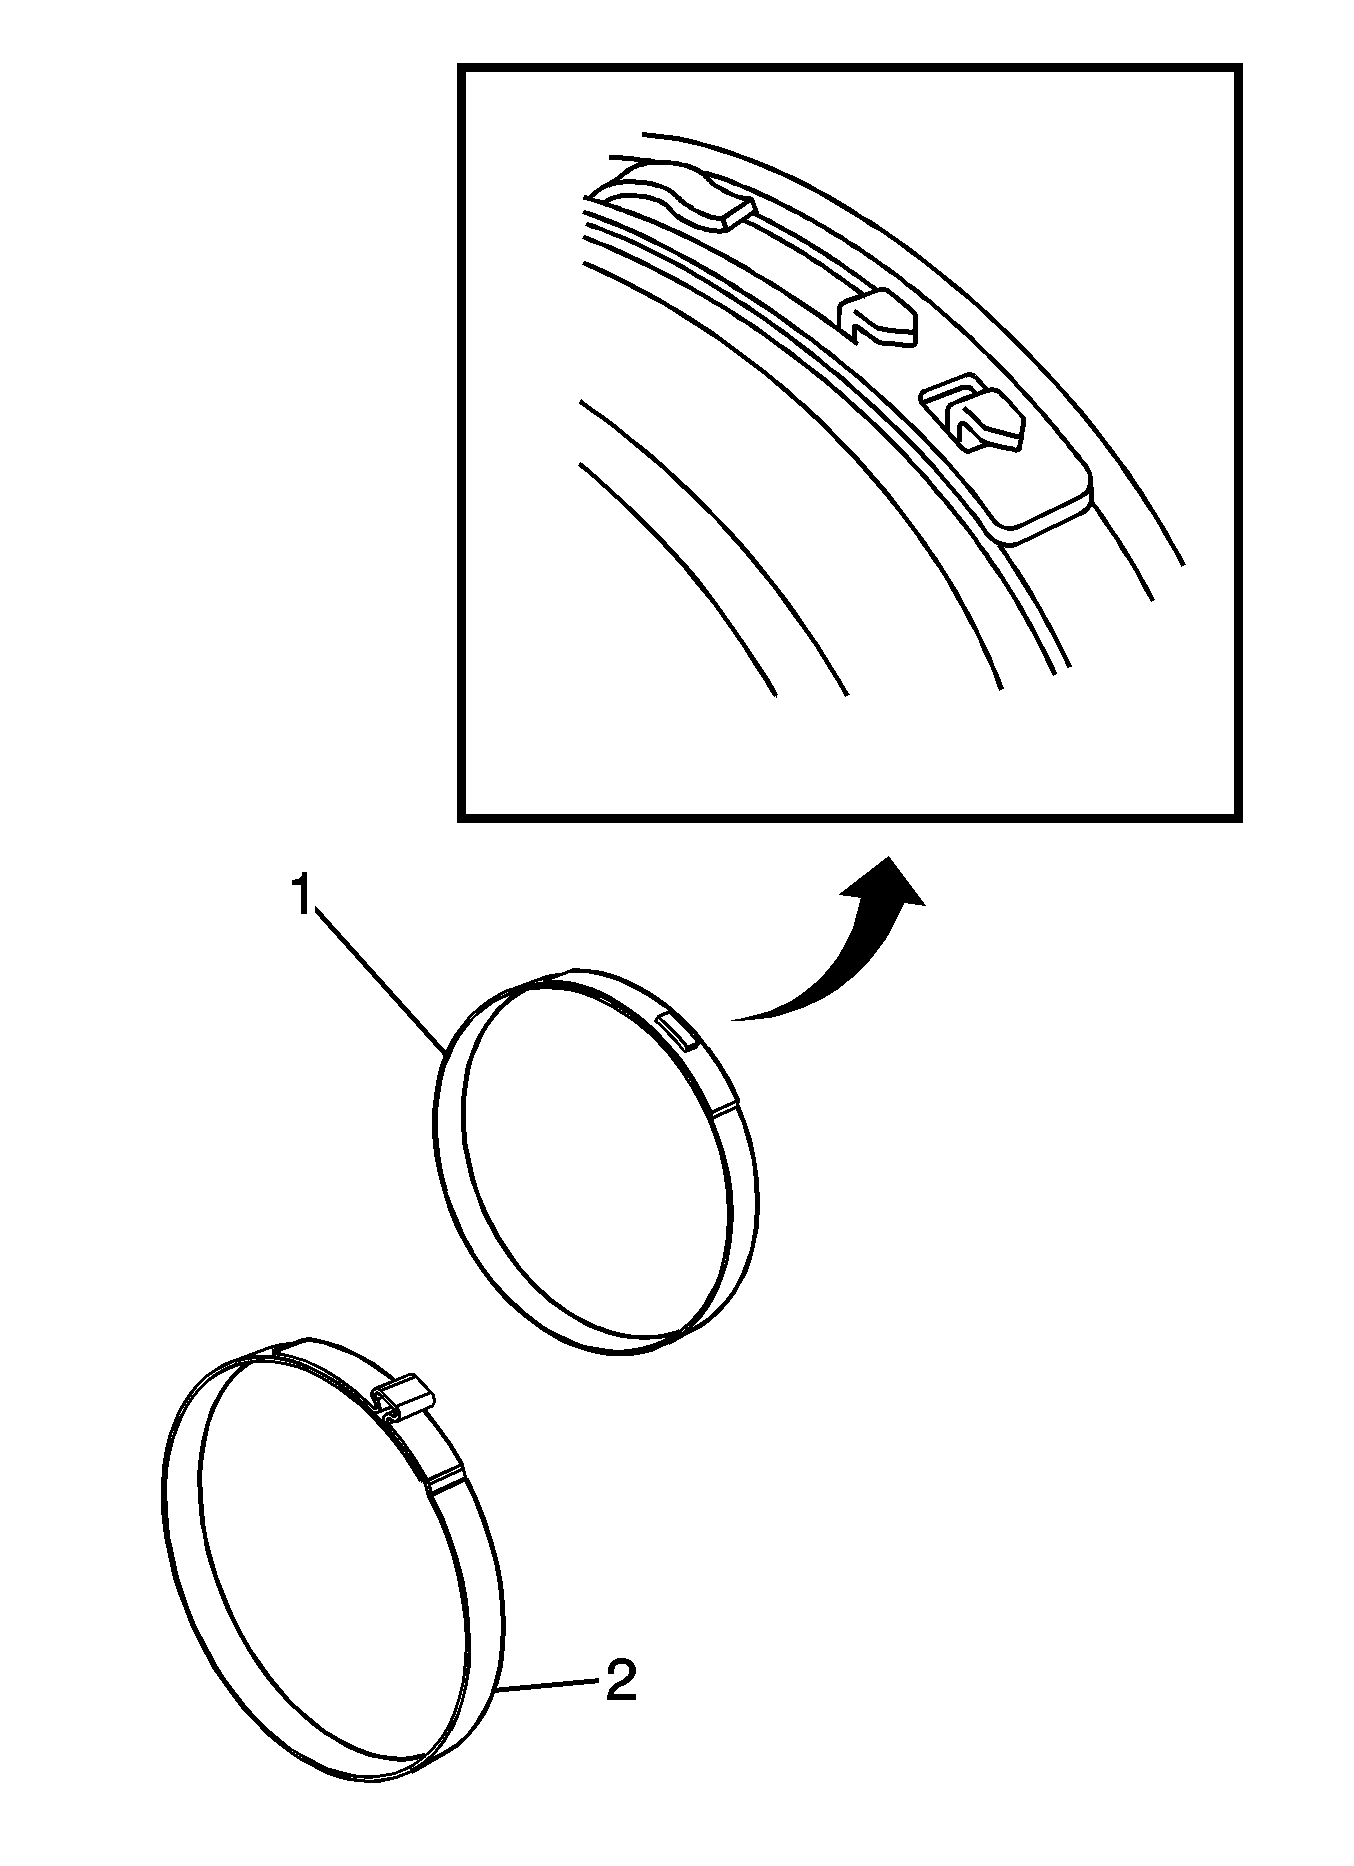
- The following service procedure is for those vehicles equipped with the earless type clamp (1). For those vehicles equipped with the ear type clamp (2), proceed to step 9.
- Using the CH 48894 Wheel Drive Shaft Boot Clamp Pliers , close the boot clamp.
- Distribute the lubricant within the outer CV joint by moving it in a circular motion at least four to five times.
- Remove the wheel drive shaft from the bench vise.
- Install the wheel drive shaft assembly. Refer to Front Wheel Drive Shaft Replacement.


Note:
• Ensure that the boot clamp is properly positioned around the entire circumference of the boot. • Ensure that the gap measurement does not exceed 1.9 mm (0.07 in).
Note: Ensure the boot clamp is securely closed and seated properly on the boot.
