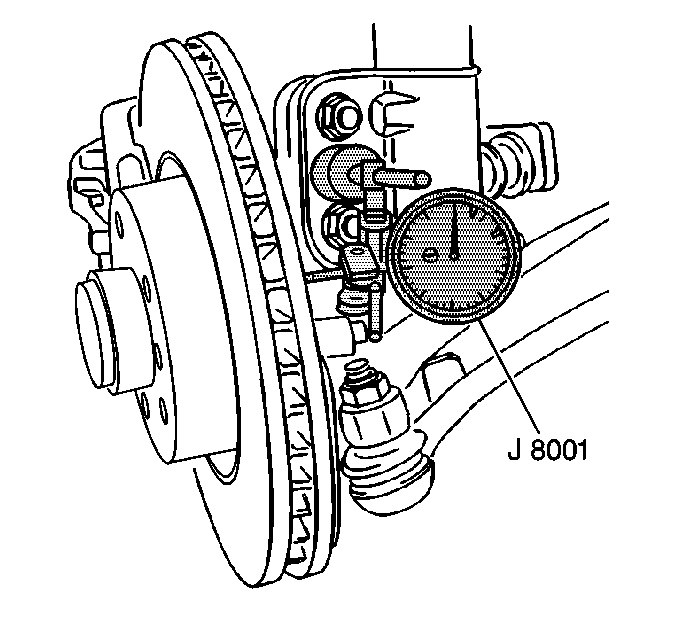
A vehicle that has rotors with excessive lateral runout can exhibit brake pulsation or a shudder condition during braking.
Tools Required
J 8001 Dial Indicator Set
- Raise and support the vehicle. Refer to Lifting and Jacking the Vehicle in General Information.
- Refer to Wheel Bearings Diagnosis - Sealed in Suspension General Diagnosis.
- Remove the tire and wheel. Tire and Wheel Removal and Installation in Tires and Wheels.
- Install and tighten the wheel nuts in order to retain the rotor.
- Fasten the J 8001 to the knuckle. Ensure that the J 8001 button contacts the rotor surface about 13 mm (0.500 in) from the rotor outer edge.
- Set the J 8001 to zero.
- Rotate the rotor one complete revolution. Inspect the J 8001 .
- Mark the relationship of the rotor to the hub.
- Remove the brake rotor. Refer to Front Brake Rotor Replacement or Rear Brake Rotor Replacement .
- Clean any rust or foreign material from the mating surface of the rotor and the hub.
- Install the brake rotor on the hub, one or two bolt positions from the rotor's original position. Repeat Steps 5 through 8.
- Remove the wheel nuts securing the rotor to the hub.
- Install the tire and wheel. Tire and Wheel Removal and Installation in Tires and Wheels.
- Lower the vehicle.
Important: Before performing the brake rotor lateral runout check, inspect the wheel bearing/hub for excessive looseness and excessive lateral runout.

| • | If the runout exceeds 0.080 mm (0.003 in), go to Step 8. |
| • | If the runout is less than 0.080 mm (0.003 in), go to Step 13. |
Notice: Whenever the brake rotor has been separated from the wheel bearing flange, clean any rust or foreign material from the mating surface of the rotor and flange with the J 42450 hub cleaning kit. Failure to do this may result in increased lateral runout of the rotor and brake pulsation.
If the runout still exceeds 0.080 mm (0.003 in), refinish or replace the rotor as necessary.
For the front rotor refinishing procedure, refer to Brake Rotor Refinishing .
