For 1990-2009 cars only
Removal Procedure
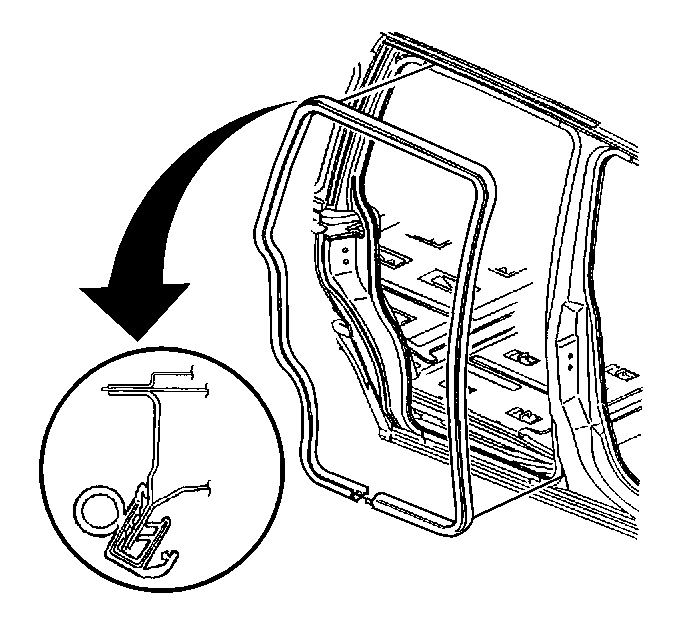
- Remove the sliding door opening weather-strip from the sliding door pinch-weld flange.
- Clean all adhesive from the pinch-weld flange.

Installation Procedure
- Remove the sliding door opening weather-strip to the sliding door pinch-weld flange.
- Align the locator dot to the upper front corner and upper rear corners of the sliding door pinch-weld flange:
- Install the remainder of the sliding door opening weather-strip.
- Roll the weather-strip onto the flange.
- Ensure that the weather-strip corners are fully seated.
- Do not stretch the front door opening weather-strip during the installation.
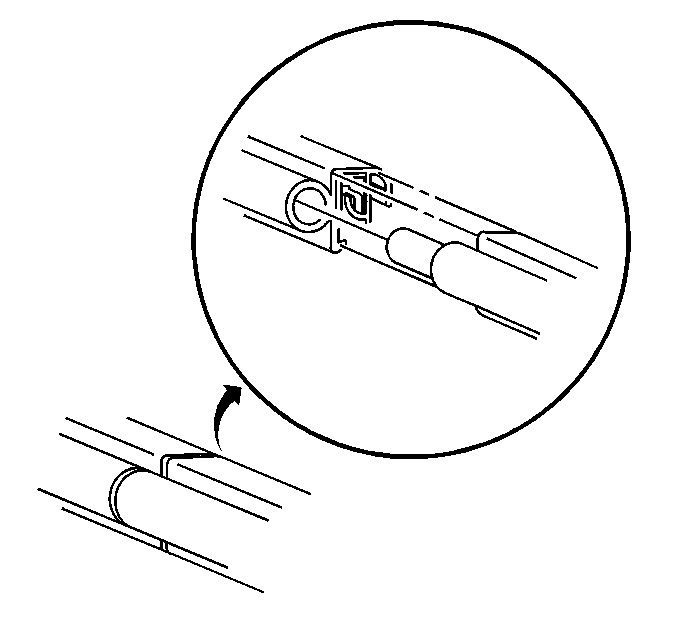
- Join the loose end of the front door opening weather-strip to the seated end.
- Pull the end of the tear strip from the joint along the entire length of the sliding door opening weather-strip.

Important: A mastic/sealer/glue is inside of the new sliding door opening weather-strip. If you are using a new sliding door opening weather-strip, do not use weather-strip adhesive.
If you are using the old sliding door weather-strip, use weather-strip adhesive.
Important: Removing the tear strip is designed to pull the inner lip of the sliding door opening weather-strip out over the trim. Spoon the sliding door opening weather-strip in order to complete the installation as needed.
Inspect the sliding door opening weather-strip for creases or wrinkles.