For 1990-2009 cars only
Tools Required
J 42129 Wheel Hub Remover
Removal Procedure
- Raise and support the vehicle. Refer to Lifting and Jacking the Vehicle.
- Remove the tire and wheel. Refer to Tire and Wheel Removal and Installation.
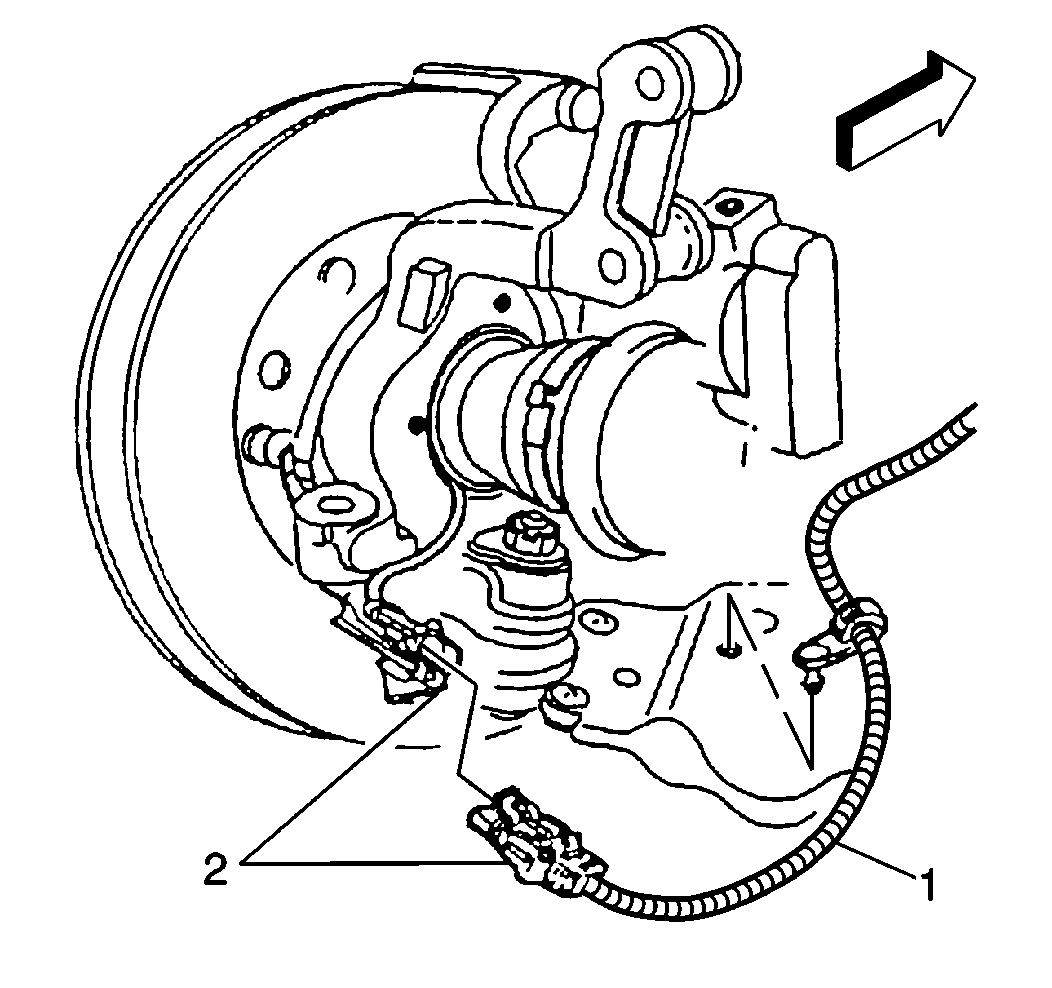
- Disconnect the wheel speed sensor electrical connector (2), if equipped.
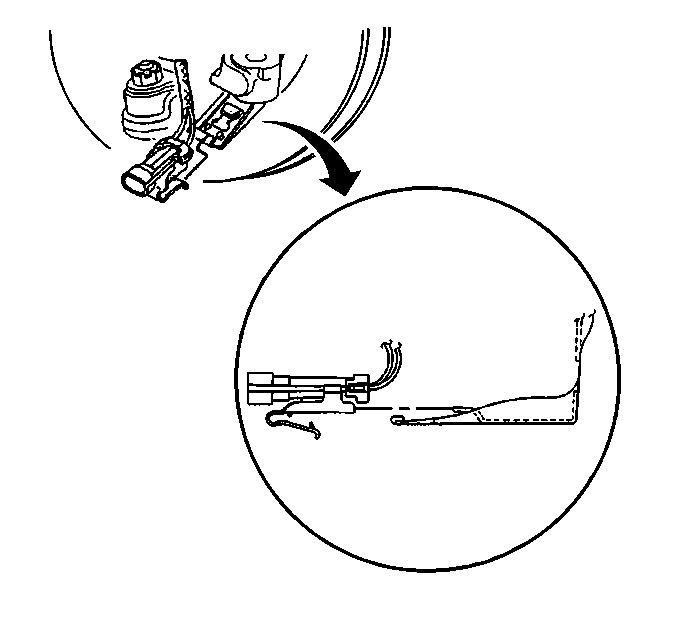
- Remove the wheel speed sensor electrical connector from the bracket, if equipped.
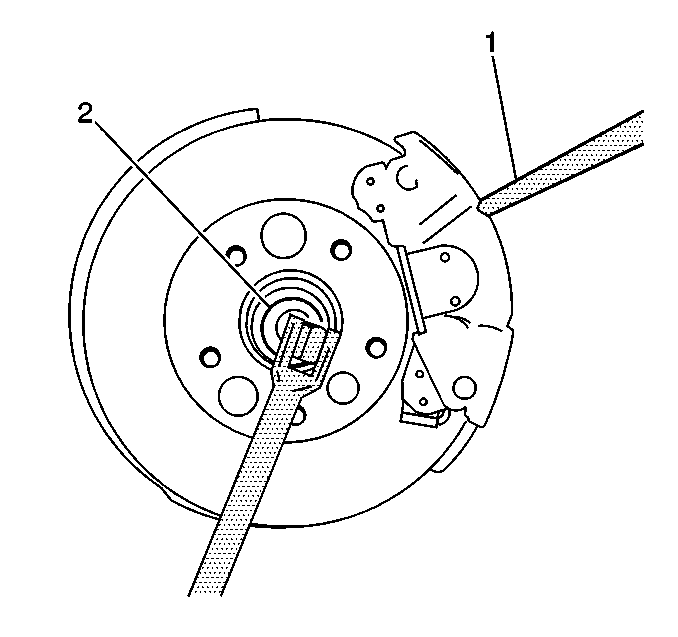
- Remove the front wheel drive shaft nut (2). Insert a drift or flat-bladed tool (1) into the caliper and rotor to prevent from turning.
- Remove the brake rotor. Refer to Front Brake Rotor Replacement.
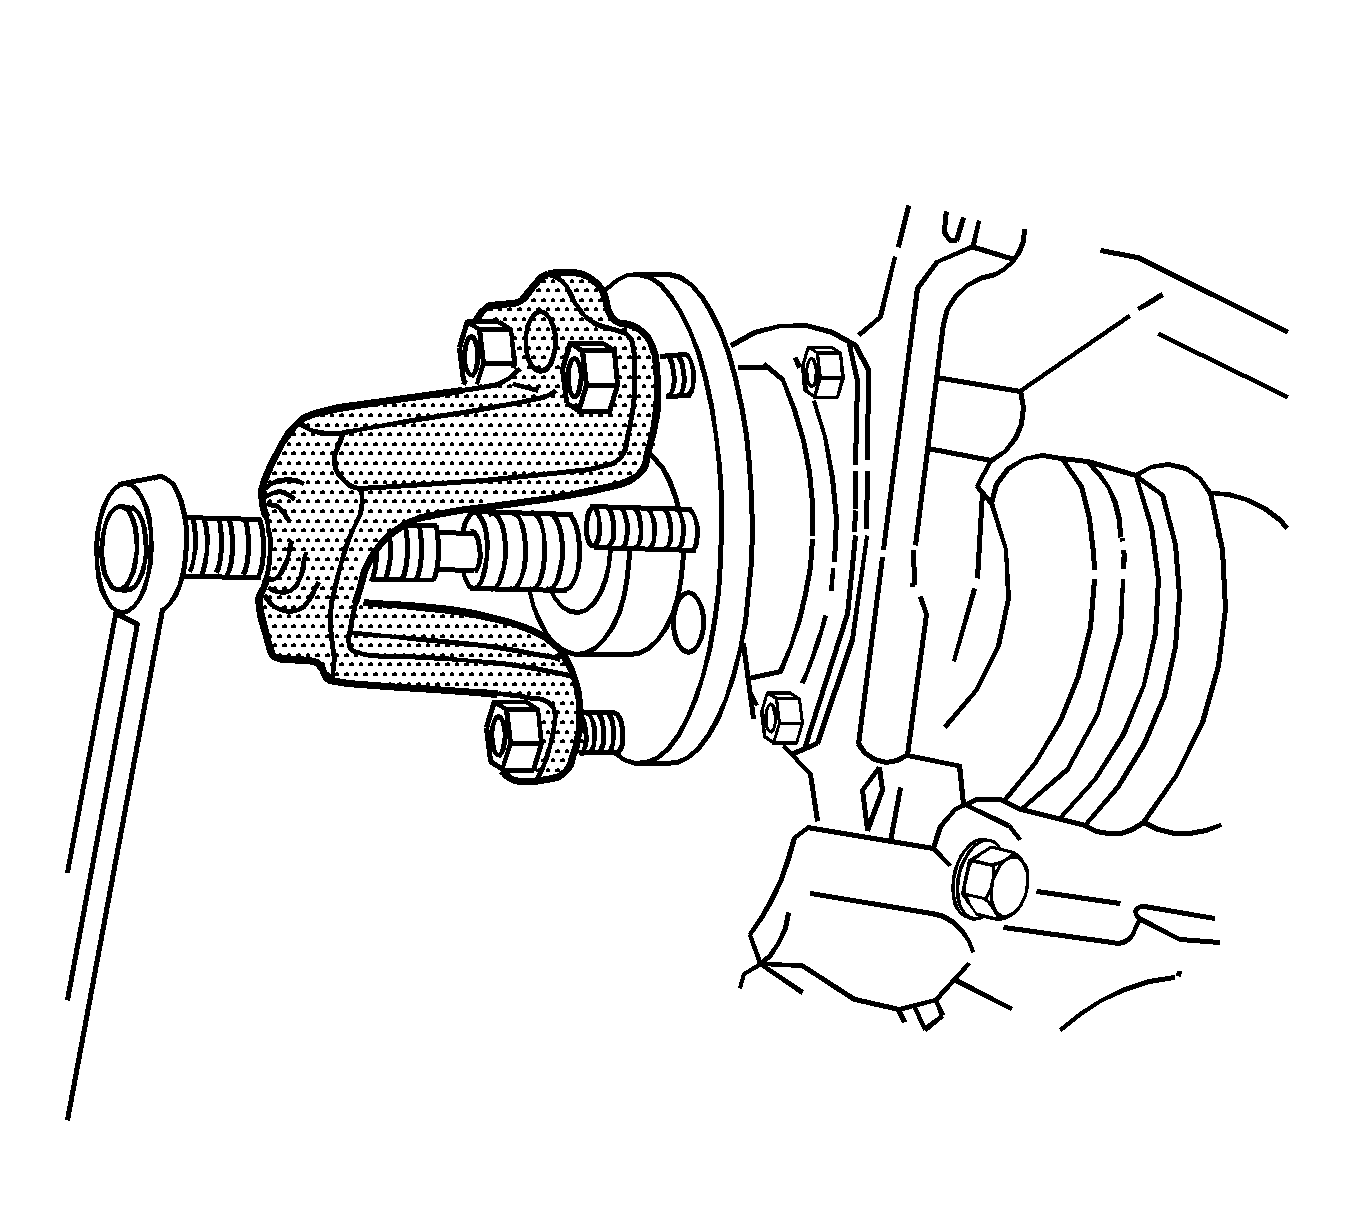
- Use 3 wheel nuts in order to attach the J 42129 to the wheel bearing/hub.
- Use the J 42129 in order to push the wheel drive shaft out of the wheel bearing/hub.
- Remove and DISCARD the wheel bearing/hub bolts. Remove the J 42129 from the hub.
- Remove the wheel bearing/hub and splash shield-noting the position of the shield for re-installation.
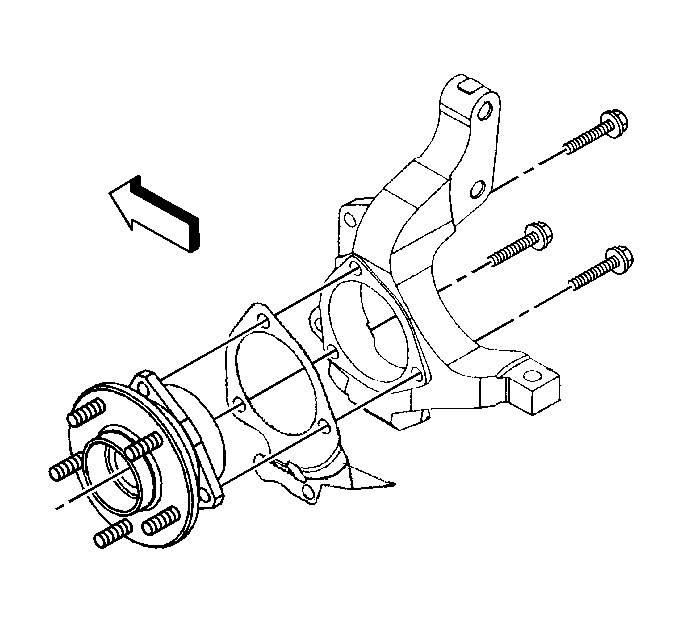
Note: Ensure that the wheel drive shaft outer seal/boot is not damaged.
Installation Procedure
- Install the wheel bearing/hub with the splash shield as noted during removal.
- Install NEW wheel bearing/hub bolts.
- Install the brake rotor and caliper. Refer to Front Brake Rotor Replacement.
- Install the front wheel drive shaft nut. Insert a drift on a flat-bladed tool into caliper and rotor to prevent the rotor from turning.
- Install the wheel speed sensor electrical connector to the bracket, if equipped.
- Connect the wheel speed sensor electrical connector (2), if equipped.
- Install the tire and wheel. Refer to Tire and Wheel Removal and Installation.
- Lower the vehicle.

Caution: Refer to Fastener Caution in the Preface section.
Warning: These fasteners MUST be replaced with new fasteners anytime they become loose or are removed. Failure to replace these fasteners after they become loose or are removed may cause loss of vehicle control and personal injury.
Tighten
Tighten the NEW wheel bearing/hub bolts to 130 N·m (96 lb ft).
Tighten
Tighten the front wheel drive shaft nut to 160 N·m (118 lb ft).

Note: Ensure that the connector clip engages the bracket properly.

