The powertrain control module (PCM) interacts with many emission related components and systems, and monitors emission related components and systems for deterioration. OBD II diagnostics monitor the system performance and a diagnostic trouble code (DTC) sets if the system performance degrades.
The malfunction indicator lamp (MIL) operation and the DTC storage are dictated by the DTC type. A DTC is ranked as a Type A or Type B if the DTC is emissions related. Type C is a non-emissions related DTC.
The PCM is in the engine compartment. The PCM is the control center of the engine controls system. The PCM controls the following components:
| • | The fuel injection system |
| • | The ignition system |
| • | The emission control systems |
| • | The on-board diagnostics |
| • | The A/C and fan systems |
The PCM constantly monitors the information from various sensors and other inputs, and controls the systems that affect the vehicle performance and the emissions. The PCM also performs diagnostic tests on various parts of the system. The PCM can recognize operational problems and alert the driver via the MIL. When the PCM detects a malfunction, it stores a DTC. The condition is identified by the particular DTC that is set. This aids the technician in making repairs.
PCM Function
The powertrain control module (PCM) can supply 5 volts or 12 volts to the various sensors or switches. This is done through pull-up resistors to the regulated power supplies within the control module. In some cases, even an ordinary shop voltmeter will not give an accurate reading because the resistance is too low. Therefore, a DMM with at least 10 megaohms input impedance is required in order to ensure accurate voltage readings.
The PCM controls the output circuits by controlling the ground or the power feed circuit through the transistors or a device called an output driver module.
EEPROM
The electronically erasable programmable read only memory (EEPROM) is a permanent memory that is physically part of the control module. The EEPROM contains program and calibration information that the powertrain control module (PCM) needs in order to control the powertrain operation.
Special equipment, as well as the correct program and calibration for the vehicle, are required in order to reprogram the control module.
Data Link Connector (DLC)
The data link connector (DLC) is a 16-pin connector that provides the technician a means of accessing communication data for aid in the diagnosis. This connector allows the technician to use a scan tool in order to monitor the various parameters, and display the DTC information. The DLC is located inside of the drivers compartment, underneath the dash.
Malfunction Indicator Lamp (MIL) Operation
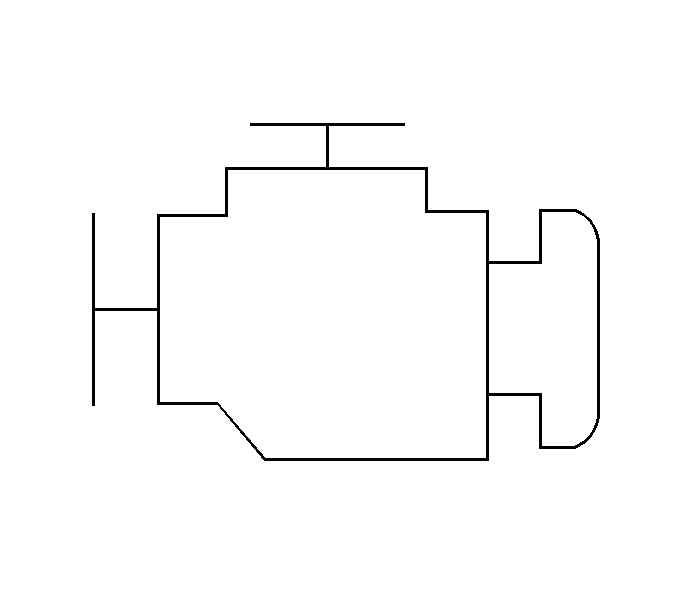
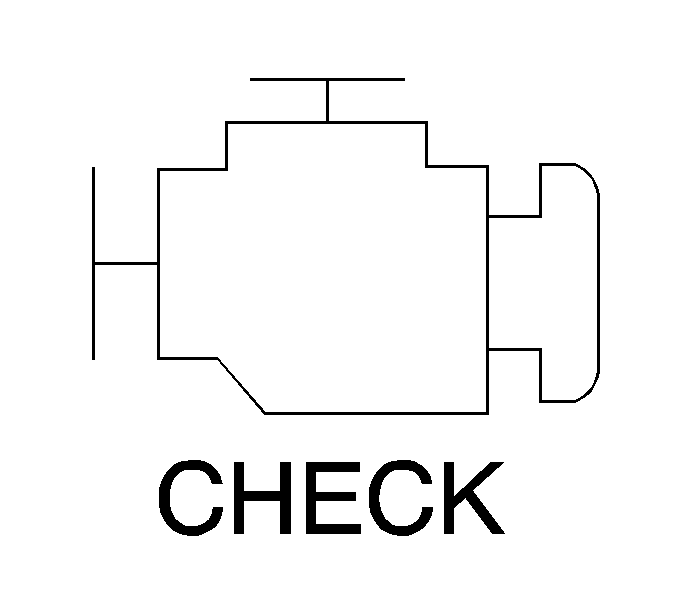
The malfunction indicator lamp (MIL) is located in the instrument panel cluster. The MIL will display as either SERVICE ENGINE SOON or one of the following symbols when commanded ON:


The MIL indicates that an emissions related fault has occurred and vehicle service is required. The following is a list of the modes of operation for the MIL:
| • | The MIL illuminates when the ignition is turned ON, with the engine OFF. This is a bulb test to ensure that the MIL is able to illuminate. |
| • | The MIL turns OFF after the engine is started if a diagnostic fault is not present. |
| • | The MIL remains illuminated after the engine is started if the control module detects a fault. A DTC is stored any time the control module illuminates the MIL due to an emissions related fault. The MIL turns OFF after 3 consecutive ignition cycles in which a Test Passed has been reported for the diagnostic test that originally caused the MIL to illuminate. |
| • | The MIL flashes if the control module detects a misfire condition which could damage the catalytic converter. |
| • | When the MIL is illuminated and the engine stalls, the MIL will remain illuminated as long as the ignition is ON. |
| • | When the MIL is not illuminated and the engine stalls, the MIL will not illuminate until the ignition is cycled OFF and then ON. |
PCM Service Precautions
The powertrain control module (PCM), by design, can withstand the normal current draws that are associated with the vehicle operations. However, care must be used in order to avoid overloading any of these circuits. When testing for opens or shorts, do not ground or apply voltage to any of the PCM circuits unless the diagnostic procedure instructs you to do so. These circuits should only be tested with a DMM.
Emissions Diagnosis For State I/M Programs
This OBD II equipped vehicle is designed to diagnose any conditions that could lead to excessive levels of the following emissions:
| • | Hydrocarbons (HC) |
| • | Carbon monoxide (CO) |
| • | Oxides of nitrogen (NOx) |
| • | Evaporative emission (EVAP) system losses |
Should this vehicles on-board diagnostic system, powertrain control module (PCM), detect a condition that could result in excessive emissions, the PCM turns ON the malfunction indicator lamp (MIL) and stores a DTC that is associated with the condition.
Aftermarket (Add-On) Electrical And Vacuum Equipment
Caution: Do not attach add-on vacuum operated equipment to this vehicle. The use of add-on vacuum equipment may result in damage to vehicle components or systems.
Caution: Connect any add-on electrically operated equipment to the vehicle's electrical system at the battery (power and ground) in order to prevent damage to the vehicle.
Aftermarket, add-on, electrical and vacuum equipment is defined as any equipment installed on a vehicle after leaving the factory that connects to the vehicles electrical or vacuum systems. No allowances have been made in the vehicle design for this type of equipment.
Add-on electrical equipment, even when installed to these strict guidelines, may still cause the powertrain system to malfunction. This may also include equipment not connected to the vehicle electrical system, such as portable telephones and radios. Therefore, the first step in diagnosing any powertrain condition is to eliminate all of the aftermarket electrical equipment from the vehicle. After this is done, if the problem still exists, the problem may be diagnosed in the normal manner.
Electrostatic Discharge (ESD) Damage
Note: In order to prevent possible electrostatic discharge damage to the control module, DO NOT touch the connector pins on the control module.
The electronic components that are used in the control systems are often designed to carry very low voltage. The electronic components are susceptible to damage caused by electrostatic discharge. Less than 100 volts of static electricity can cause damage to some electronic components. By comparison, it takes as much as 4,000 volts for a person to even feel the effect of a static discharge.
There are several ways for a person to become statically charged. The most common methods of charging are by friction and by induction. An example of charging by friction is a person sliding across a car seat.
Charging by induction occurs when a person with well insulated shoes stands near a highly charged object and momentarily touches ground. Charges of the same polarity are drained off leaving the person highly charged with the opposite polarity. Static charges can cause damage, therefore, it is important to use care when handling and testing electronic components.
Emissions Control Information Label
The underhood Vehicle Emissions Control Information Label contains important emission specifications and setting procedures. In the upper left corner is the exhaust emission information. This identifies the year, the manufacturing division of the engine, the displacement of the engine in liters, the class of the vehicle, and type of fuel metering system. There is also an illustrated emission components and vacuum hose schematic.
This label is located in the engine compartment of every General Motors vehicle. If the label has been removed, it can be ordered from GM service parts operations (GMSPO).
Underhood Inspection
Note: This inspection is very important and must be done carefully and thoroughly.
Perform a careful underhood inspection when performing any diagnostic procedure or diagnosing the cause of an emission test failure. This can often lead to repairing a condition without further steps. Use the following guidelines when performing an inspection:
| • | Inspect all of the vacuum hoses for correct routing, pinches, cuts, or disconnects. |
| • | Inspect any hoses that are difficult to see. |
| • | Inspect all of the wires in the engine compartment for the following conditions: |
| - | Burned or chafed spots |
| - | Pinched wires |
| - | Contact with sharp edges |
| - | Contact with hot exhaust manifolds |
Basic Knowledge Required
Caution: Lack of basic knowledge of this powertrain when performing diagnostic procedures could result in incorrect diagnostic performance or damage to powertrain components. Do not attempt to diagnose a powertrain problem without this basic knowledge.
A basic understanding of hand tools is necessary in order to effectively use this section of the Service Manual.
You must be familiar with some of the basics of engine operation and electrical diagnosis in order to use this section of the service manual.
| • | Basic electrical circuits--You should have an understanding of basic electricity and know the meaning of voltage (volts), current (amps), and resistance (ohms). You should understand what happens in a circuit with an open or a shorted wire, and you should be able to identify a shorted or open circuit by using a DMM. You should be able to read and understand a wiring diagram. |
| • | Use of digital multimeter--You should be familiar with the DMM, particularly the essential tool. You should be able to use the meter in order to measure the voltage (volts), the resistance (ohms), the current (amps), intermittents (min/max), and frequency (Hertz). |
| • | Use of circuit testing tools--You should not use a test lamp to diagnose the engine controls system unless you are specifically instructed to do so. You should know how to the use jumper wires in order to test the components and allow the DMM readings without damaging the terminals. You should know how to use the J 35616 connector test adapter kit and use the kit whenever the diagnostic procedures call for front probing any connector. |
