SERVICE MANUAL REVISION ROOF SCALP MOLDING REPAIR

MODELS AFFECTED: 1986-88 LESABRE COUPES
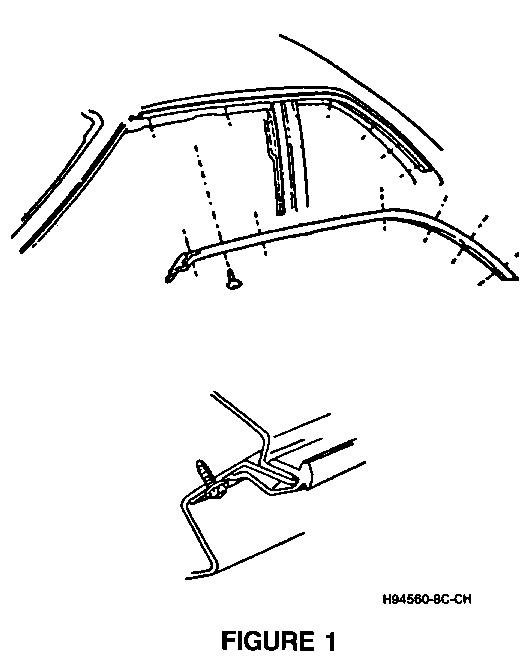
Replacement of the above screw retained molding per the 1988 Body Service Manual (See Figure 1), required removal of the stationary quarter window module as a tape and break operation (See Section 2-10 of the 1988 Body Service Manual).
It has been determined this module can be cut out and reinstalled in the same manner as the extended method used for windshields and back glasses.
SERVICE PROCEDURE
1. Remove rear seat lower cushion and back.
2. Remove quarter arm rest, lower and upper trim.
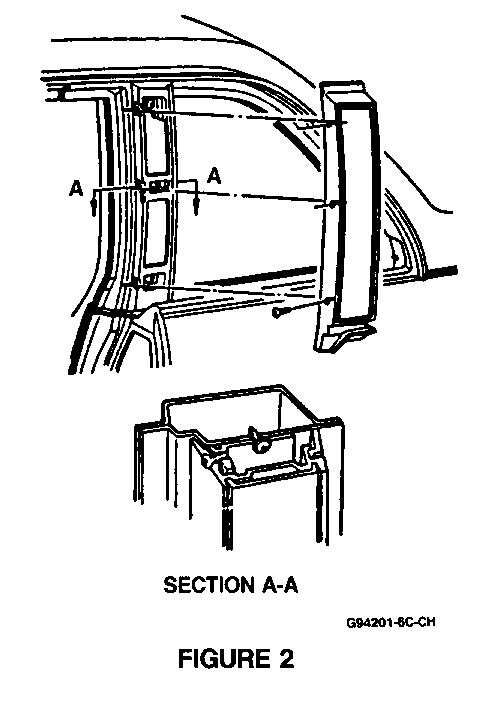
3. Remove outside pillar molding trim and retainer (See Figure 2).
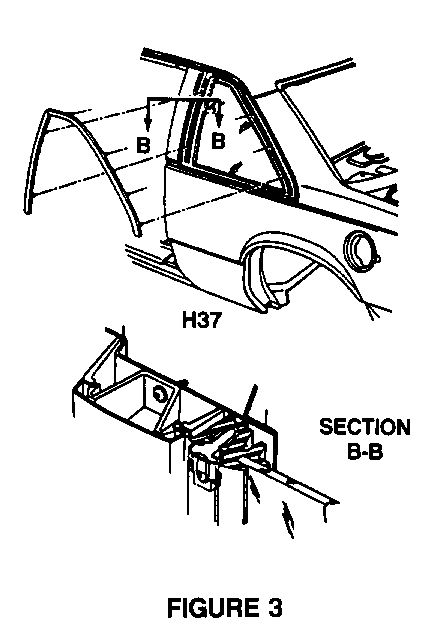
4. Remove quarter outside molding (See Figure 3).
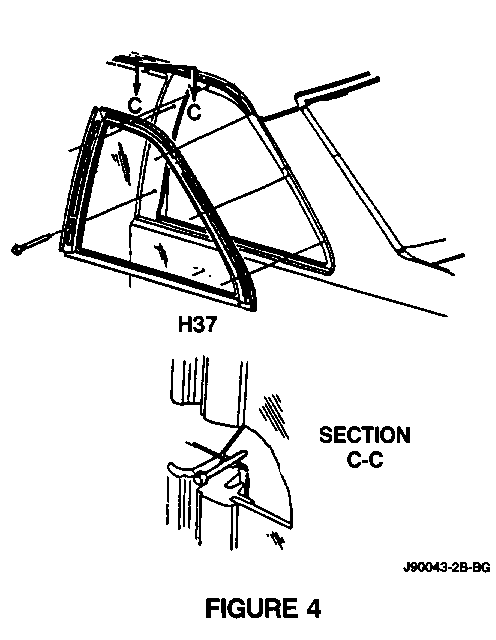
5. Remove quarter module screws (6) (See Figure 4).
6. Cut out quarter window using a curved blade tile knife and/or utility knife and cut urethane bond between quarter module and pinch-weld flange, staying as close to the pinch-weld flange as possible. The use of soapy water in some cases, and multiple shallow cuts will aid in removal.
7. Remove and replace drip scalp molding and retainer.
8. Clean urethane from window opening.
9. Clean urethane from module.
10. Apply primer to pinch weld.
11. Apply urethane to module.
12. Install glass and screws.
13. Reinstall moldings and trim.
WARRANTY INFORMATION
Labor Operation Labor Number Time ------ ---- Remove and Replace Scalp B7610 (right) .5 Hour Molding B7611 (left) .5 Hour
ADD: To remove and install quarter window (each side) 1.8 Hours


General Motors bulletins are intended for use by professional technicians, not a "do-it-yourselfer". They are written to inform those technicians of conditions that may occur on some vehicles, or to provide information that could assist in the proper service of a vehicle. Properly trained technicians have the equipment, tools, safety instructions and know-how to do a job properly and safely. If a condition is described, do not assume that the bulletin applies to your vehicle, or that your vehicle will have that condition. See a General Motors dealer servicing your brand of General Motors vehicle for information on whether your vehicle may benefit from the information.
