- Remove the key from the
ignition switch.
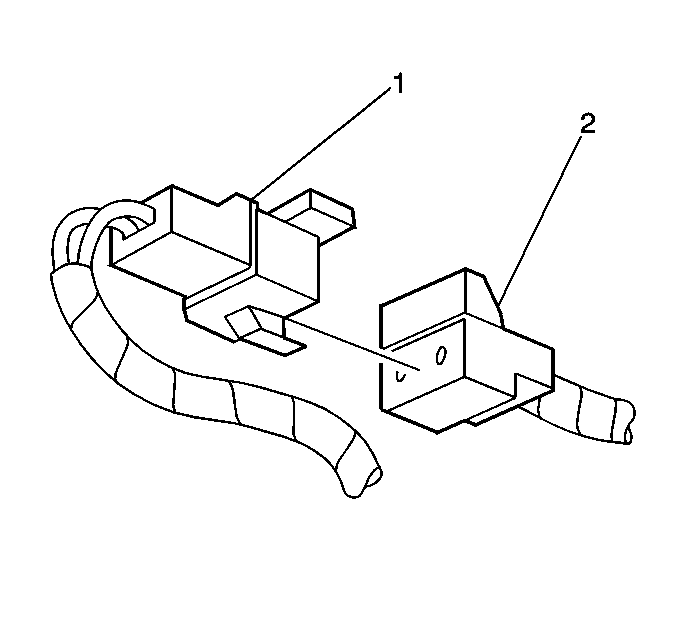
- Connect the inflatable restraint IP module yellow 2-way connector
(2) to the harness connector (1) located above the sound insulator-RH.
- Attach the inflatable
restraint IP module yellow 2-way connector to the IP (Pontiac) (2).
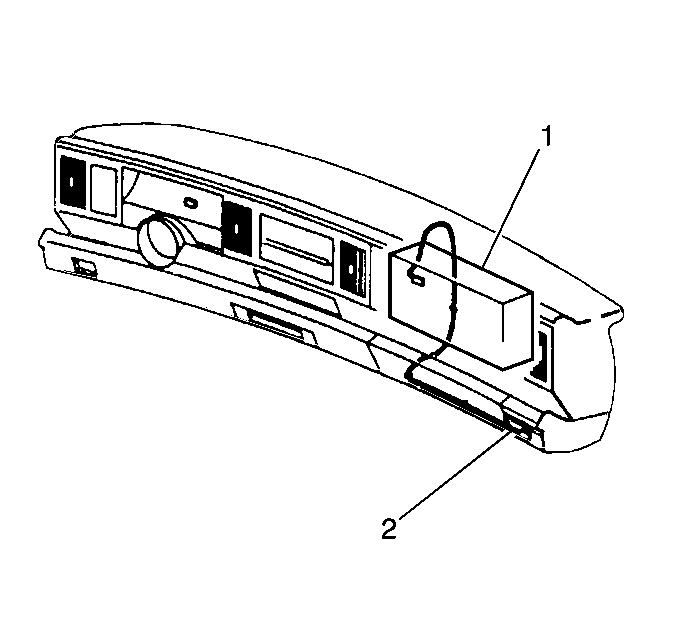
- Attach the inflatable
restraint IP module yellow 2-way connector to the IP (Buick) (2).
- Attach the inflatable
restraint IP module yellow 2-way connector to the IP (Oldsmobile) (3).

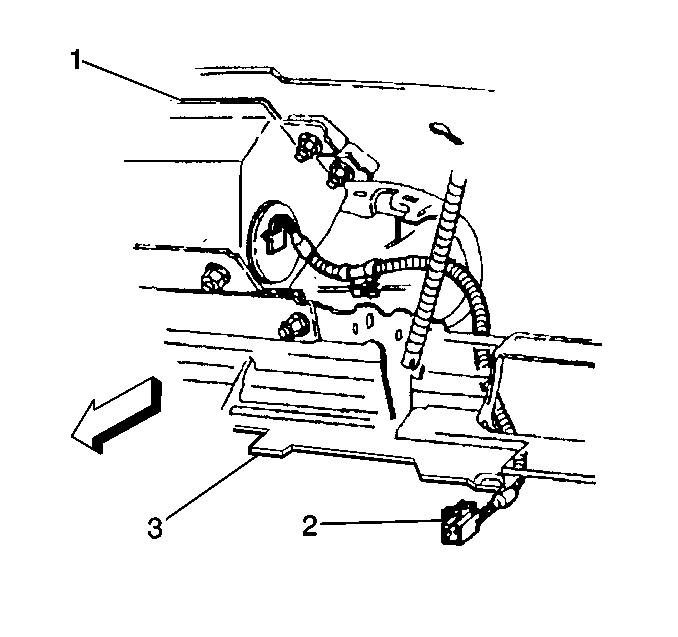
- Install the Connector
Position Assurance (CPA) (2) to the inflatable restraint IP module yellow
2-way connector(1) located above the sound insulator-RH.
- Install the sound insulator-RH. Refer to
Front Fender Insulator Replacement
in Body
Front End.
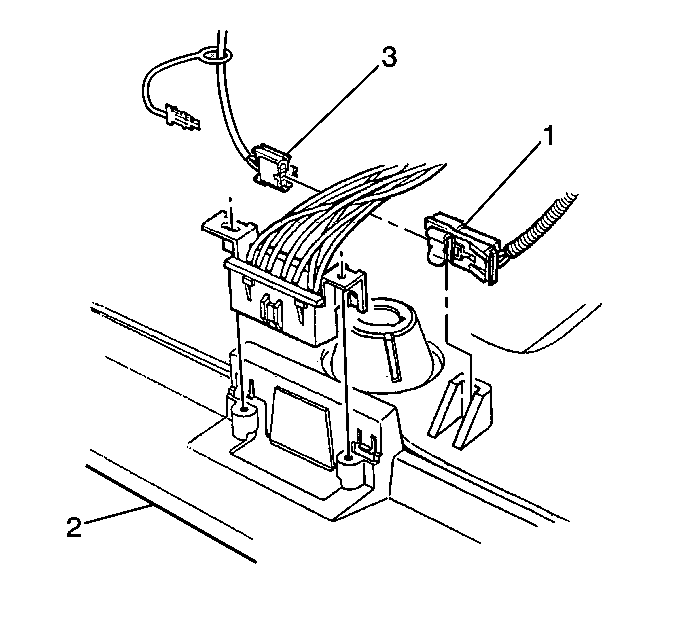
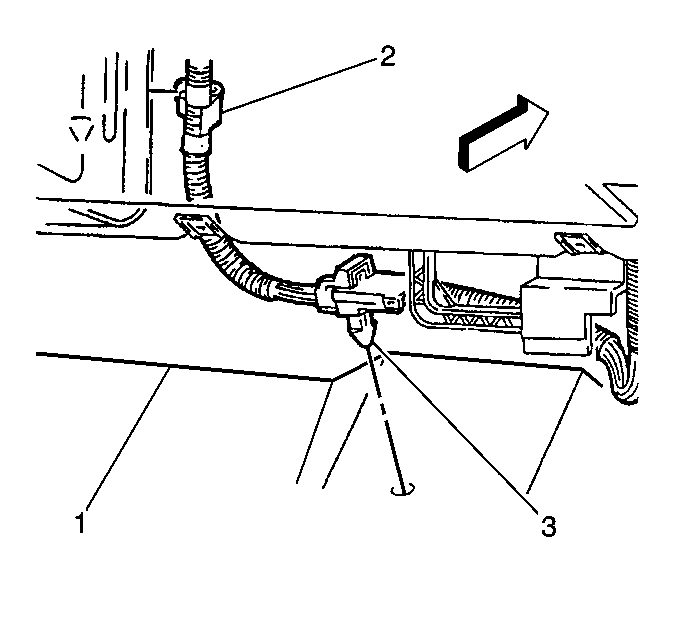
- Connect the inflatable
restraint steering wheel yellow 2-way connector (1,3) located at the
base of the steering column.

- Install the Connector
Position Assurance (CPA) (3) to the inflatable restraint steering wheel yellow
2-way connector (1) located near the base of the steering column.

- Install the sound insulator-LH.
Refer to
Front Fender Insulator Replacement
in Body Front End.
- Install the AIR BAG Fuse to the IP Fuse Block.
- Staying well away from both air bags, turn the ignition switch
to the RUN position.
| 12.1. | The AIR BAG warning lamp will flash seven times. |
| 12.2. | The AIR BAG warning lamp will then turn OFF. |
- Perform the SIR Diagnostic System Check if the AIR BAG warning
lamp does not operate as described.
