Tools Required
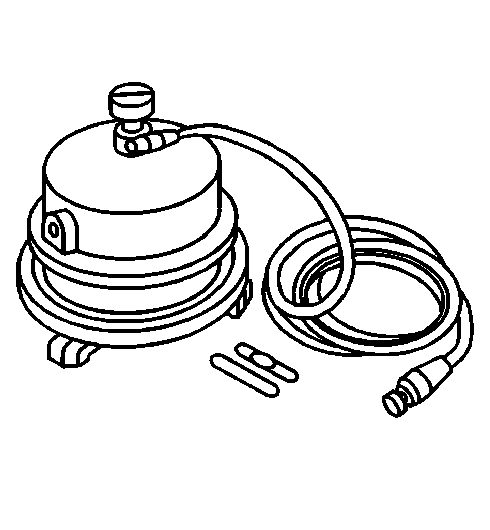
| • | J 29532 Diaphragm
Pressure Bleeder |
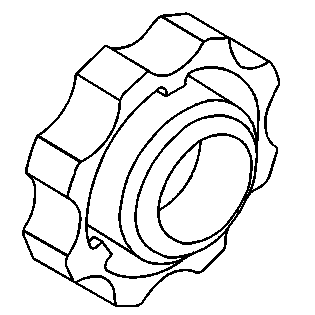
| • | J 44089 Master
Cylinder Bleeder Adapter |
Caution: Do not move the vehicle until a firm brake pedal is obtained. Air in
the brake system can cause loss of brakes with possible personal injury.
Caution: Use only SUPREME 11 or equivalent DOT 3 brake fluid from a clean, sealed
container. Do not use fluid from an open container that may be contaminated
with water. Improper or contaminated fluid will result in damage to components
or loss of braking, with possible personal injury.
Notice: Avoid spilling brake fluid on any of the vehicle's painted surfaces,
wiring, cables or electrical connectors. Brake fluid will damage paint and
electrical connections. If any fluid is spilled on the vehicle, immediately
flush the area with water to minimize the potential for damage.
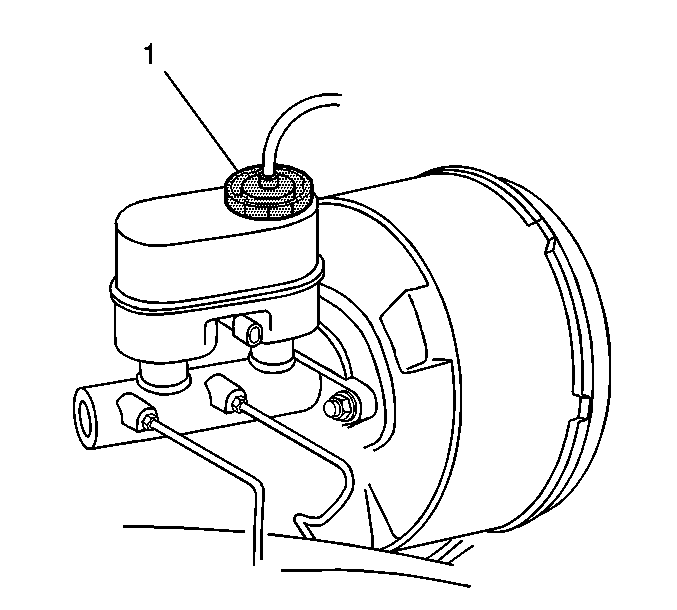
- Remove the master cylinder
reservoir cap. Replace it with J 44089 (1).
- Charge the bleeder to 210-245 kPa (30-35 psi).
- Connect the hose to the J 44089
(1).
- Raise the vehicle and support. Refer to
Lifting and Jacking the Vehicle
in General Information.
- If it is necessary to
bleed all of the brake calipers, the following sequence should be used:
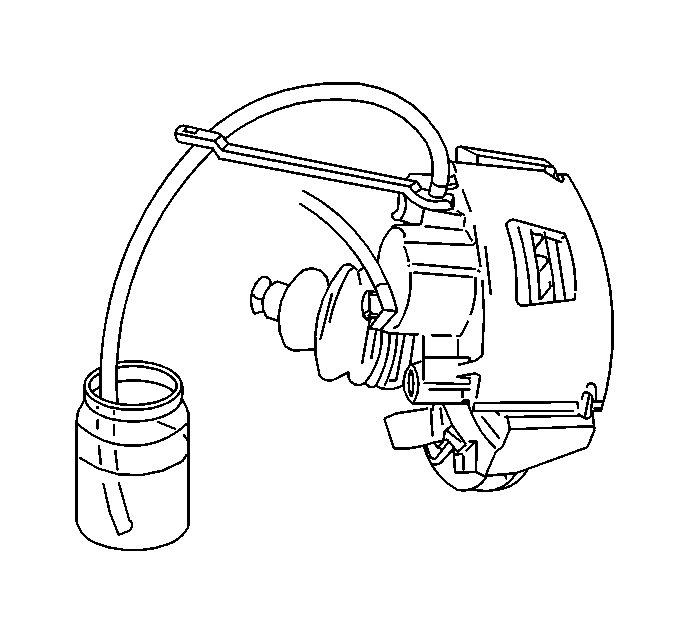
- Place the proper size box end wrench, or equivalent, over the
brake caliper bleed screw. Attach a clear tube over the screw and allow the
tube to hang submerged in a clear container partially filled with brake fluid.
- Open the brake caliper bleed screw at least ¾ of a turn
and allow the brake fluid flow to continue until no air is seen in the brake
fluid.
Notice: Use the correct fastener in the correct location. Replacement fasteners
must be the correct part number for that application. Fasteners requiring
replacement or fasteners requiring the use of thread locking compound or sealant
are identified in the service procedure. Do not use paints, lubricants, or
corrosion inhibitors on fasteners or fastener joint surfaces unless specified.
These coatings affect fastener torque and joint clamping force and may damage
the fastener. Use the correct tightening sequence and specifications when
installing fasteners in order to avoid damage to parts and systems.
- Close the brake
caliper bleed screw.
Tighten
Tighten the brake caliper bleed screw to 13 N·m (10 lb ft).
- Repeat steps 6 through 8 until all of the calipers have
been bled.
- Lower the vehicle.
- When pressure bleeding is completed, bleed the brake system using
a Scan Tool. Refer to
Antilock Brake System Automated Bleed Procedure
in Antilock Brake System.
- Remove the brake bleeding equipment from the master cylinder.
- Fill the reservoir with brake fluid. Refer to .
- Inspect for the following conditions:
| • | Inspect the brake pedal for sponginess. |
| • | Inspect the red BRAKE warning indicator lamp for proper operation. |
- Repeat the entire bleeding procedure if the brake pedal feels
spongy or the red Brake warning indicator fails to turn off.
