For 1990-2009 cars only
Removal Procedure
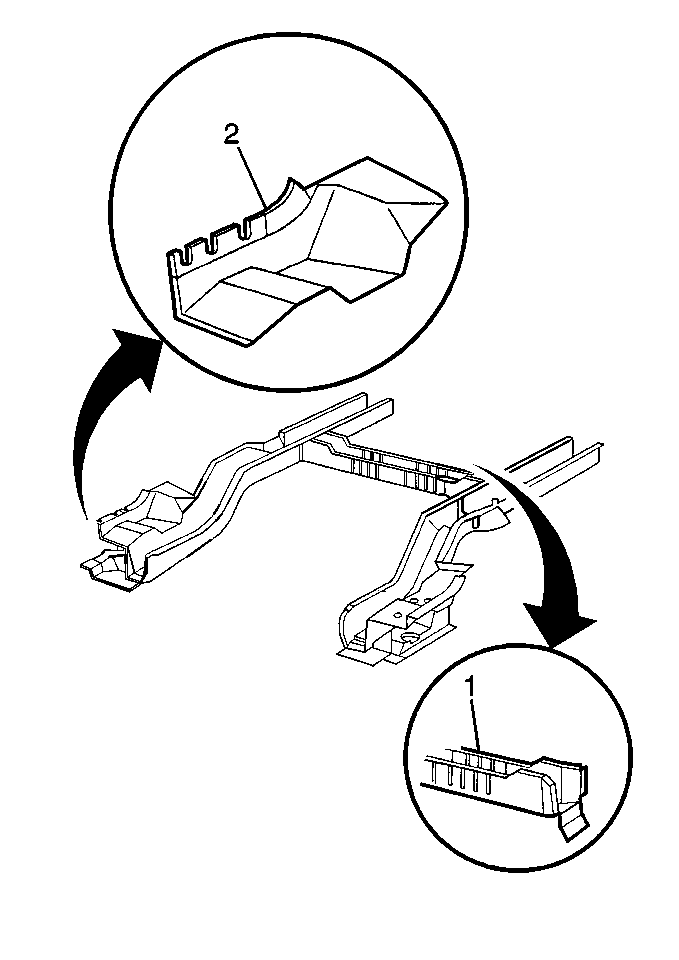
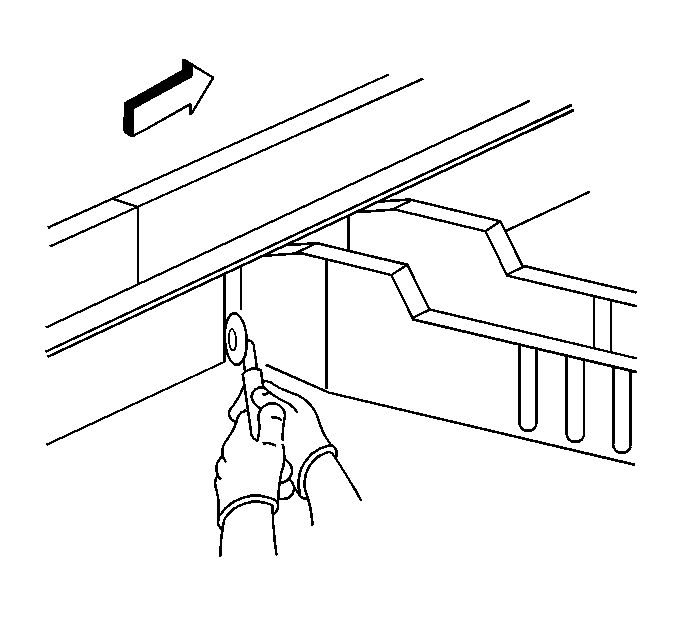
Important: Complete rear rail replacement can be performed by drilling out all the factory welds. The outboard flange at the forward end of the rail must be cut in one location and bent upward (2). The bottom flange of the crossbar must be bent downward (1). The rear rail can then be lowered from the vehicle. When installing the service rail, the outboard flange must be cut and bent up, installed, then straightened, and aligned. Weld as necessary.
The rear rail outer panel is available separately for sectioning purposes only.- Remove all panels and components as necessary for access.
- Cut the rear rail along the rearward flange of the crossbar.
- Continue this cut around the rear rail.
Installation Procedure
- Use the original part as a guide, mark a line on the service rail 35 mm (1-5/16 in) forward of the cut made to the original part. This will provide an overlap for welding the service section.
- Cut the service rail along the marked lines and discard the unused section.
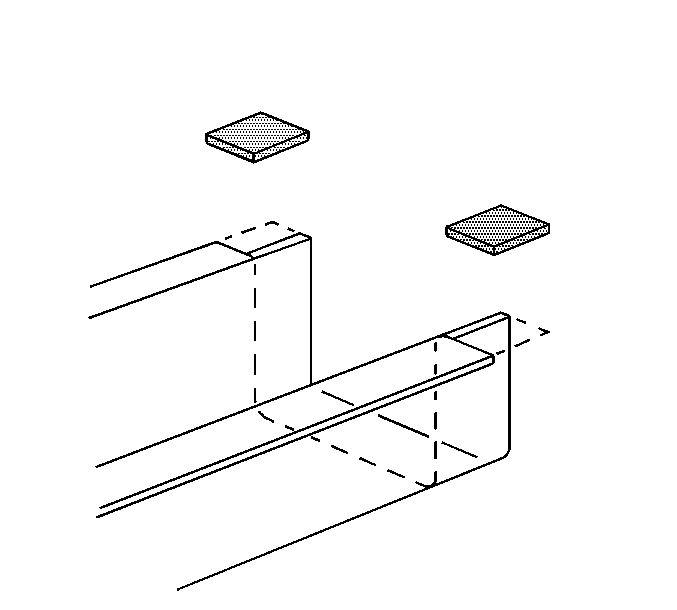
- Cut and remove approximately 35 mm (1-5/16 in) of the flanges on the service rail.
- Cut a 5 mm (¼ in) gap approximately 35 mm (1- 5/16 in) along the corners of the service rail to create tabs.
- Step the tabs inward to allow the service rail to fit inside the original rail.
- Position the modified service rail inside the original rail, allow 35 mm (1-5/16 in) of overlap.
- Check the position of the service rear rail section using three-dimensional measuring equipment and tack weld in three locations along all three sides of the rail.
- Stitch weld along the entire seam and replace factory welds, as necessary.
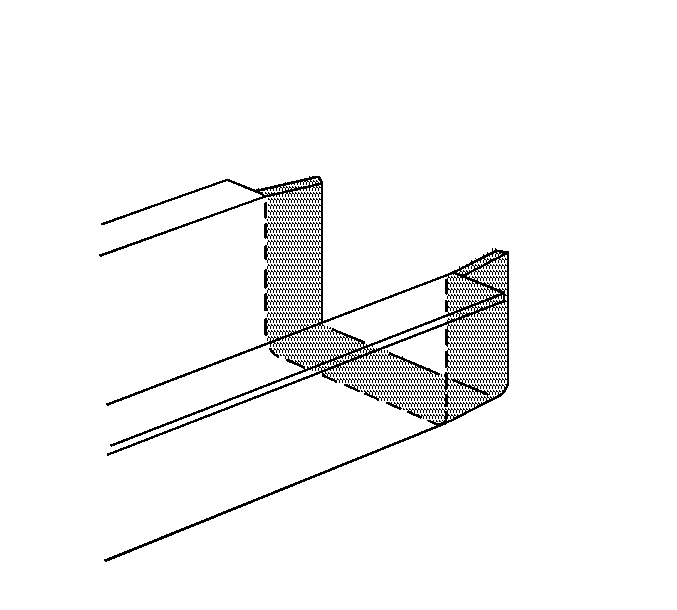
- Drill two 8 mm (5/16 in) holes for plug welding in each of the three sides of the rail approximately 30 mm (1-3/16 in) from the sectioning joint.
- Prepare all mating surfaces for welding as necessary.
- Apply 3M Weld-Thru Coating P/N 05916 or equivalent to all mating surfaces.
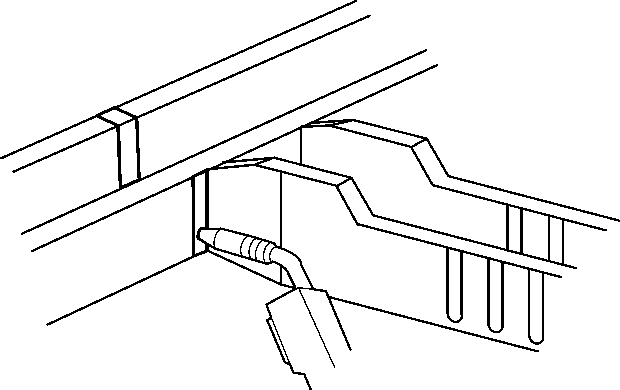
- Plug weld through the drilled holes into the service rail.
- Clean and prepare all bare metal surfaces. Apply the following as necessary:
- Install the panels and components previously removed for access.
Important: Prior to refinishing, refer to GM 4901MD-99 Refinish Manual for recommended products. Do not combine paint systems. Refer to paint manufacturer's recommendations.
| 13.1. | The sealers |
| 13.2. | The anti-corrosion materials |
| 13.3. | A two-part catalyzed primer |
| 13.4. | A top-coat |
