For 1990-2009 cars only
Removal Procedure
The roof panel is attached to the steel roof structure with beads of adhesive on the sides and spot-welds on the windshield and back-glass flanges. Replacement of the roof panel can be performed using conventional procedures, however, the windshield and back glass must be removed.
Important: Use care when cutting to protect adjacent panels. Cut inboard of the roof structure.
- Remove all related panels and components.
- Visually inspect and restore as much of the damage as possible to the factory specifications.
- Remove the following:
- Locate and mark all factory welds.
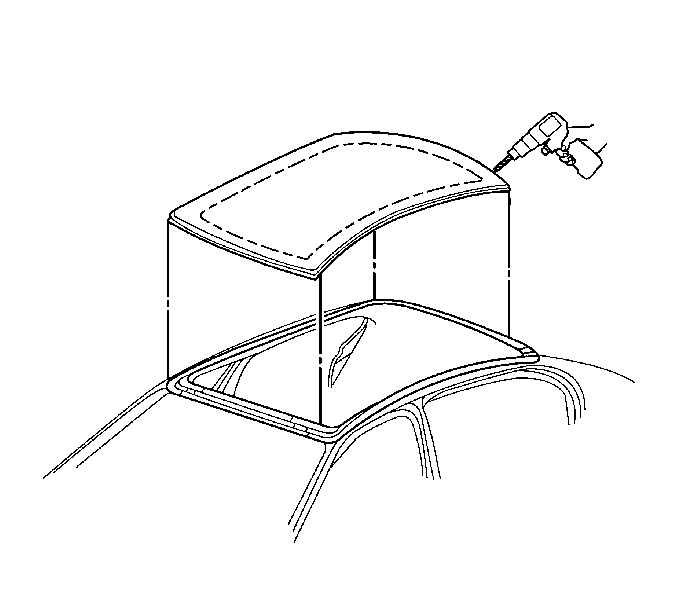
- Drill all factory welds. Note the number and location of welds for installation of the service assembly.
- Cut the adhesive with an appropriate tool after removing the panel.
- Remove the remaining portion of the original panel.

| • | The sealers |
| • | The sound deadeners |
| • | The anti-corrosion materials |
Installation Procedure

- Clean and prepare the attaching surfaces for welding.
- Drill 8 mm (5/16 in) for plug welding along the windshield and back glass edges of the service panel as noted from the original panel. Drill the holes for plug welding along the front and rear flanges every 40 mm (1 1/2 in).
- Prepare all mating surfaces as necessary.
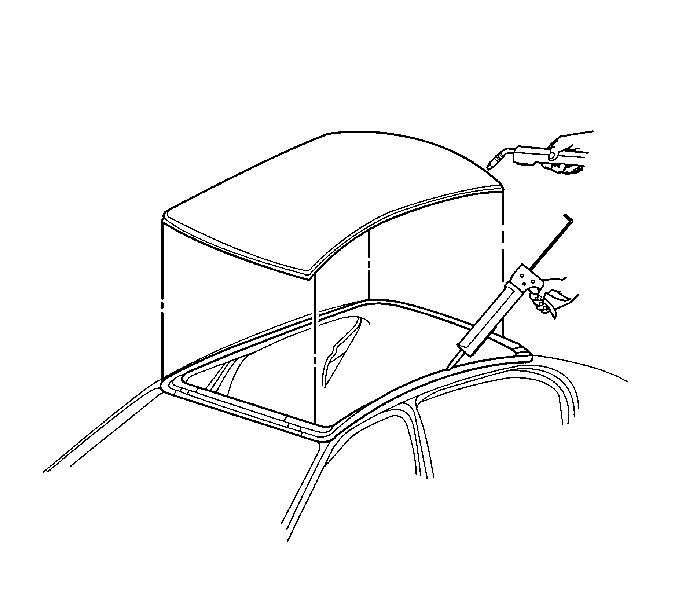
- Apply 3M Weld-Thru Coating P/N 05916 or equivalent to all mating surfaces.
- Position the service panel.
- Install the panel using one-part windshield urethane to side flanges.
- Check the fit.
- Plug weld accordingly.
- Prime with 2-part catalyzed primer.
- Install all related panels and components.
