For 1990-2009 cars only
Tools Required
J 45059 Torque Angle Meter
Removal Procedure
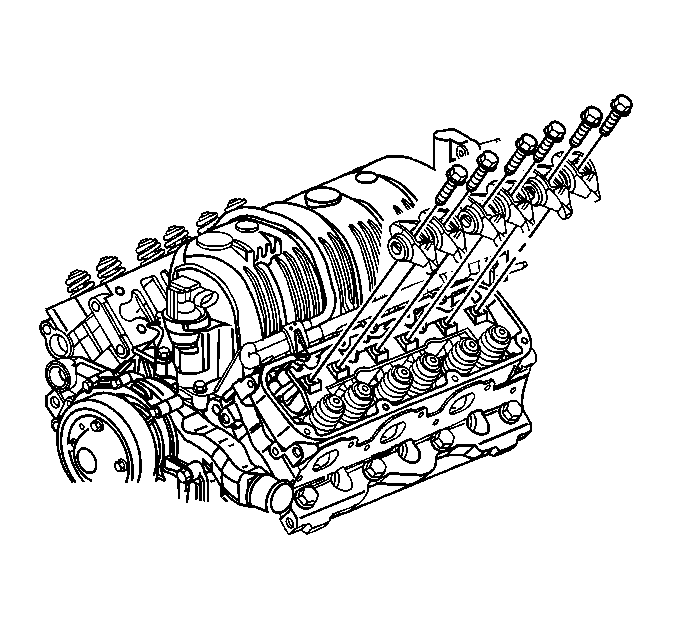
- Remove the valve rocker arm cover(s). Refer to Valve Rocker Arm Cover Replacement - Left Side and/or Valve Rocker Arm Cover Replacement - Right Side .
- Remove the valve rocker arm bolt(s).
- Remove the valve rocker arm(s).
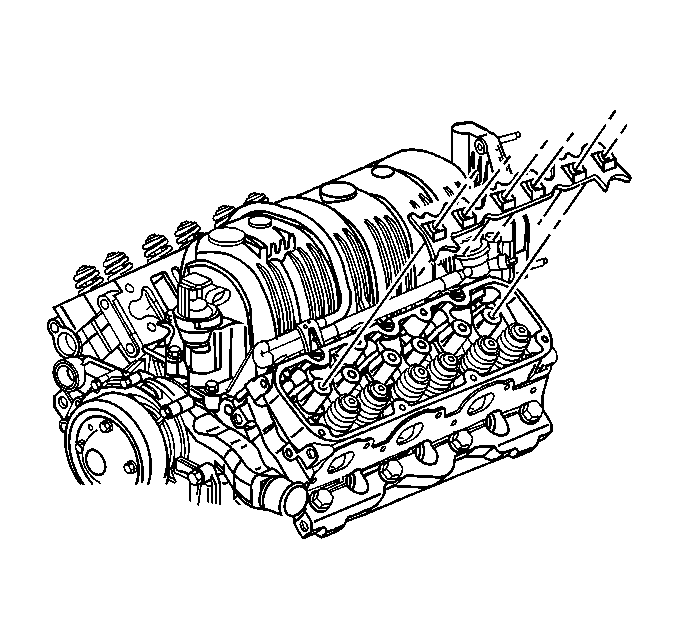
- Remove the valve rocker arm guide plate, if all of the rocker arms are being removed.
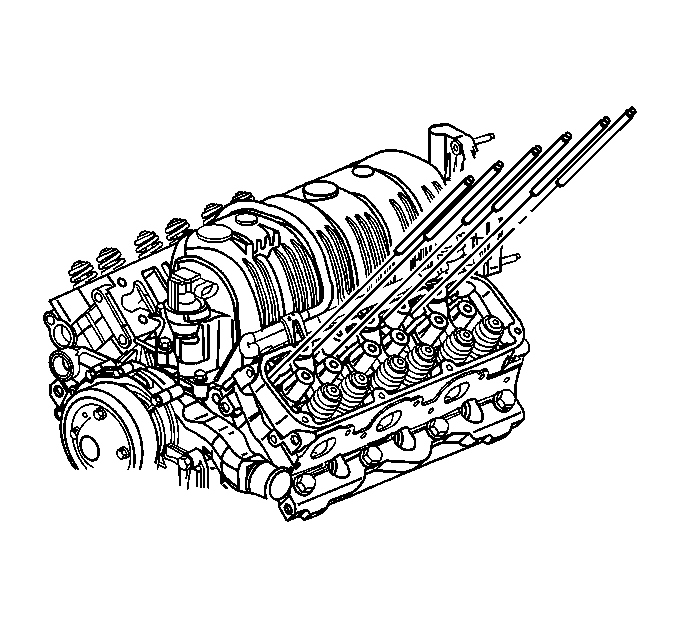
- Remove the push rod(s).
- Clean the push rods, the valve rocker arms, the bolts, and the guide plates in a suitable solution.
- Clean the valve rocker arm bolts of all thread adhesive.

Important: Place the parts on a clean surface. Store the components in order so they can be reassembled in the same location and with the same mating surfaces as when removed.


Installation Procedure
- Use compressed air in order to blow oil out of the tapped holes in the cylinder head.
- Lubricate the ends of the push rods with prelube. Refer to Adhesives, Fluids, Lubricants, and Sealers for the correct part number. Install the push rods to the same position they were removed from.
- Install the valve rocker arm guide plate(s).
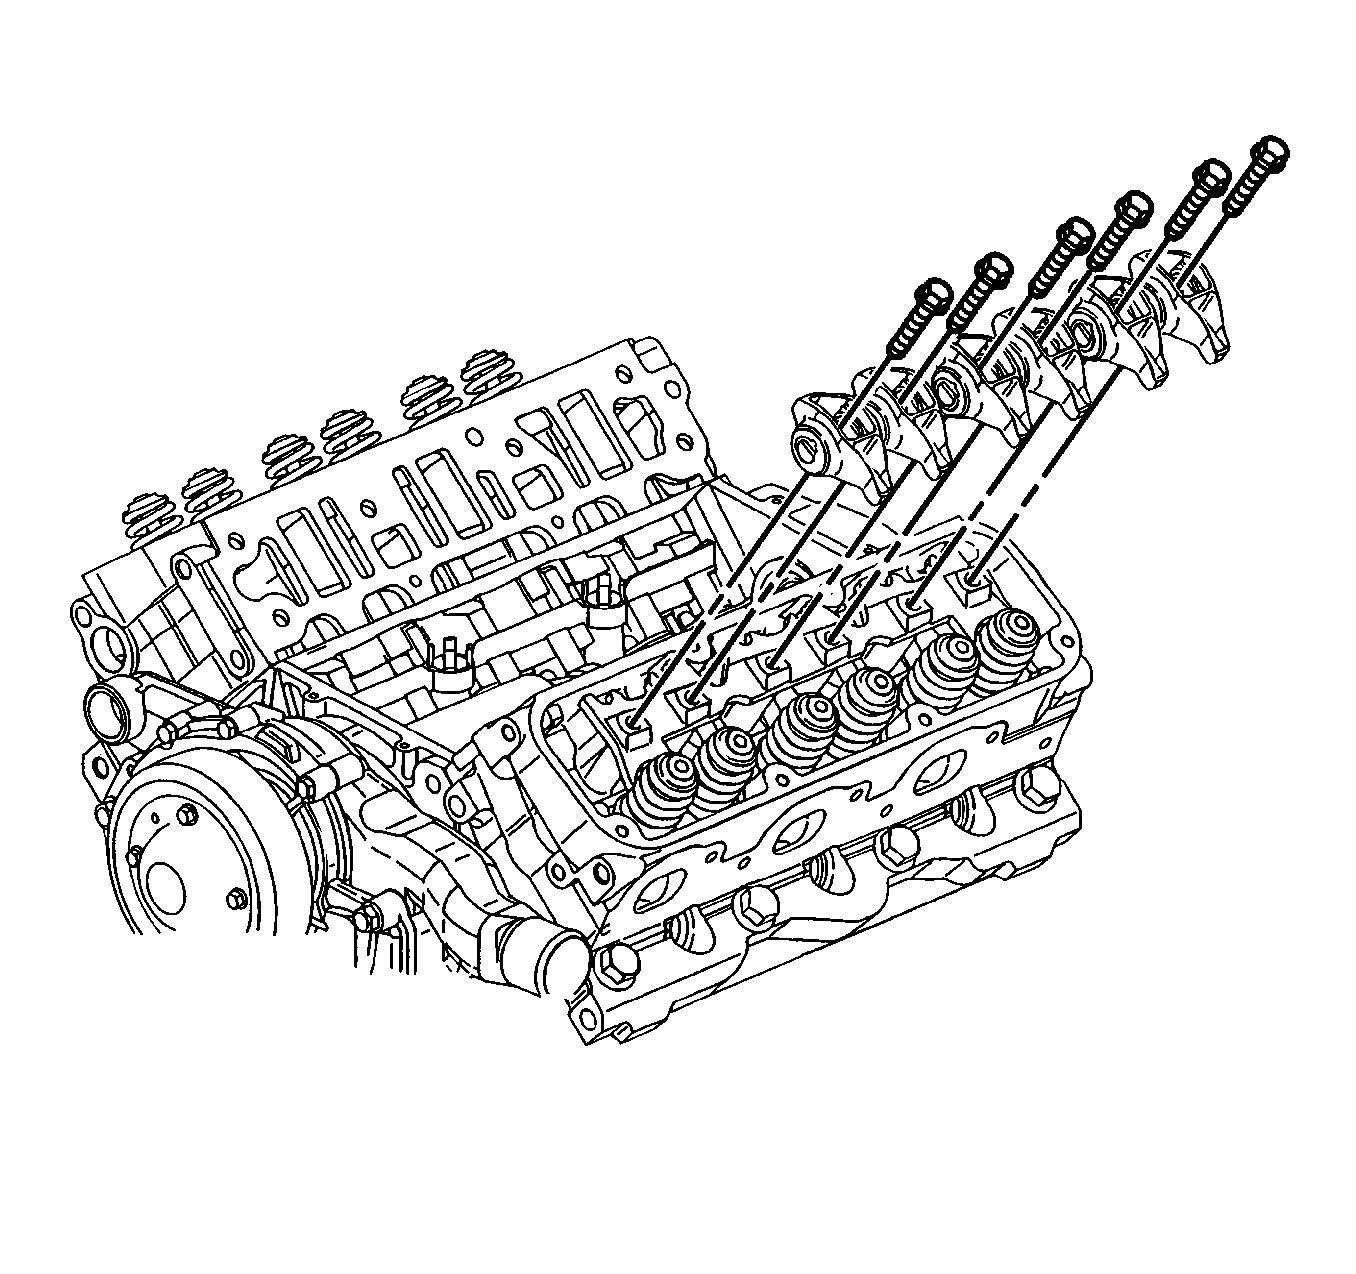
- Install the valve rocker arm(s).
- Apply threadlock to the rocker arm bolt threads. Refer to Adhesives, Fluids, Lubricants, and Sealers for the correct part number.
- Install the rocker arm bolt(s).
- Install the valve rocker arm cover(s). Refer to Valve Rocker Arm Cover Replacement - Left Side and/or Valve Rocker Arm Cover Replacement - Right Side .
- Inspect the valve train for noise.


Notice: This bolt is designed to permanently stretch when tightened, and therefore MUST be replaced anytime it is removed. The correct part number fastener must be used to replace this type of fastener. Do not use a bolt that is stronger in this application. If the correct bolt is not used, the parts will not be tightened correctly. The system or the components may be damaged.
Notice: Refer to Fastener Notice in the Preface section.
Tighten
Tighten the bolts to 15 N·m (11 lb ft) plus and additional 90 degrees using the
J 45059
.
