Engine Coolant Fan Shroud Replacement LZ9
Tools Required
J 38185 Hose Clamp Plier
Removal Procedure
- Disconnect the battery negative cable. Refer to Battery Negative Cable Disconnection and Connection.
- Remove the condenser. Refer to Air Conditioning Condenser Replacement.
- Remove the upper tie bar. Refer to Front End Upper Tie Bar Replacement.
- Drain the cooling system. Refer to Cooling System Draining and Filling.
- Raise and support the vehicle. Refer to Lifting and Jacking the Vehicle.
- Remove the front air deflector. Refer to Front Air Deflector Replacement.
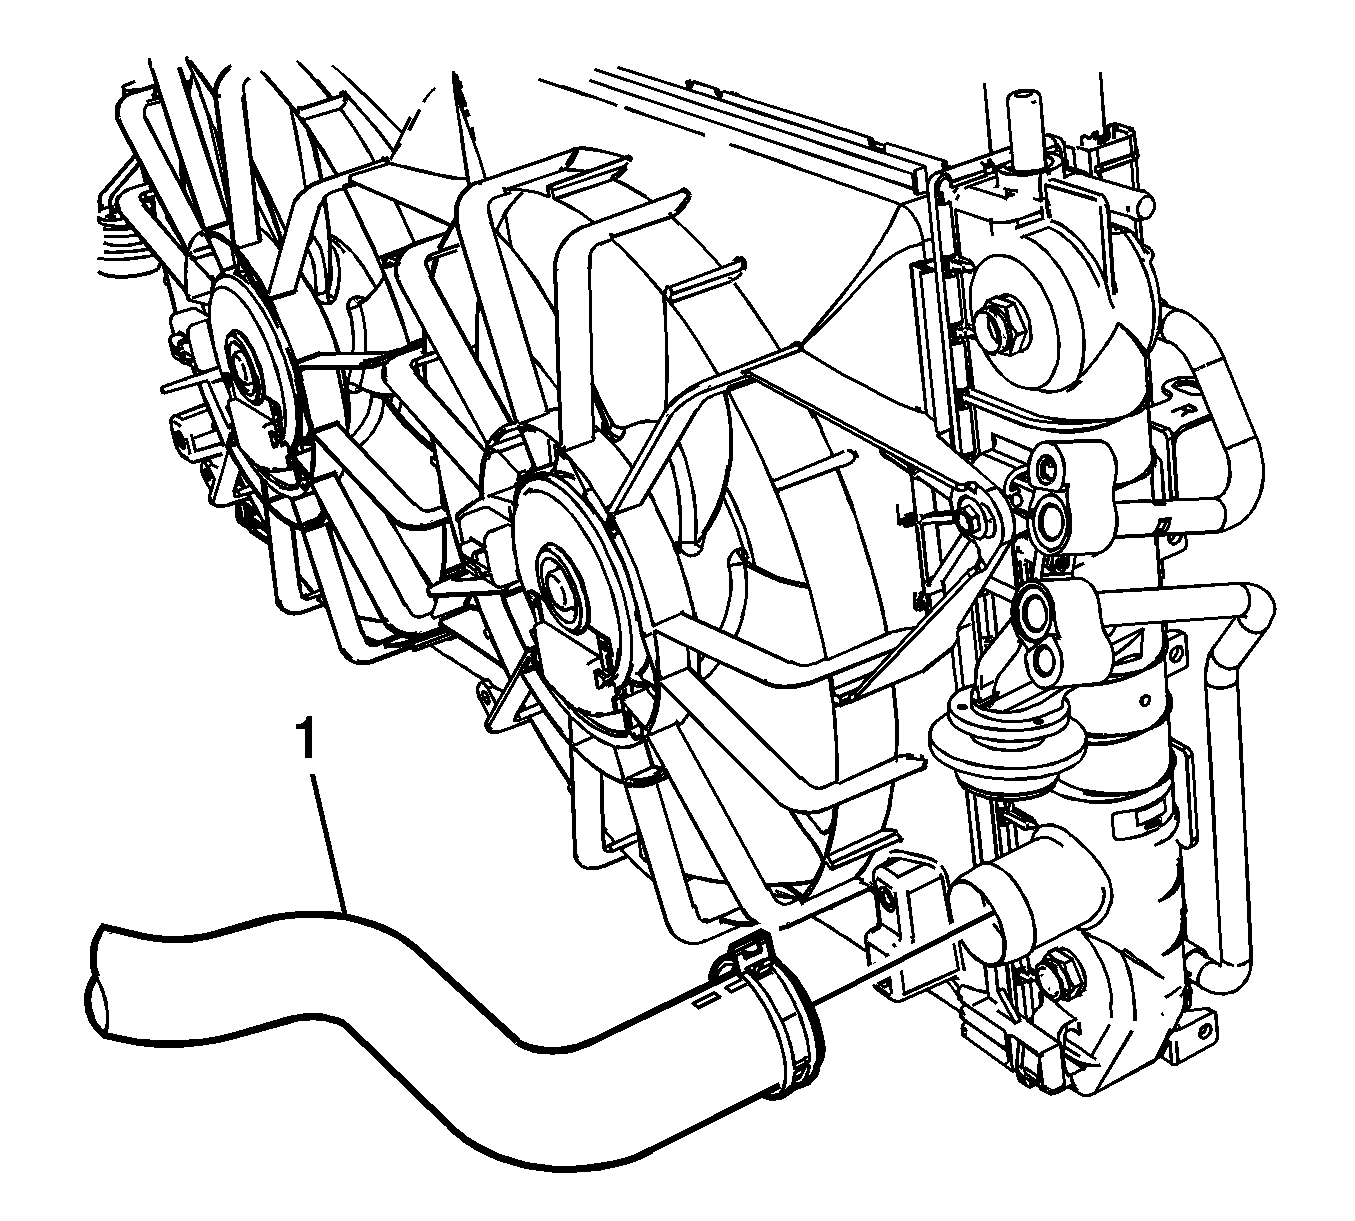
- Using J 38185 Hose Clamp Plier reposition the radiator outlet hose clamp.
- Remove the radiator outlet hose (1) from the radiator.
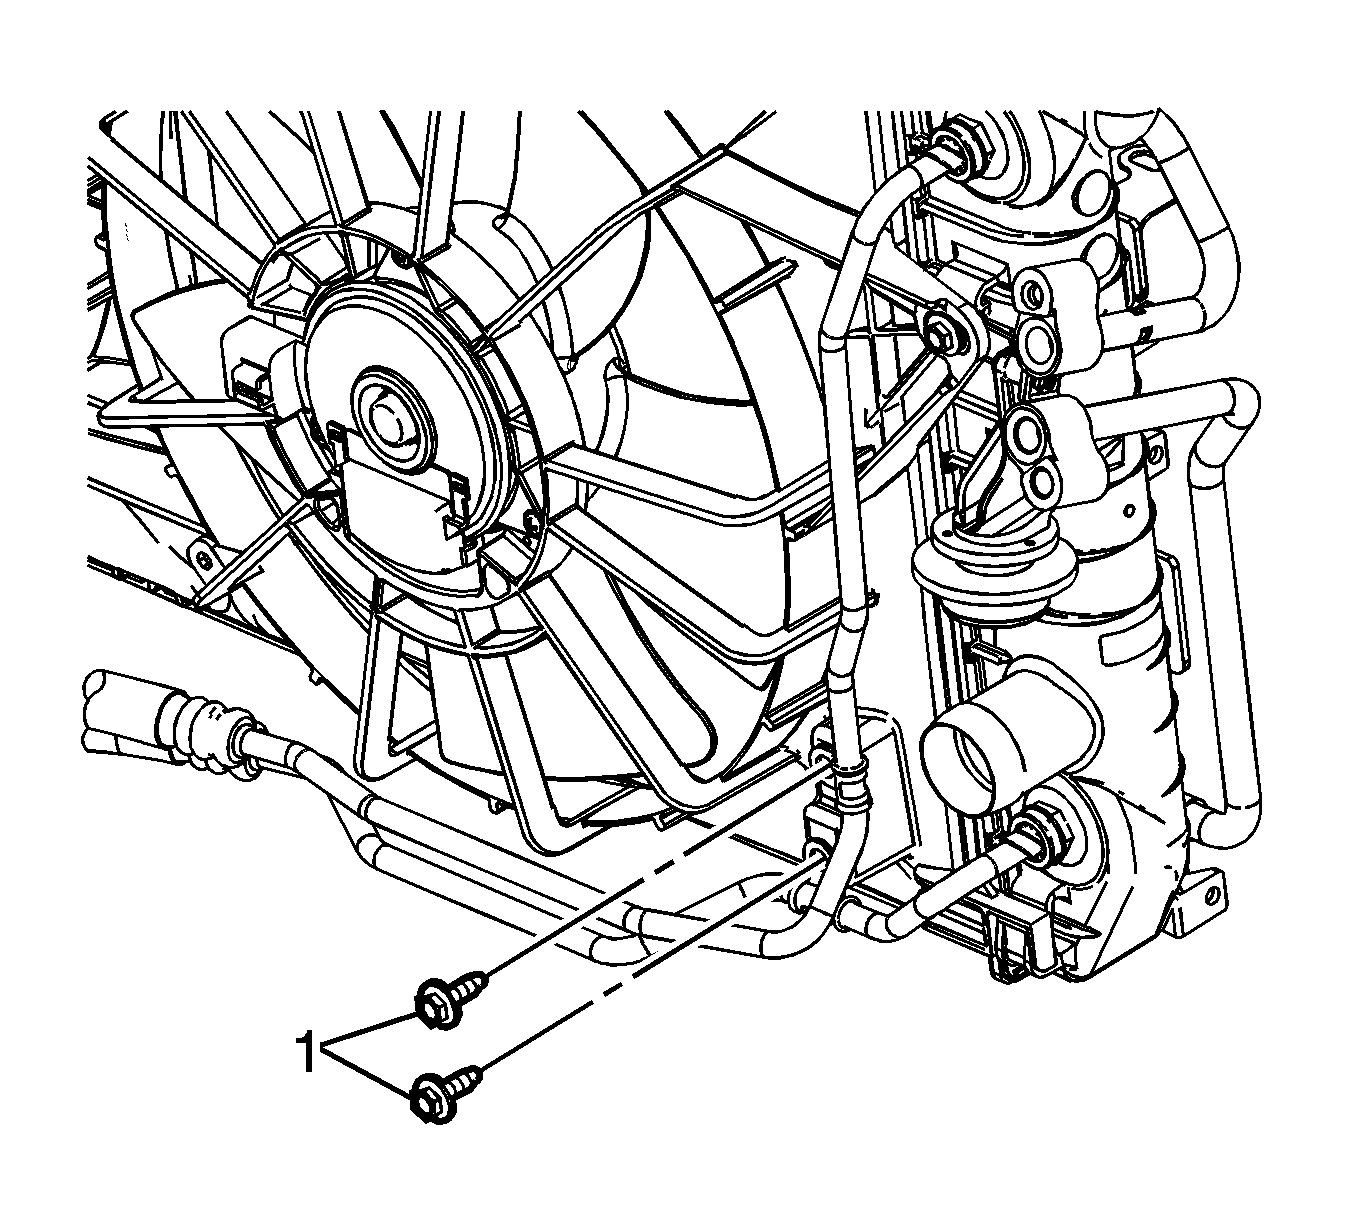
- Remove the transmission oil cooler pipe retaining bolts (1) from the fan shroud.
- Lower the vehicle.
- Using J 38185 Hose Clamp Plier reposition the radiator inlet hose clamp.
- Disconnect the radiator inlet hose from the radiator.
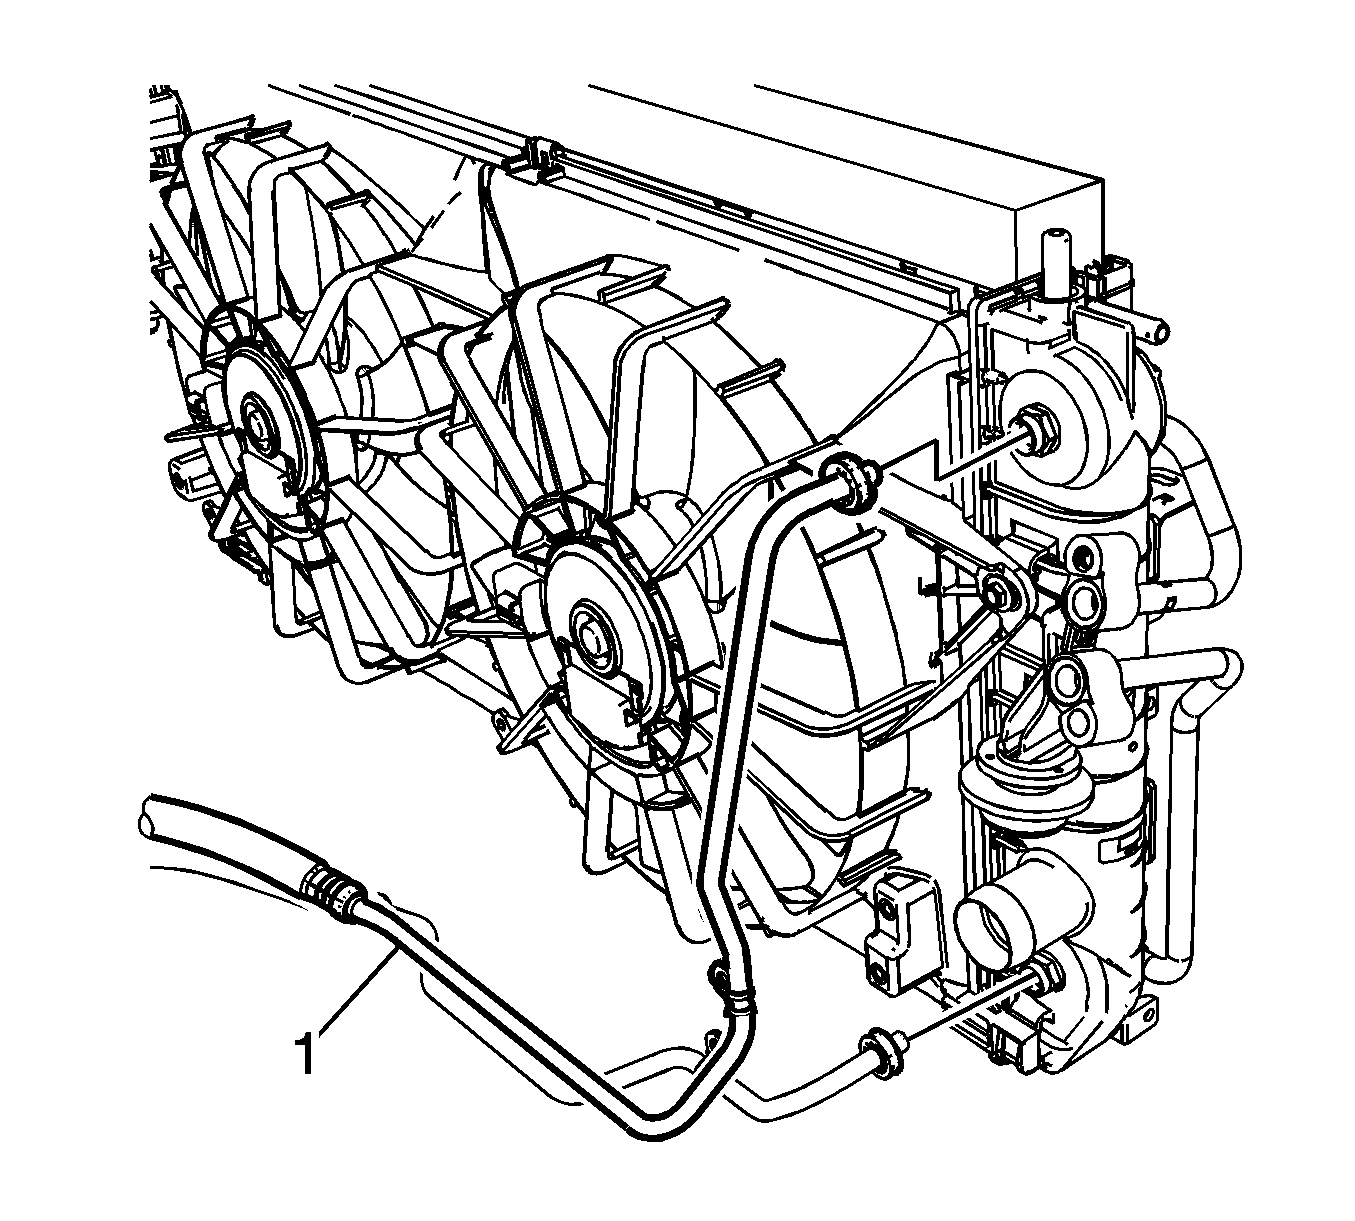
- Slide the transmission oil cooler line caps reward to access the lines to the radiator.
- Remove the transmission oil cooler lines (1) from the radiator. Refer to Transmission Fluid Cooler Hose/Pipe Quick-Connect Fitting Disconnection and Connection.
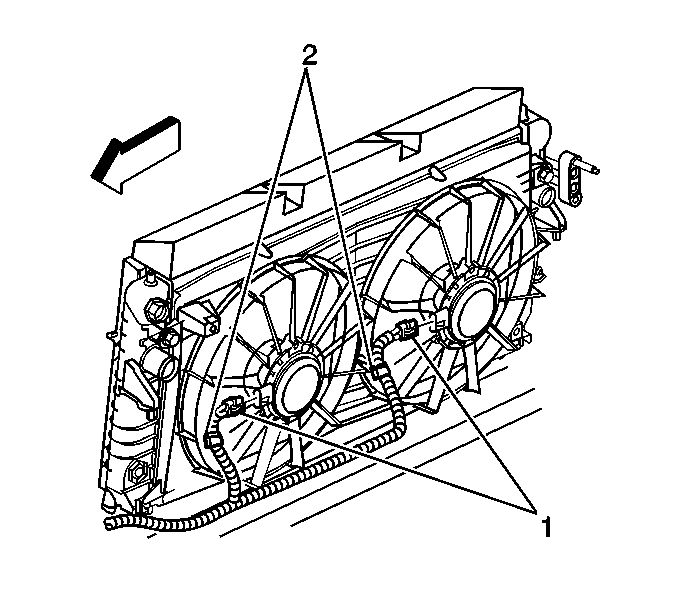
- Disconnect the wiring harness electrical connectors (1) from the cooling fan motors.
- Remove the clips (2) attaching the harness to the fan shroud.
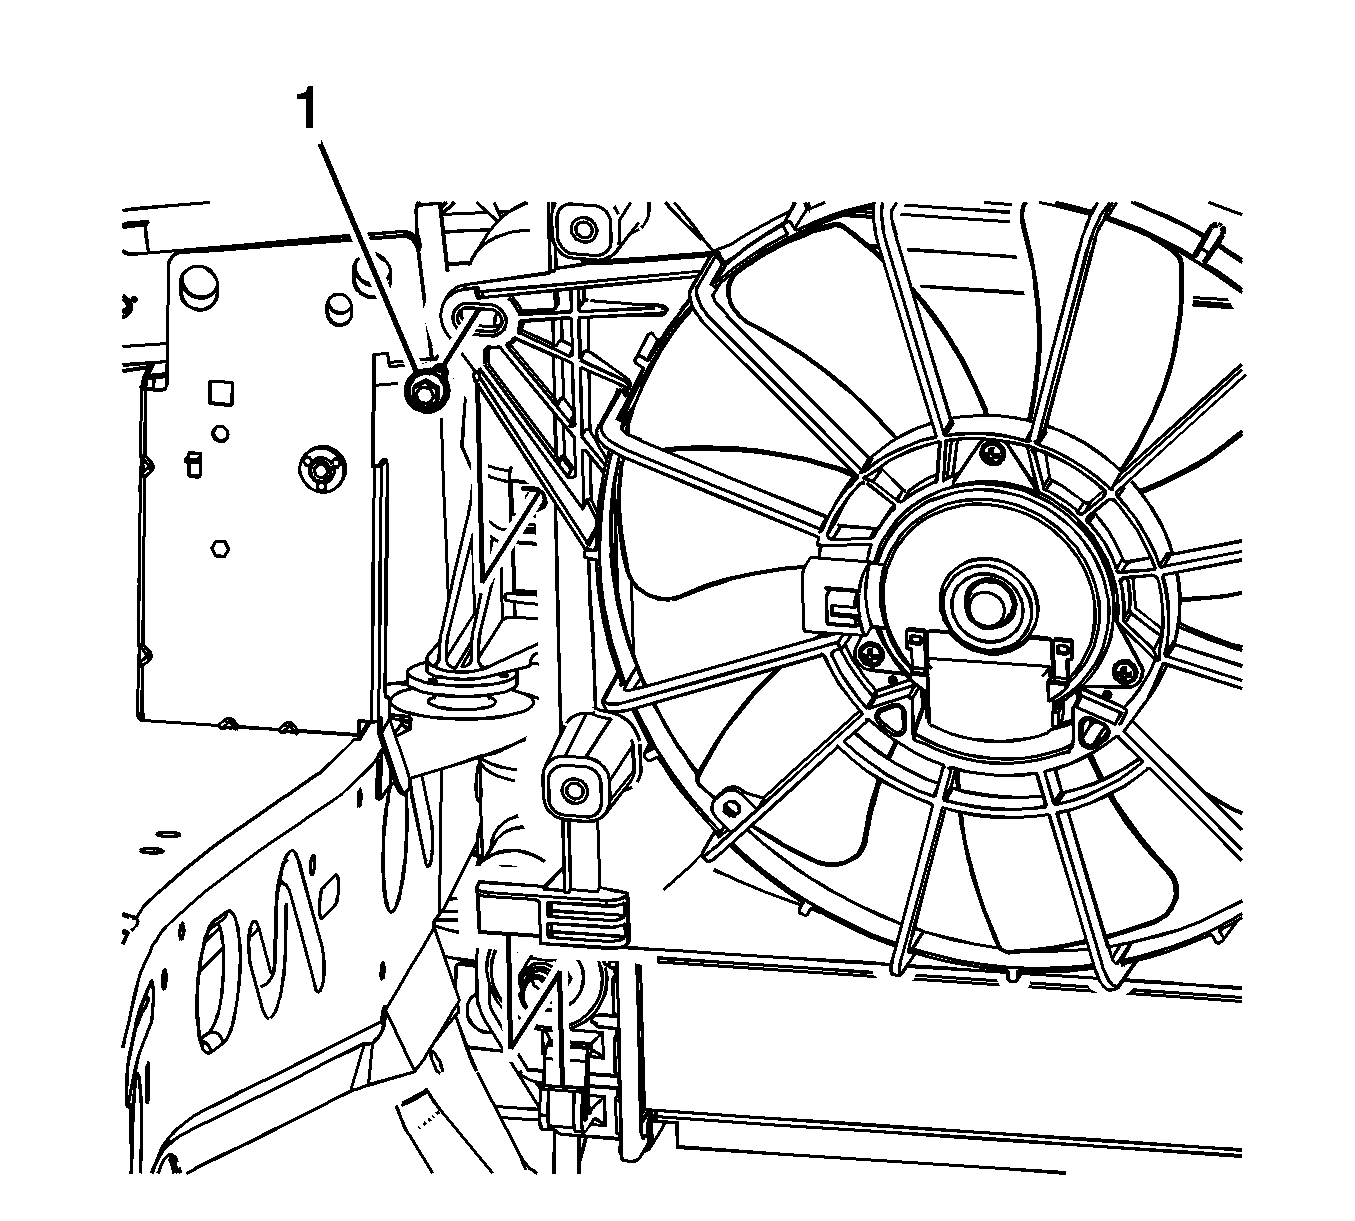
- Remove the fan shroud mounting bolts (1).
- Remove the fan shroud assembly (1) from the vehicle in the following order:
- Remove the cooling fan motors when replacing the fan shroud assembly. Refer to Engine Coolant Fan Motor Replacement.
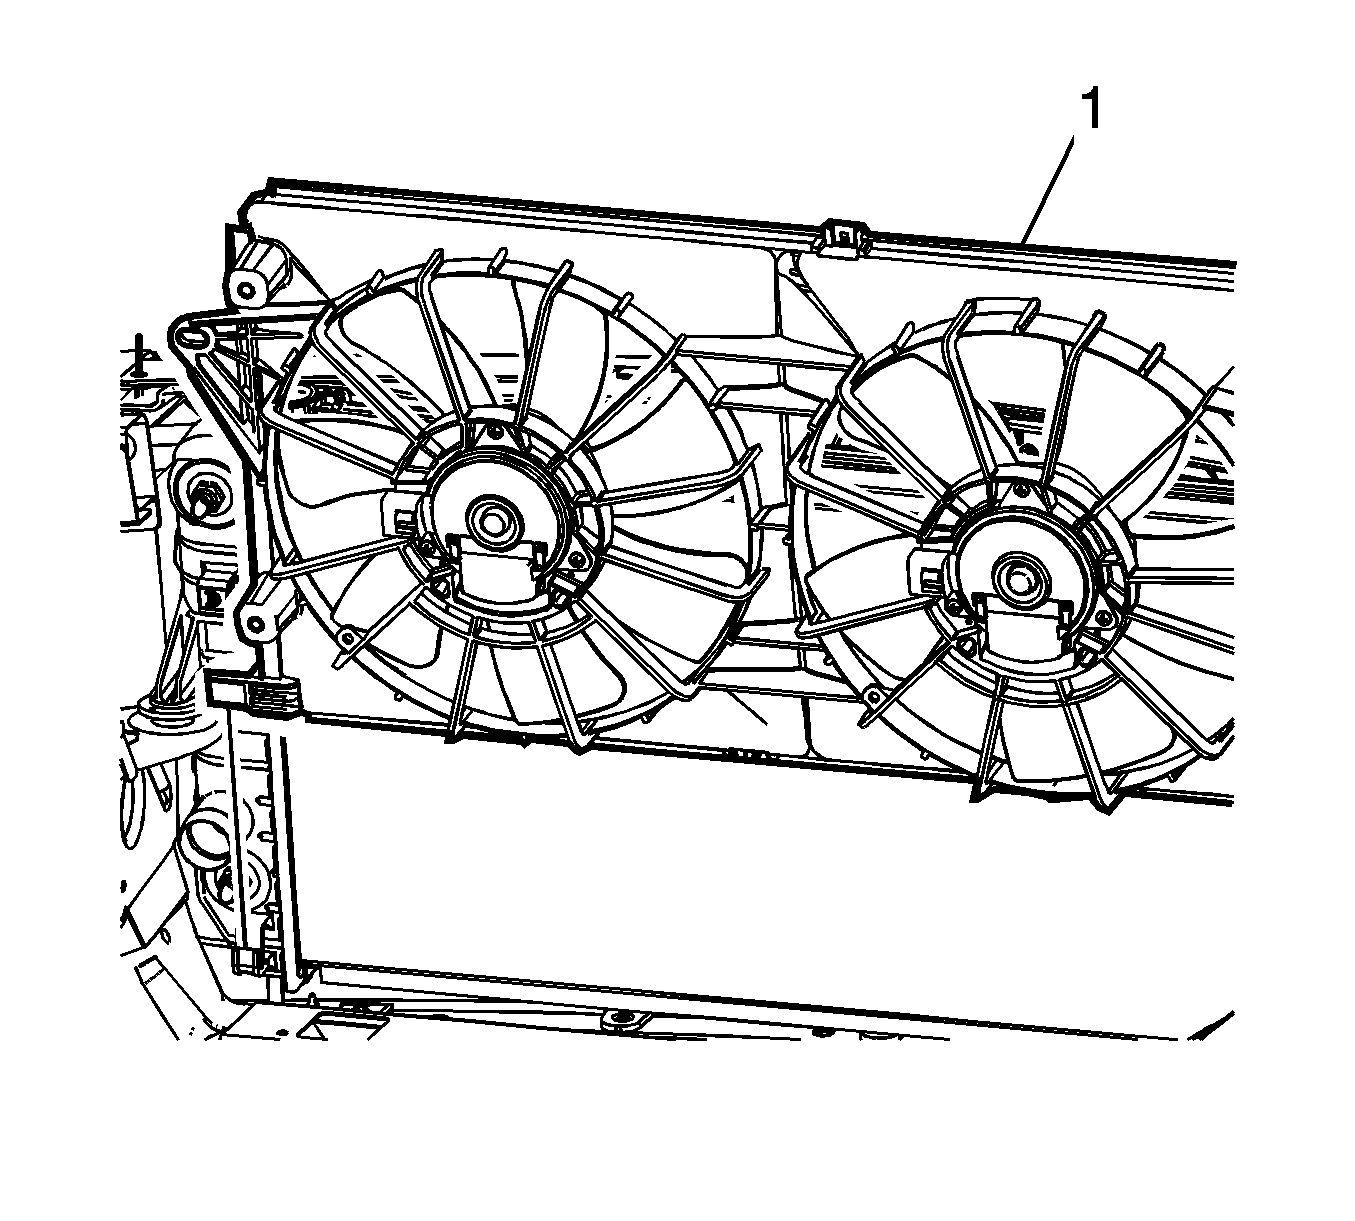
Note: Care should be taken when removing the fan shroud assembly not to damage the lower attachment points of both the fan shroud assembly and the radiator.
| 18.1. | Position the fan shroud assembly towards the left side of the vehicle. |
| 18.2. | Pull upward on the right side of the fan shroud assembly. |
| 18.3. | Position the fan shroud assembly towards the right side of the vehicle. |
| 18.4. | Pull upward on the fan shroud assembly removing the fan shroud assembly from the vehicle. |
Installation Procedure
- Install the cooling fan motors when replacing the fan shroud assembly. Refer to Engine Coolant Fan Motor Replacement.
- Install the fan shroud assembly (1) to the vehicle in the following order:
- Install the fan shroud mounting bolts (1) and tighten to 6 N·m (53 lb in).
- Connect the wiring harness electrical connectors (1) to the cooling fan motors.
- Attach the wiring harness retaining clips (2) to the fan shroud.
- Push the transmission oil cooler pipe into the radiator quick connect fitting, until a "click" is heard.
- Tug gently on the cooler pipe to ensure proper retention.
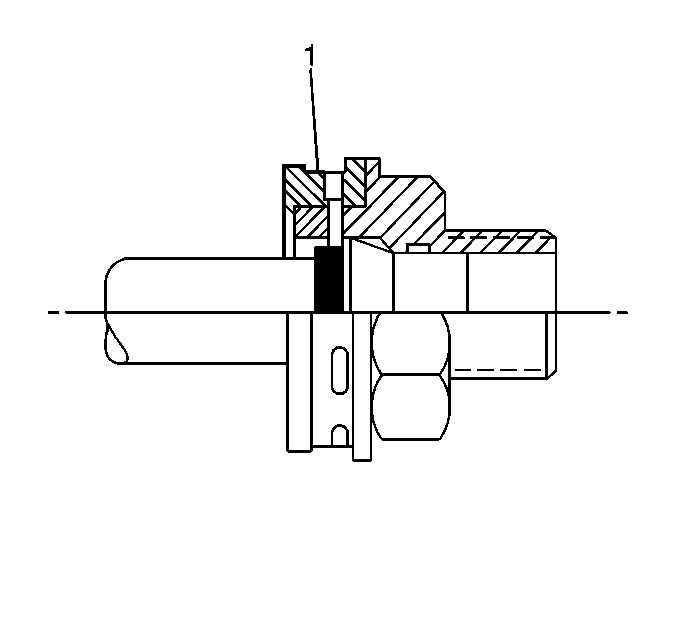
- Slide the plastic cap (1) over the quick connect joint.
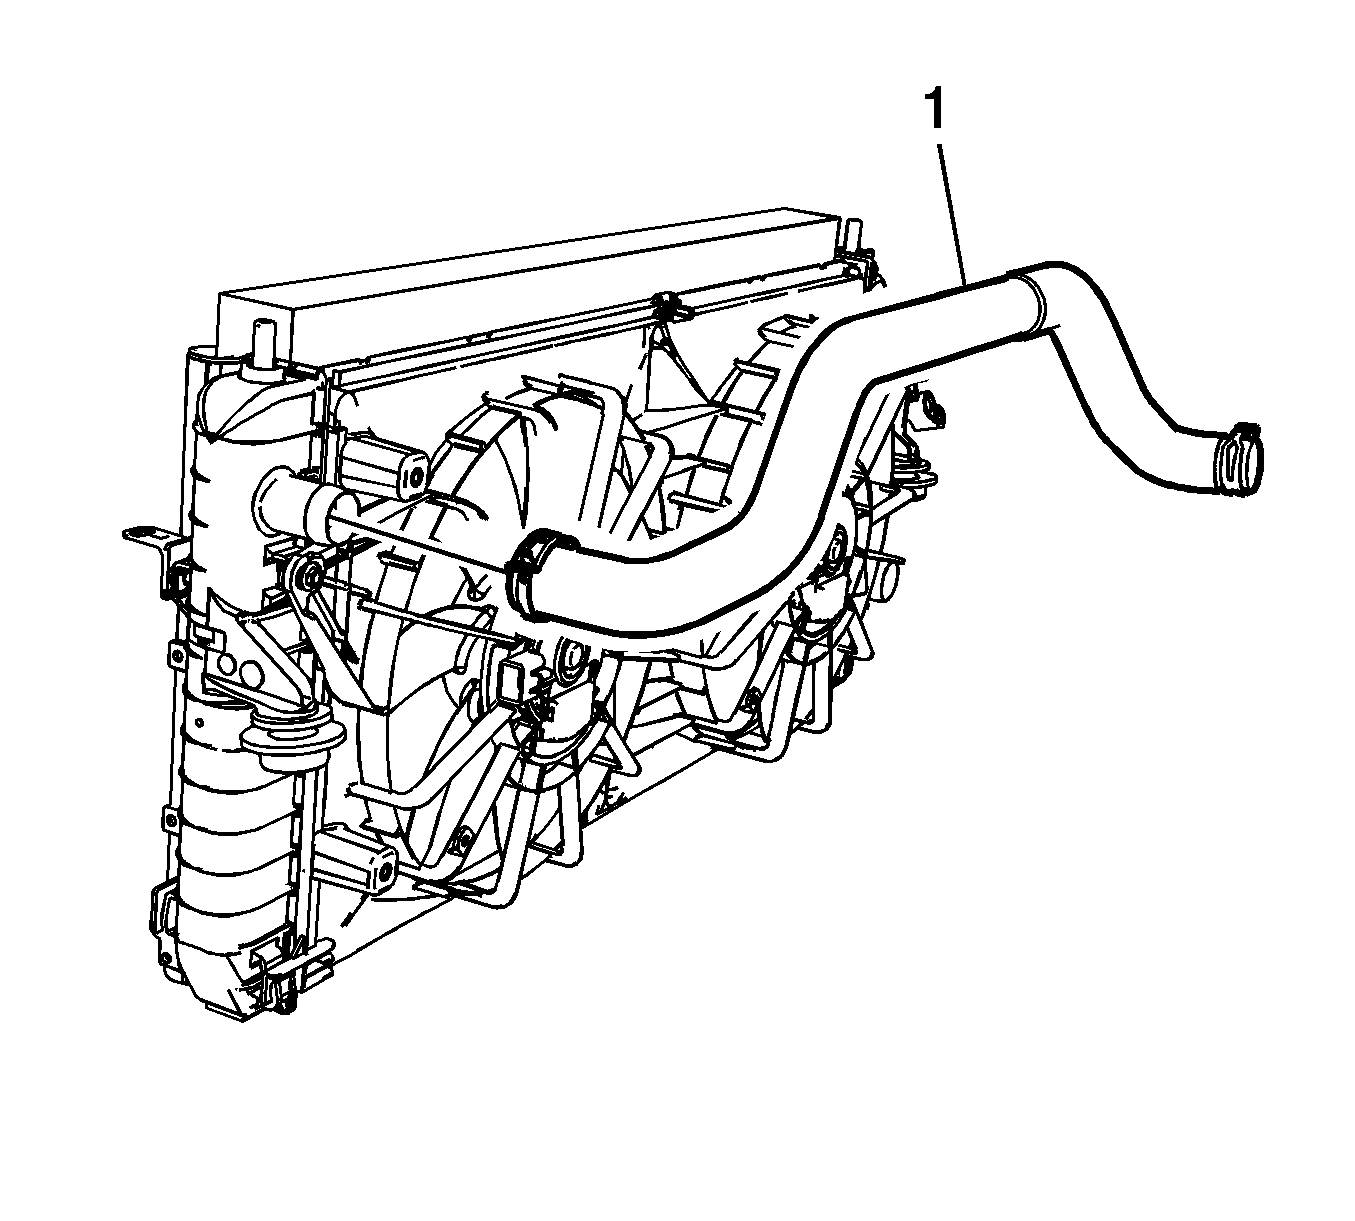
- Install the radiator inlet hose (1) to the radiator.
- Using J 38185 Hose Clamp Plier reposition the radiator inlet hose clamp.
- Raise and support the vehicle. Refer to Lifting and Jacking the Vehicle.
- Install the transmission oil cooler pipe retaining bolts (1) to the fan shroud and tighten to 6 N·m (53 lb in).
- Install the radiator outlet hose (1) to the radiator.
- Using J 38185 Hose Clamp Plier reposition the radiator outlet hose clamp.
- Install the front air deflector. Refer to Front Air Deflector Replacement.
- Lower the vehicle.
- Install the upper tie bar. Refer to Front End Upper Tie Bar Replacement.
- Install the condenser. Refer to Air Conditioning Condenser Replacement.
- Fill the cooling system. Refer to Cooling System Draining and Filling.
- Connect the battery negative cable. Refer to Battery Negative Cable Disconnection and Connection.
- Inspect the transmission oil level.

Note: Care should be taken when removing the fan shroud assembly not to damage the lower attachment points of both the fan shroud assembly and the radiator.
| 2.1. | Position the fan shroud assembly behind the radiator. |
| 2.2. | Position the fan shroud assembly towards the right side of the vehicle. |
| 2.3. | Push downward on the right side of the fan shroud assembly. |
| 2.4. | Move the fan shroud assembly into position, aligning the lower feet of the fan shroud to the mounting tabs on the radiator. |
Caution: Refer to Fastener Caution in the Preface section.

Note: The bolts retaining the fan to the radiator end tanks are a special length and should be the ONLY bolts used upon reinstallation. The use of longer bolts will damage the radiator end tanks.



Engine Coolant Fan Shroud Replacement LD8
Tools Required
J 38185 Hose Clamp Plier
Removal Procedure
- Disconnect the battery negative cable. Refer to Battery Negative Cable Disconnection and Connection.
- Remove the condenser. Refer to Air Conditioning Condenser Replacement.
- Remove the upper tie bar. Refer to Front End Upper Tie Bar Replacement.
- Drain the cooling system. Refer to Cooling System Draining and Filling.
- Remove the front air deflector. Refer to Front Air Deflector Replacement.
- Lower the vehicle.
- Using J 38185 Hose Clamp Plier reposition the radiator inlet hose clamp.
- Disconnect the radiator inlet hose from the radiator.
- Remove the transmission oil cooler pipe retaining bolts from the fan shroud.
- Remove the transmission lines from the radiator. Refer to Transmission Fluid Cooler Hose/Pipe Quick-Connect Fitting Disconnection and Connection.
- Disconnect the wiring harness electrical connectors (1) from the cooling fan motors.
- Remove the clips (2) attaching the harness to the fan shroud.
- Remove the fan shroud mounting bolts.
- Remove the fan shroud assembly from the vehicle in the following order:
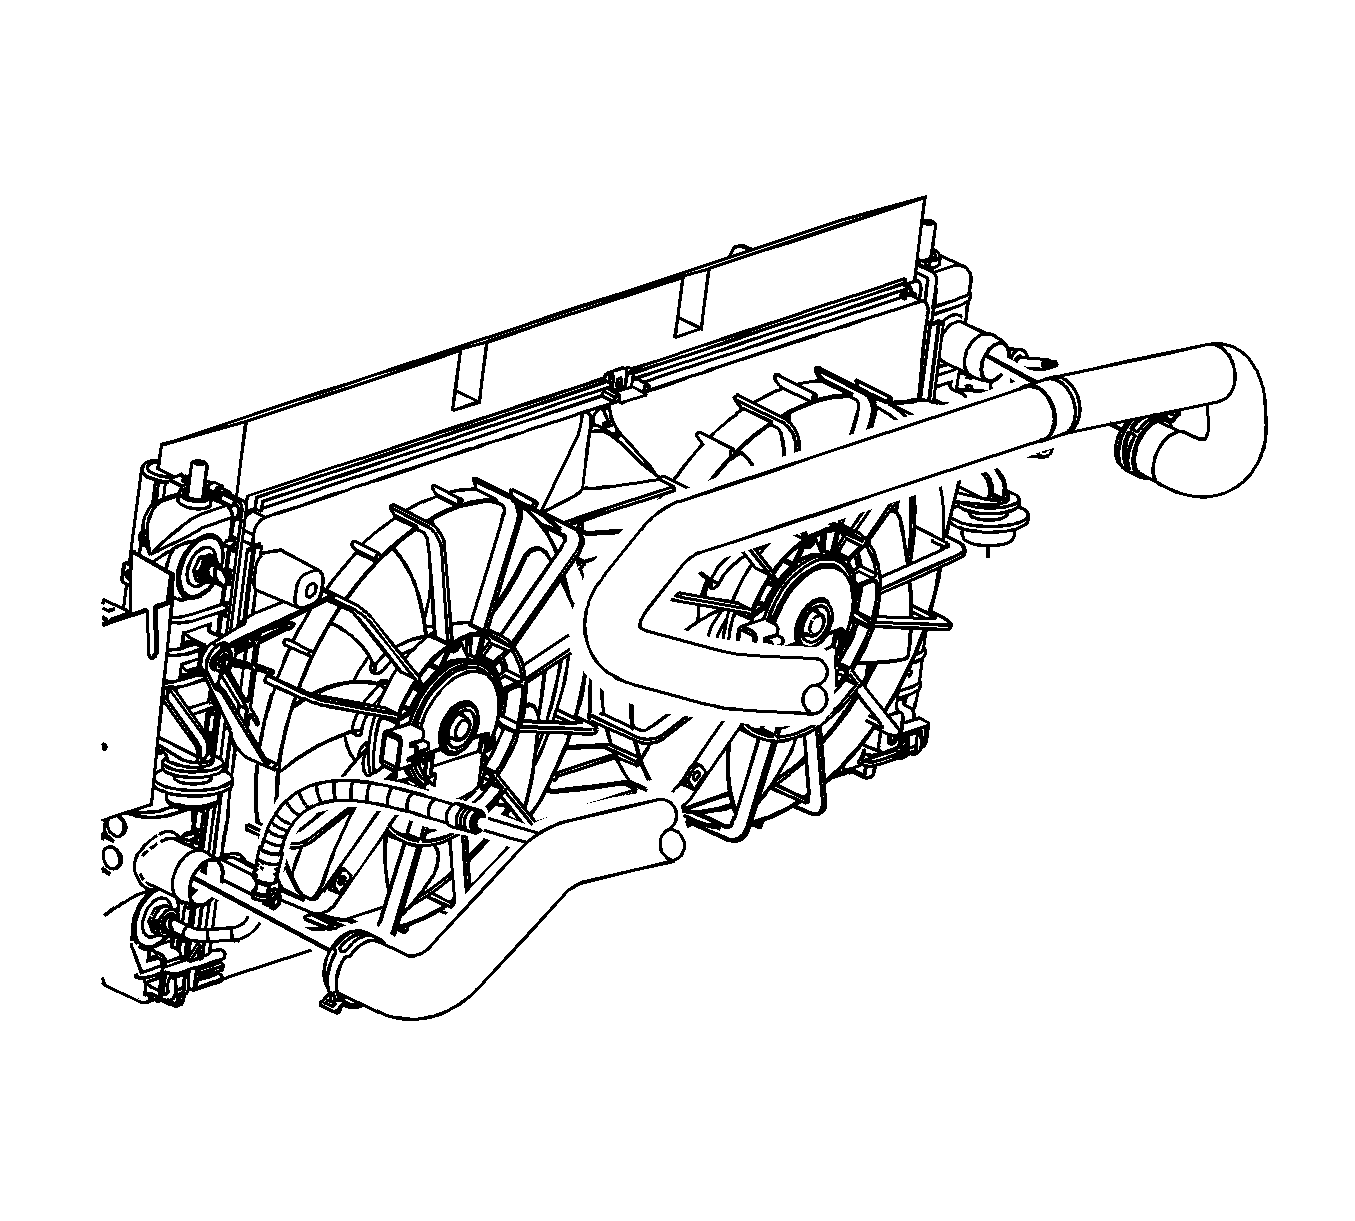
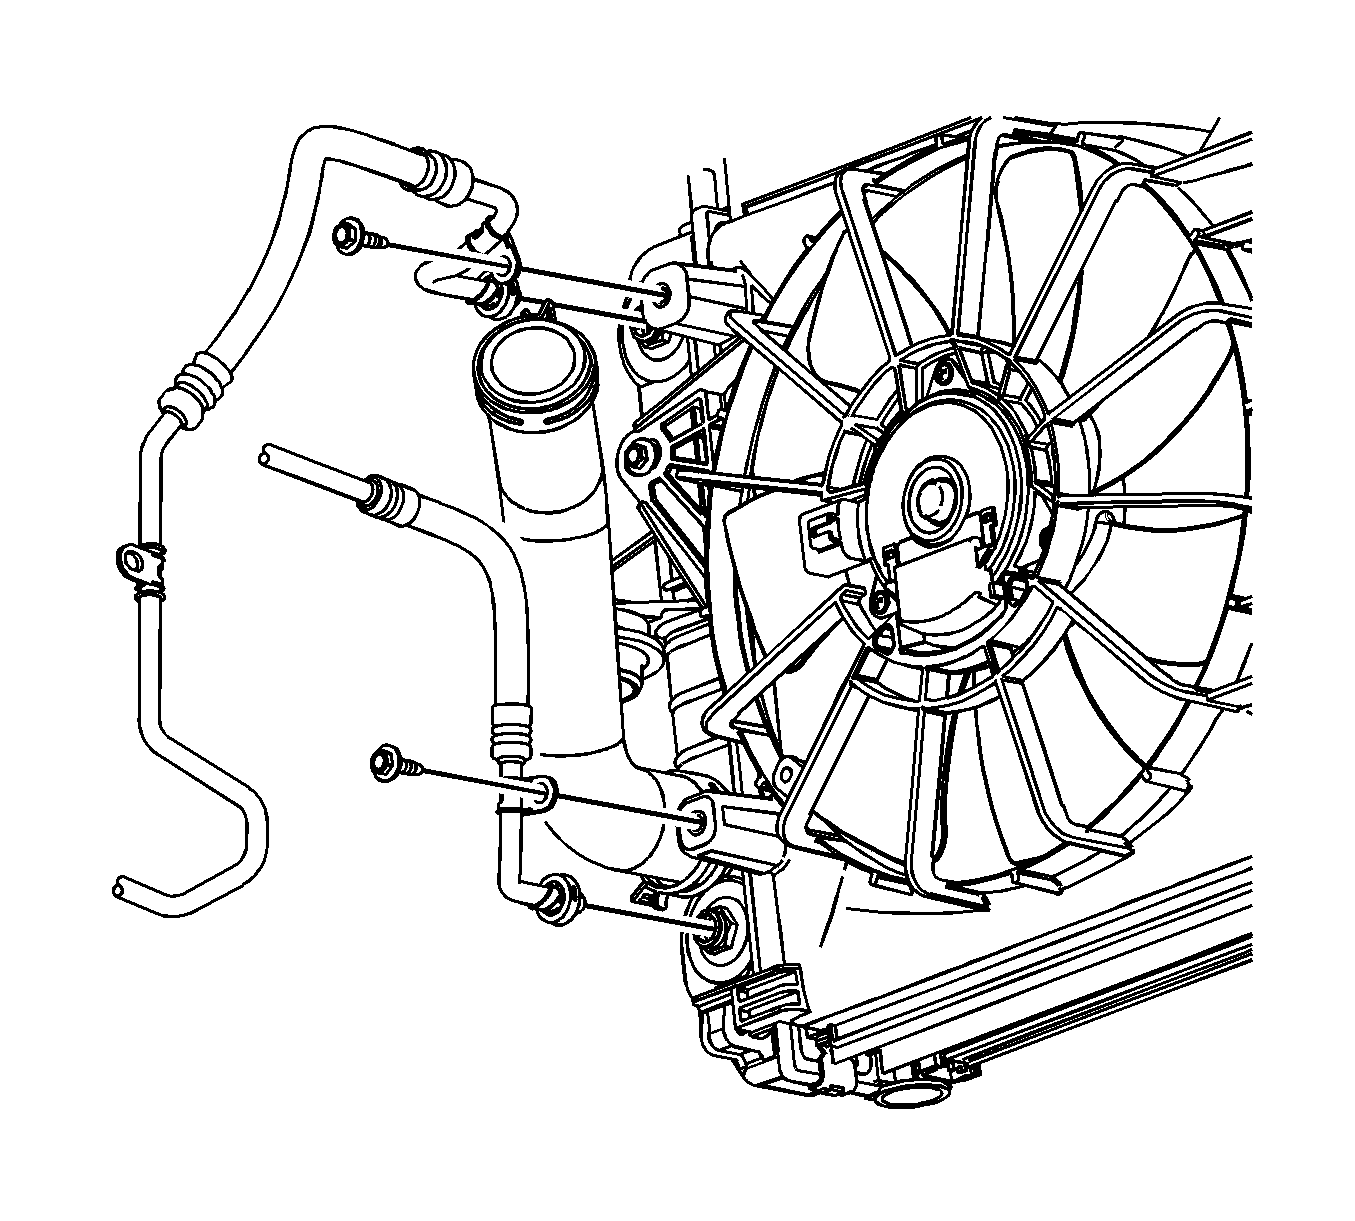

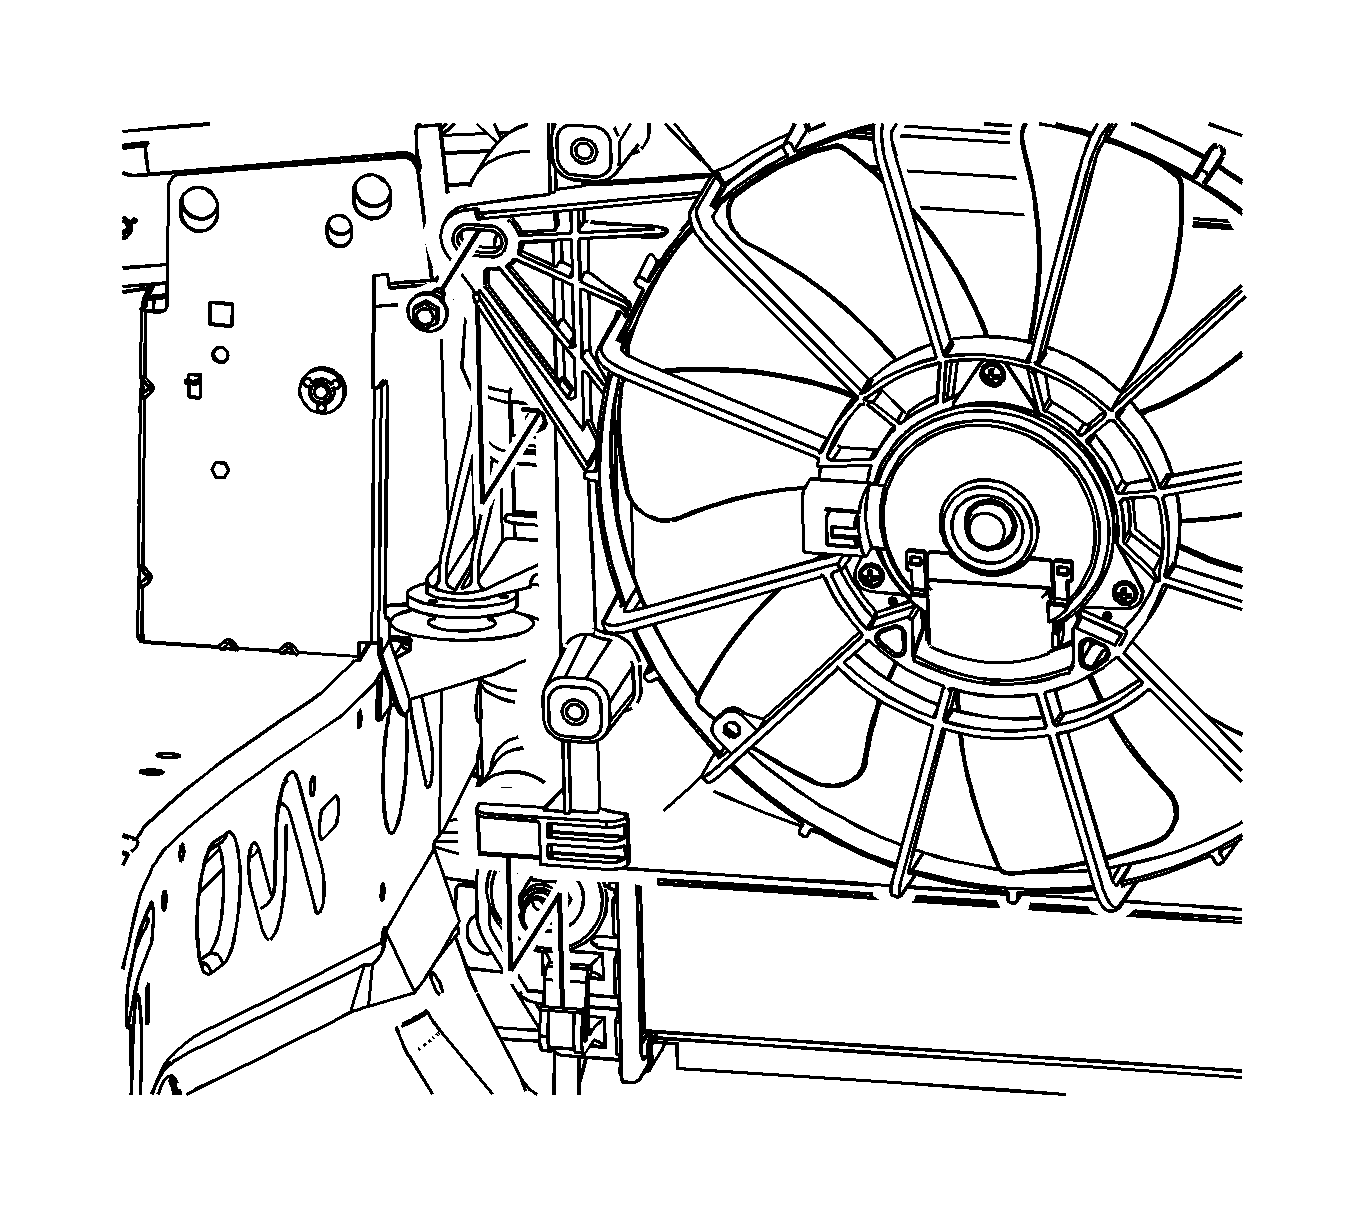
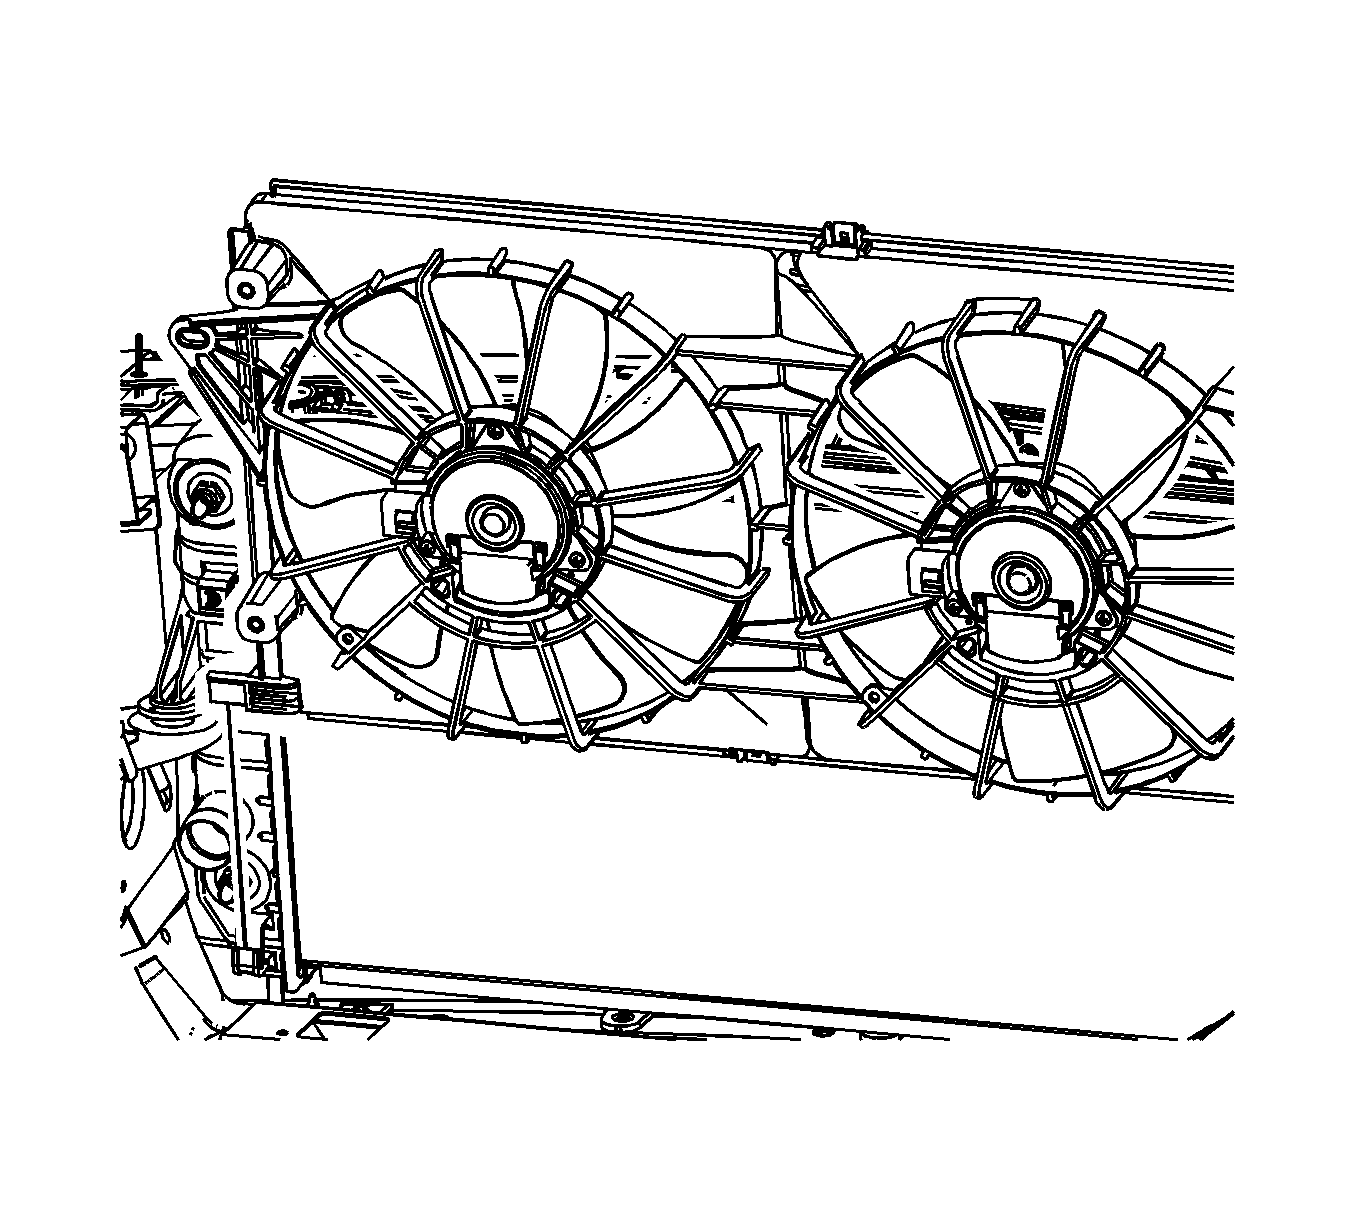
Note: Care should be taken when removing the cooling fan assembly not to damage the lower attachment points of both the cooling fan assembly and radiator.
| 14.1. | Position the fan shroud assembly towards the left side of the vehicle. |
| 14.2. | Pull upward on the right side of the fan shroud assembly. |
| 14.3. | Position the fan shroud assembly towards the right side of the vehicle. |
| 14.4. | Pull upward on the fan shroud assembly removing the fan shroud assembly from the vehicle. |
Installation Procedure
- Install the fan shroud assembly to the vehicle in the following order:
- Install the fan shroud mounting bolts and tighten to 6 N·m (53 lb in).
- Connect the wiring harness electrical connectors (1) to the cooling fan motors.
- Attach the wiring harness retaining clips (2) to the fan shroud.
- Push the upper transaxle oil cooler pipe into the radiator quick connect fitting, until a "click" is heard.
- Tug gently on the cooler pipe to ensure proper retention.
- Slide the plastic cap (1) over the quick connect joint.
- Install the transmission oil cooler pipe retaining bolts to the fan shroud and tighten to 6 N·m (53 lb in).
- Install the radiator inlet hose to the radiator.
- Using J 38185 Hose Clamp Plier reposition the radiator inlet hose clamp.
- Raise and support the vehicle. Refer to Lifting and Jacking the Vehicle.
- Install the front air deflector. Refer to Front Air Deflector Replacement.
- Lower the vehicle.
- Install the upper tie bar. Refer to Front End Upper Tie Bar Replacement.
- Install the condenser. Refer to Air Conditioning Condenser Replacement.
- Fill the cooling system. Refer to Cooling System Draining and Filling.
- Connect the battery negative cable. Refer to Battery Negative Cable Disconnection and Connection.
- Inspect the engine oil level.

Note: Care should be taken when installing the cooling fan assembly not to damage the lower attachment points of both the cooling fan assembly and radiator.
| 1.1. | Position the fan shroud assembly behind the radiator. |
| 1.2. | Position the fan shroud assembly towards the right side of the vehicle. |
| 1.3. | Push downward on the right side of the fan shroud assembly. |
| 1.4. | Move the fan shroud assembly into position, aligning the lower feet of the fan shroud to the mounting tabs on the radiator. |
Caution: Refer to Fastener Caution in the Preface section.

Note: The bolts retaining the cooling fan to the radiator end tanks are a special length and should be the ONLY bolts used upon reinstallation. The use of longer bolts will damage the radiator end tanks.


