Special Tools
Warning: Refer to Brake Fluid Irritant Warning in the Preface section.
Disassembly Procedure
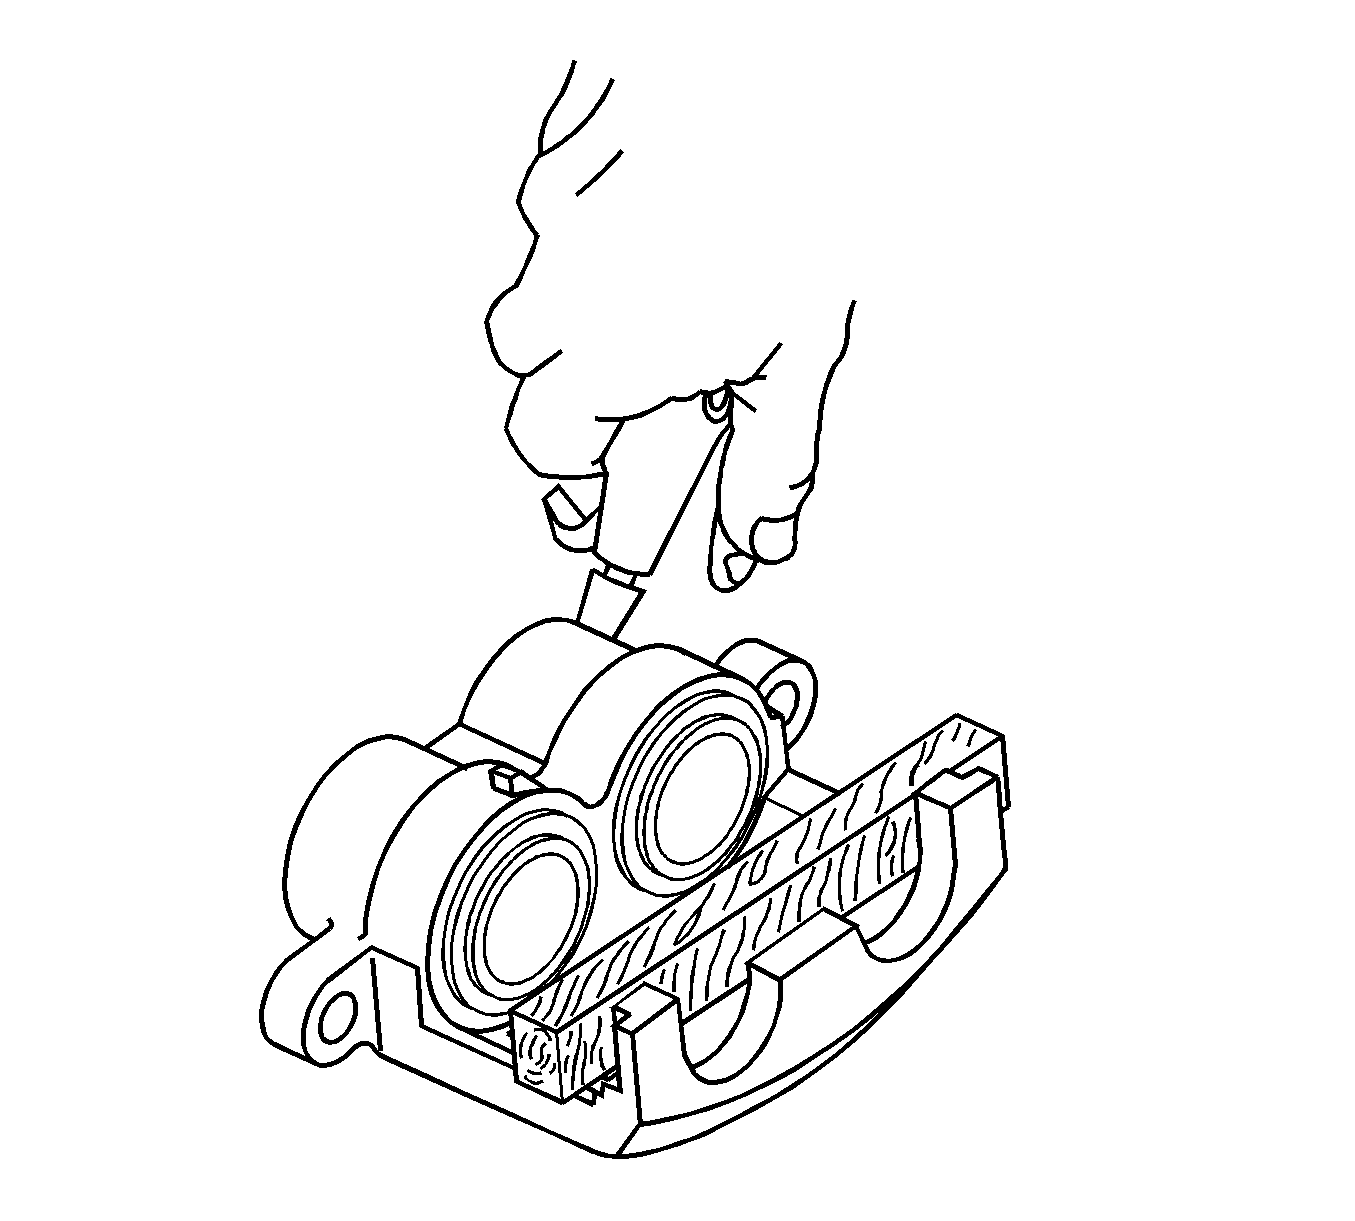
- Drain all the brake fluid from the caliper.
Warning: Do not place fingers in front of the caliper piston(s) in an attempt to catch or protect it when applying compressed air. The piston(s) can fly out with force and could result in serious bodily
injury.
Note: In the following service procedure, the caliper piston may become damage when it is removed from the brake caliper assembly. If this happens, DO NOT reuse the piston. Discard and replaced with new.
- Install the brake caliper in a suitable holding devise.
- Insert a piece of wood in the brake caliper.
- Cover the brake caliper with a shop towel.
- Using compressed filtered, non-lubricated air, apply the air to the remove the pistons from the brake caliper.
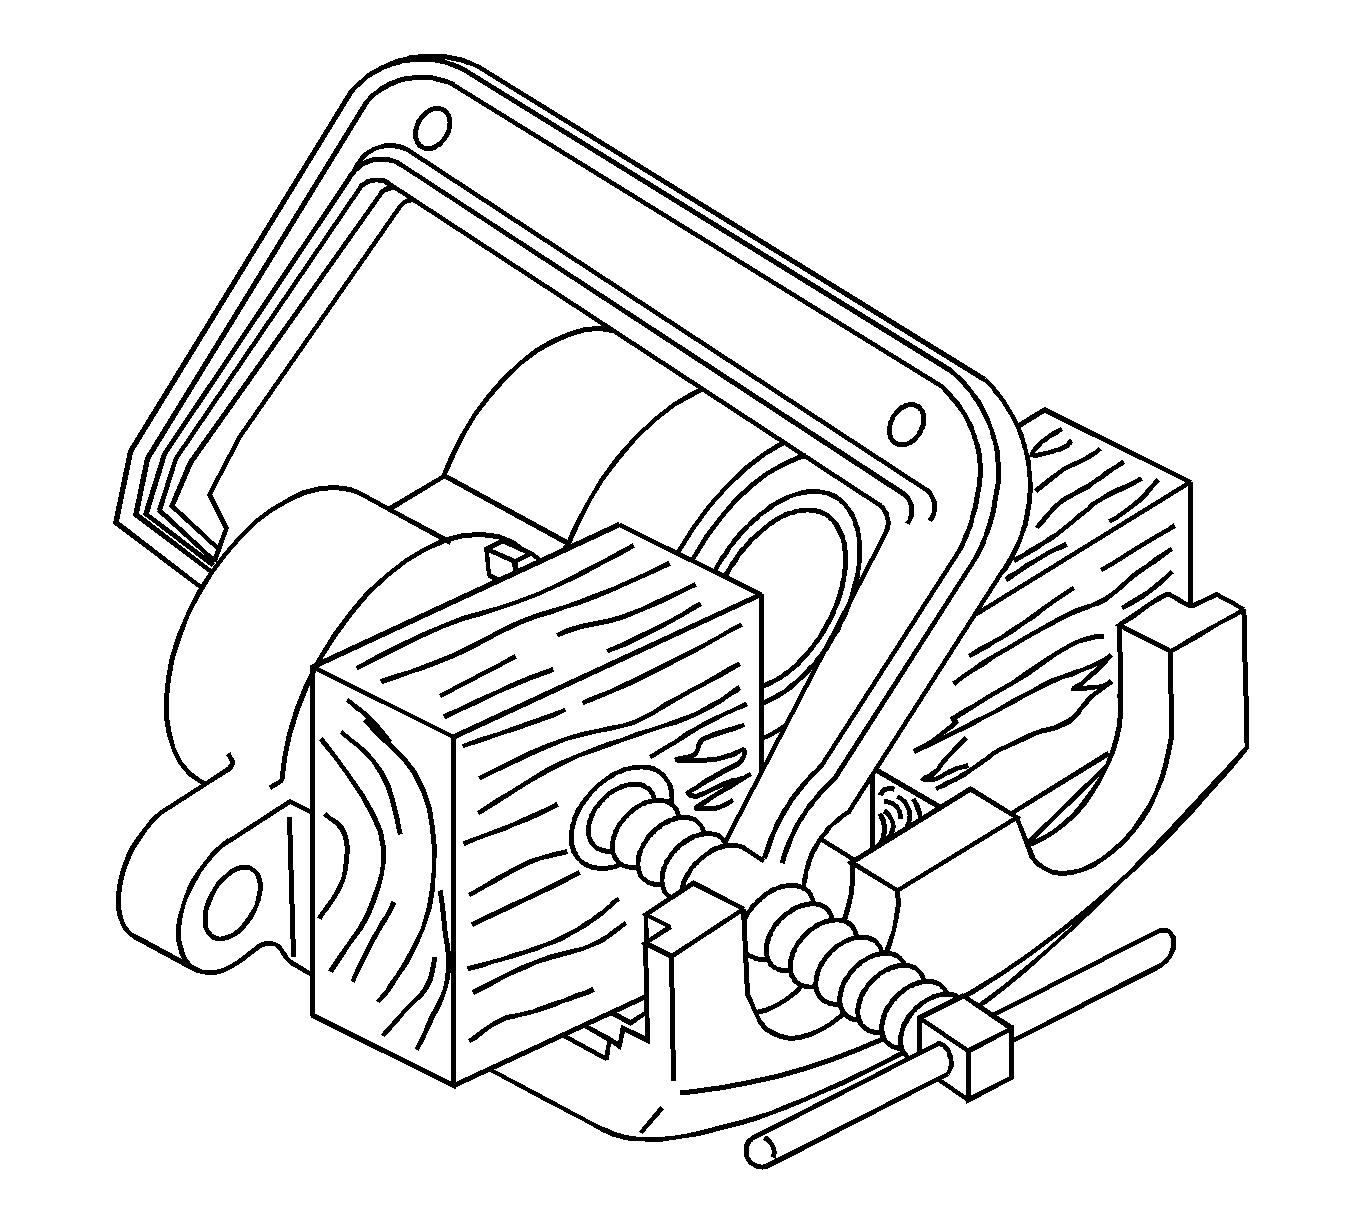
- If one of the pistons fails to be removed from the brake caliper, perform the following steps.
| 6.1. | Reposition the piston that has been removed back in the brake caliper. |
| 6.2. | Using a small block of wood and a C-clamp, slowly tighten the C-clamp until the piston it is half way in the brake caliper. It does not have to be fully seated. |
| 6.3. | Position a second block of wood in front of the piston that remains in the brake caliper. |
| 6.4. | Cover the brake caliper with a shop towel. |
| 6.5. | Using compress filtered, non lubricated air, apply the air to the remove the pistons from the brake caliper. |
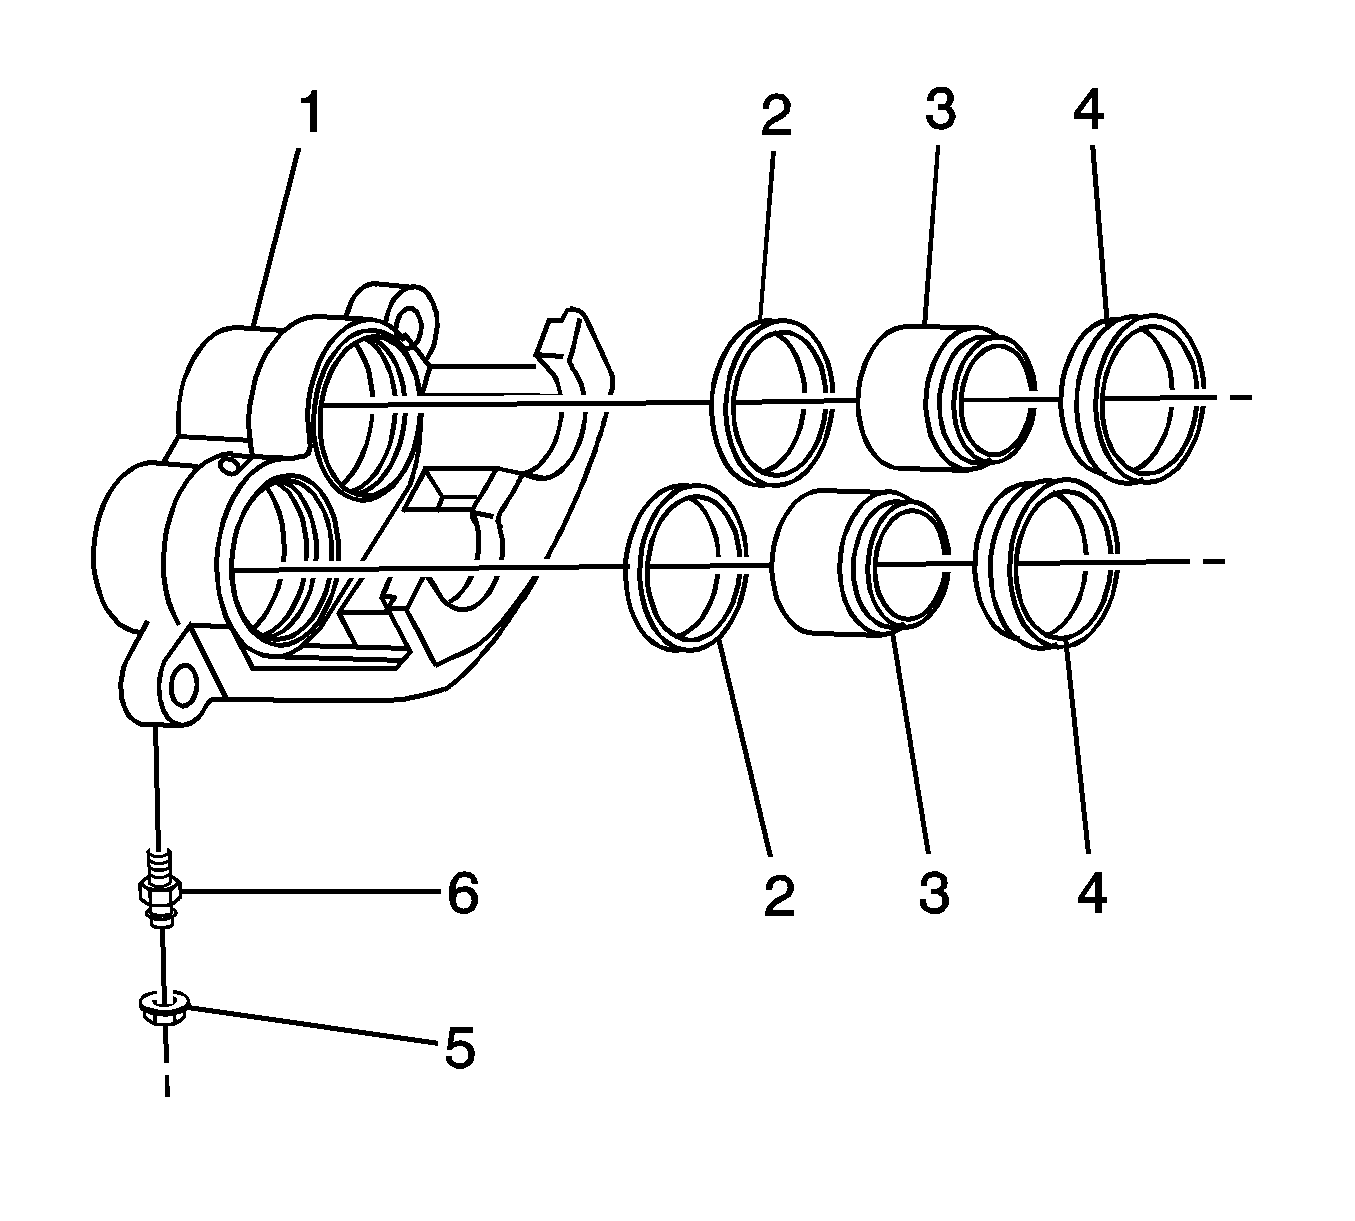
- Remove the pistons (3) from the caliper bores.
- Remove the piston seals (2) from the caliper bores. Do not use a metal tool.
- Remove the bleeder valve cap (5).
- Remove the bleeder valve (6) from the caliper housing (1).
- Clean the bleeder valve, the caliper bores, the caliper passages and the pistons with denatured alcohol. Dry the parts and blow out the brake fluid passages. Use dry and filtered compressed air.
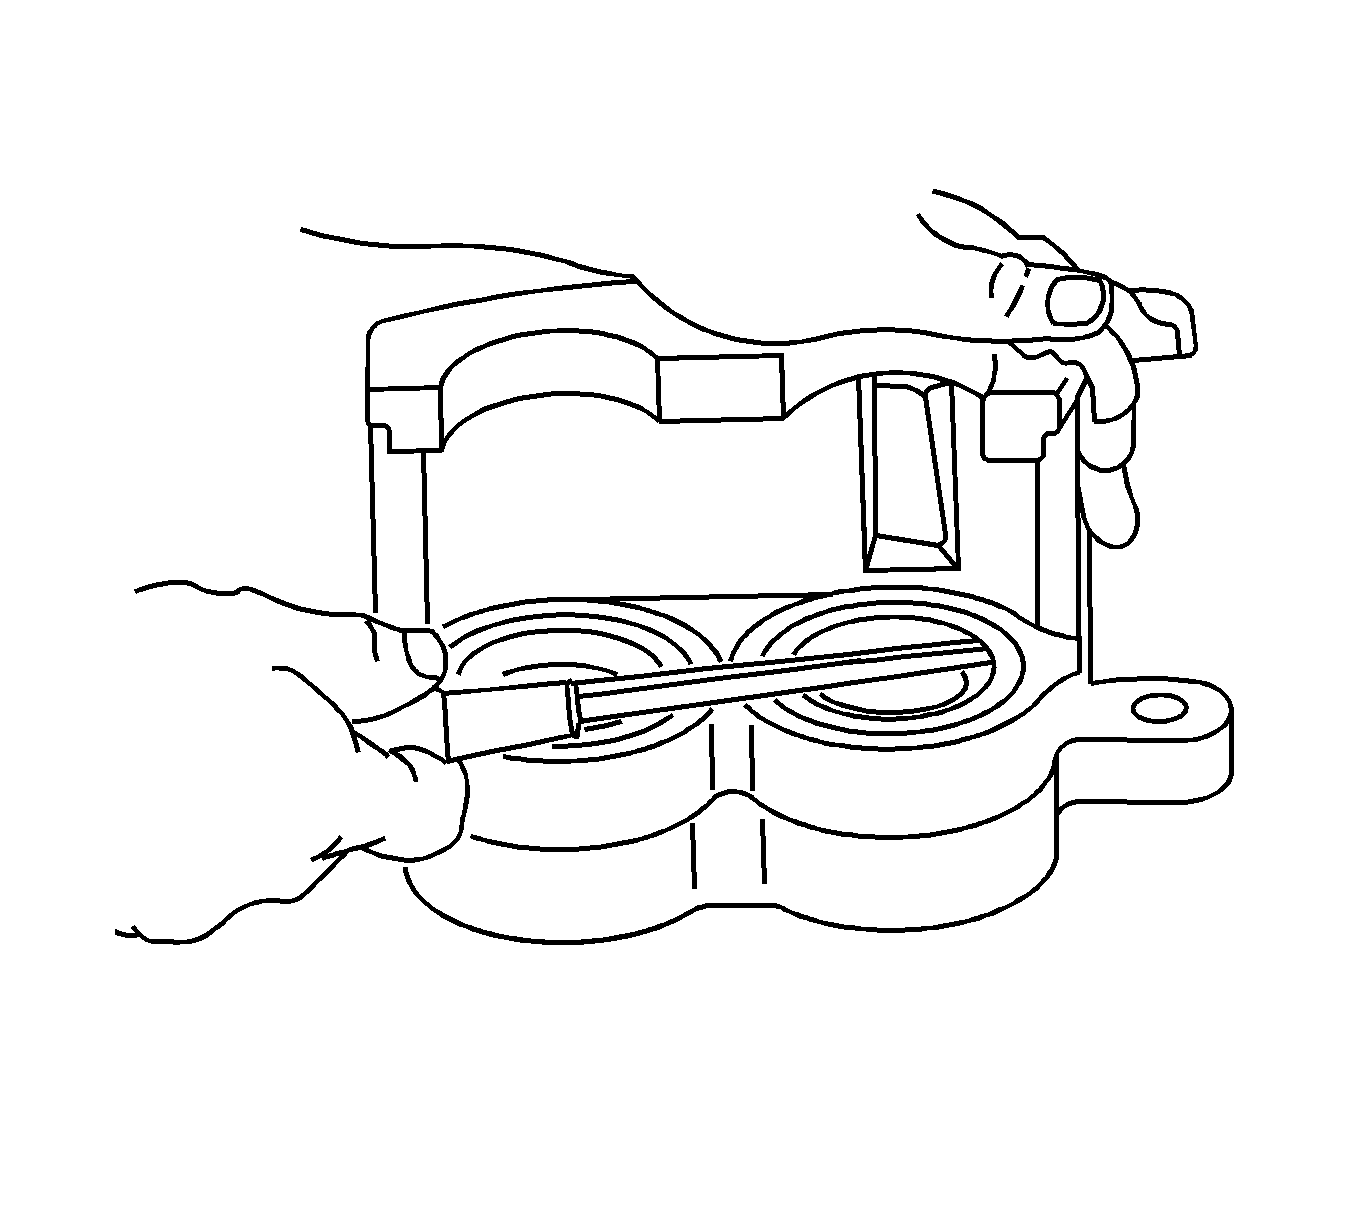
- Remove the boots from the caliper bores. Do not scratch the caliper bores.
- Replace the pistons or the caliper if any of the following conditions exist:
| • | Scoring in the caliper bores |
| • | Corrosion in the caliper bores |
| • | Pitting in the caliper bores |
| • | Damage to the pistons (phenolic) |
- Clean the brake caliper assembly with denatured alcohol.
- Dry with filtered , lubricated compressed air.
Assembly Procedure
Note: When applying the clean brake fluid to the piston bores and pistons, only apply the brake fluid to one bore at a time. This is done to ensure that the brake caliper, seals and pistons DO NOT become contaminated with dirt or other
foreign material.
- Apply a small amount of GM approved brake fluid from a clean, sealed brake fluid container to the piston, piston seal, and piston bore.
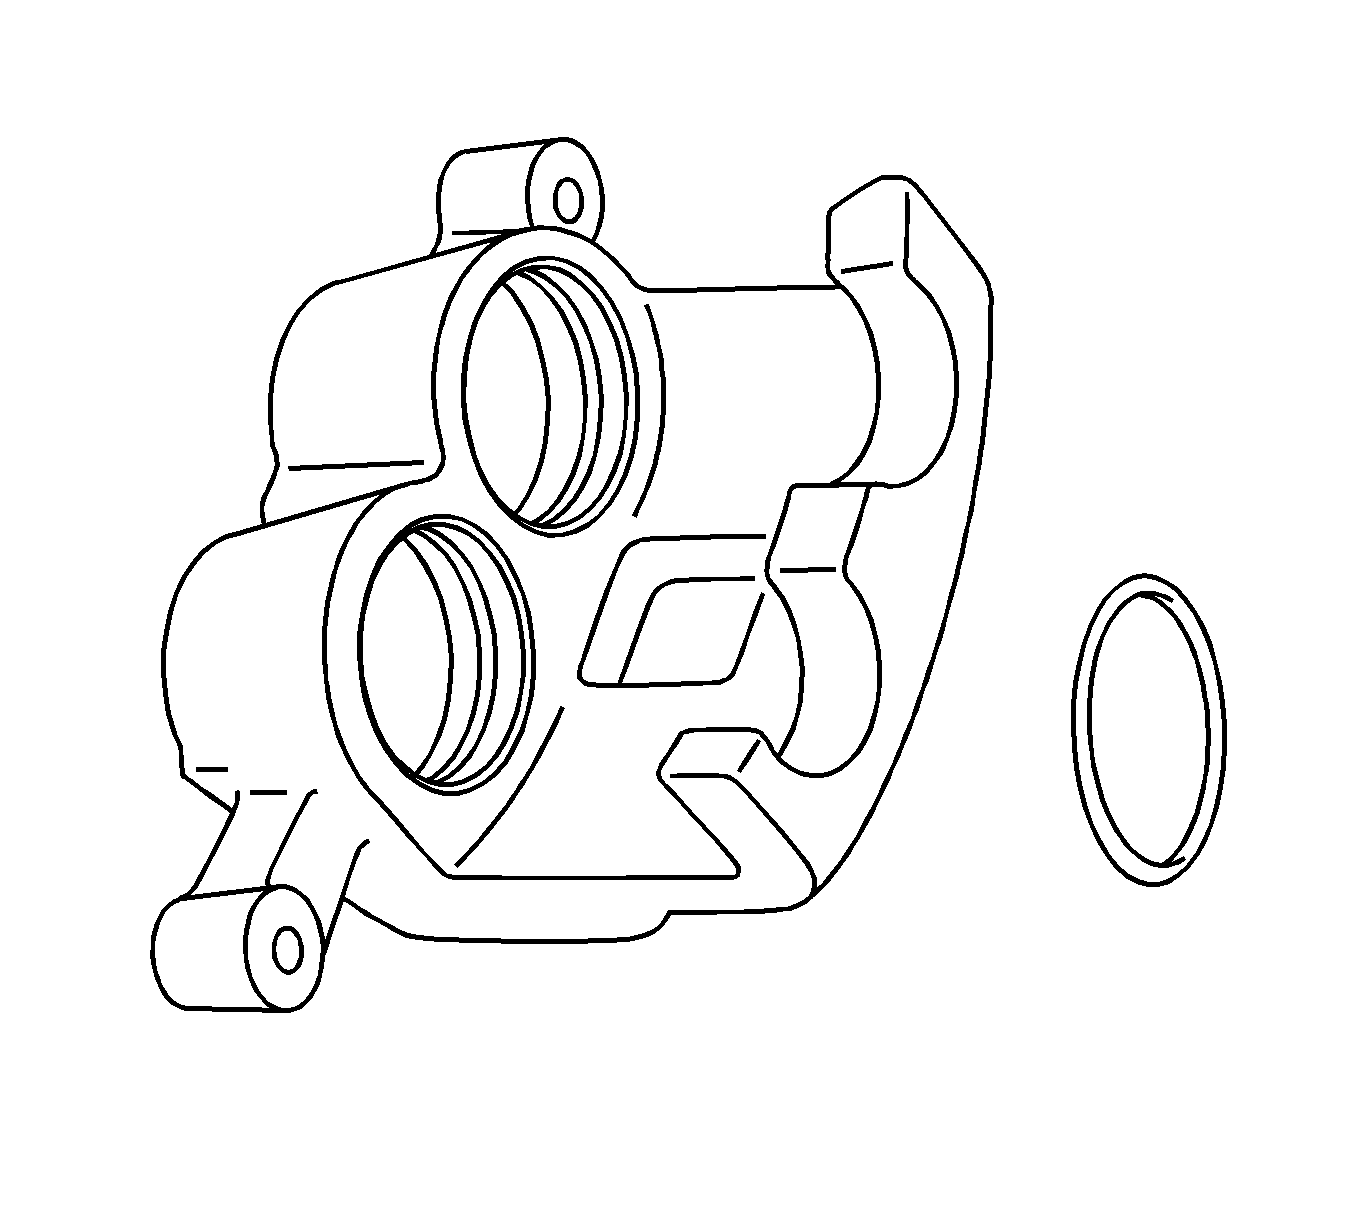
- Install the piston seal in the brake caliper.
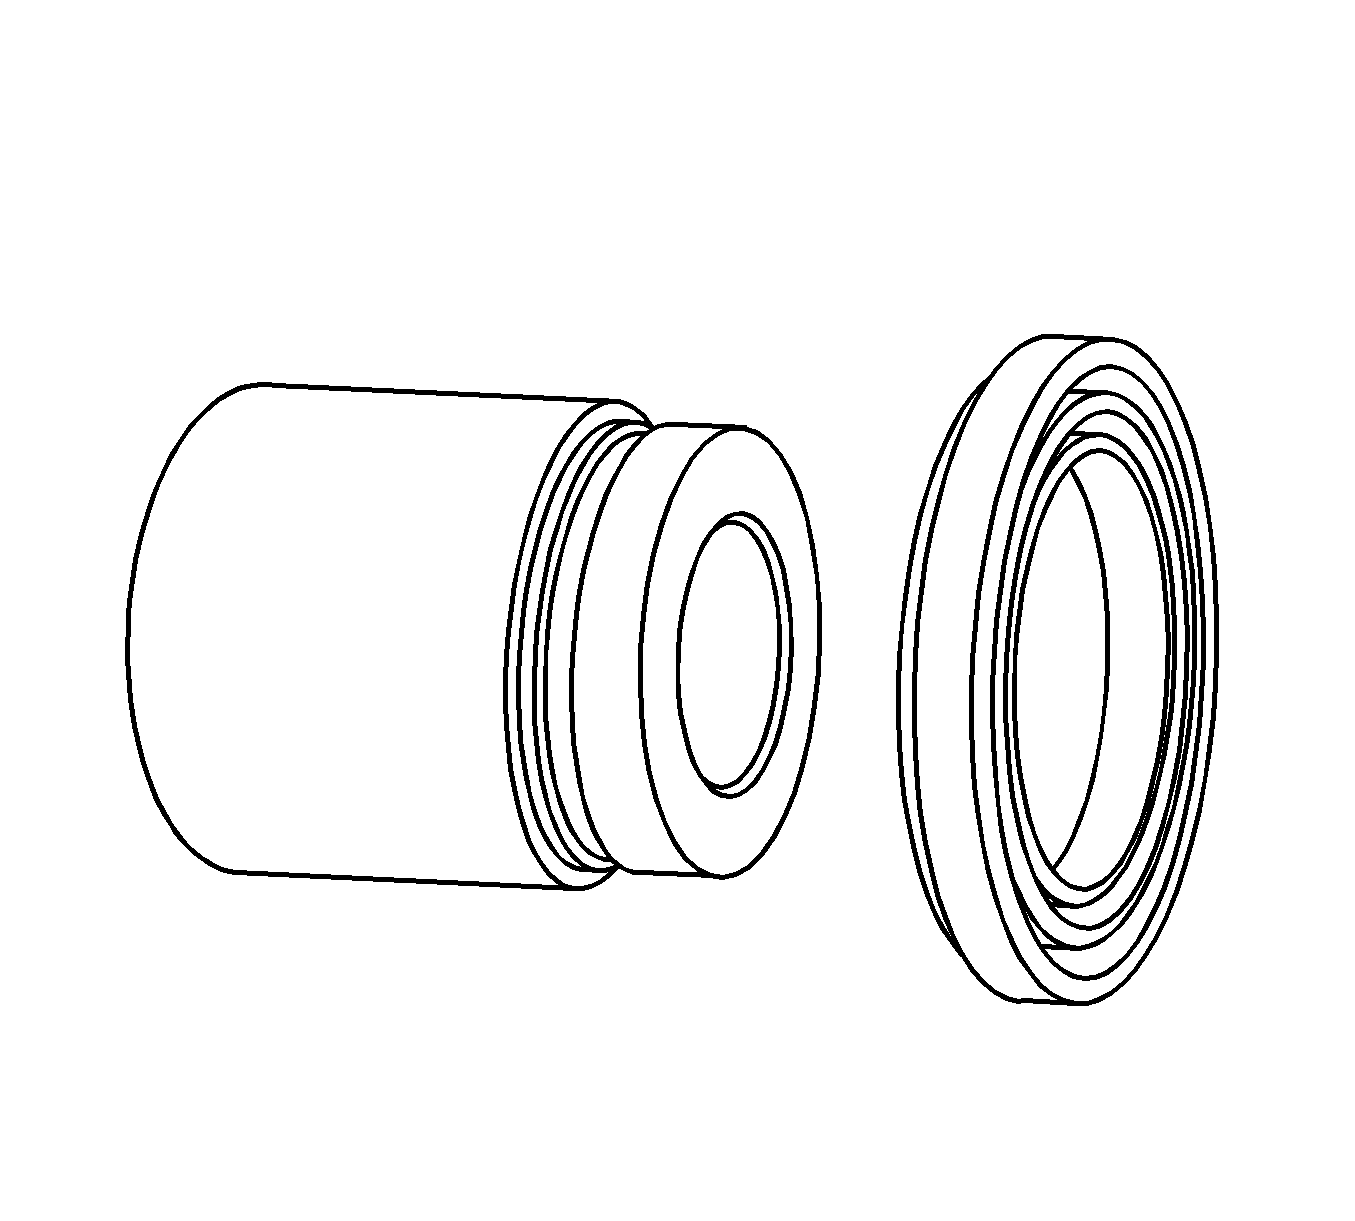
- Install the dust seal on the piston.
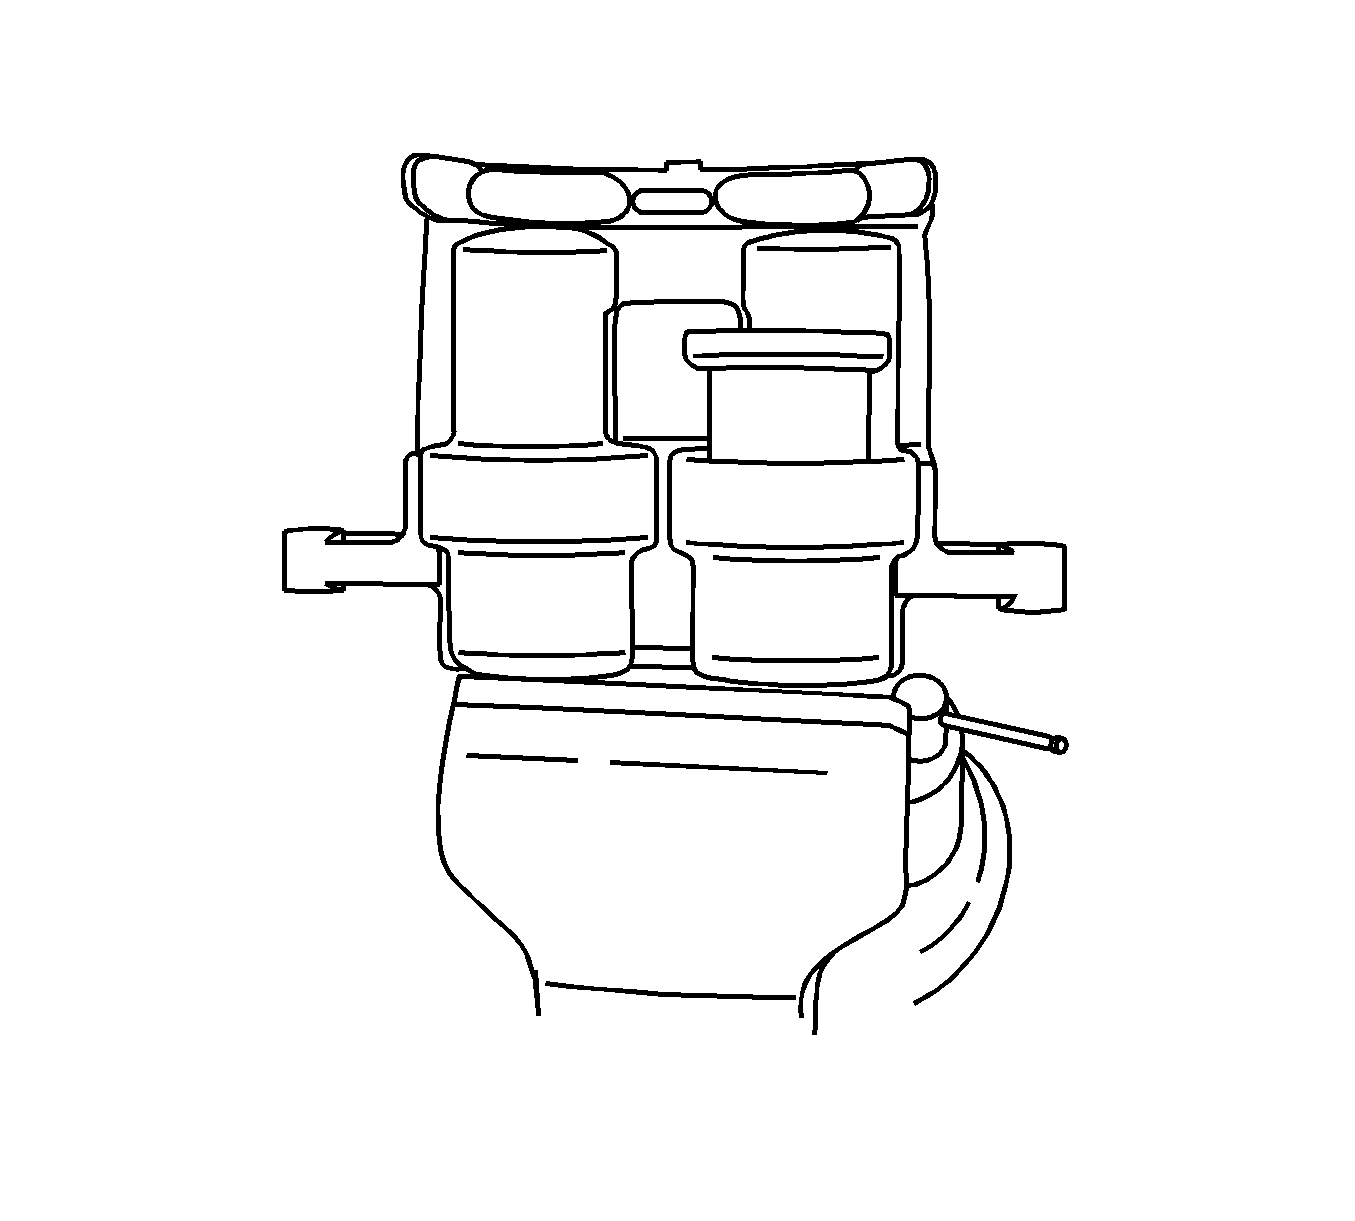
Note: Position the piston in the bore so that it is straight and level.
- Install the piston in the brake caliper.
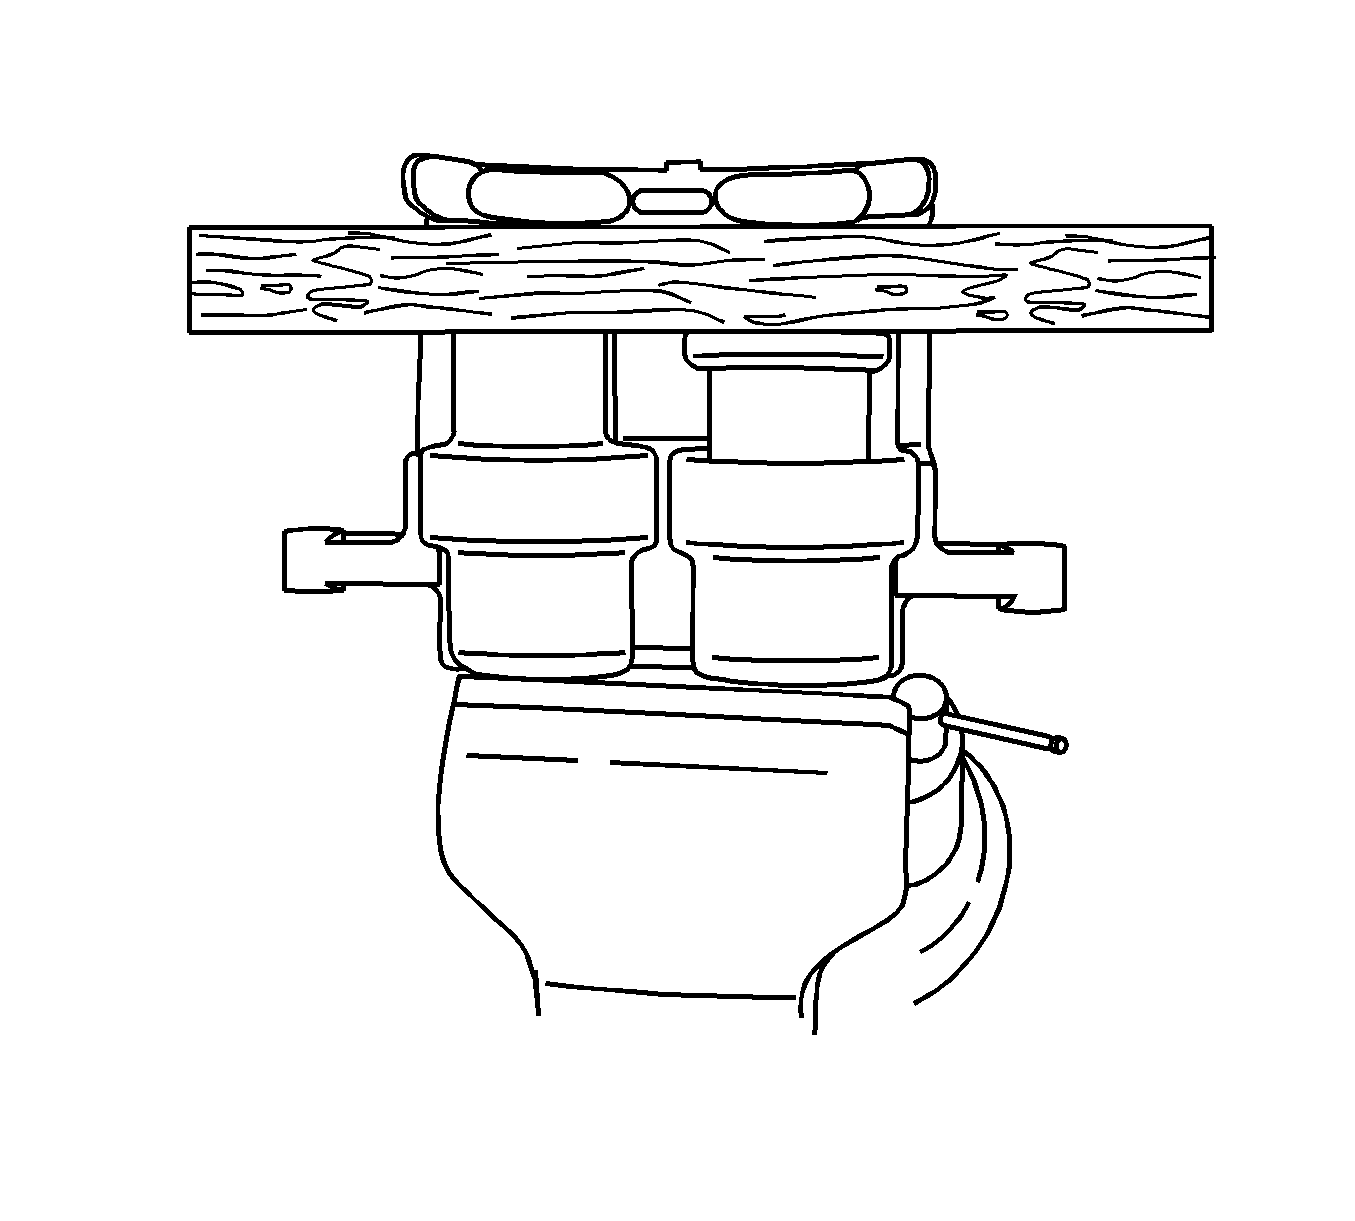
- Position a piece of wood across the piston to be installed.
- Applying equal pressure by hand while pushing down, install the piston in the bore.
- Remove the piece of wood.
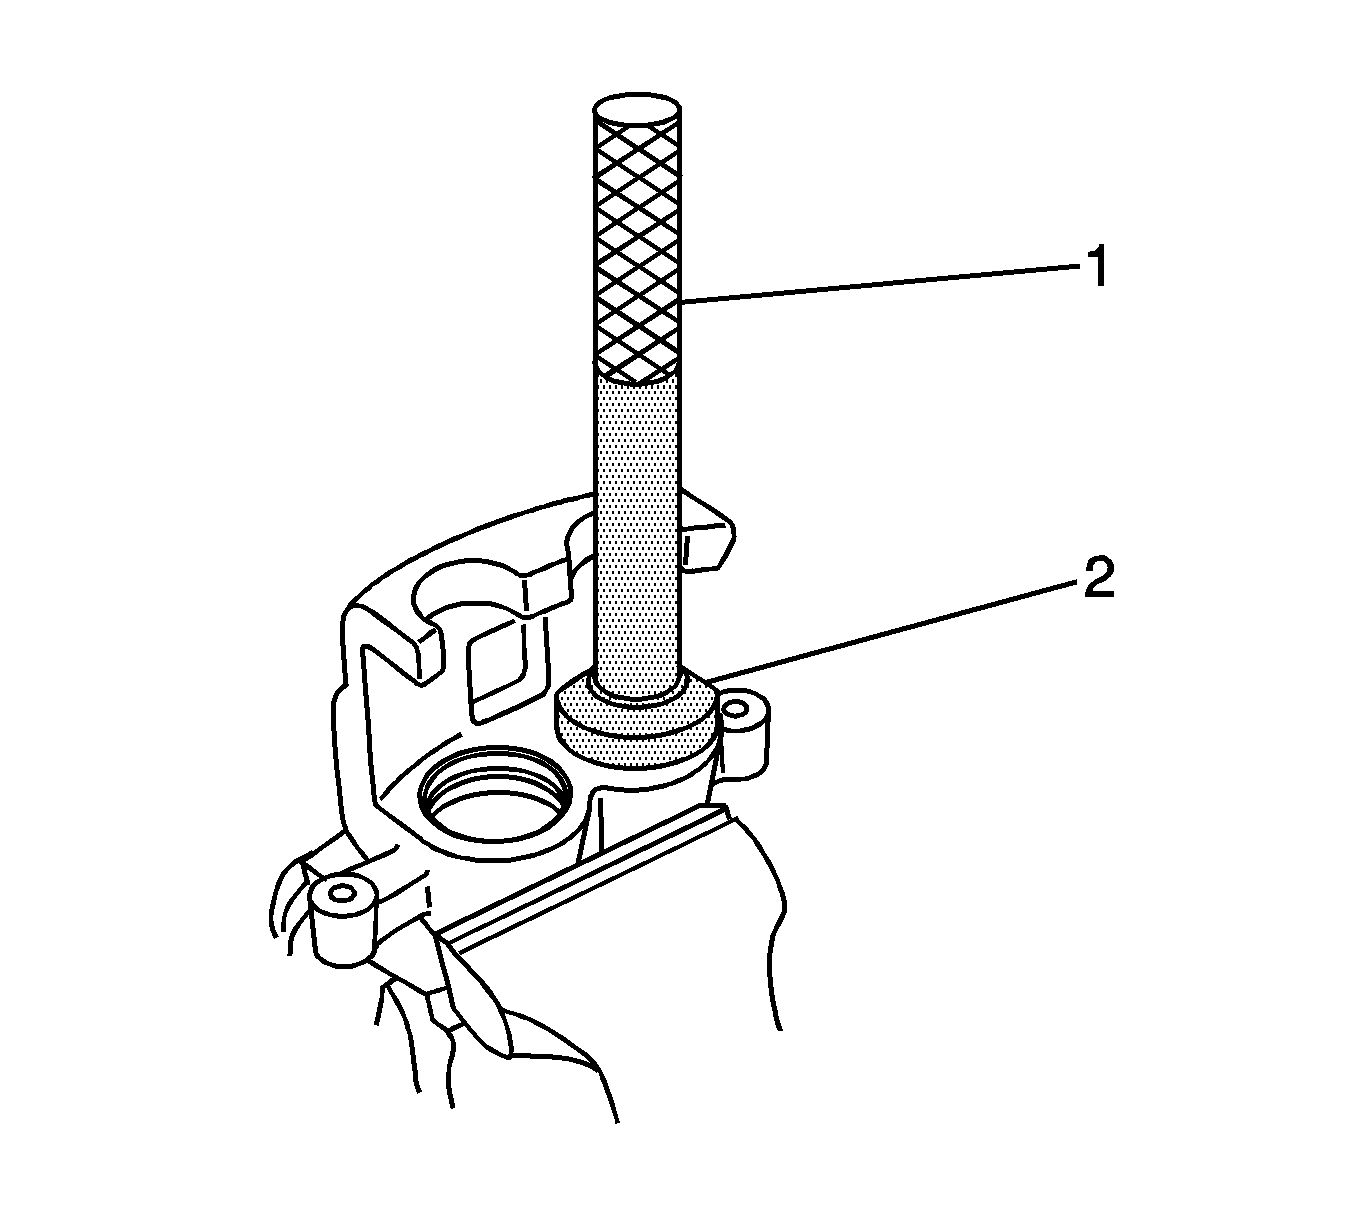
- Using the
J 8092
(1) and the
J 45863
(2) , install the piston dust seal in the brake caliper.
Caution: Refer to Fastener Caution in the Preface section.
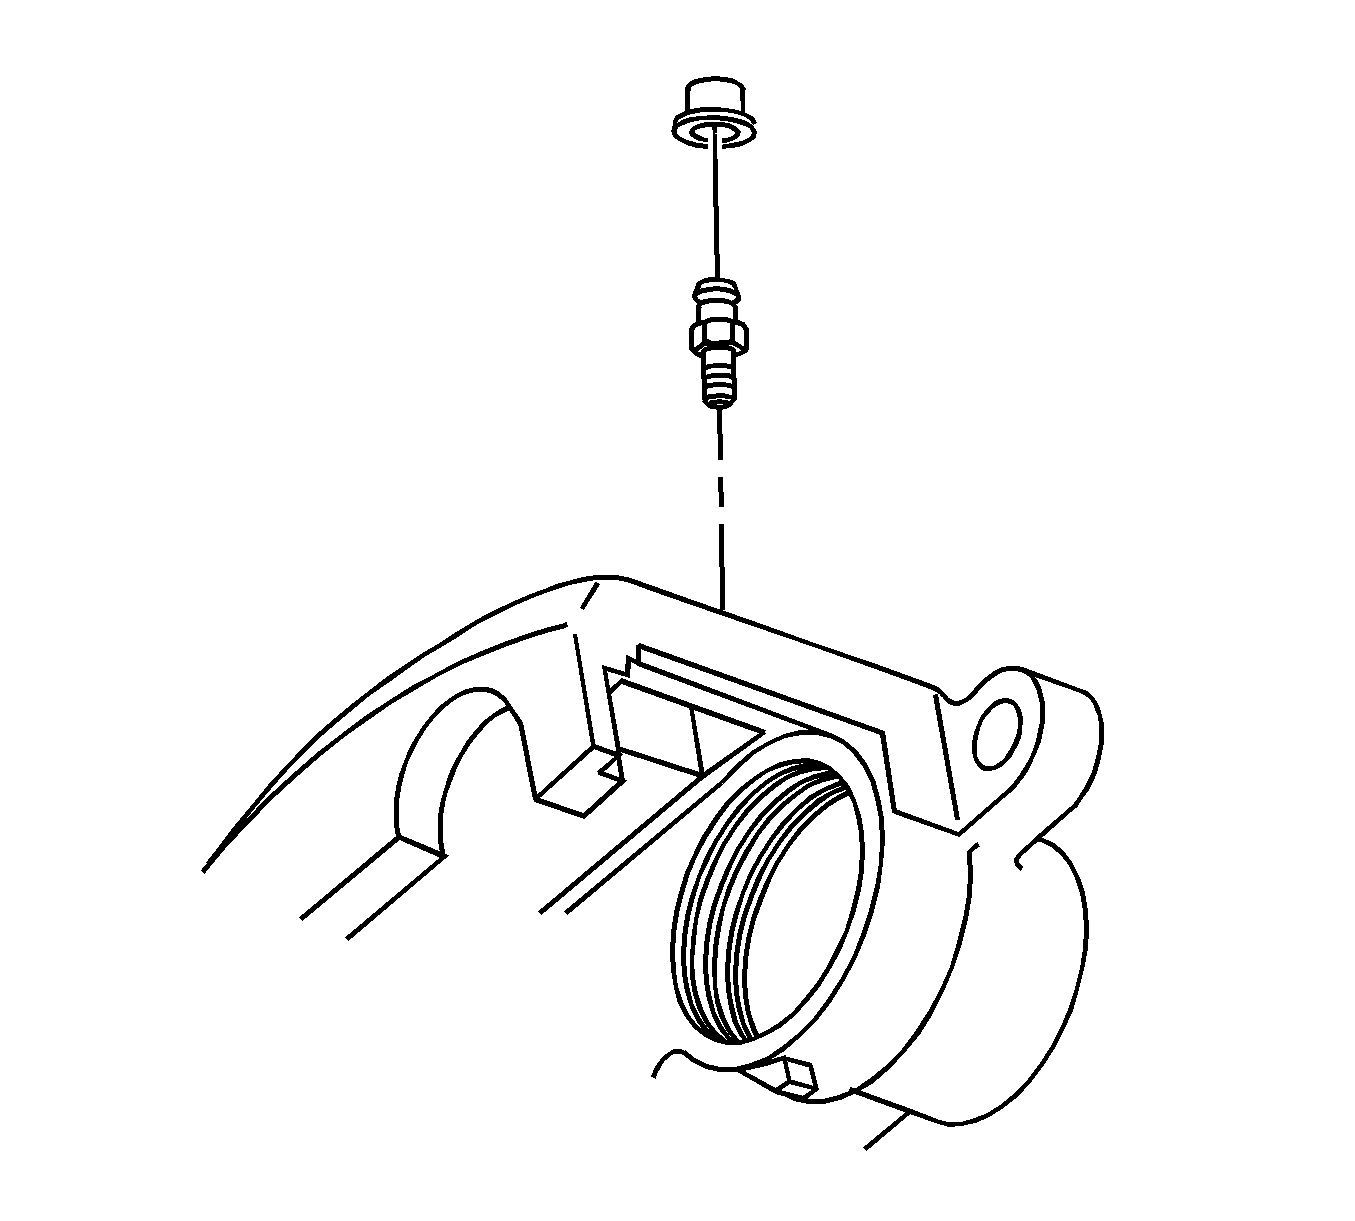
- Install the bleeder valve in the brake caliper housing.
Tighten
Tighten the bleeder valve to 13 N·m (115 lb in).
- Install bleeder valve cap.


