Removal Procedure
- Remove the front seat assembly. Refer to Seat Replacement .
- Remove the front seat side air bag. Refer to Driver and Passenger Seat Side Inflatable Restraint Module Replacement .
- Remove the head restraint. Refer to Front Seat Head Restraint Replacement .
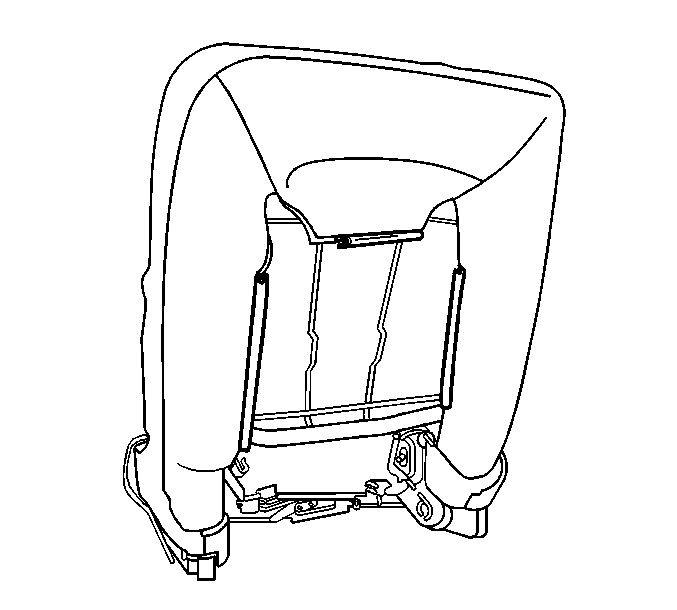
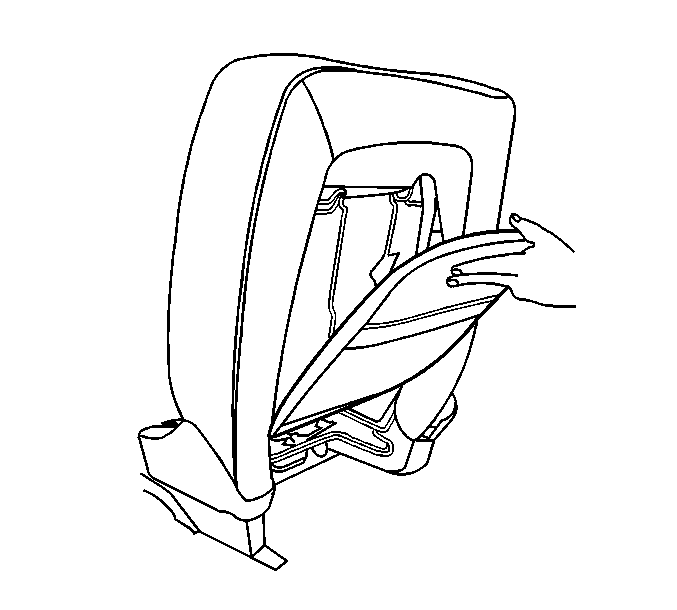
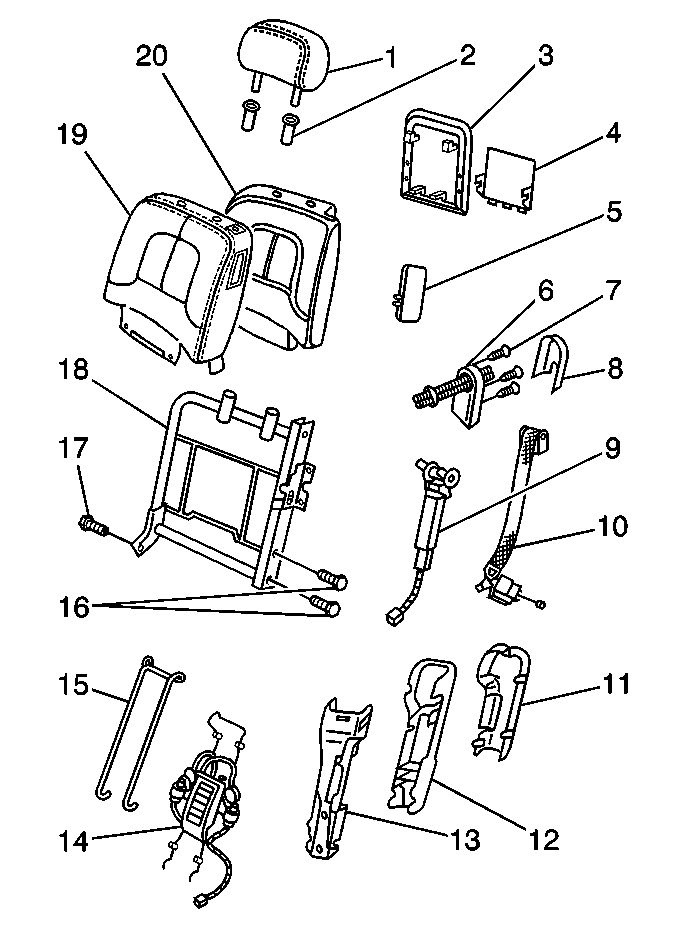
- Remove the map pocket panel (3) by pushing up and then out at the bottom to release the attachment hooks.
- Release the attachment hooks from the following locations:
- Disconnect the seat heater electrical connector if necessary.
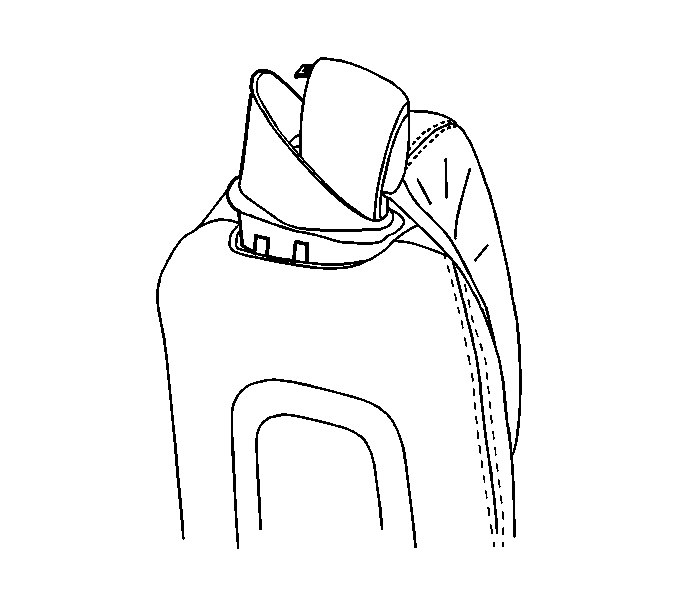
- Press in at the sides and push upwards to release and remove the rear seat belt height adjuster trim cover.
- Remove the height adjuster closeout ring from the seat back cover attachment hook.
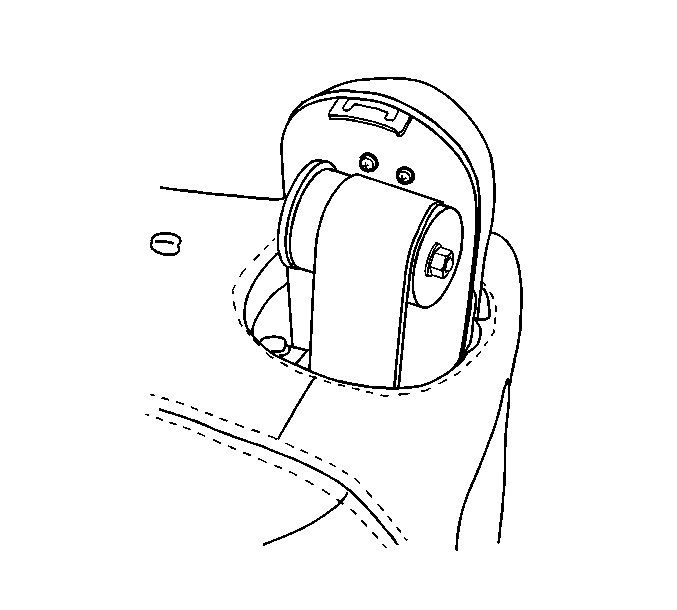
- Remove the 3 screws and remove the height adjuster front trim cover.
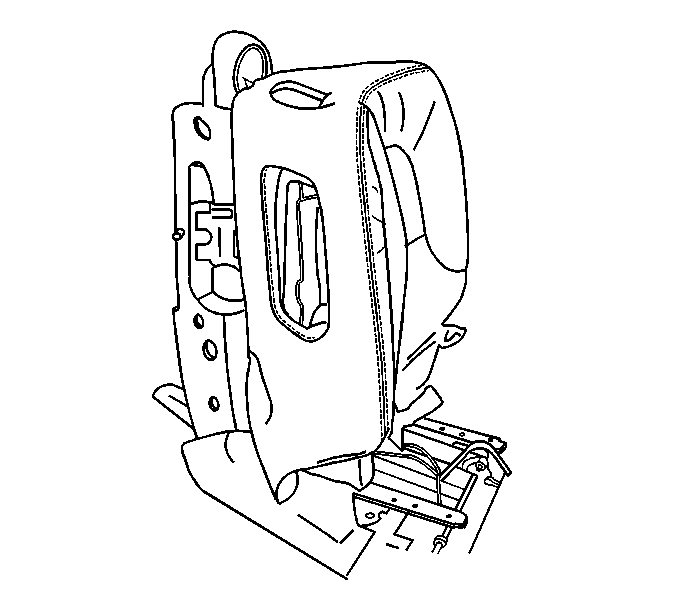
- Work the cover and pad up on the seat back frame.
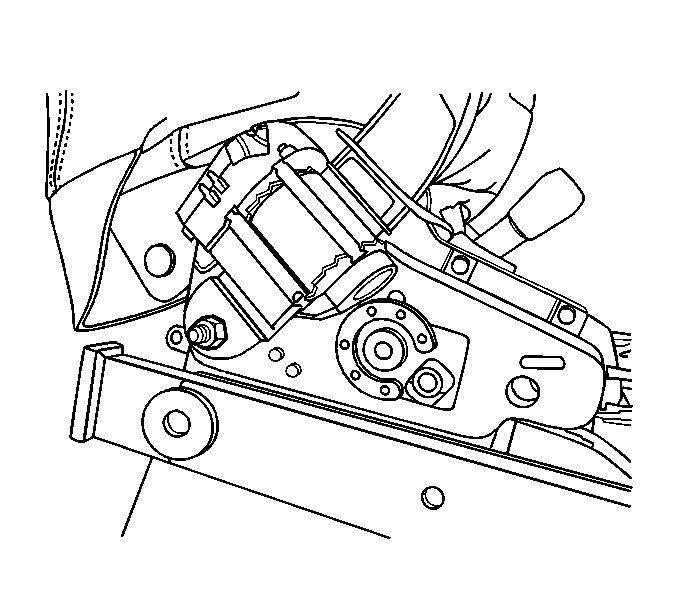
- Remove the lower seat belt retractor trim cover.
- Remove the seat belt retractor assembly retaining nut and remove the retractor assembly.
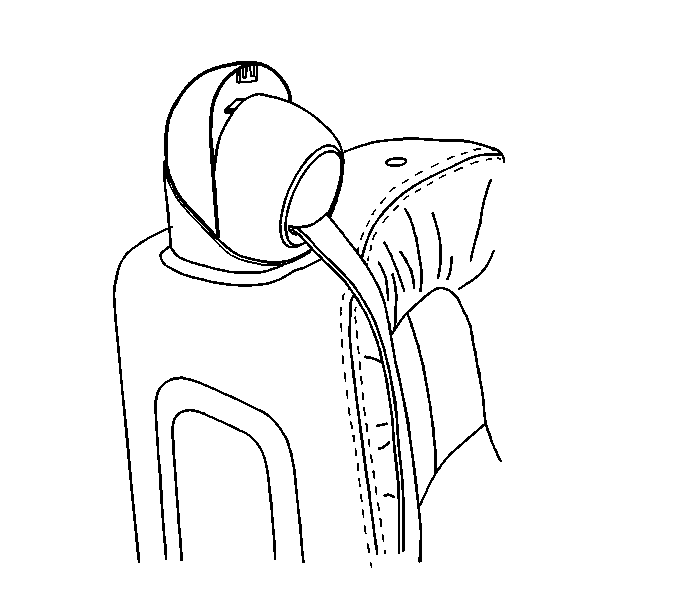
- Feed the lower seat belt retractor assembly through the height adjuster opening and remove the cover and pad.
- Remove the seatback cover (2) from the seatback cushion (1).
| • | The back of the frame |
| • | The bottom of the frame |
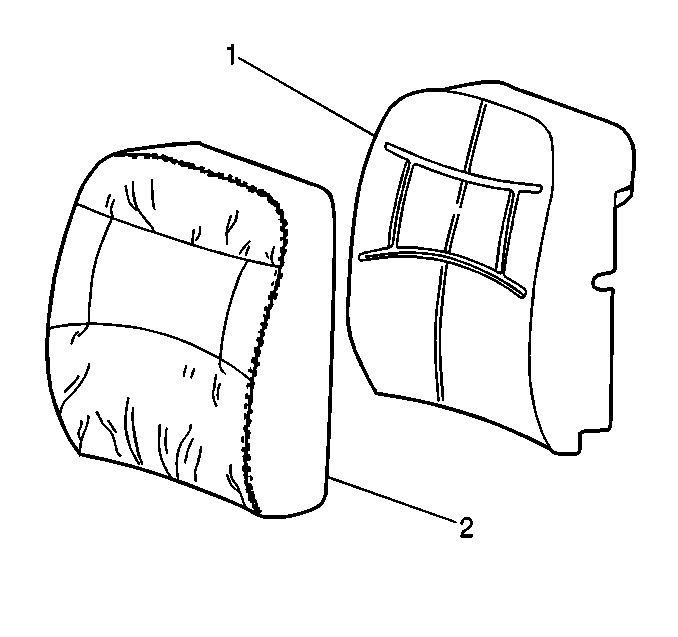
Installation Procedure
- Feed the seat belt retractor assembly through the height adjuster opening in the cover and pad.
- Install the lower seat belt retractor assembly in position and install the retaining nut.
- Align the seatback cover (2) on the seatback cushion (1).
- Press the seams into position.
- Align the seatback cover and pad to the frame.
- Work the top and the bottom of the cover (2) over the seatback cushion.
- Latch the J-channel to the seatback and seat bottom.
- Work the sides of the cover over the seatback cushion.
- Install the height adjuster forward trim cover and retainers.
- Install the cover J-channel to the closeout ring and install the closeout ring.
- Install the height adjuster rear trim cover.
- Install the front seat side air bag. Refer to Driver and Passenger Seat Side Inflatable Restraint Module Replacement .
- Install the head restraint. Refer to Front Seat Head Restraint Replacement .
- Install the map pocket back panel.
- Install the front seat assembly. Refer to Seat Replacement .

Notice: Use the correct fastener in the correct location. Replacement fasteners must be the correct part number for that application. Fasteners requiring replacement or fasteners requiring the use of thread locking compound or sealant are identified in the service procedure. Do not use paints, lubricants, or corrosion inhibitors on fasteners or fastener joint surfaces unless specified. These coatings affect fastener torque and joint clamping force and may damage the fastener. Use the correct tightening sequence and specifications when installing fasteners in order to avoid damage to parts and systems.
Tighten
Tighten the seat belt retractor retaining nut to 41 N·m (55 lb ft).

Engage the hook and the loop.
Route the heated seat wire along the seat back frame if necessary.
