For 1990-2009 cars only
Removal Procedure
- Remove the left sound insulator panel. Refer to Instrument Panel Insulator Panel Replacement - Left Side in Instrument Panel, Gages and Console.
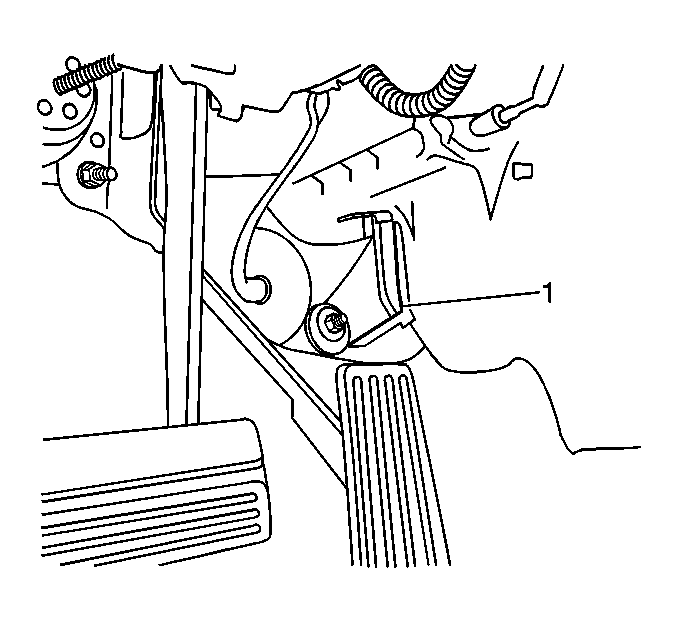
- Remove the filter access cover (1). Push down, then pull out.
- Remove the tape on the first filter.
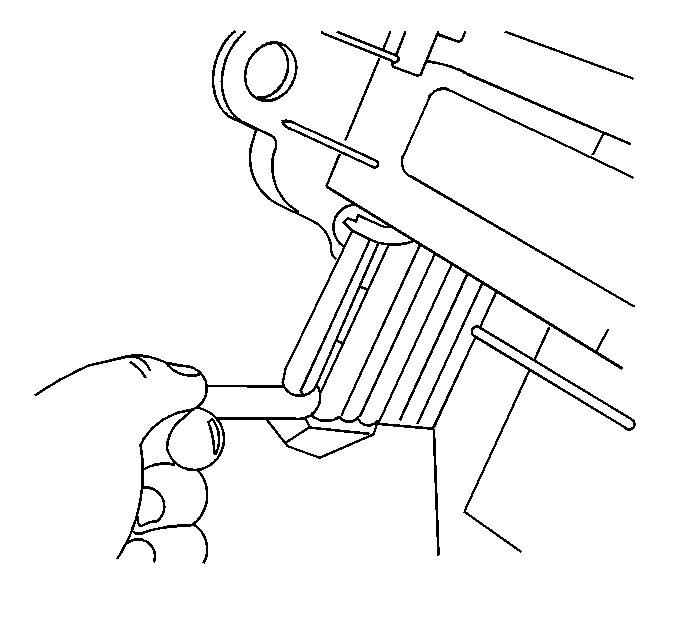
- Remove the first filter by pulling the filter tab.
- Remove the tape on the second filter.
- Remove the second filter by pulling the filter tab.
- Remove the third filter by pulling the filter tab.


Installation Procedure
Important: Lubricate the new filter guides with a spray silicon for ease in installation. Keeping the filters as straight as possible when installing will aid in installation.
- Install the first filter into the HVAC module assembly.
- Use the tab or a long screwdriver to raise the filter, so that the leading edge catches on the holding rib inside of the filter case.
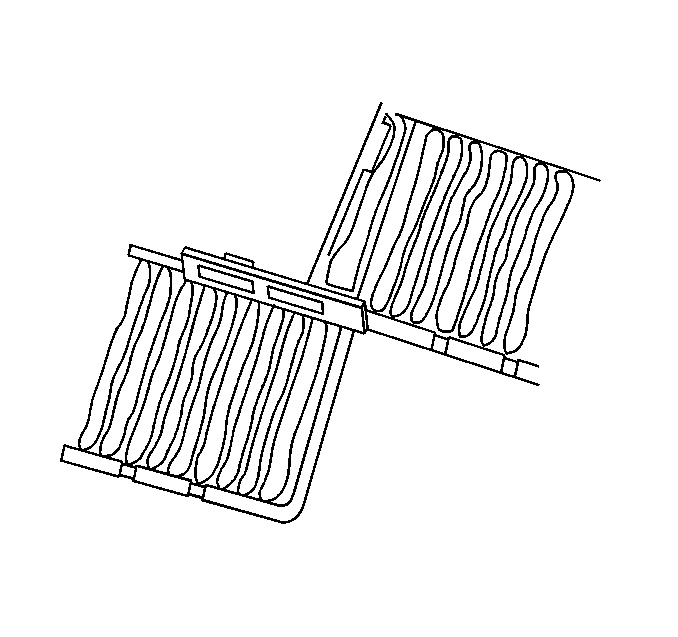
- Install the second filter in the tab of the first filter.
- Slide the second filter into the remaining channels of the first filter.
- Raise the filters, so that the leading edge catches on the holding rib inside of the filter case.
- Install the third filter in the tab of the second filter.
- Slide the third filter into the remaining channels of the second filter.
- Fold the second filter tab down and the third filter tab up over the second.
- Install the filter access cover (1).
- Install the left sound insulator panel. Refer to Instrument Panel Insulator Panel Replacement - Left Side in Instrument Panel, Gages and Console.


