For 1990-2009 cars only
Tools Required
| • | J 45059 Torque Angle Meter |
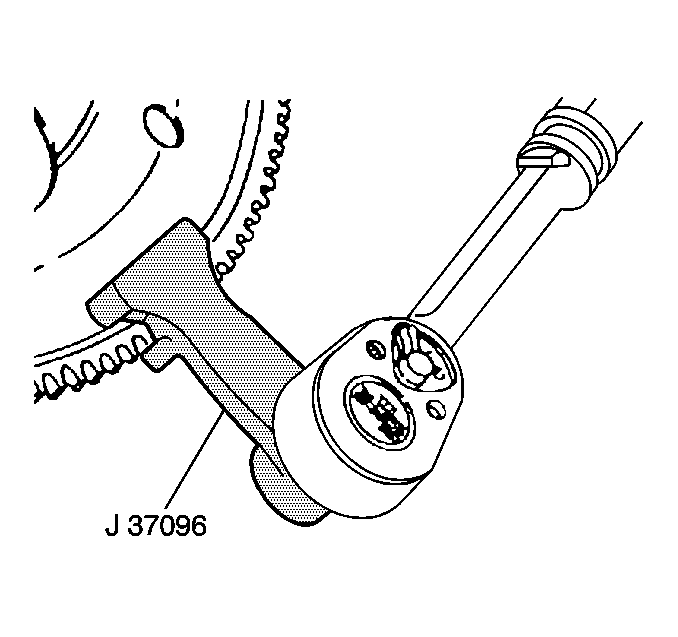
| • | J 37096 Flywheel Holding Tool |
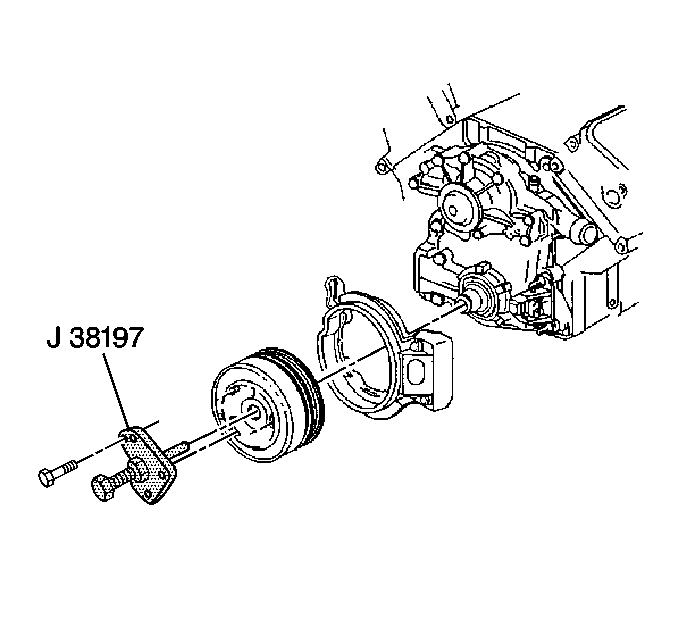
| • | J 38197-A Crankshaft Balancer Remover |
Removal Procedure
- Remove the drive belt. Refer to Drive Belt Replacement .
- Remove the right front tire and wheel. Refer to Tire and Wheel Removal and Installation in Tires and Wheels.
- Use the J 37096 in order to hold the flywheel.
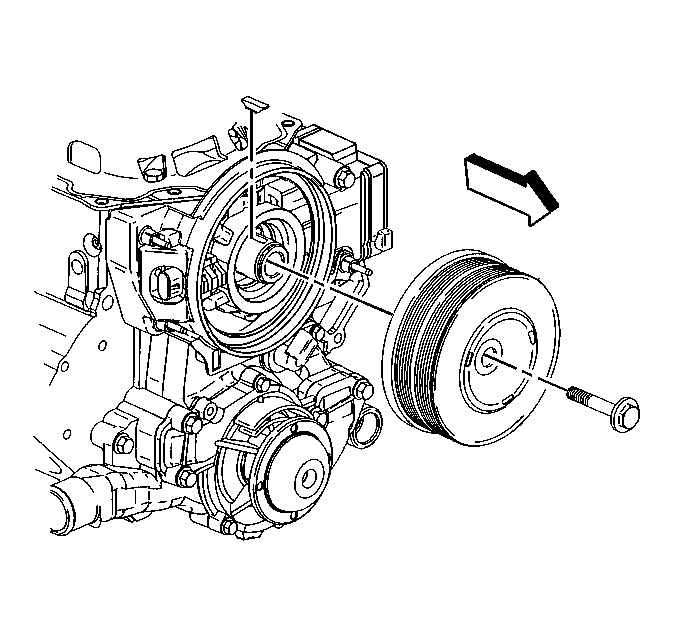
- Remove the balancer bolt.
- Use the J 38197-A in order to remove the crankshaft balancer. Attach 1/4 inch bolts to the pulley. Screw the bolts in 1/4 inch.
- Clean and inspect the crankshaft balancer. Refer to Crankshaft Balancer Cleaning and Inspection .


Important: Do not separate the pulley from the balancer. Service the pulley and the balancer as an assembly.
Installation Procedure
- Install the crankshaft balancer.
- Use the J 37096 in order to hold the flywheel.
- Install the crankshaft balancer bolt.
- Install the right front tire and wheel. Refer to Tire and Wheel Removal and Installation in Tires and Wheels.
- Install the drive belt. Refer to Drive Belt Replacement .
- Perform the crankshaft position (CKP) system variation learn procedure. Refer to Crankshaft Position System Variation Learn in Engine Controls - 3.8L.

Lubricate the seal surface with engine oil.
Notice: Refer to Special Fastener Notice in the Preface section.
Notice: Refer to Fastener Notice in the Preface section.
Tighten
Tighten the crankshaft balancer bolt to 150 N·m
(111 lb ft). Use the J 45059
in order to tighten the bolt an additional 76 degrees.
