Removal Procedure
- Depressurize the air suspension system. Refer to Air Suspension Depressurization .
- Remove the air suspension system fuse.
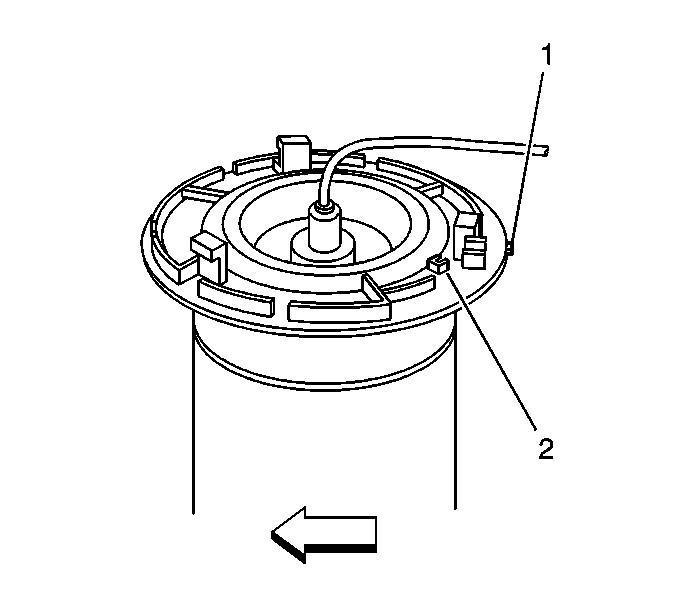
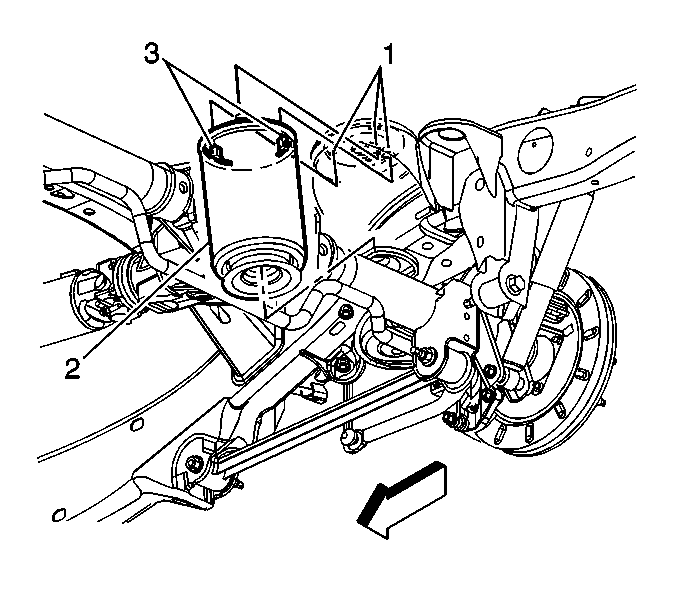
- Depress the anti rotation peg (2) in the air spring top plate located in the upper spring seat.
- With the anti rotation peg (2) depressed, rotate the air spring counterclockwise and remove the air spring from the upper spring seat.
- Disconnect the air supply line from the air spring in the following way:
- Remove the air spring from the vehicle.
Caution: A sudden release of pressure may cause personal injury or damage to
the vehicle. The air suspension system is under pressure until the air supply
lines are disconnected. Use the following precautions when servicing the
air suspension system:
• Wear gloves, ear protection, and eye protection. • Wrap a clean cloth around the air supply lines.
Important: Remove the air suspension system fuse before working on the rear suspension components or the rear axle. Failure to remove the air suspension system fuse could cause the calibration of the air suspension leveling sensor to change and the air suspension system not to function properly.
Important: There is a raised feature on the outer rim of the air spring top plate that denotes the anti rotation peg position.
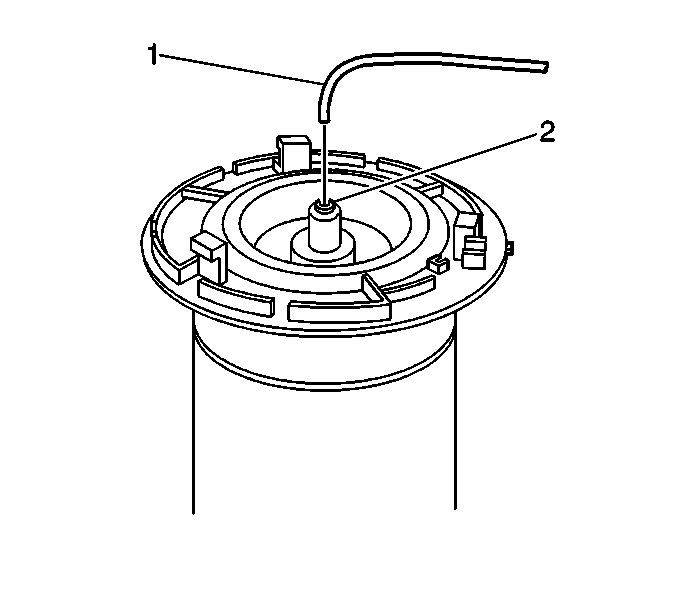
| • | Push the air supply line into the air spring connection and hold in place. |
| • | Depress and hold the air supply line collet (2) down. |
| • | Remove the air supply line (1) from the air spring. |
Installation Procedure
- Install the air supply line to the air spring. Ensure the air supply line is fully seated.
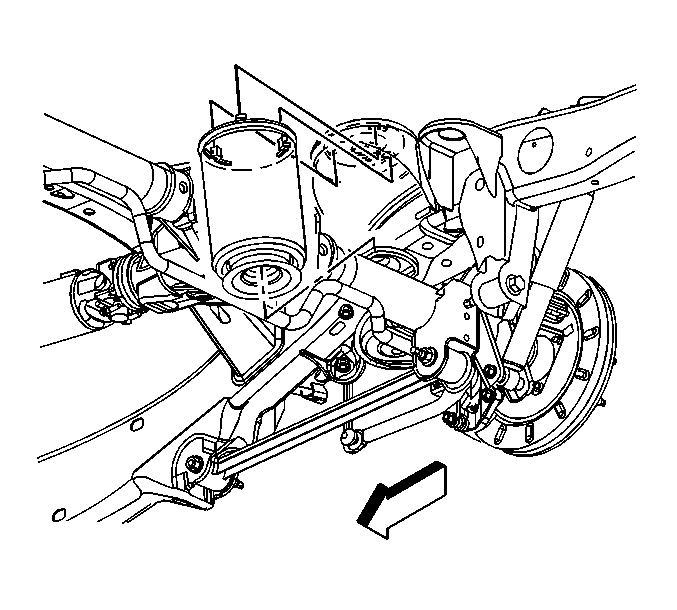
- Install the air spring (2) to the frame by aligning the mounting tabs (3) with the keyhole slots (1) in the upper spring seat.
- Apply upward pressure to the air spring (2) and rotate clockwise until the anti rotation peg snaps into place.
- Lower the vehicle slightly below the correct D-height position.
- Install the air suspension system fuse.
- Turn ON the ignition, engine OFF. Allow the air suspension compressor to run for approximately 1 minute to ensure that the air suspension is functioning properly.
- Inspect the D height. Refer to Trim Height Inspection .
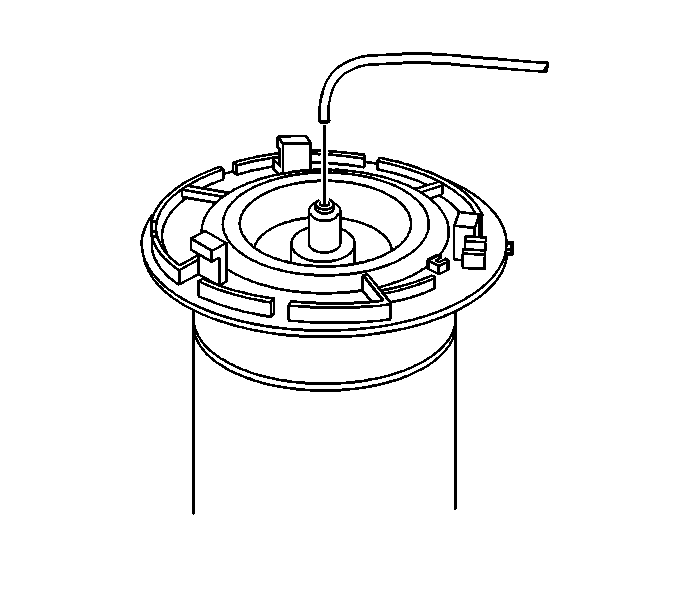
Caution: Ensure that the air spring is fully seated and properly positioned on the axle pilot. Failure to properly position the air spring may cause the air spring to break apart, possibly resulting in personal injury or damage to the vehicle.
Important: After the air suspension has been depressurized, DO NOT allow the vehicle to be completely lowered onto the rear jounce bumpers.
Important: When the air springs are completely deflated, an additional ignition cycle may be required to allow the compressor to completely inflate the air springs.
