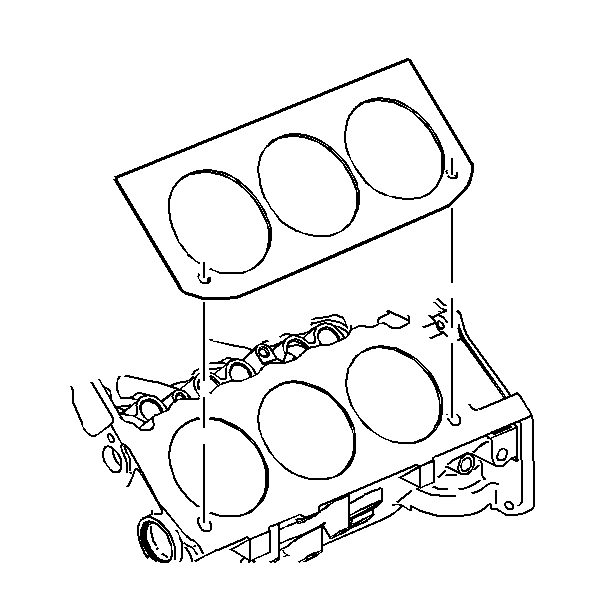
- Inspect the cylinder head gasket and the mating surfaces. Inspect for
leaks, corrosion and blowby.
- If the gasket failed, determine the cause. Gasket failure is caused
by the following conditions:
| • | A loose or warped cylinder head |
| • | Missing, off location or not fully seated dowel pins |
| • | Low torque on cylinder head bolts |
| • | Warped case (block) surface |
| • | Excessive inlet manifold torque |
| • | Cracked engine block tapped holes |
- Clean the cylinder head. Remove all foreign material to the bare
metal. Do not use a motorized wire brush on any gasket sealing surface.
- Clean the threaded holes.
- Clean the remains of the sealer from the threaded holes.
- Inspect the cylinder head for cracks. Inspect between the valve
seats. Inspect inside of the exhaust ports.
- Inspect the cylinder head deck for corrosion.
Do not attempt to weld the cylinder head. If the cylinder head is damaged,
replace the cylinder head.
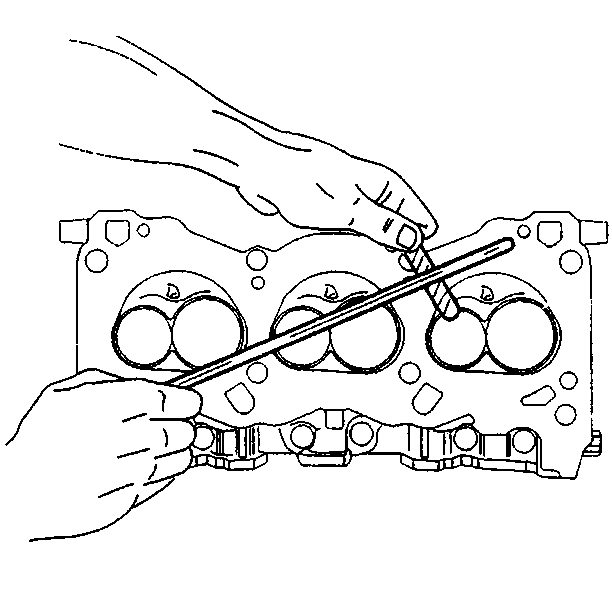
- Inspect the following locations for flatness:
| • | The intake manifold mating surfaces |
| • | The exhaust manifold mating surfaces |
| • | Recondition the surfaces by milling. Replace the cylinder head
if you must remove more than 0.254 mm (0.010 in). |
- Inspect all of the threaded holes for damage. If necessary, repair
the threaded holes.
- Inspect the seating surfaces. Inspect the cooling jacket plugs.
- Clean the valve guides. Inspect the valve guides for wear.
- Inspect the valve seats for excessive wear and burned spots.
Recondition the valve seats by grinding. Use an oscillating type valve
seat grinder. Follow the grinder manufacturer's instructions. If the valve
seat is too wide after grinding, use a 20 degree stone or a 70 degree
stone in order to narrow the valve seat. The 20 degree stone will lower
the seat. The 70 degree will raise the seat. Replace or recondition
the valves if the seats are reconditioned.
Notice: Clean the valve guides before reaming. Packing of chips or carbon may
result in the reamer jamming into the valve guide or broken reamer flutes.
- Clean any foreign material from the valves. Use a wire brush in order
to remove carbon. Do not scratch the valve stem with the wire brush. Soak
the valves in carburetor cleaning fluid in order to remove varnish.
- Use a suitable tool in order to clean the valve guides.
- Inspect the valve stem tip for wear. Recondition the valve stem
tip by grinding.
- Follow the grinder manufacturer's instructions. Ensure that the
new surface is perpendicular to the valve stem.
- Inspect the valve key for chipped or worn lands. Replace the valve
if the valve key groove is damaged.
- Inspect the valve face for burning or cracking. If pieces of the
valve face are broken off, inspect the corresponding piston and cylinder head
area for damage.
- Inspect the valve stem for burrs and scratches. Use an oil stone
in order to remove burrs and minor scratches.
- Inspect the valve stem for straightness. Use "V" blocks
in order to inspect the valve head for bending or distortion. Replace any
bent or distorted valves.
- Inspect the valve face for grooving. If the groove is so deep
that refacing the valve face would result in a knife edge, replace the valve.
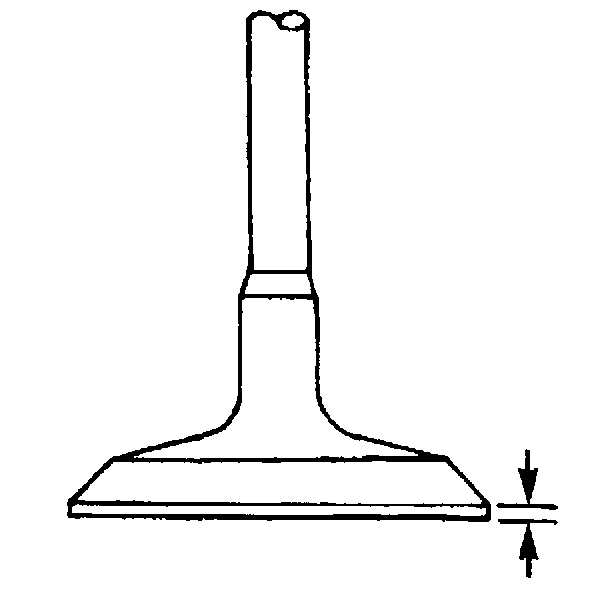
- After grinding the valves, measure the valve margin. Replace the valve
if the margin is less than the minimum recommended margin.
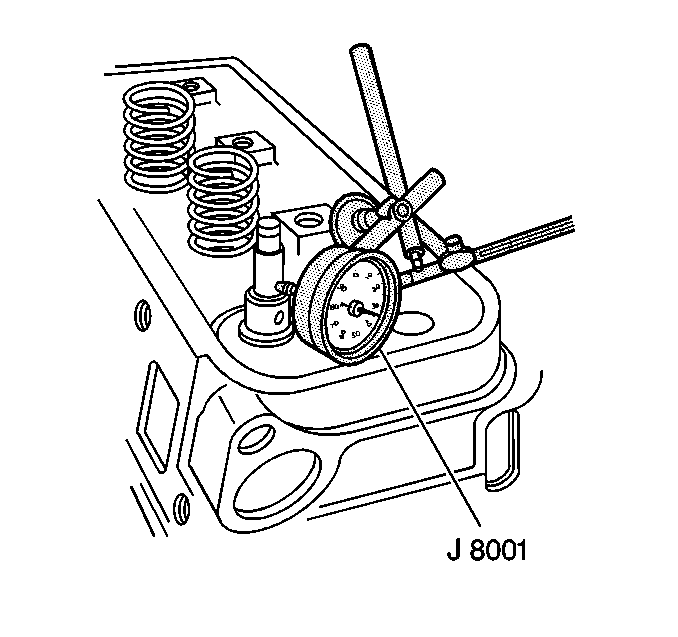
- Measure the valve movement:
| 23.1. | Insert the valve into the guide. |
| 23.2. | Lift the valve 2 mm (1/8 in) off of the seat. |
| 23.3. | Move the valve from side to side. |
| 23.4. | Use a dial indicator in order to measure the amount of movement. |
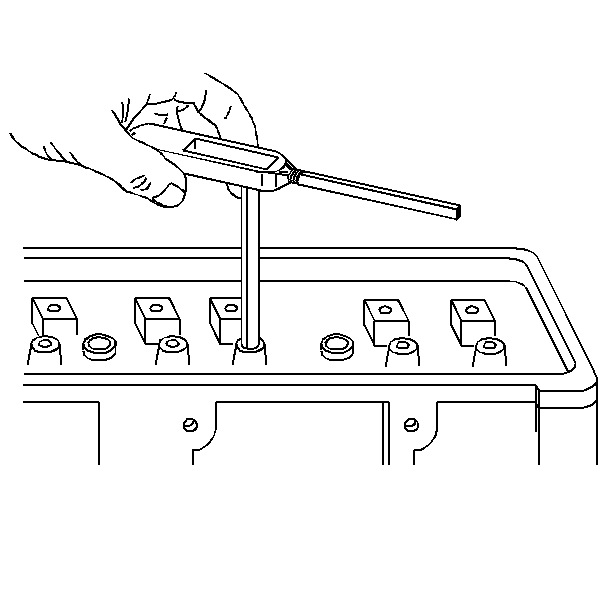
Important: Clean the valve guide before reaming. In order to avoid breaking the
reamer flutes, do not push down on the reamer.
- Clean and lubricate the reamer often during use.
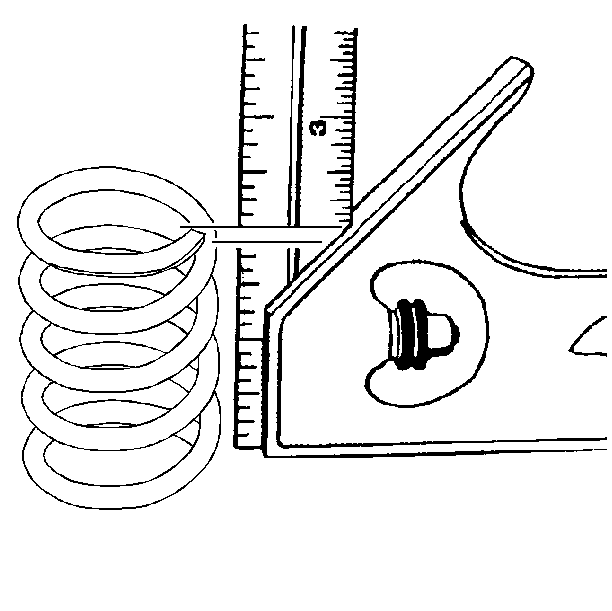
- Inspect the valve springs expanded height.
- Inspect the spring ends. If the spring ends are not parallel,
the spring is bent. Replace the bent spring.
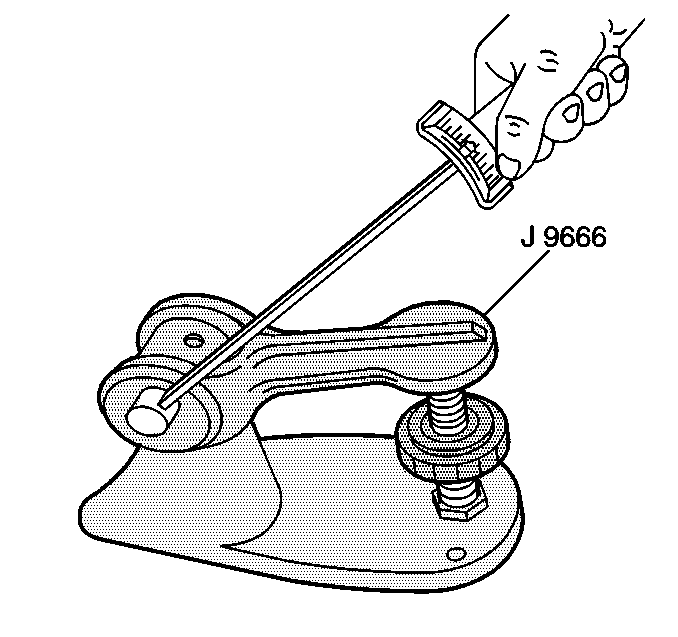
- Inspect the spring load. If the spring load is below specification,
replace the spring.
- Inspect the valve spring seating surface of the spring retainers
for wear or gouging. If the seating surface is damaged, replace the spring
retainers.
- Use the following procedure to measure the valve seat concentricity:
| 29.1. | Lift the valve off its seat. |
| 29.2. | Apply a dab of blue dye to the valve face. |
| 29.3. | Seat and rotate the valve. |
The blue dye traces transferred to the valve seat are an indication
of concentricity of the valve seat.
- Use the following procedure in order to measure the valve runout:
| 30.1. | Clean the blue dye off. |
| 30.2. | Apply a dab of blue dye to the valve seat. |
| 30.3. | Seat and rotate the valve. |
The traces of blue dye transferred to the valve indicates valve runout
| 30.4. | Recondition the valve seat or valve face if needed. |


