For 1990-2009 cars only
Special Tools
J 45059 Angle Meter
For equivalent regional tools, refer to Special Tools.
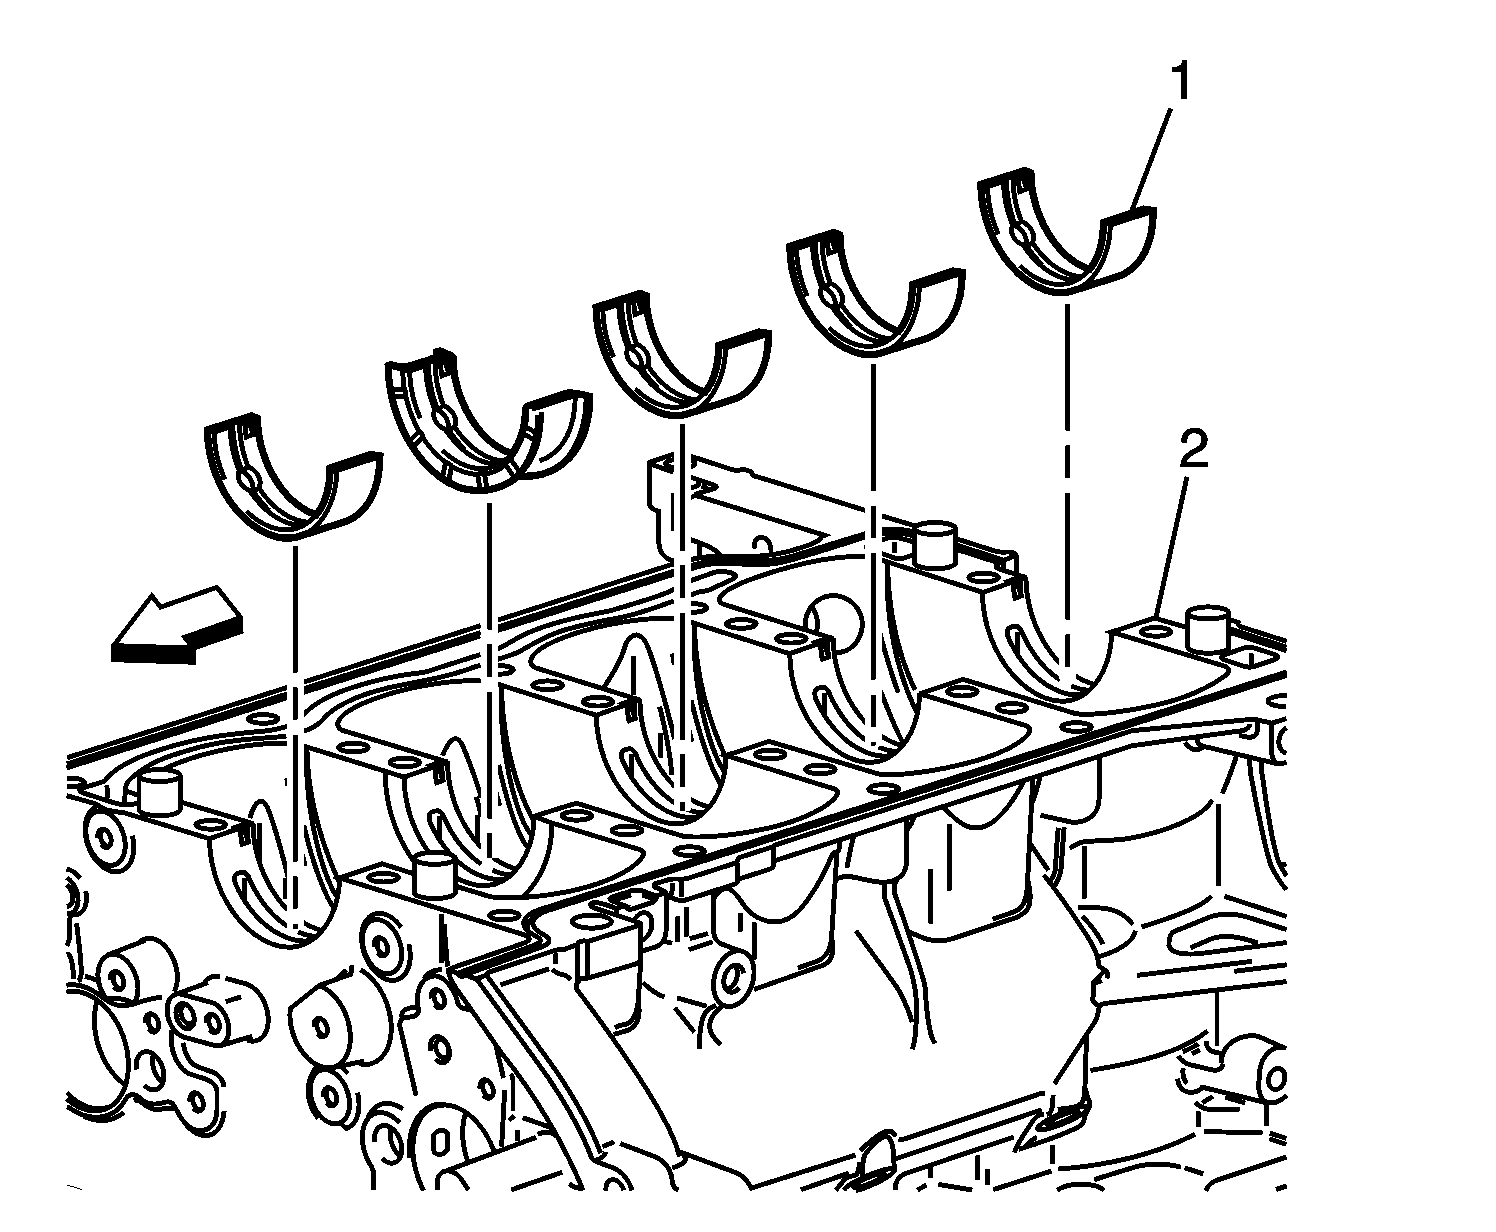
- Install the upper crankshaft bearings (1) and lubricate bearing surfaces with engine oil.
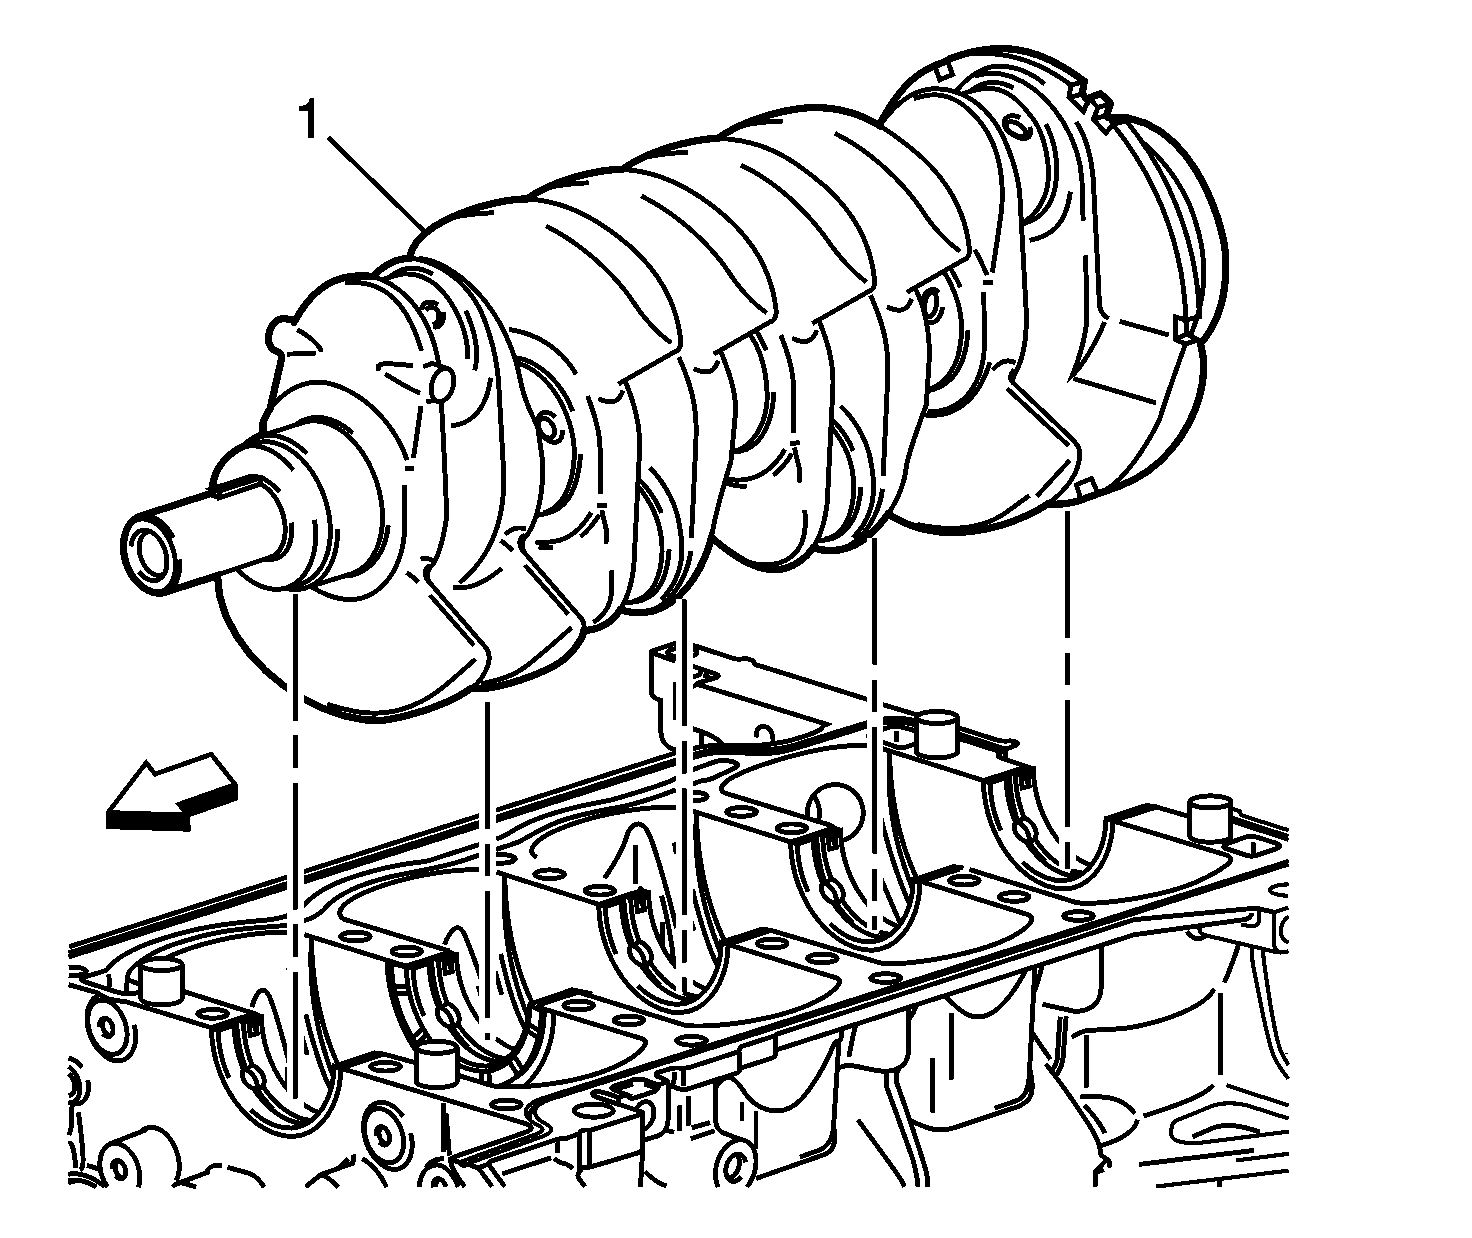
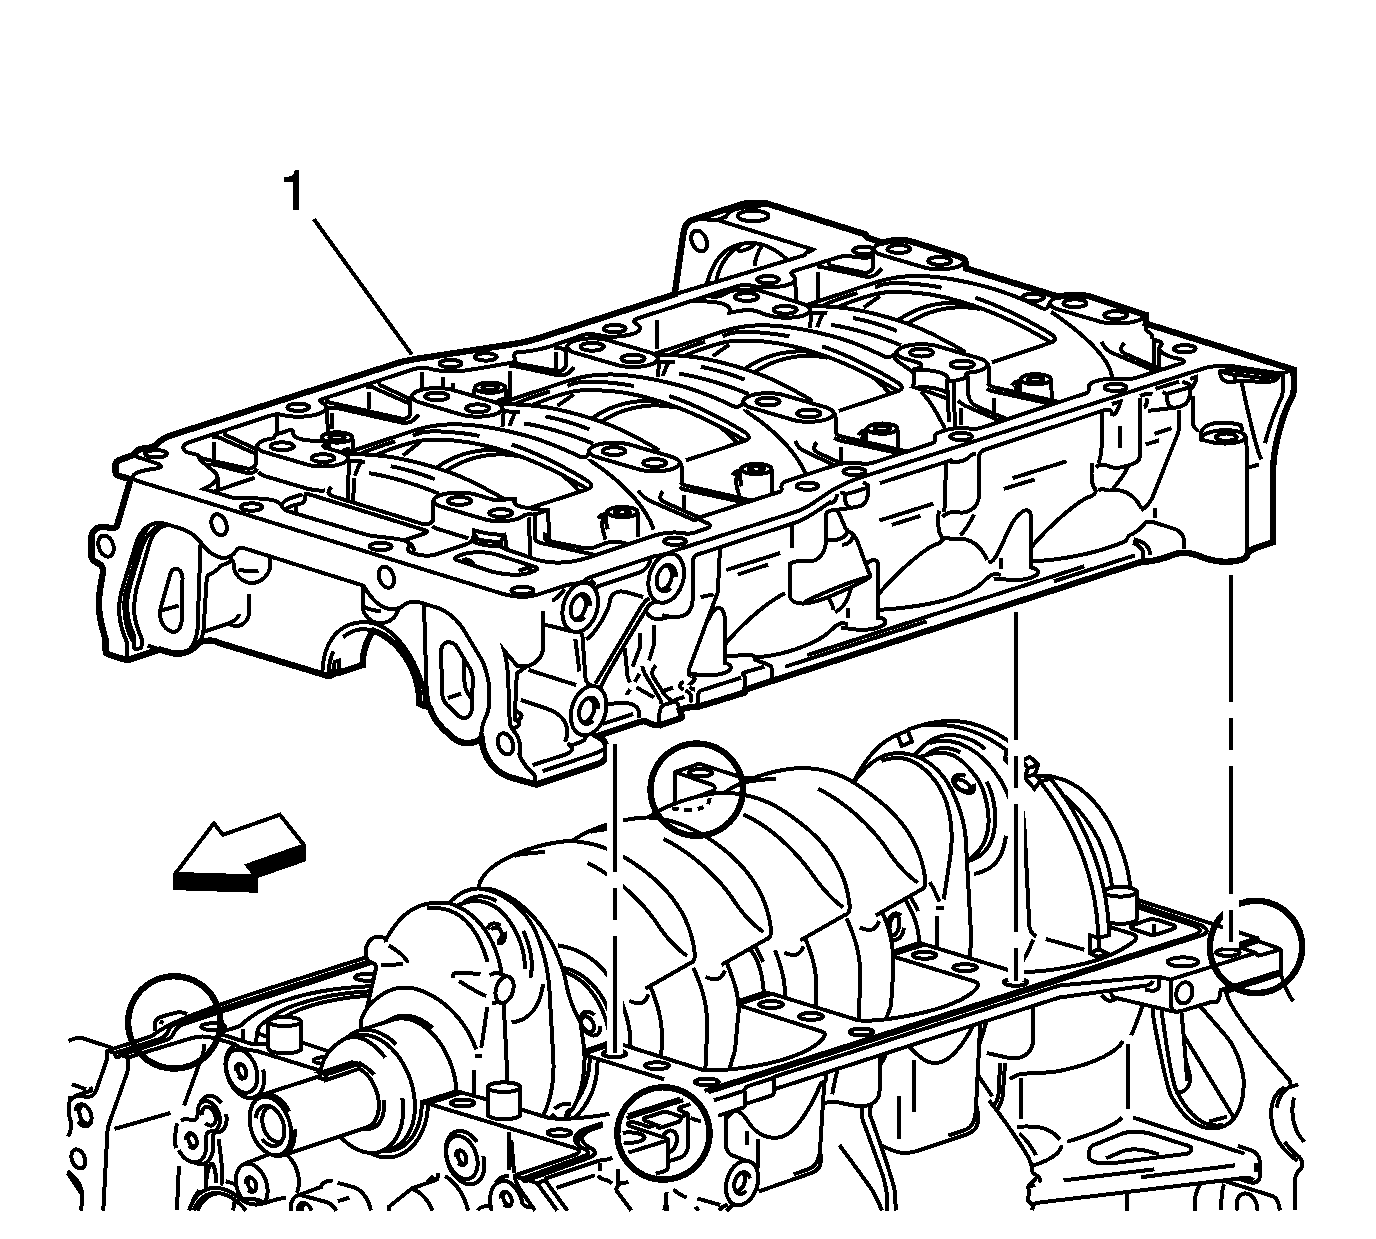
- Install the crankshaft (1) on the journals.
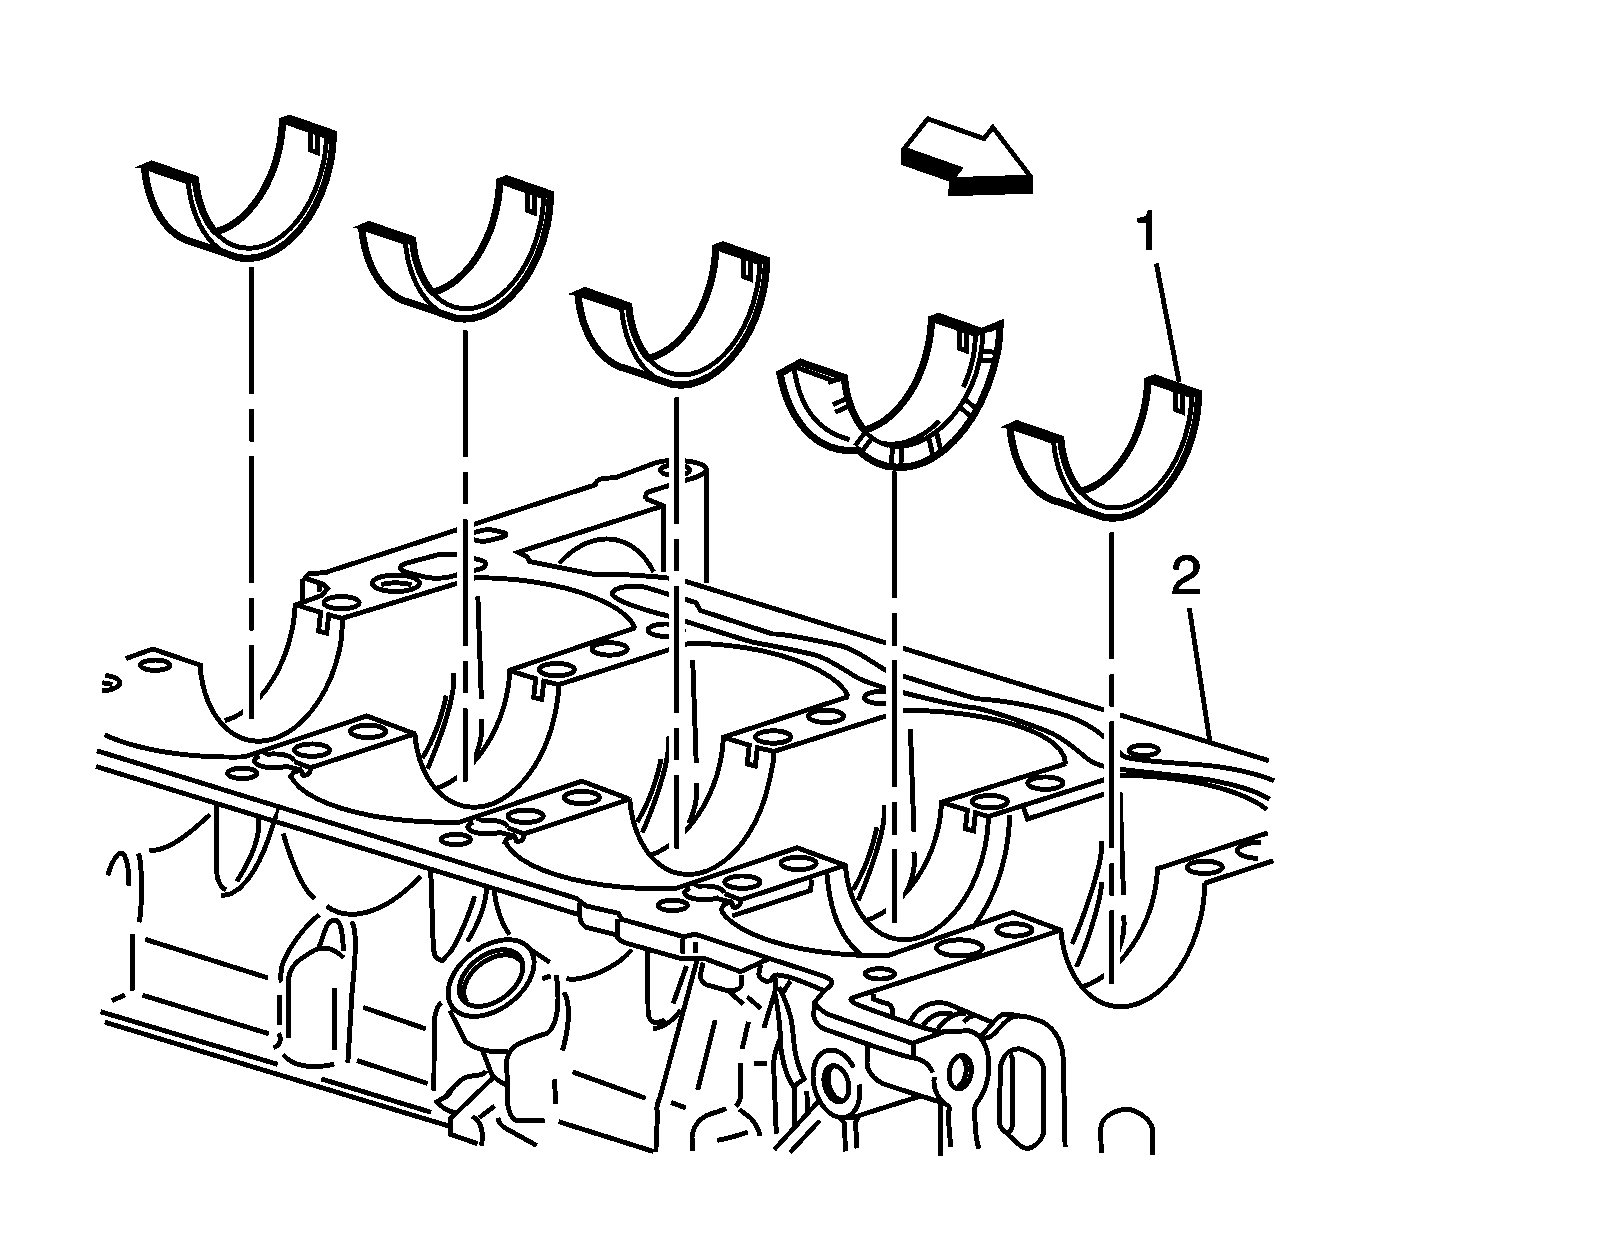
- Install the lower bearing halves (1), without grooves, into the lower crankcase. Apply oil to bearing surfaces.
- Apply a 4.25 mm bead of sealer, dimension a, directly in the groove of the block to bedplate mating surfaces. Refer to Adhesives, Fluids, Lubricants, and Sealers.
- Install the lower crankcase (1). Tap gently into place with a suitable tool if necessary. Ensure it is aligned properly on the dowels.
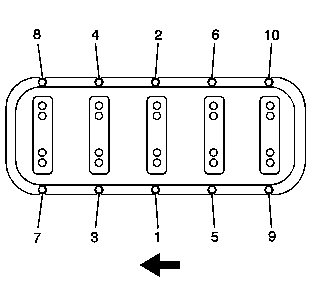
- Install the NEW crankshaft bearing bolts in sequence finger tight.
- Tighten the lower crankcase perimeter bolts in sequence to 25 N·m (18 lb ft).
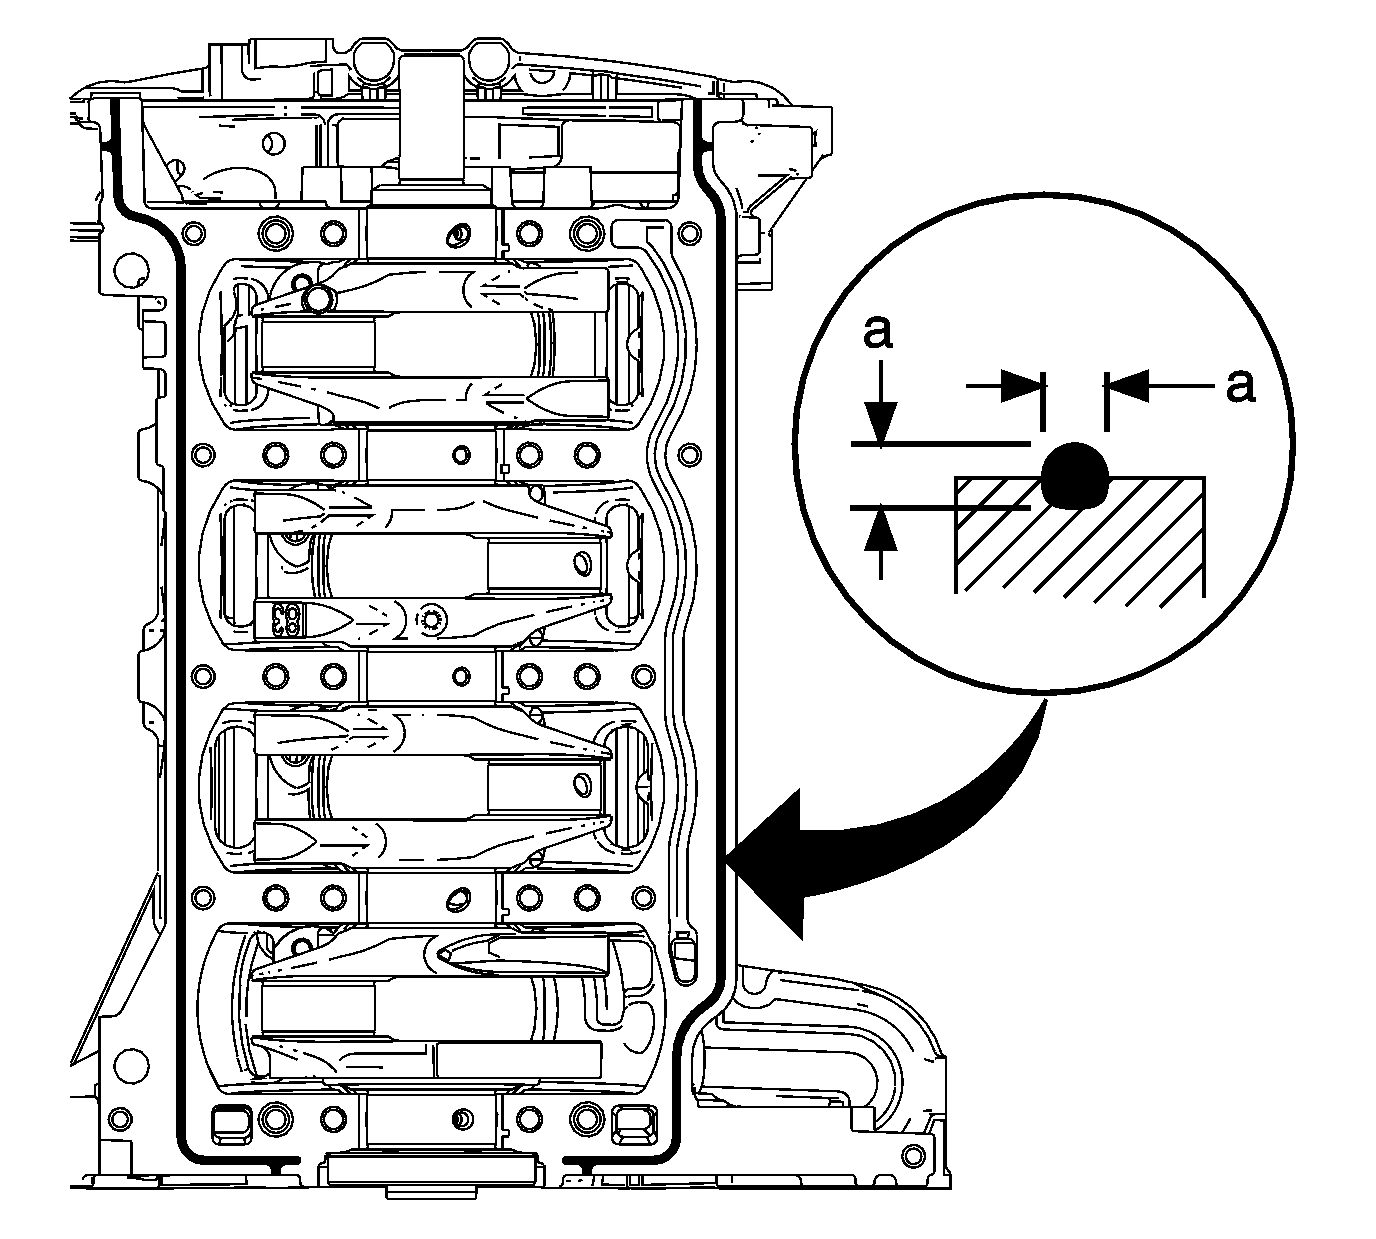
Note:
• The block assembly surface must be free of contamination prior to applying the sealer. • Install and align the bedplate to block within 20 minutes of applying the sealer. • The bedplate must be fastened to final torque specification within 60 minutes of applying the sealer.
Caution: Refer to Fastener Caution in the Preface section.
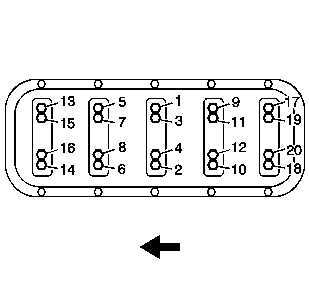
| 6.1. | Tighten the crankshaft bearing bolts in sequence to 20 N·m (15 lb ft). |
| 6.2. | Tighten the crankshaft bearing bolts in sequence using the J 45059 meter an additional 70 degrees. |
