For 1990-2009 cars only
Exhaust Camshaft and Components Installation
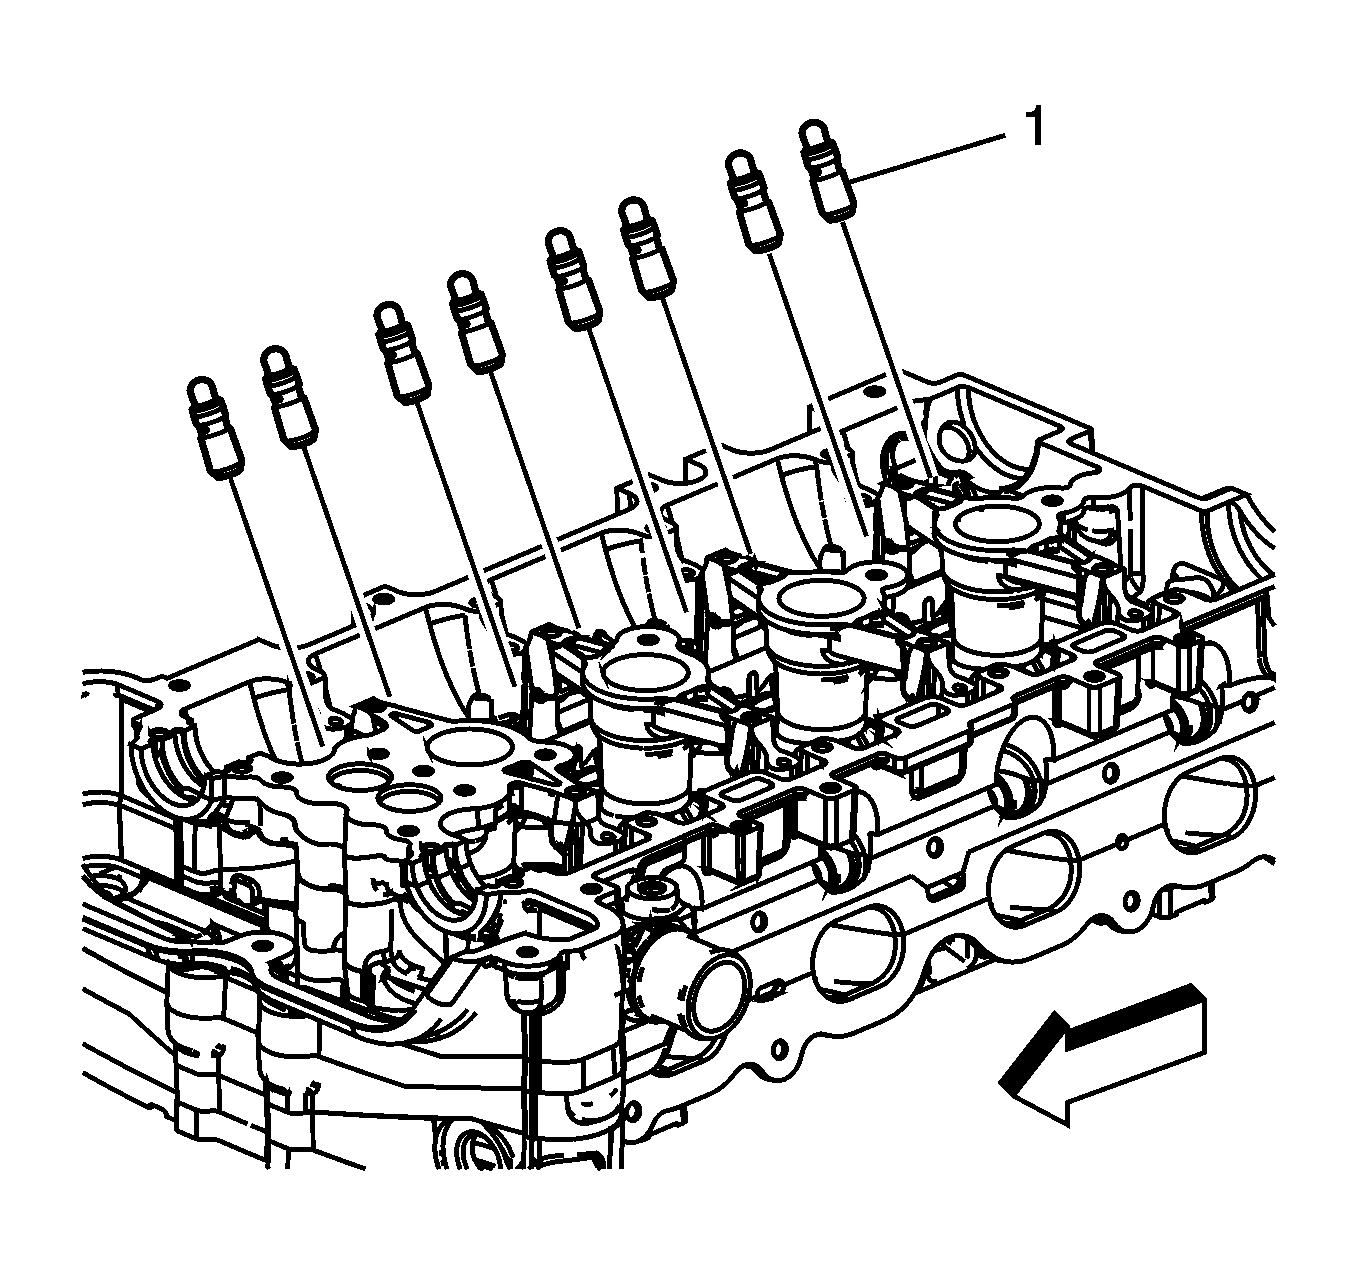
- Install the hydraulic lash adjusters (1) into their bores in the cylinder head and lubricate. Refer to Adhesives, Fluids, Lubricants, and Sealers.
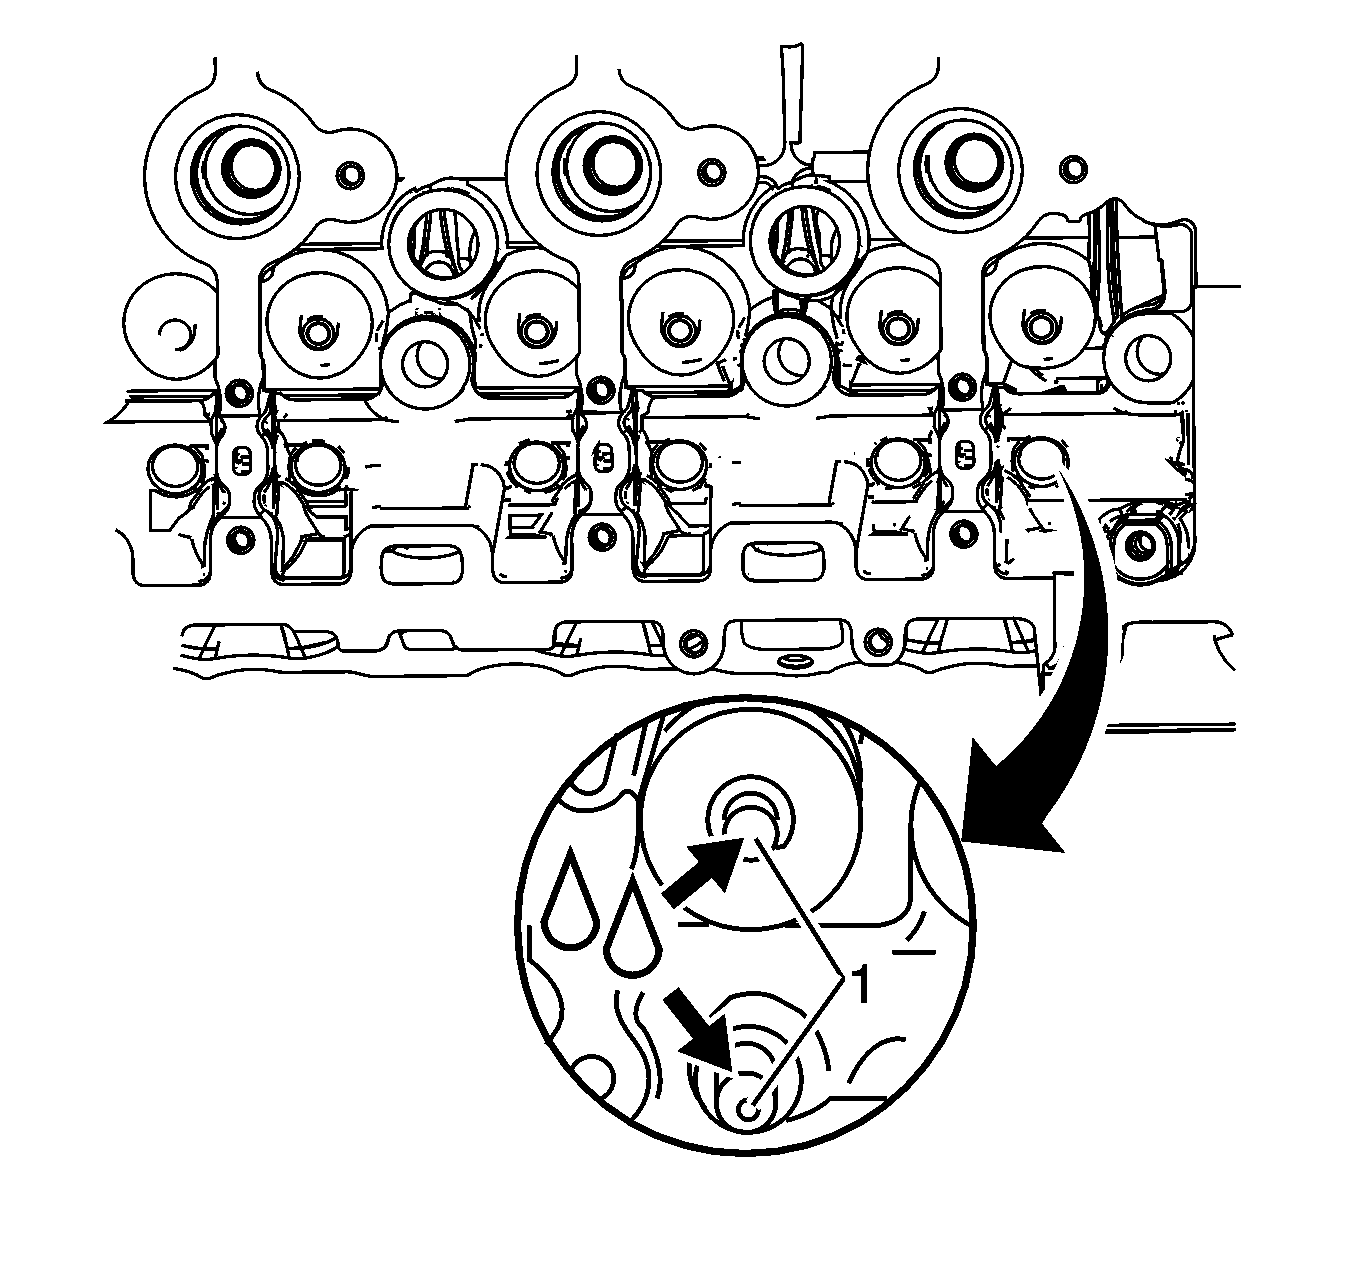
- Lubricate the valve tips (1). Refer to Adhesives, Fluids, Lubricants, and Sealers.
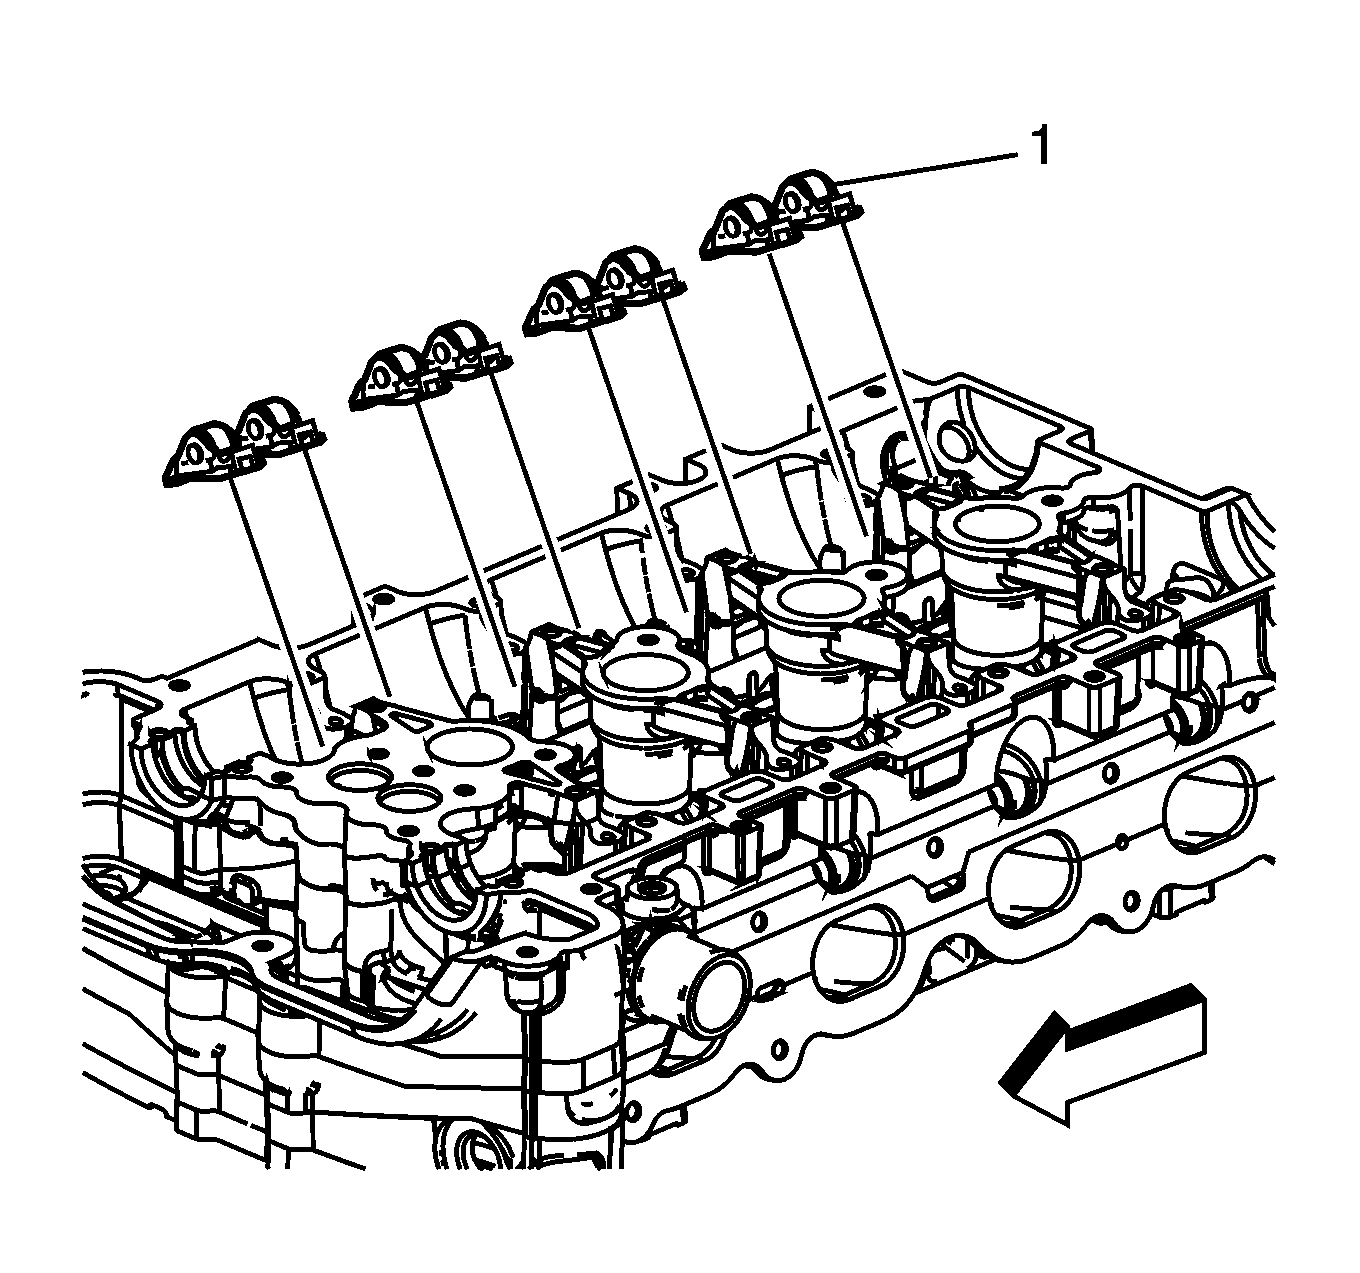
- Position the roller followers (1) on the tip of the valve stem and on the lash adjuster and lubricant. Refer to Adhesives, Fluids, Lubricants, and Sealers.
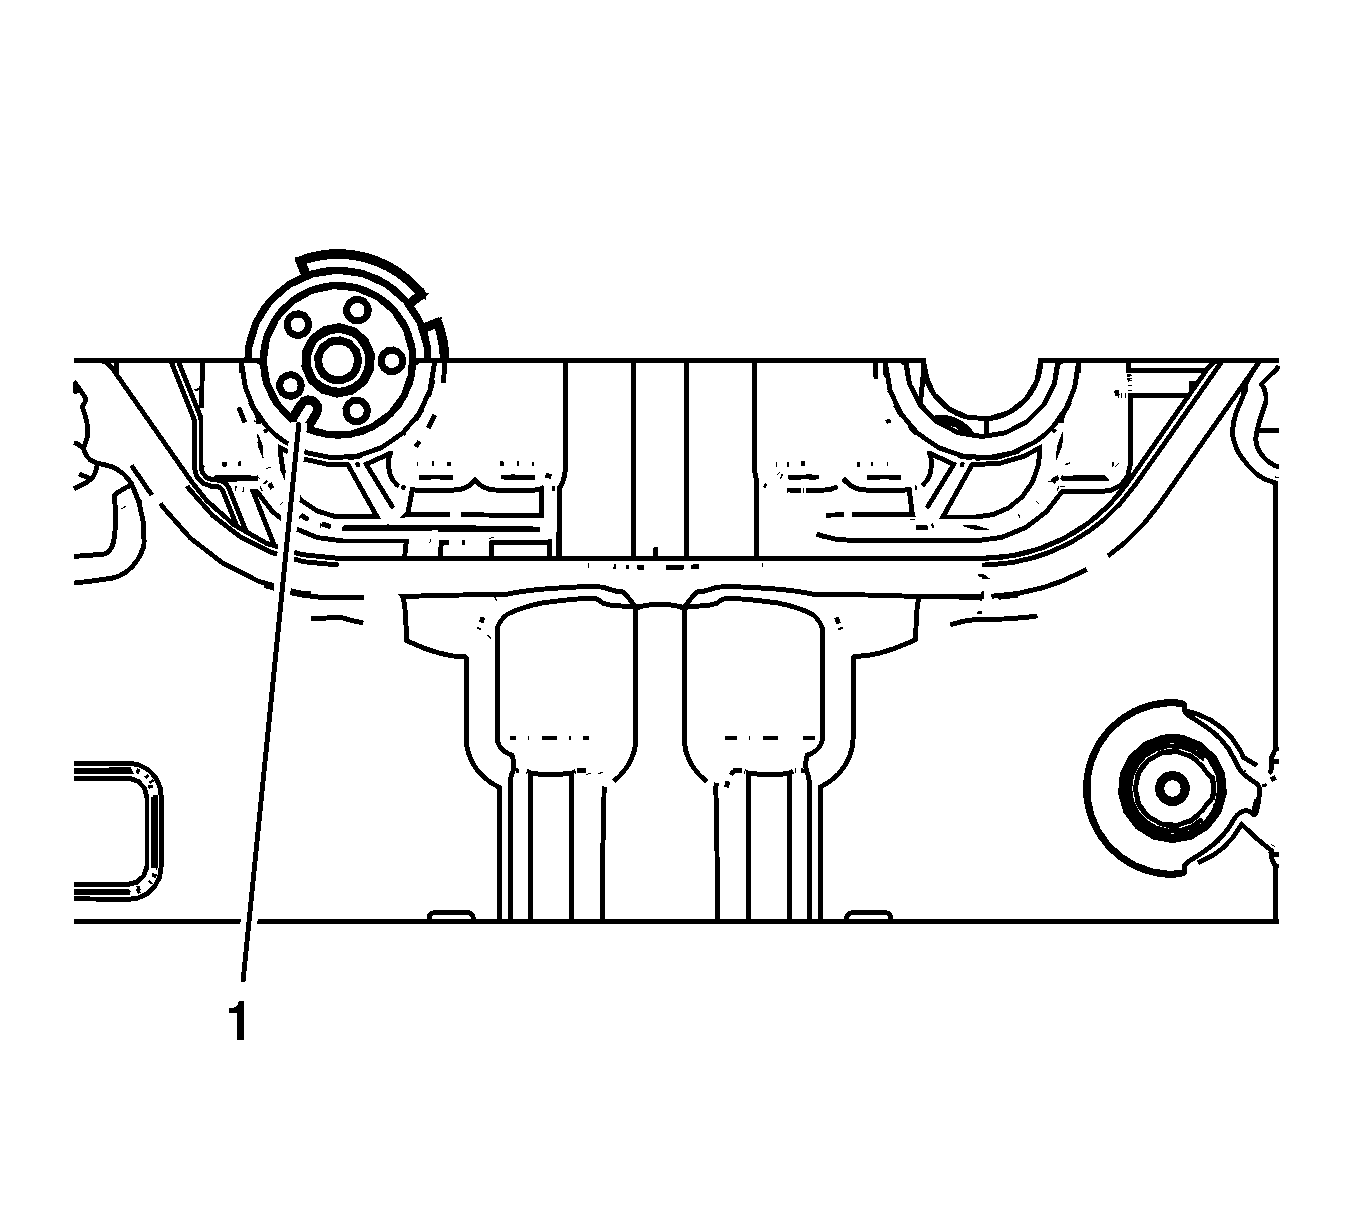
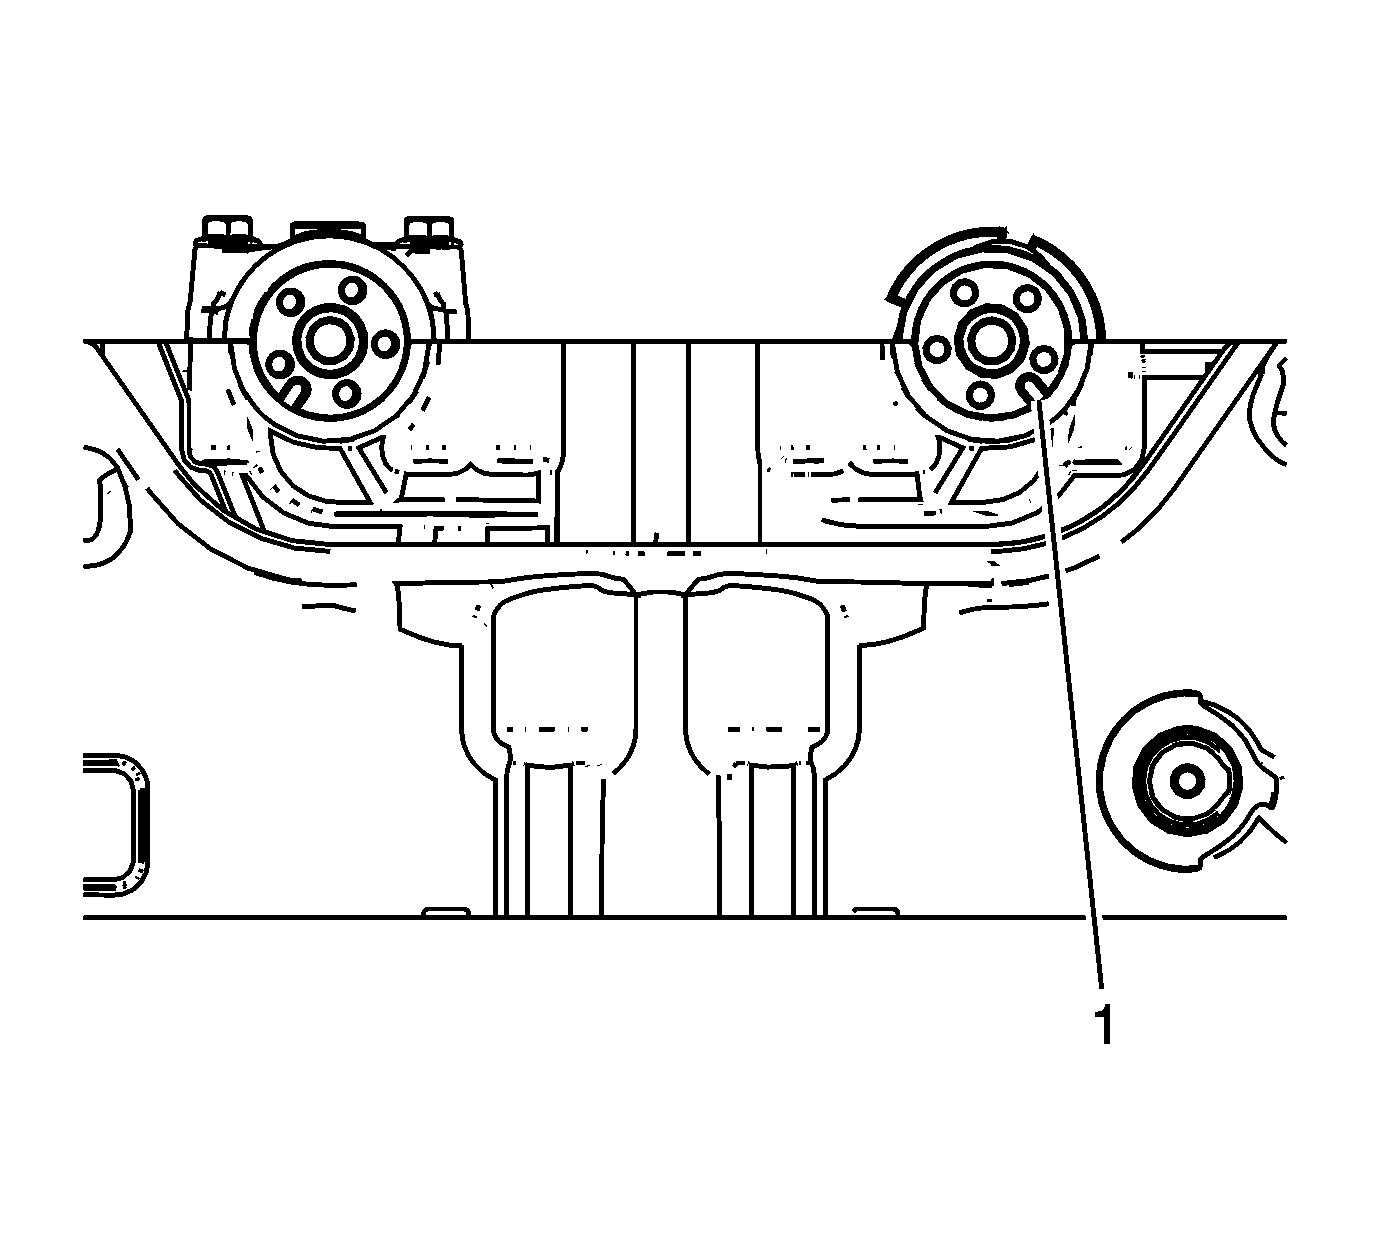
- When installing the camshafts, ensure the exhaust camshaft notch is in the 7 o'clock position (1). The number 1 piston should be at top dead center (TDC), crankshaft key at 12 o'clock.
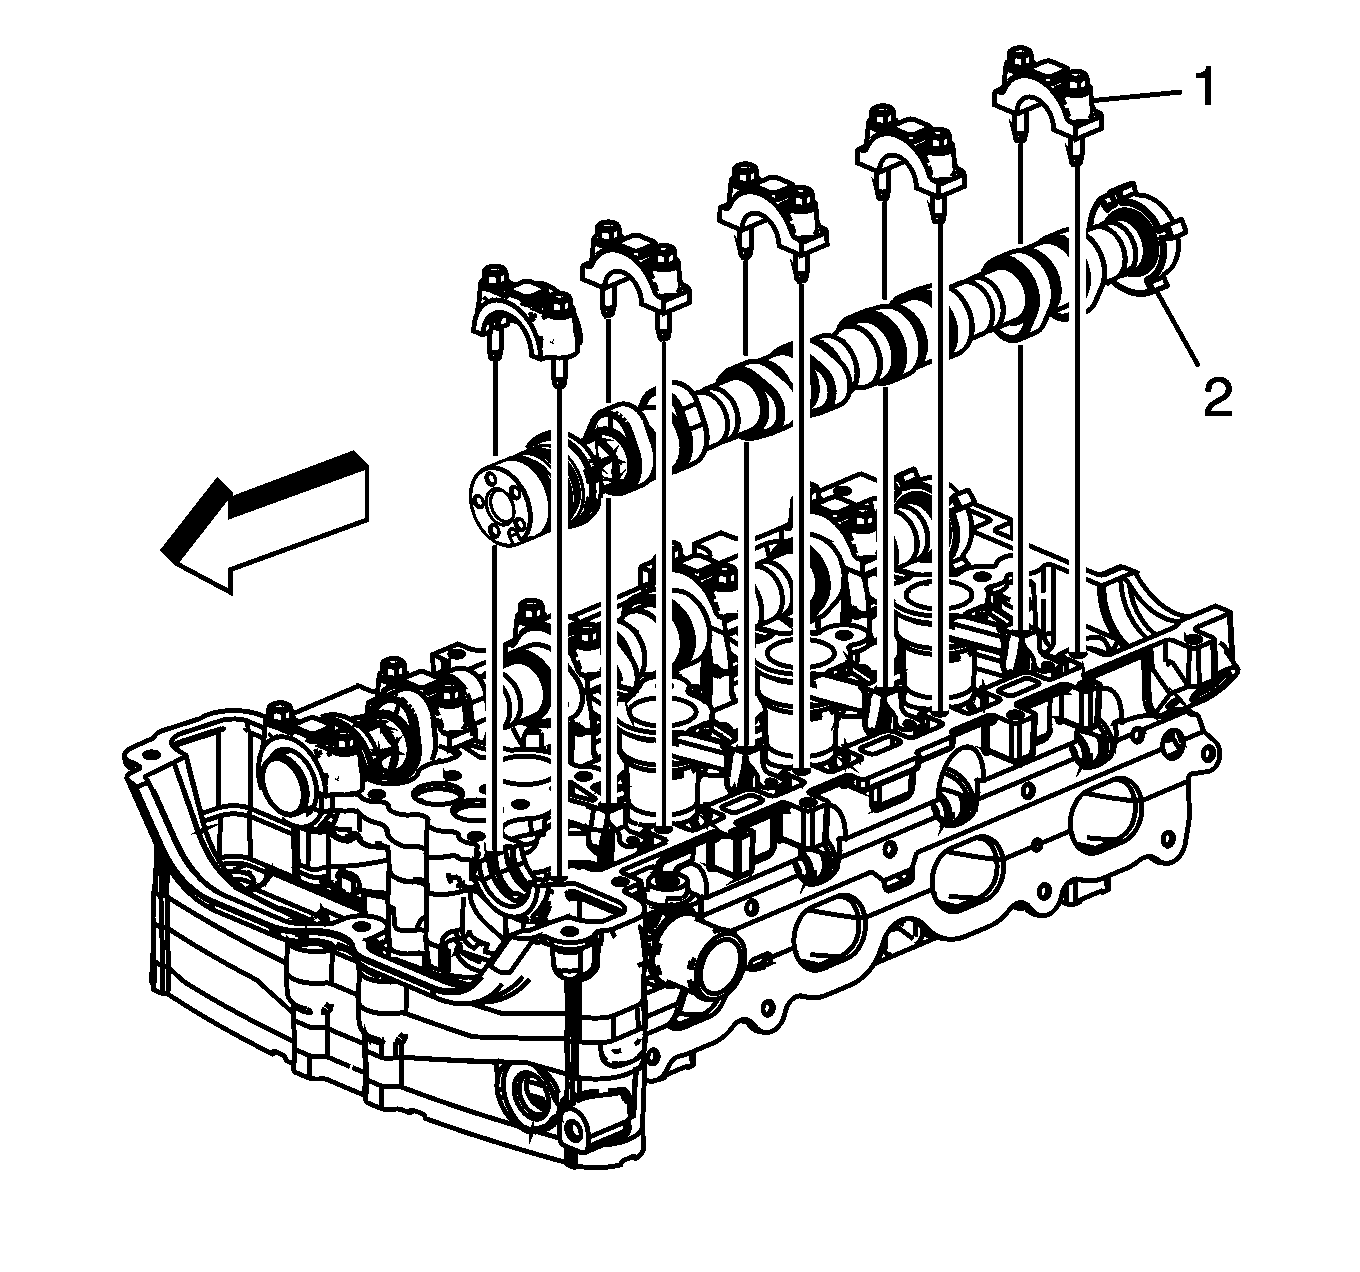
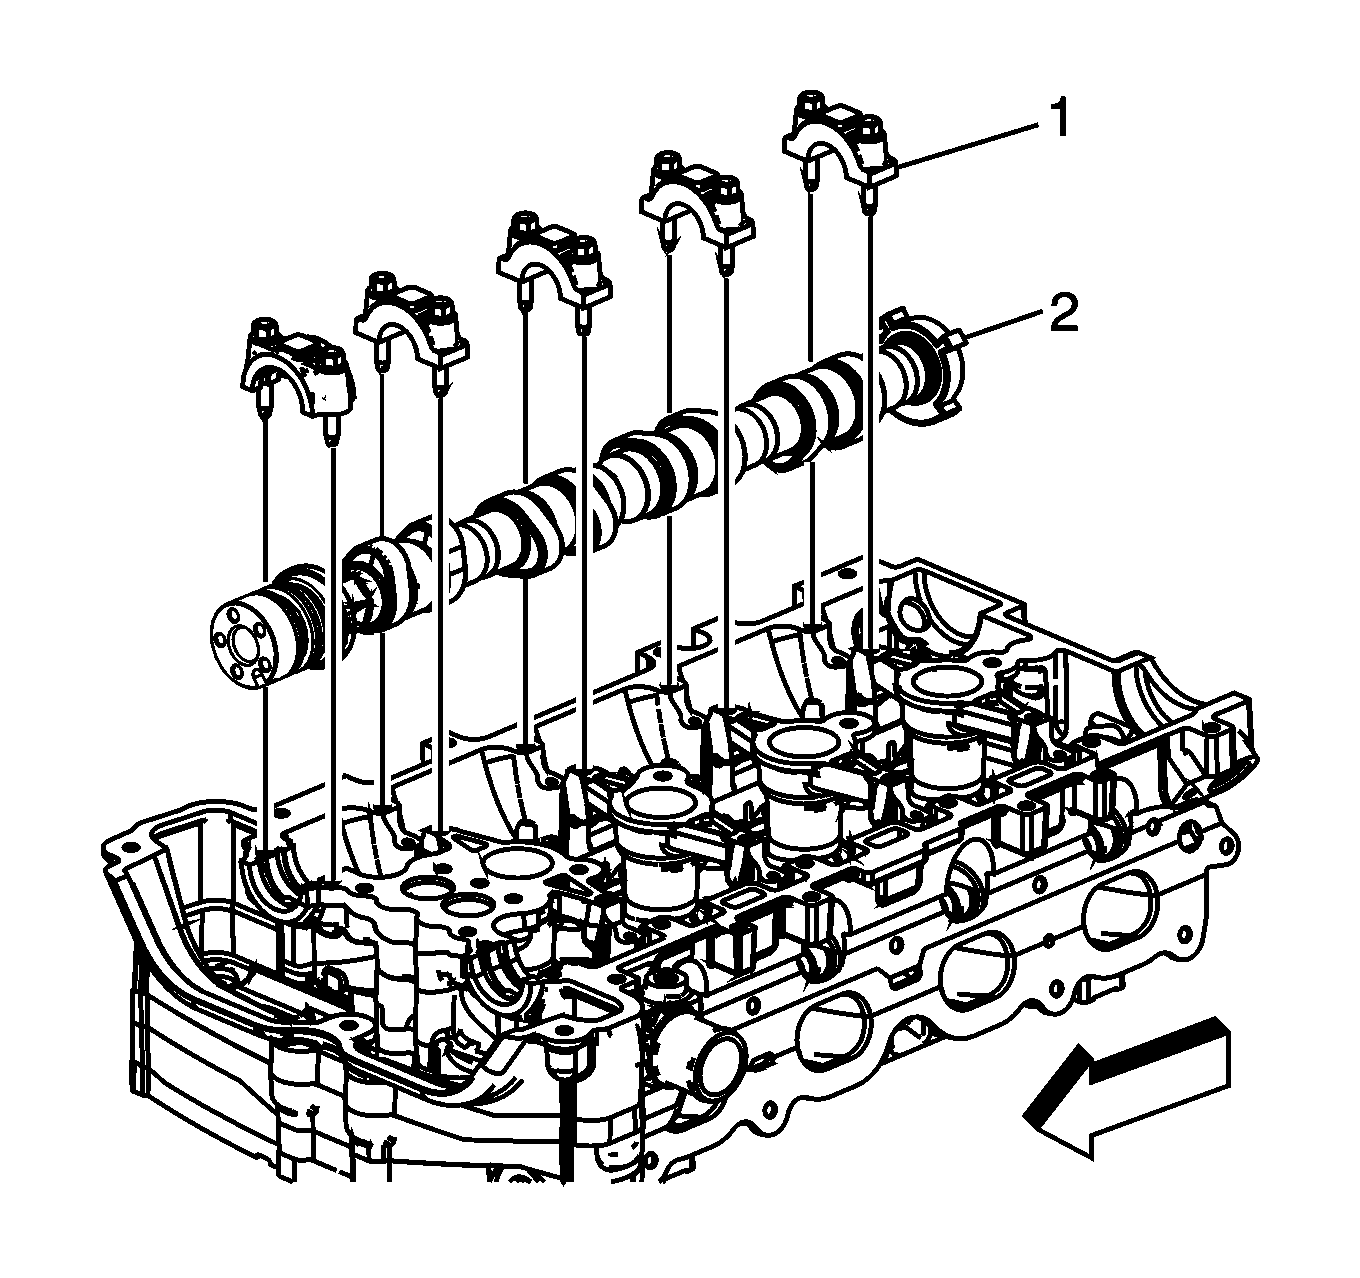
- Set the exhaust camshaft (2) on top of the roller followers in the camshaft bearing journals and lubricate. Refer to Adhesives, Fluids, Lubricants, and Sealers.
- Install the camshaft caps (1) and hand start the camshaft cap bolts.
- Tighten the camshaft cap bolts in increments of 3 turns until they are seated, lubricate. Tighten the camshaft caps to 10 N·m (89 lb in).
Note: Used roller followers must be returned to the original position on the camshaft. If the camshaft is being replaced, the roller followers actuated by the camshaft must also be replaced.
Note: The engine is timed top-dead center exhaust stroke.
Caution: Refer to Fastener Caution in the Preface section.
Intake Camshaft and Components Installation
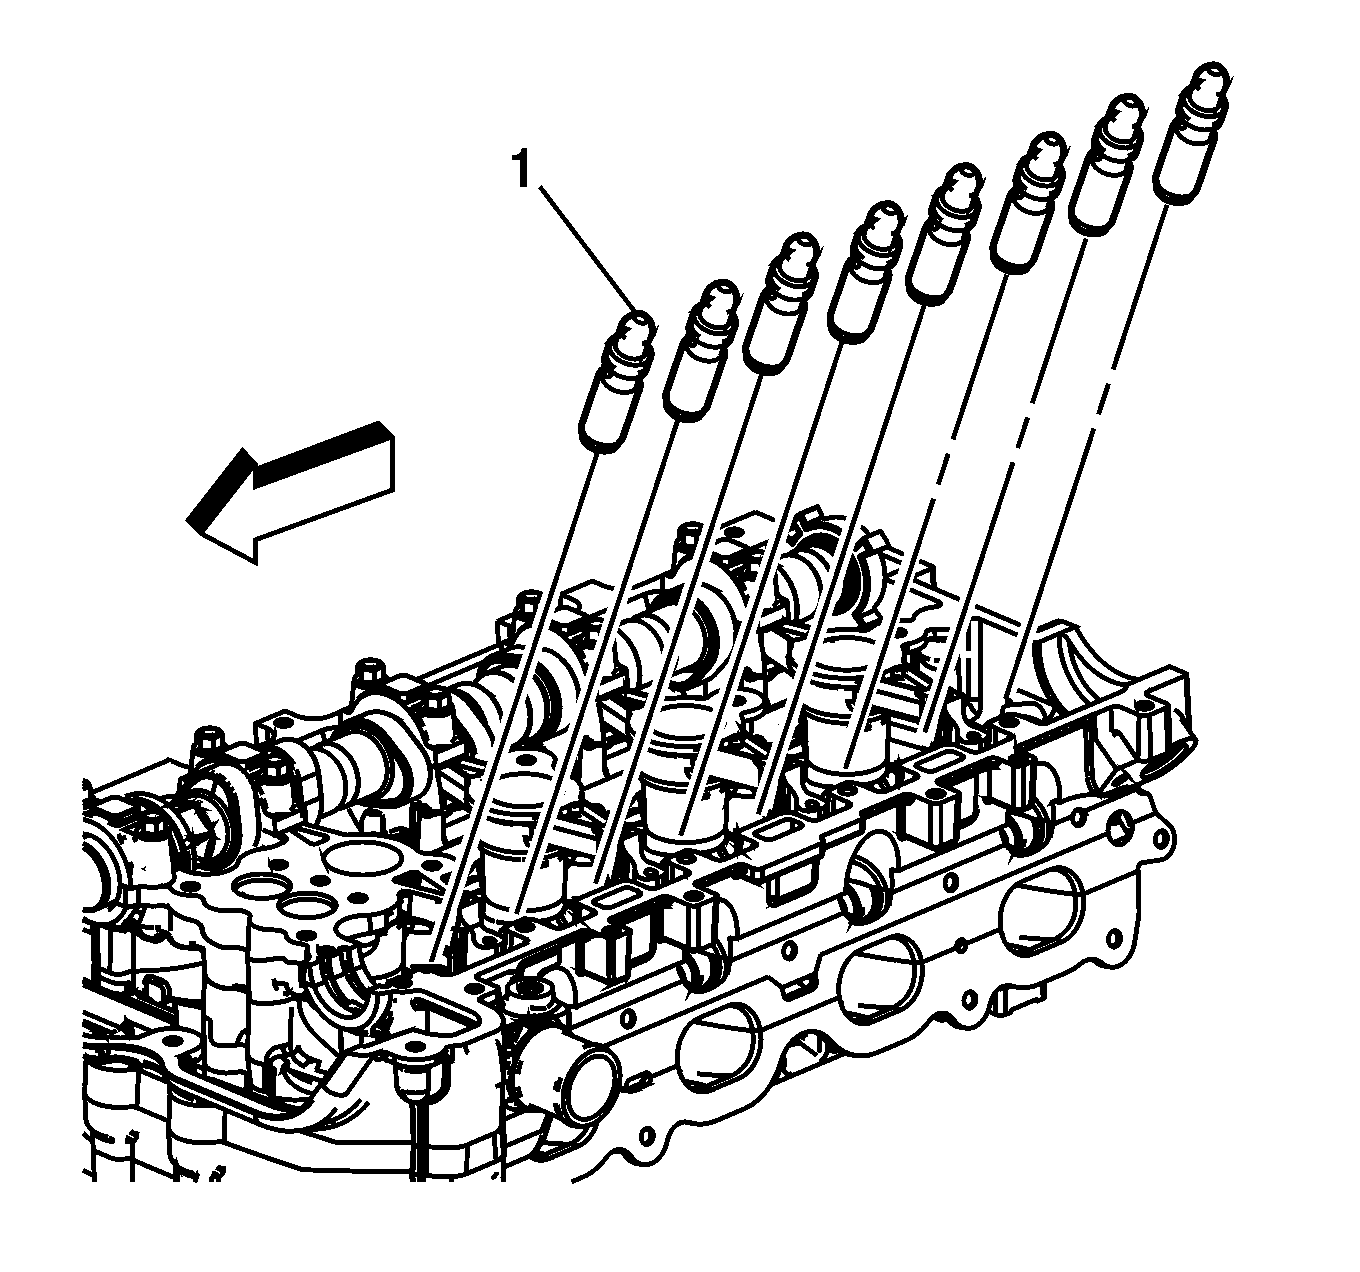
- Install the hydraulic lash adjusters (1) into their bores in the cylinder head.
- Lubricate the hydraulic lash adjusters. Refer to Adhesives, Fluids, Lubricants, and Sealers.
- Lubricate the valve tips (1). Refer to Adhesives, Fluids, Lubricants, and Sealers.
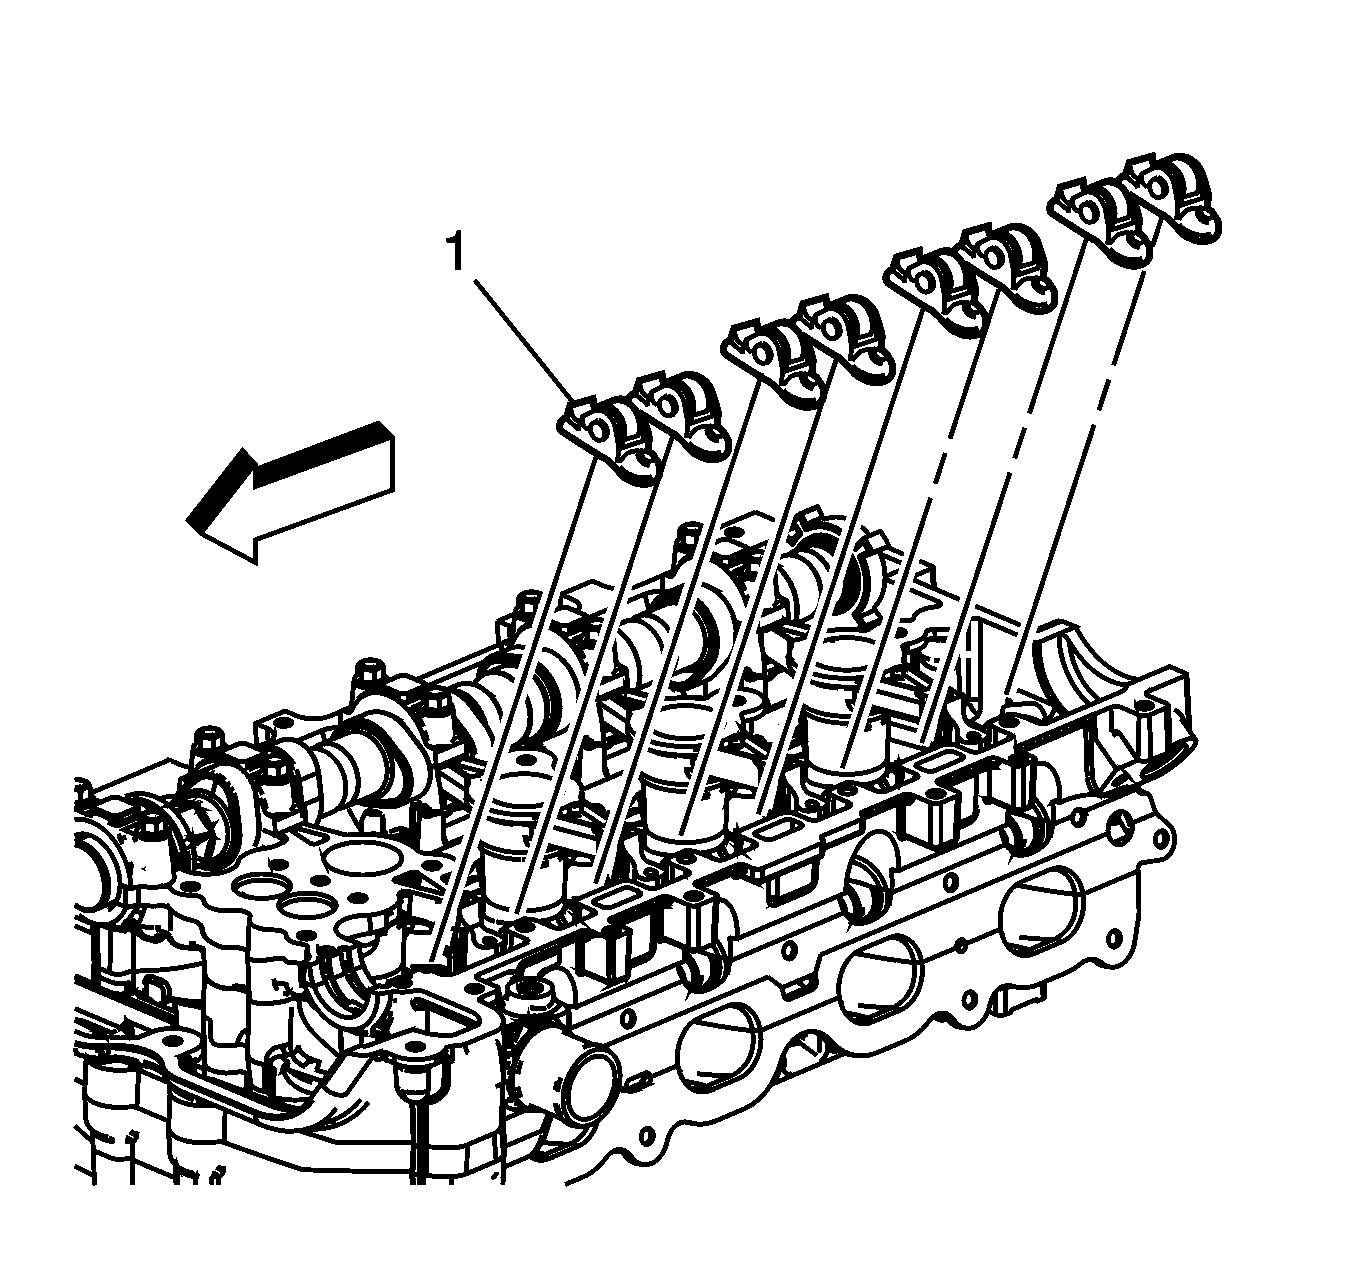
- Position the roller followers (1) on the tip of the valve stem and on the lash adjuster. Lubricate roller followers. Refer to Adhesives, Fluids, Lubricants, and Sealers.
- When installing the camshafts, ensure the intake camshaft notch is in the 5 o'clock position (1). The number 1 piston should be at top dead center (TDC), crankshaft key at 12 o'clock.
- Set the intake camshaft (2) on top of the roller followers in the camshaft bearing journals and lubricate. Refer to Adhesives, Fluids, Lubricants, and Sealers.
- Install the camshaft caps (1) and hand start the camshaft cap bolts.
- Tighten the camshaft cap bolts in increments of 3 turns until they are seated. Tighten the camshaft caps to 10 N·m (89 lb in).

Note: Used roller followers must be returned to the original position on the camshaft. If the camshaft is being replaced, the roller followers actuated by the camshaft must also be replaced.
Note: The engine is timed top-dead center exhaust stroke.
