For 1990-2009 cars only
Tail Lamp Pocket Replacement for Buick Regal 2009
Tail Lamp Pocket Replacement 69 NB
Removal Procedure
- Remove the body side outer panel. Refer to Body Side Outer Panel Replacement.
- Cut out the tail lamp pocket roughly.
- Locate and drill out all of the necessary factory welds.
- Remove the damaged tail lamp pocket.
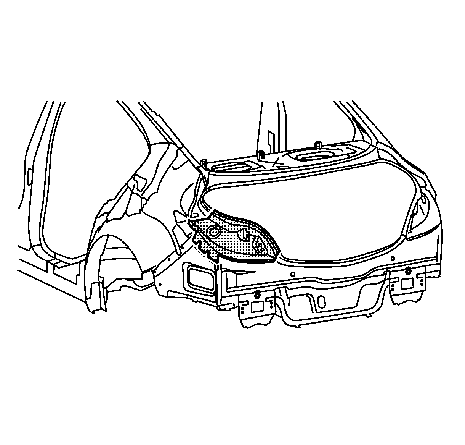
Note: Do not damage any inner panels or reinforcements.
Note: Note the number and location of the welds for installations of the service part.
Installation Procedure
- Prepare new tail lamp pocket in the area (1).
- Prepare all attachment surfaces as necessary.
- Apply bodywork repair through structural adhesive to body. Refer to Structural Adhesive Body Repairs.
- Position the tail lamp pocket.
- Spot weld the tail lamp pocket accordingly.
- MIG-braze the tail lamp pocket.
- Grind MIG-brazed seams.
- Apply the sealers and anti-corrosion materials to the repair area, as necessary. Refer to Anti-Corrosion Treatment and Repair.
- Install the body side outer panel. Refer to Body Side Outer Panel Replacement.
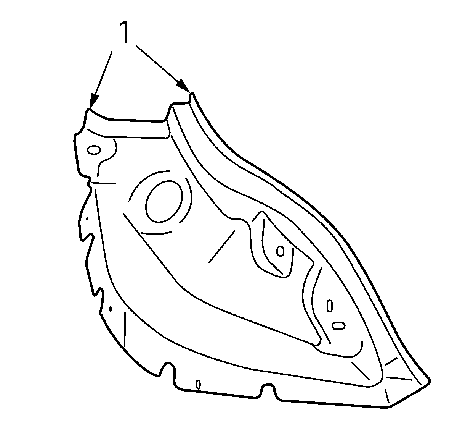
3x slots 8x24 mm (0.3x0.9 in).
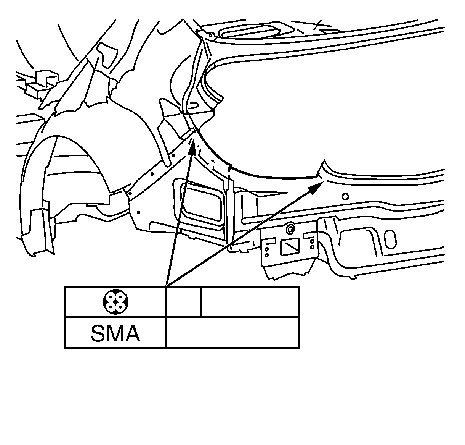
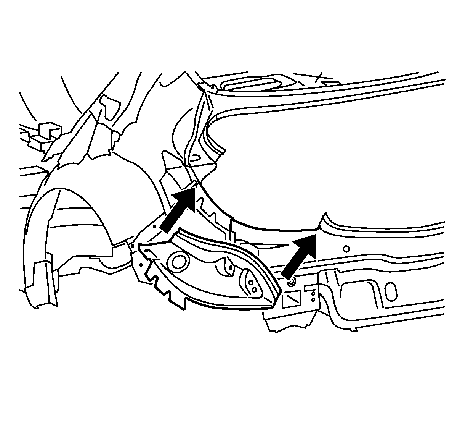
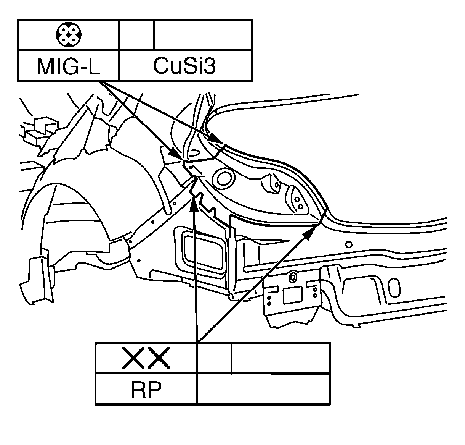
Note: Refer to Welded, Brazed, and Riveted Joint Specifications.
