For 1990-2009 cars only
Tools Required
| • | J 21854-01 Pivot Pin Remover |
| • | J 41688 Centering Sphere Installer |
- Remove the lock module assembly. Refer to Electronic Column Lock Module - Disassemble - Off Vehicle .
- Remove the tilt spring assembly only. Refer to Tilt Spring - Disassemble - Off Vehicle .
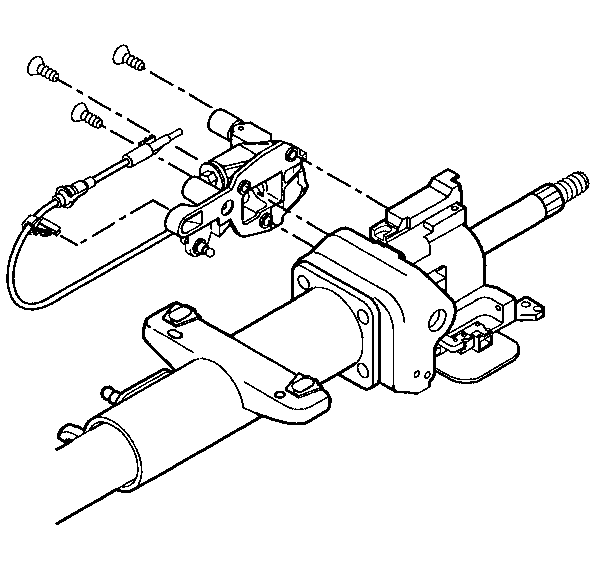
- Remove the 2 pan head tapping screws from the turn signal and multifunction switch assembly.
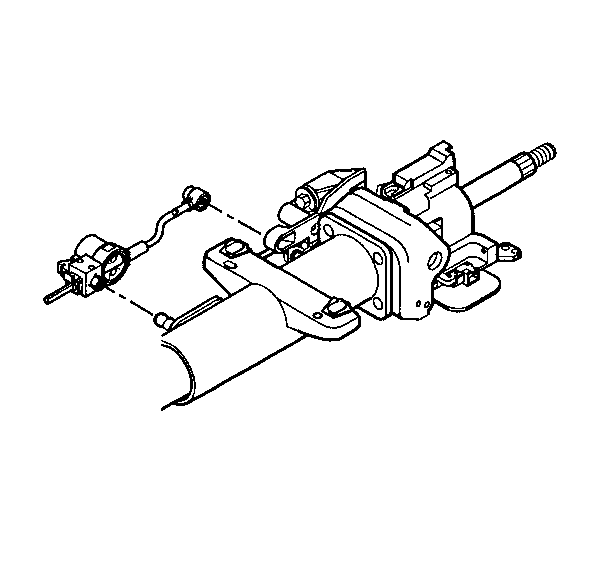
- Remove the automatic transmission shift lock control.
- Use a screwdriver to pry the automatic transmission shift lock control from the steering column jacket assembly.
- Remove the 3 flat head 6 lobed socket tapping screws from the linear shift assembly.
- Remove the following items from the steering shaft assembly:
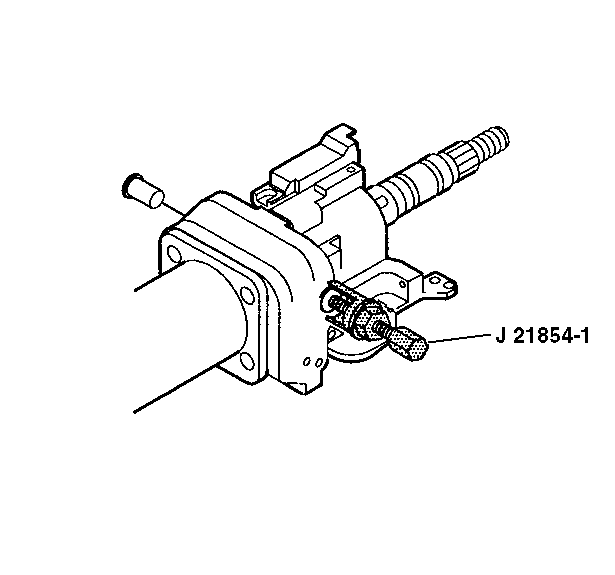
- Remove the 2 pivot pins from the steering column support assembly with J 21854-01 .
- Install the tilt lever and tilt the column to the upright position.
- Remove the upper tilt head assembly with the steering shaft assembly.
- Remove the steering shaft assembly (2) from the steering column tilt head assembly (1).
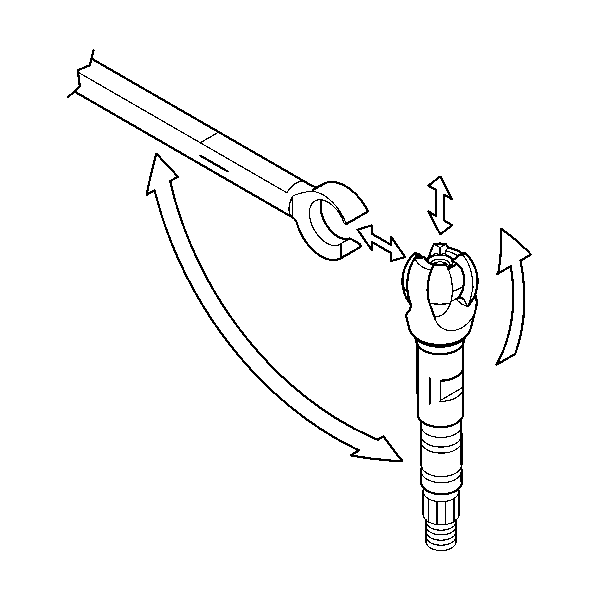
- Tilt the race and upper shaft assembly 90 degrees to the lower shaft assembly and disengage. If necessary, remove and discard the old centering sphere and spring.
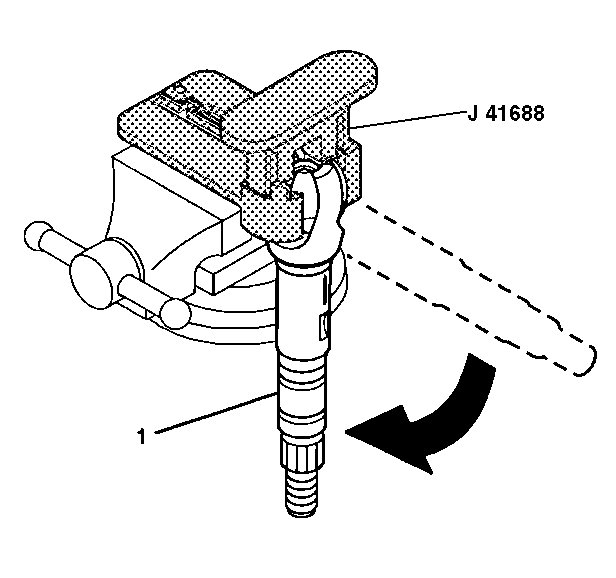
- Insert the race and upper shaft assembly (1) into J 41688 .
- Rotate the driver 90 degrees in the counterclockwise direction in order to disengage the centering sphere.
- Remove the shaft preload spring and the centering sphere from J 41688 .
- If necessary, discard the old centering sphere and the old joint preload spring.
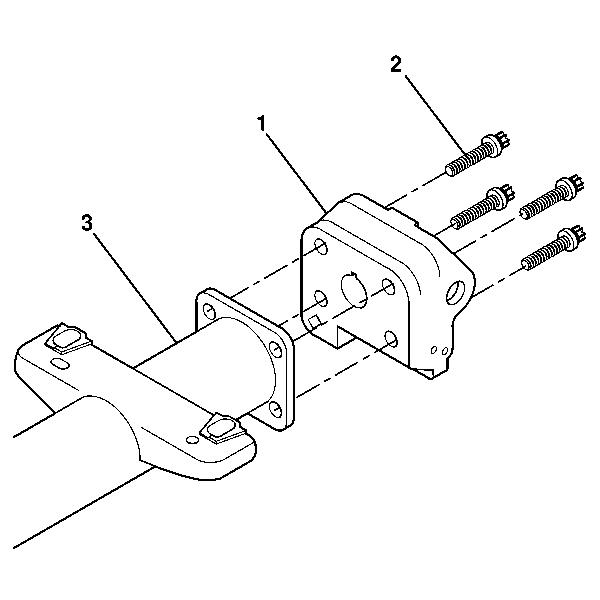
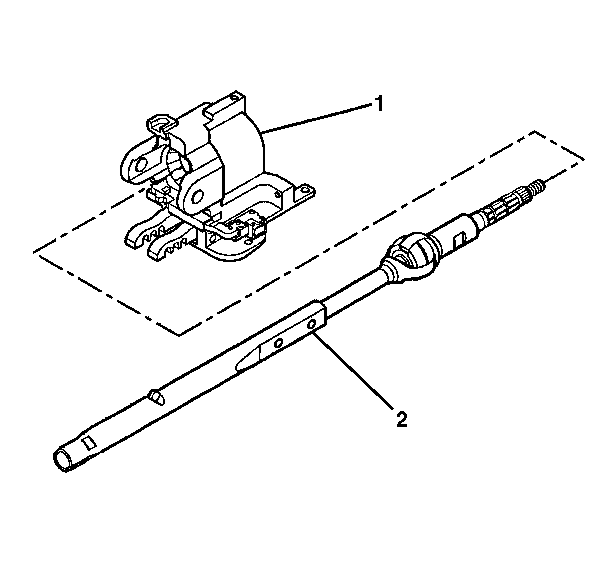
- Remove the 4 TORX® head screws from the steering column support assembly (1).
- Dispose of the 4 TORX® head screws (2).
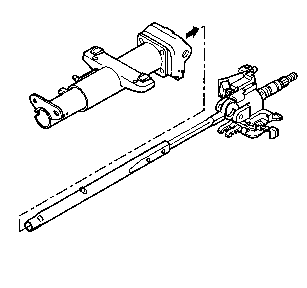
- Remove the steering column support assembly (1) from the steering column jacket assembly (3).
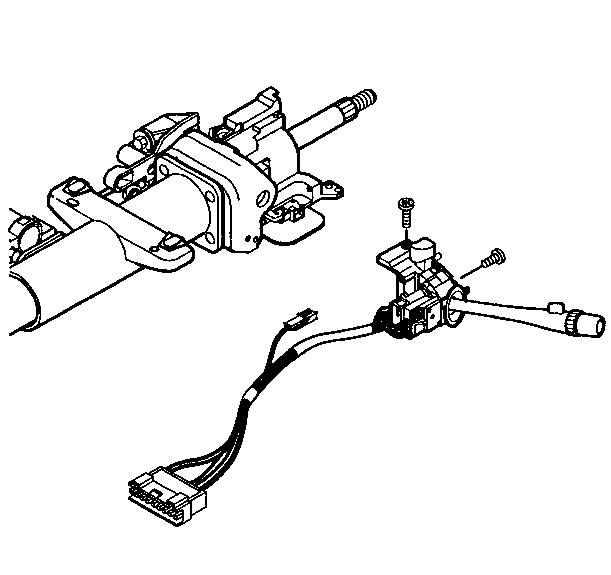
Remove the turn signal and multifunction switch assembly.
Remove the linear shift assembly.
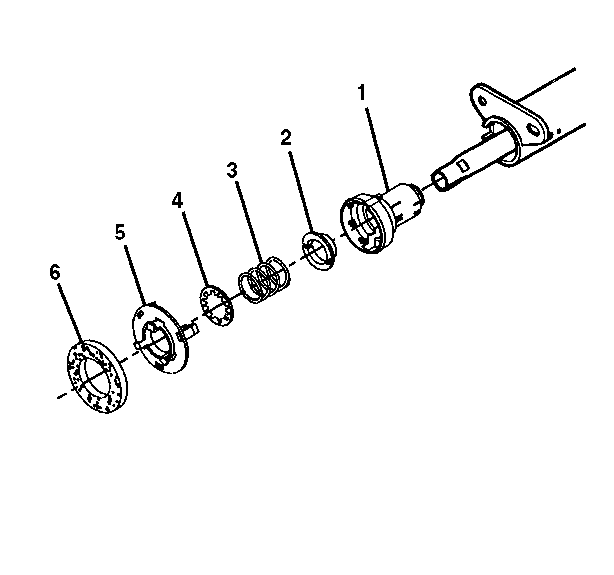
| 7.1. | The steering shaft seal (6) |
| 7.2. | The sensor retainer (5) |
| 7.3. | The lower spring retainer (4) |
| 7.4. | Dispose of the lower spring retainer (4) |
| 7.5. | The lower bearing spring (3) |
| 7.6. | The lower bearing seat (2) |
| 7.7. | The adapter and bearing assembly (1) |
Important: Mark the race and upper shaft assembly and the lower shaft assembly to ensure proper assembly. Failure to assemble properly will cause the steering wheel to be turned 180 degrees.