Removal Procedure
Caution: Refer to Battery Disconnect Caution in the Preface section.
Caution: Batteries generate hydrogen gas, which is extremely flammable and may explode violently if ignited by a spark or a flame. Battery acid is extremely corrosive and causes severe personal injury if the acid comes into contact with the skin, and blindness if the acid comes into contact with the eyes. In order to avoid severe personal injury, use extreme caution when servicing the battery or battery-related components.
- Disconnect the negative battery cable. Refer to Battery Negative Cable Disconnection and Connection .
- If equipped with regular production option (RPO) LX9, perform the following steps. Loosen the positive battery cable bolt at the battery.
- Remove the positive battery cable from the battery.
- Remove the front fender diagonal brace. Refer to Front End Sheet Metal Diagonal Brace Replacement - Right Side .
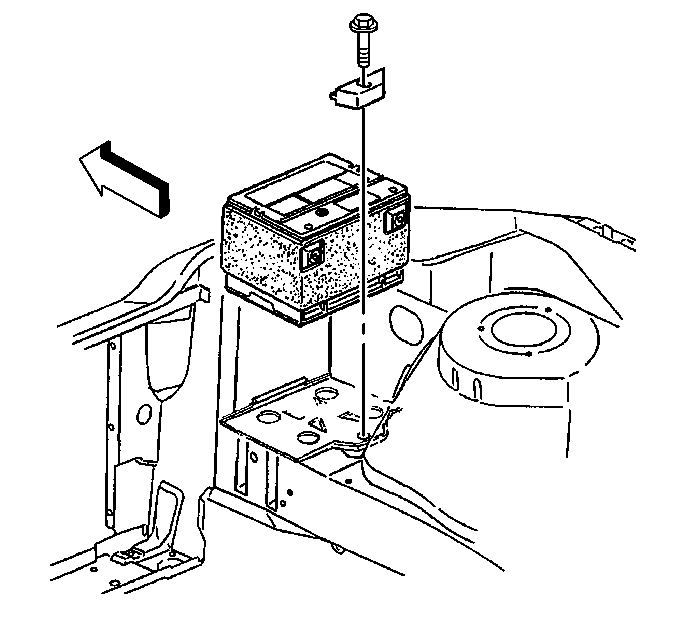
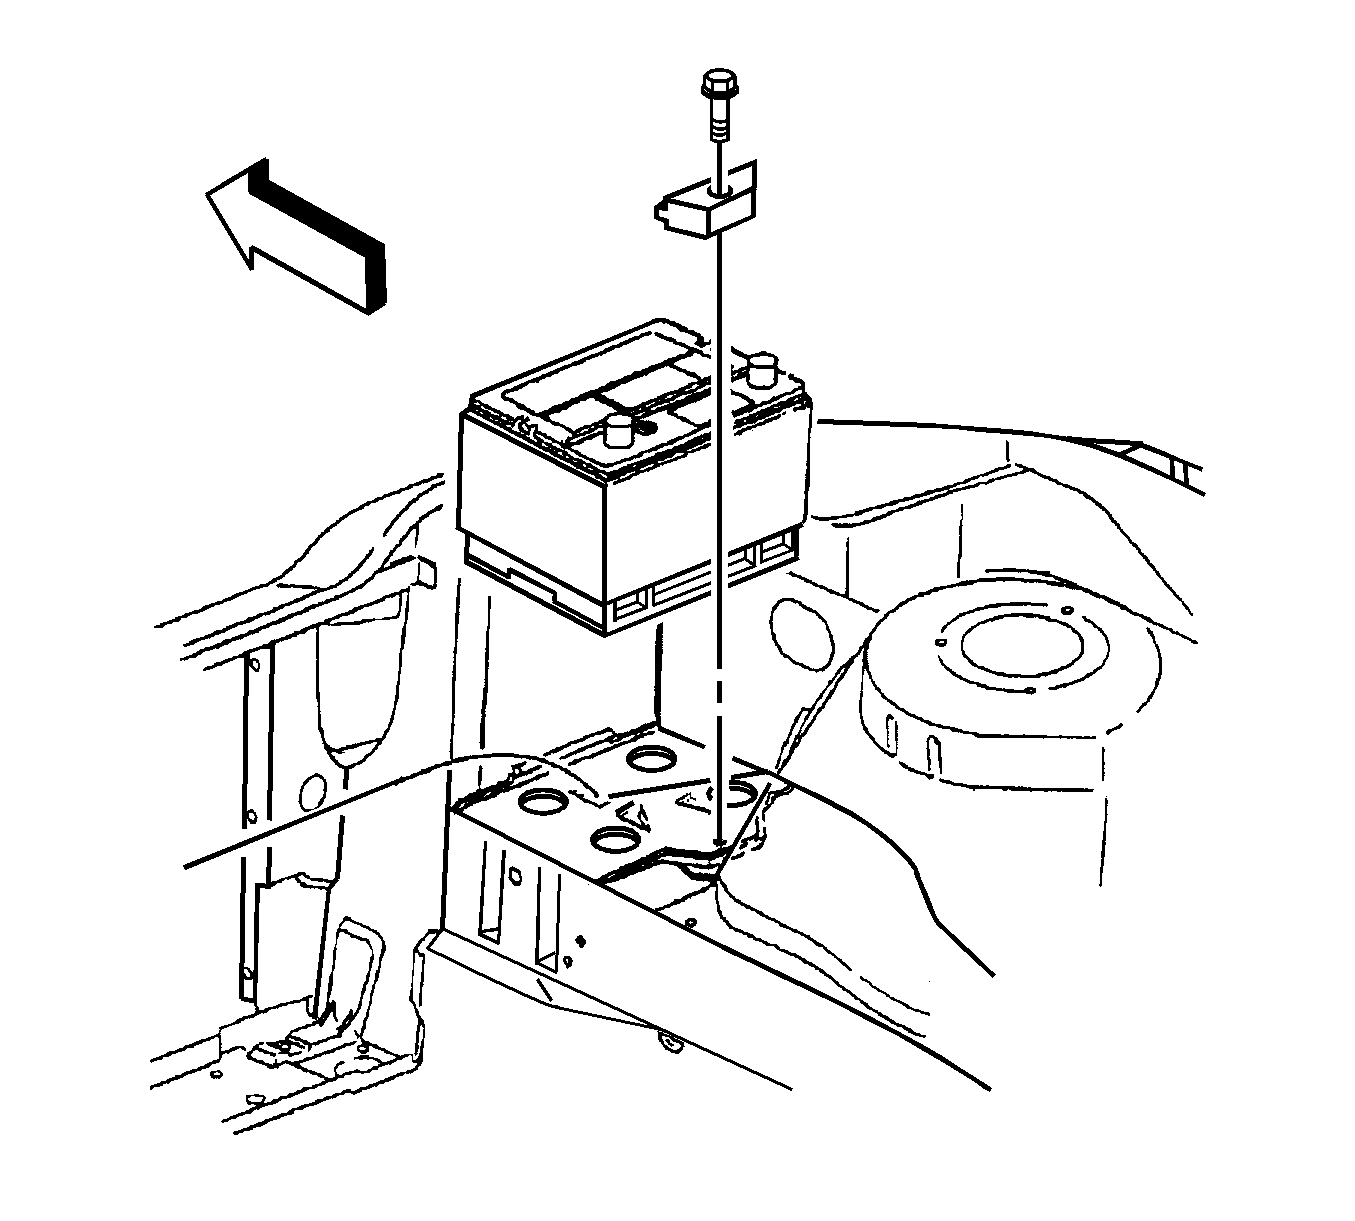
- Remove the battery hold down retainer bolt and retainer.
- Remove the battery.
- If equipped with RPO LY7, perform the following steps. Loosen the positive battery cable nut at the battery.
- Remove the positive battery cable from the battery.
- Remove the front fender diagonal brace. Refer to Front End Sheet Metal Diagonal Brace Replacement - Right Side .
- Remove the battery hold down retainer bolt and retainer.
- Remove the battery.
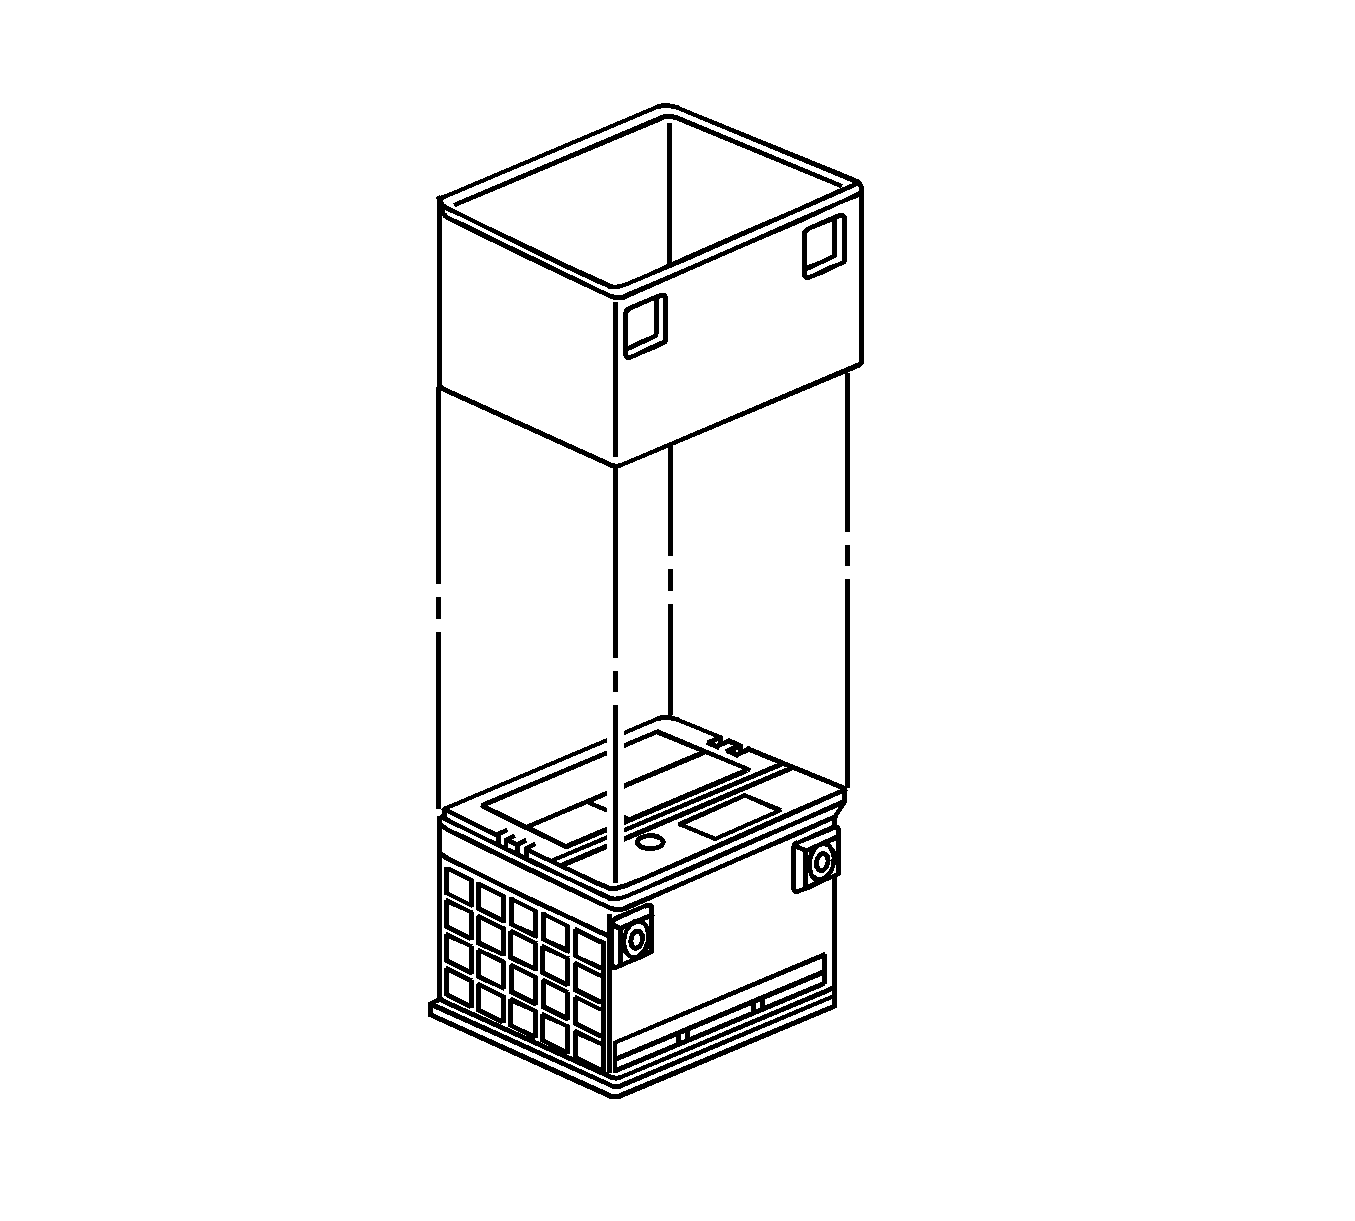
- Remove the battery insulator from the battery. (RPO LY7 shown, RPO LX9 similar).

Important: Do not tip the battery more than 40 degrees.

Important: Do not tip the battery more than 40 degrees.

Installation Procedure
- Install the battery insulator to the battery. (RPO LY7 shown, RPO LX9 similar).
- If equipped with RPO LY7, perform the following steps. Install the battery.
- Install the battery hold down retainer and bolt.
- Install the front fender diagonal brace. Refer to Front End Sheet Metal Diagonal Brace Replacement - Right Side .
- Install the positive battery cable to the battery.
- Tighten the positive battery cable nut at the battery.
- If equipped with RPO LX9, perform the following steps. Install the battery.
- Install the battery hold down retainer and bolt.
- Install the front fender diagonal brace. Refer to Front End Sheet Metal Diagonal Brace Replacement - Right Side .
- Position the positive battery cable to the battery.
- Tighten the positive battery cable bolt at the battery.
- Connect the negative battery cable. Refer to Battery Negative Cable Disconnection and Connection .


Important: Do not tip the battery more than 40 degrees.
Notice: Refer to Fastener Notice in the Preface section.
Tighten
Tighten the bolt to 17 N·m (13 lb ft).
Tighten
Tighten the nut to 16 N·m (12 lb ft).

Important: Do not tip the battery more than 40 degrees.
Tighten
Tighten the bolt to 16 N·m (12 lb ft).
