For 1990-2009 cars only
Removal Procedure
- Apply the park brake and block the wheels in order to prevent the vehicle from moving.
- Turn the ignition ON.
- Press the brake pedal and shift the transaxle into low gear (1).
- Turn the ignition OFF.
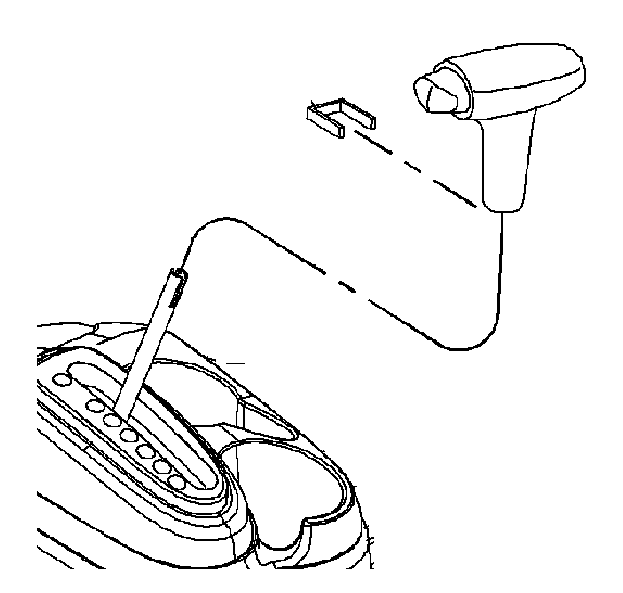
- Use a small flat-bladed tool in order to remove the shift control handle retainer.
- Remove the shift control handle.
- Remove the center console trim plate. Refer to Front Floor Console Trim Plate Replacement in Instrument Panel, Gages and Console.
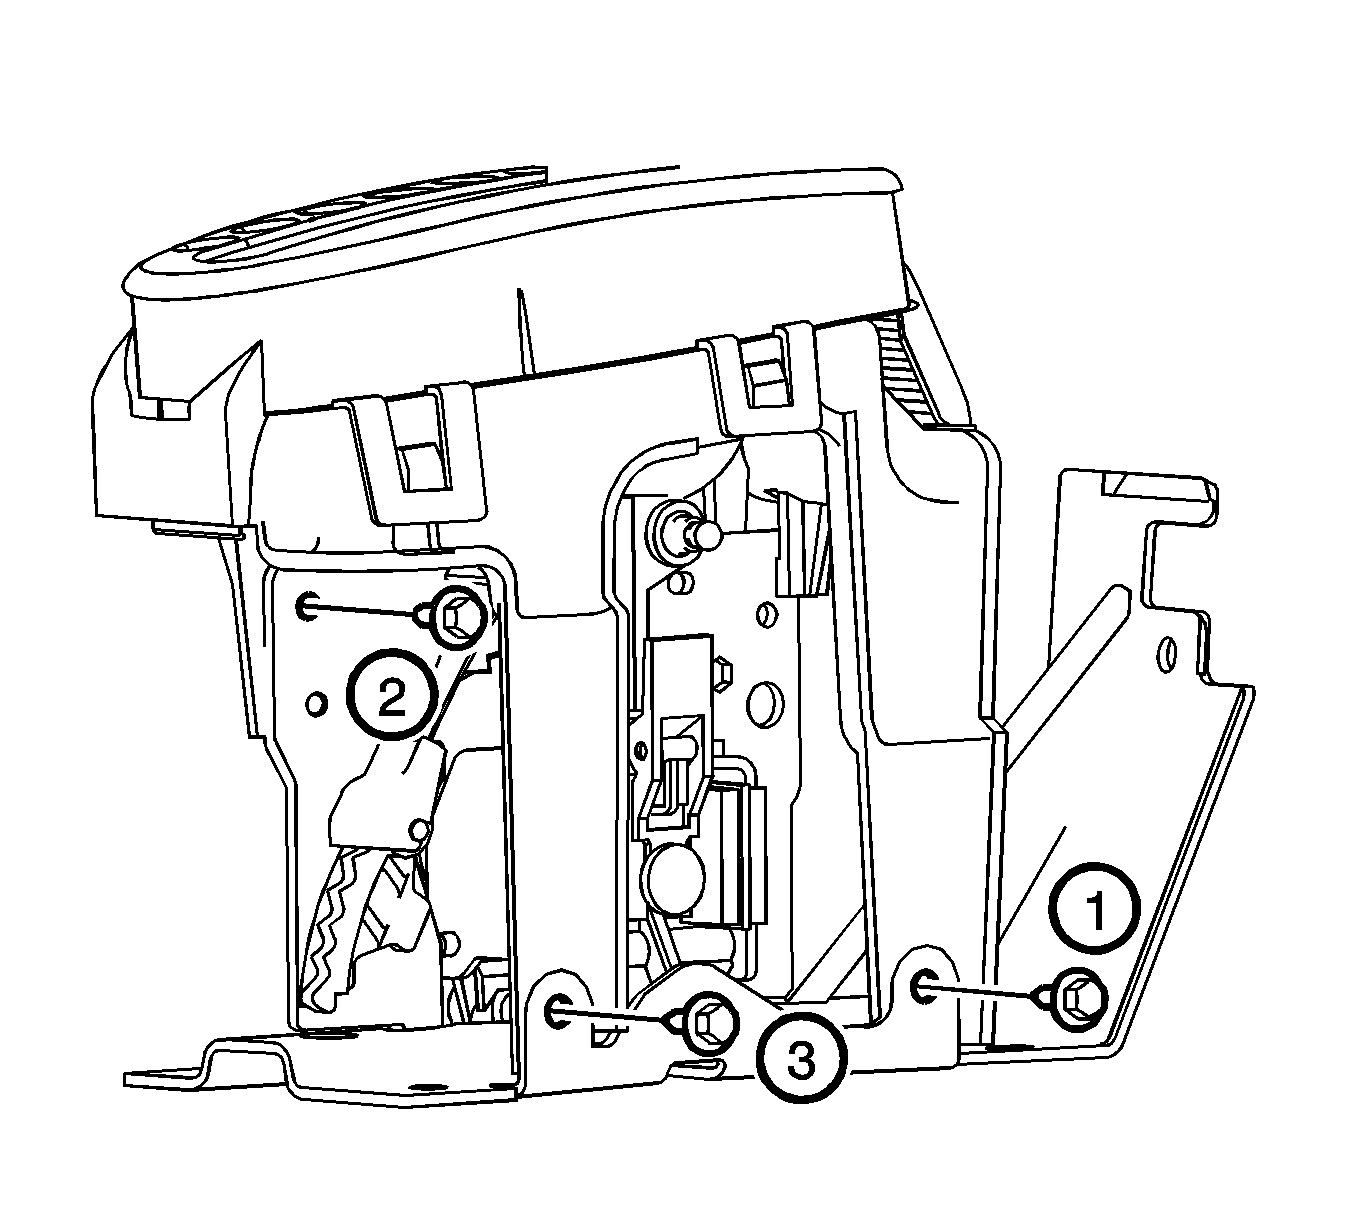
- Remove the shift indicator fasteners.
- Disconnect the shift indicator lamp from the shift indicator.
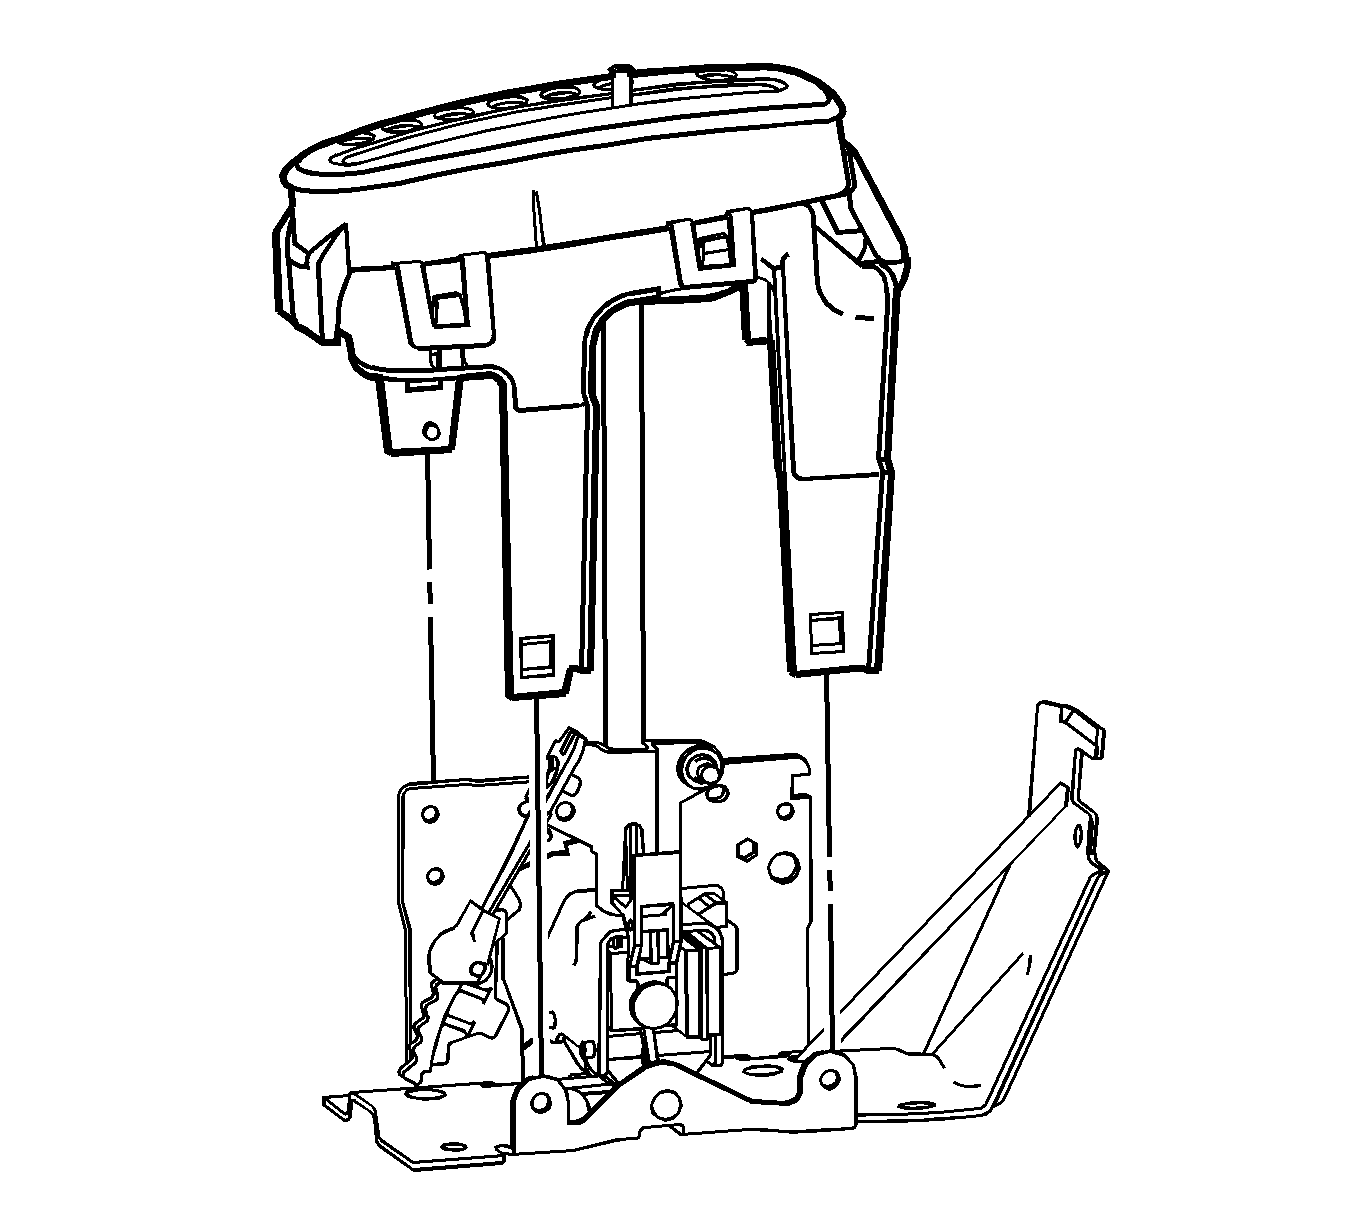
- Remove the shift indicator.
Installation Procedure
- Carefully install the shift indicator.
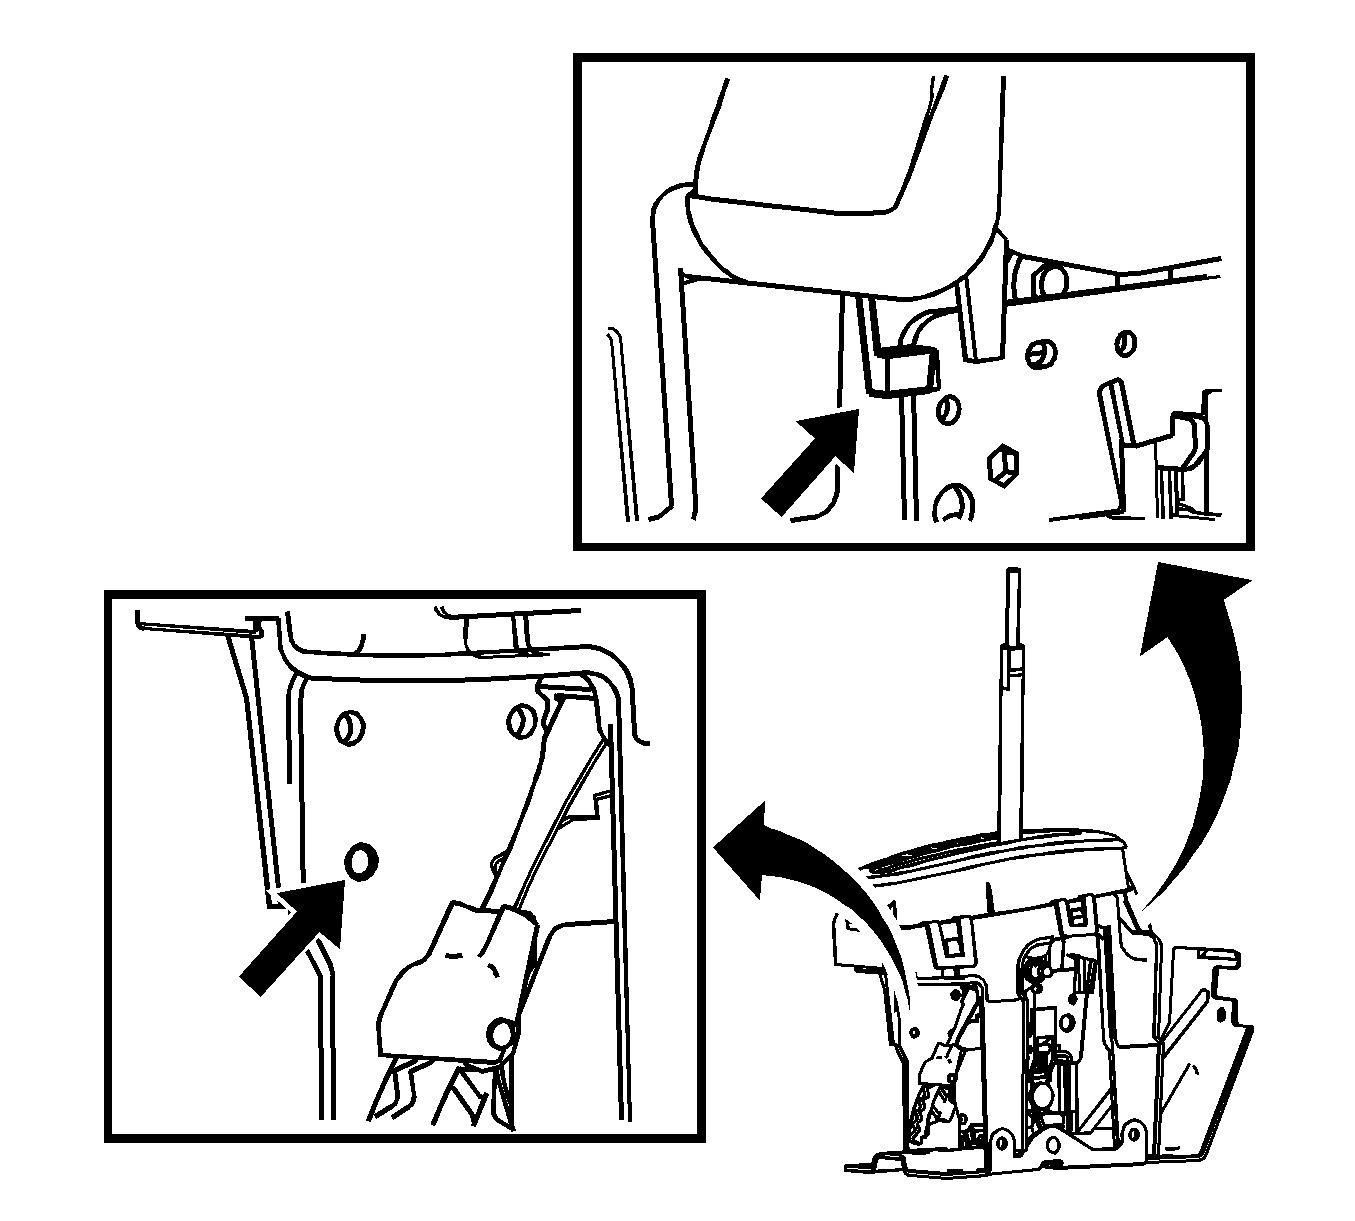
- Ensure that the alignment pin and alignment tab are properly engaged.
- Ensure that the shift lever is centered in the shift indicator.
- Install the shift indicator fasteners.
- Move the shift control through the entire range. If the shift lever contacts either side of the shift indicator, loosen the shift indicator fasteners and repeat the installation procedure.
- Connect the shift indicator lamp to the shift indicator and ensure that the shift indicator lamp is functional.
- Install the center console trim plate. Refer to Front Floor Console Trim Plate Replacement in Instrument Panel, Gages and Console.
- Install the shift control handle.
- Install the shift control handle retainer.
- Shift the transaxle into Park.
- Disengage the park brake and remove the wheel blocks.

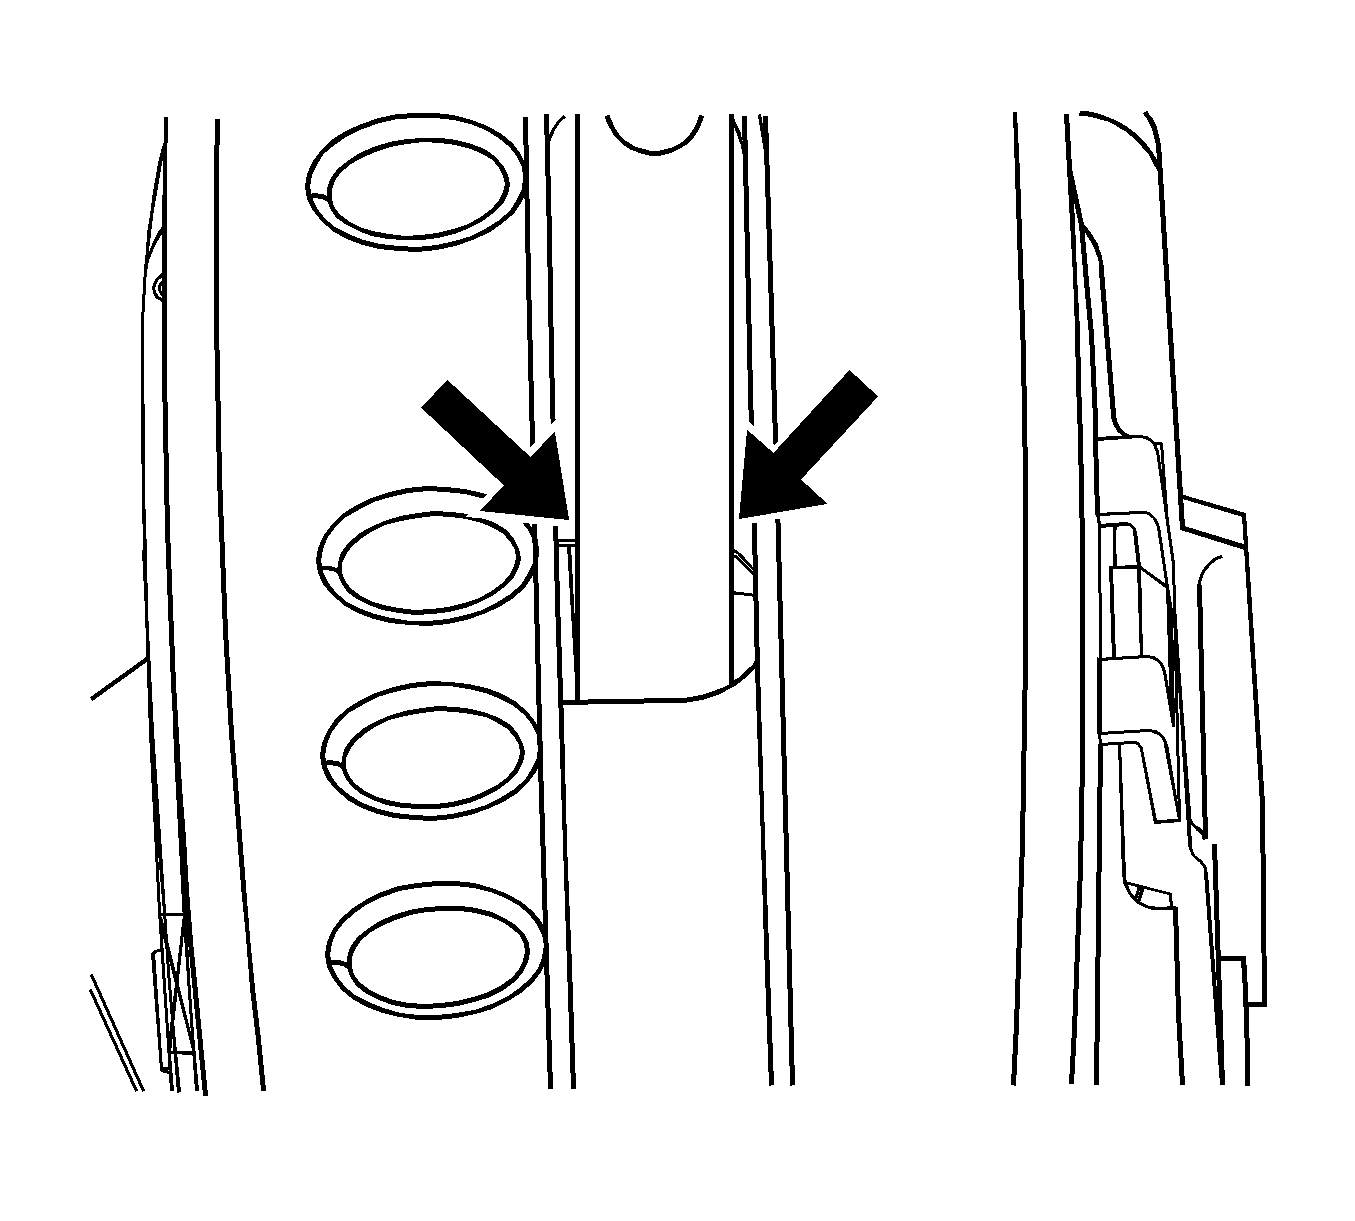
Notice: Refer to Fastener Notice in the Preface section.

Tighten
Tighten the shift indicator fasteners in the order
shown to 2 N·m (18 lb in).

