For 1990-2009 cars only
Removal Procedure
- Remove all related panels and components.
- Restore as much of the damage as possible to factory specifications.
- Note the location and remove the following as necessary:
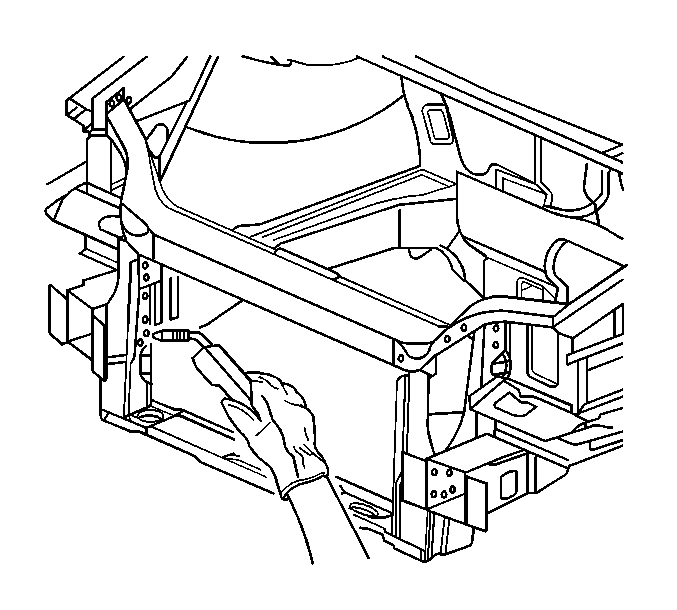
- Locate and drill out all factory welds. Note the number and location of welds for installation of the lower radiator support .
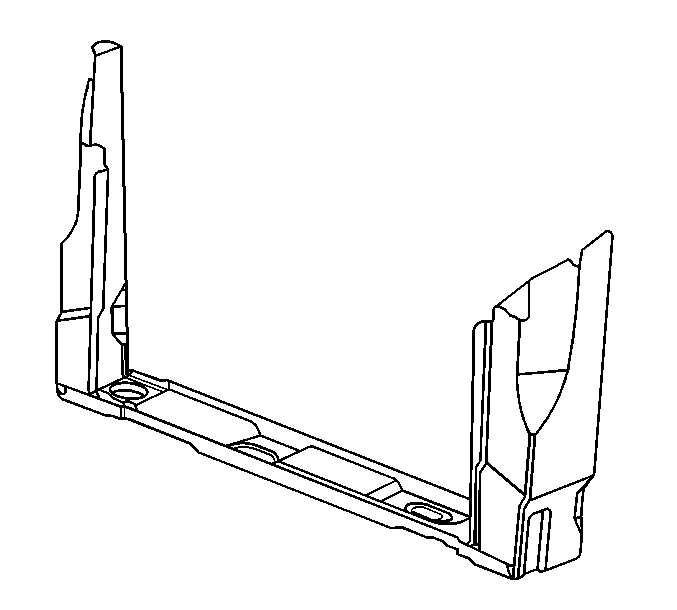
- Remove the damaged lower radiator support .
| • | Sealers |
| • | Sound deadeners |
| • | Anti-corrosion materials |
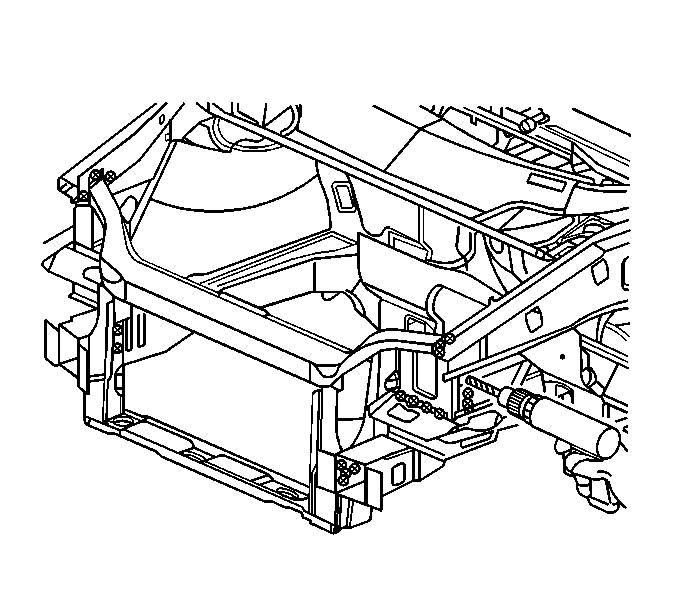
Important: Do not damage any inner panels or reinforcements.
Installation Procedure
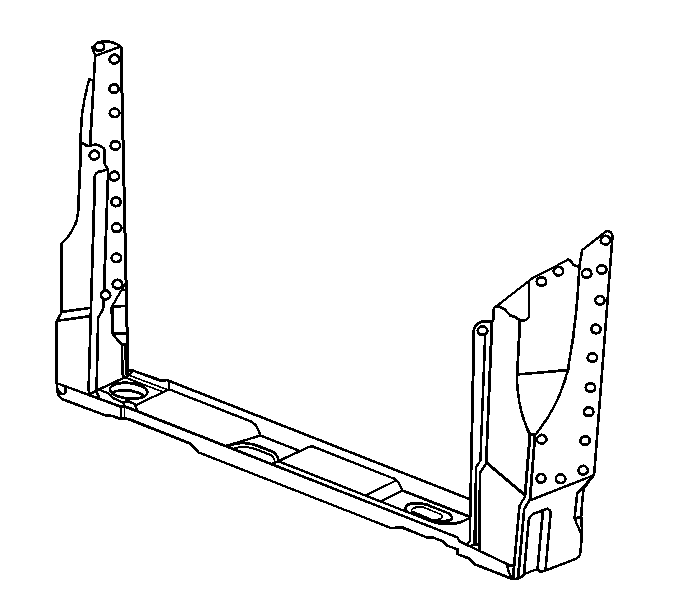
- Drill 8 mm (5/16) plug weld holes as necessary in locations noted from the original panel.
- Prepare all attachment surfaces as necessary.
- Apply weld-thru primer to all bare-metal surfaces.
- Position the lower radiator support .
- Plug weld accordingly.
- Clean and prepare all welded surfaces.
- Apply the following as necessary:
- Install all related panels and components.
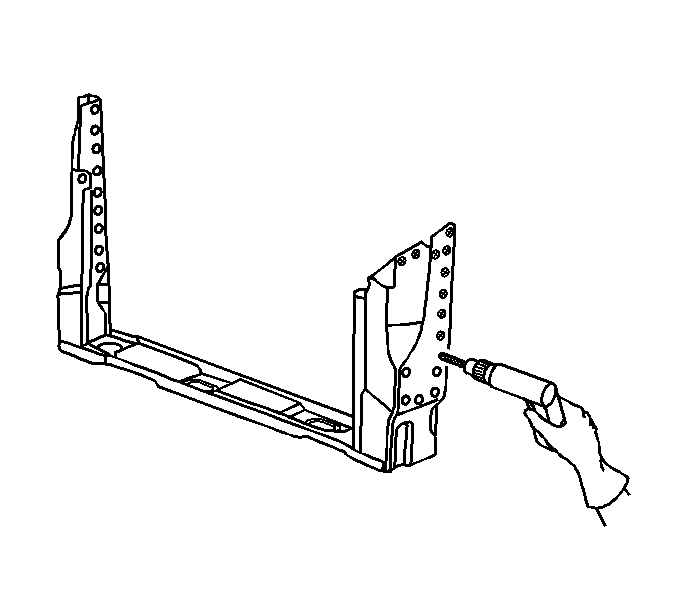
Important: In any area damaged beyond recognition, space plug weld holes every 40 mm (1½ in) apart.
Important: Prior to refinishing, refer to publication GM 4901M-D-2000 GM Approved Refinish Materials for recommended products. Do not combine paint systems. Refer to paint manufacturer's recommendations.
| • | An approved anti-corrosion primer |
| • | Sound deadening materials |
| • | Sealers and refinish materials |
