For 1990-2009 cars only
Tools Required
GE-47622 Hose Clamp Pliers
Removal Procedure
- Drain the cooling system. Refer to Cooling System Draining and Filling .
- Remove the wiper module. Refer to Windshield Wiper System Module Replacement .
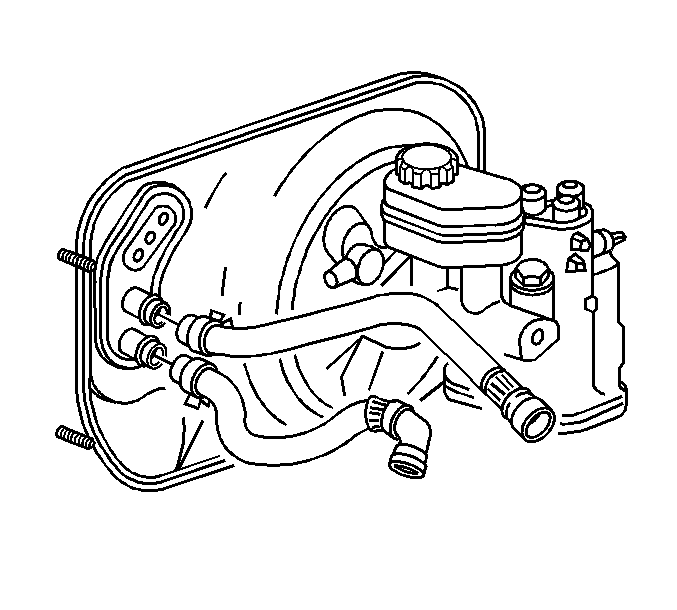
- Disconnect the brake booster vacuum hose and reposition.
- Remove the air cleaner outlet duct. Refer to Air Cleaner Outlet Duct Replacement .
- Remove the transmission fluid filler tube. Refer to Transmission Fluid Filler Tube Replacement .
- Disconnect both of the heater hose clamps at the heater core using the GE-47622 .
- Disconnect the heater hoses from the heater core.
- Cap off the heater core pipes.
- Remove the right instrument panel (I/P) insulator. Refer to Instrument Panel Insulator Panel Replacement - Right Side .
- Remove the left I/P insulator. Refer to Instrument Panel Insulator Panel Replacement - Left Side .
- Remove the center floor air outlet. Refer to Floor Air Outlet Replacement - Center .
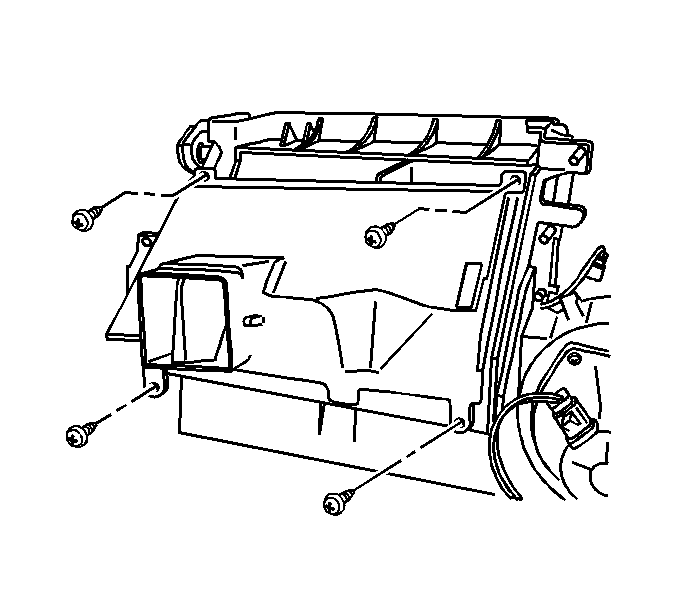
- Remove the screws retaining the heater outlet duct.
- Remove the heater outlet duct.
- Remove the I/P harness to heater core cover tie strap.
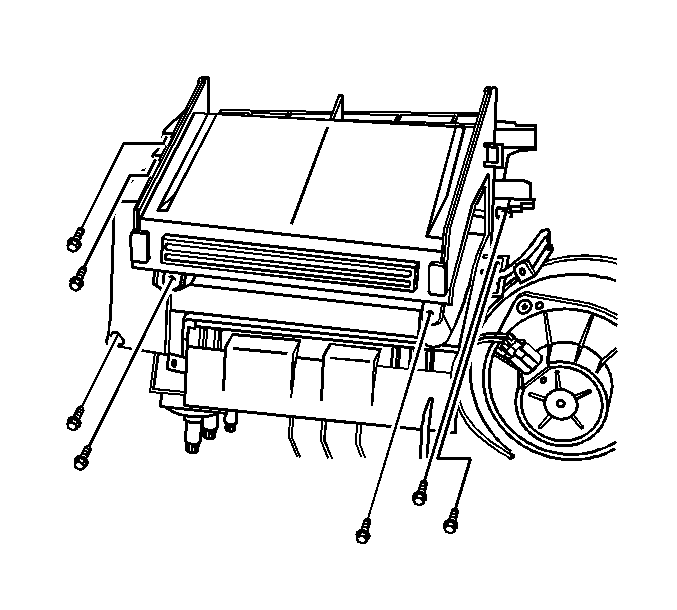
- Remove the screws retaining the heater core cover.
- Remove the heater core cover.
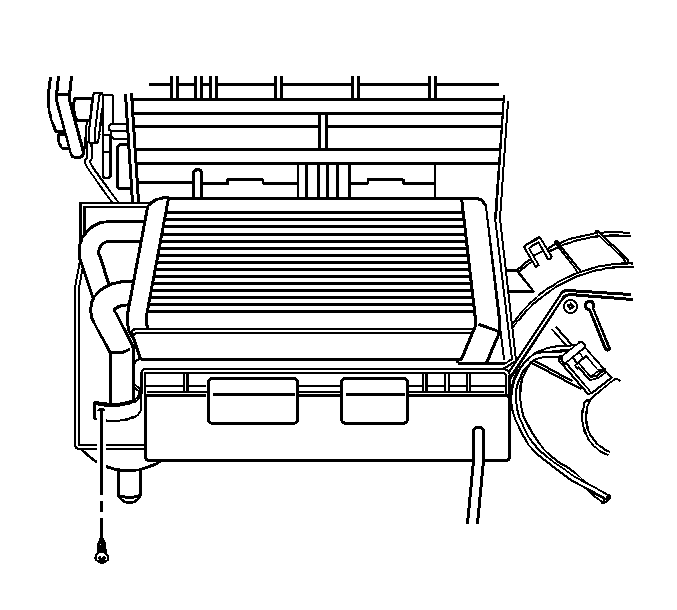
- Remove the heater core pipe retaining screw.
- Remove the heater core from the HVAC module.

Important: Cap off the heater core inlet and outlet pipes to prevent coolant spillage inside of the vehicle.


Installation Procedure
- Install the heater core to the HVAC module case.
- Install the heater core pipe retaining clamp screw.
- Install the heater core cover.
- Install the heater core cover retaining screws.
- Install the heater outlet duct.
- Install the heater outlet duct screws.
- Install the I/P harness to heater core cover tie strap.
- Install the center floor air outlet. Refer to Floor Air Outlet Replacement - Center .
- Install the left I/P insulator. Refer to Instrument Panel Insulator Panel Replacement - Left Side .
- Install the right I/P insulator. Refer to Instrument Panel Insulator Panel Replacement - Right Side .
- Install the heater hoses to the heater core.
- Connect the heater hose clamps using the GE-47622 .
- Install the transmission fluid filler tube. Refer to Transmission Fluid Filler Tube Replacement .
- Install the air cleaner outlet duct. Refer to Air Cleaner Outlet Duct Replacement .
- Connect the brake booster vacuum hose.
- Install the wiper module. Refer to Windshield Wiper System Module Replacement .
- Fill the coolant. Refer to Cooling System Draining and Filling .
Notice: Refer to Fastener Notice in the Preface section.

Tighten
Tighten the screw to 0.9 N·m (8 lb in).

Tighten
Tighten the screws to 0.9 N·m (8 lb in).

Tighten
Tighten the screws to 0.9 N·m (8 lb in).

