For 1990-2009 cars only
Removal Procedure
- Remove and reposition the coolant reservoir. Refer to Coolant Recovery Reservoir Replacement .
- Drain the cooling system. Refer to Cooling System Draining and Filling.
- Remove the air cleaner intake duct with the mass air flow (MAF) sensor and the positive crankcase ventilation (PCV) hose. Refer to Air Cleaner Outlet Duct Replacement.
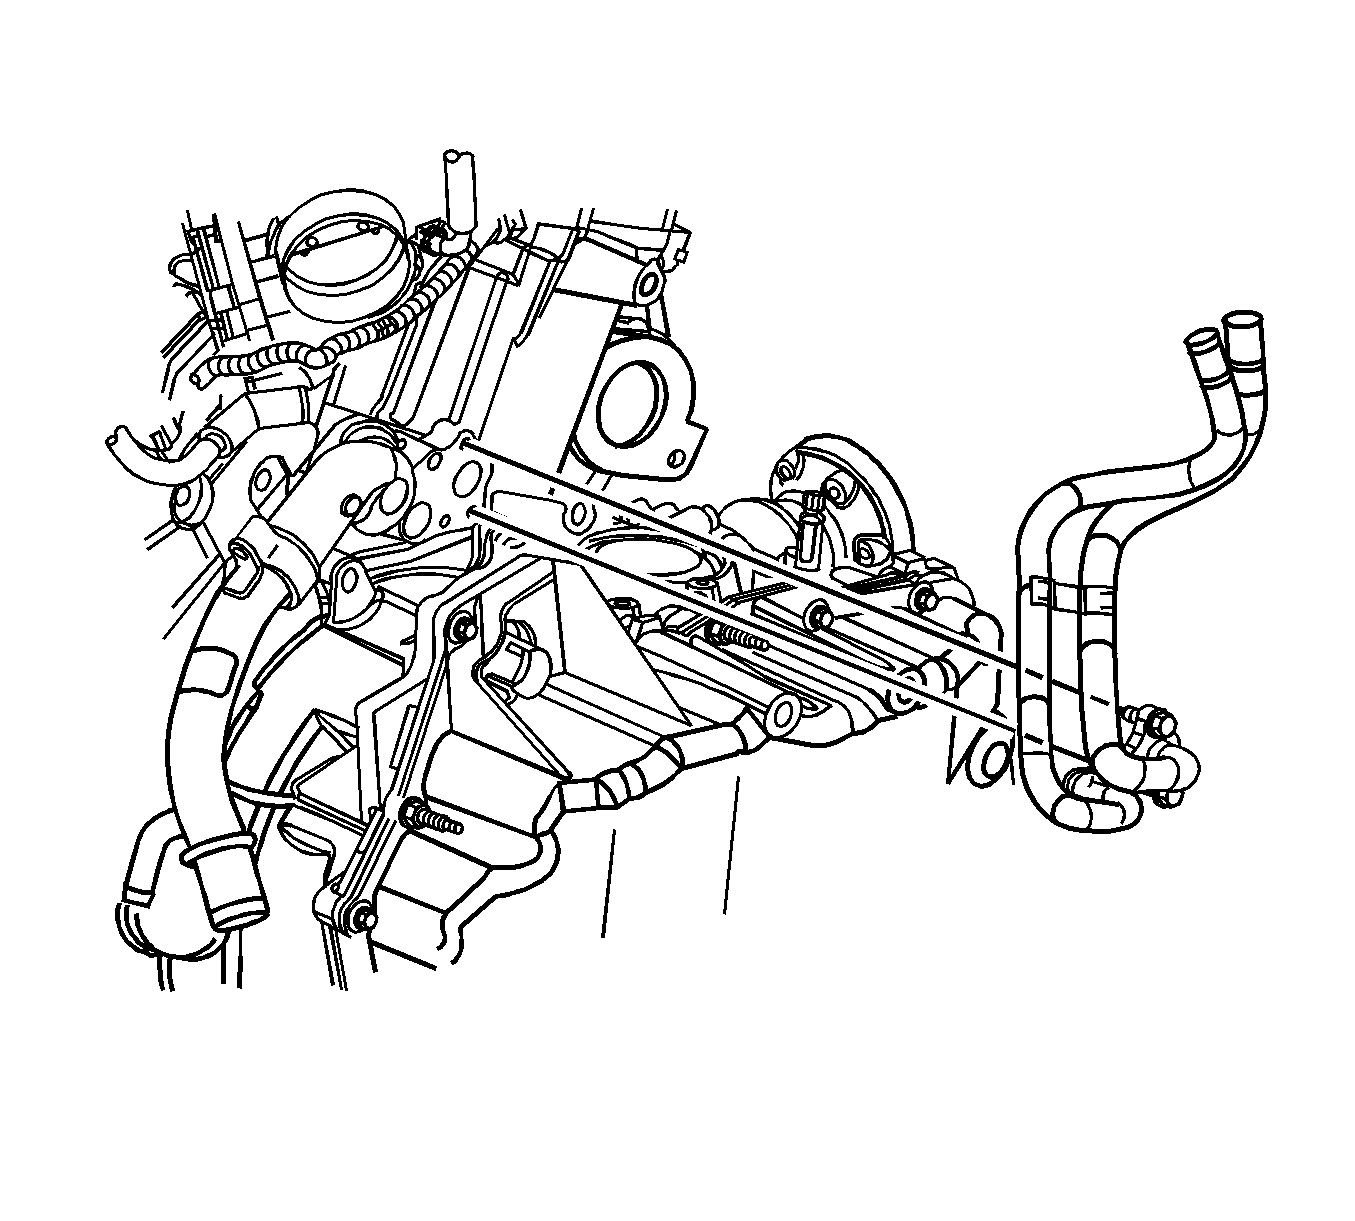
- Disconnect the heater hoses from the heater pipes. Refer to Heater Inlet Hose Replacement and Heater Outlet Hose Replacement .
- Remove the heater pipe bolts.
- Remove the heater pipe assembly.
- Remove and discard the O-ring seal and gasket.
- Clean the gasket sealing surfaces.
Important: Do not disconnect the reservoir hose from the reservoir.

Important: Use a universal or swivel-socket with an extension in order to remove the heater pipe bolts.
Installation Procedure
- Install a new O-ring seal and gasket to the heater pipe assembly.
- Install the heater pipe assembly.
- Install the heater inlet pipe bolts.
- Connect the heater hoses to the heater pipes. Refer to Heater Inlet Hose Replacement and Heater Outlet Hose Replacement .
- Install the air cleaner intake duct. Refer to Air Cleaner Outlet Duct Replacement.
- Fill the cooling system. Refer to Cooling System Draining and Filling.
- Install the coolant reservoir. Refer to Coolant Recovery Reservoir Replacement.

Important: Use gasket sealing compound GM P/N 01050026, or equivalent, to secure the new gasket to the heater pipes.
Notice: Refer to Fastener Notice in the Preface section.
Important: Use a universal or swivel-socket with an extension in order to install the heater pipe bolts.
Tighten
Tighten the heater pipe bolts to 10 N·m
(89 lb in).
