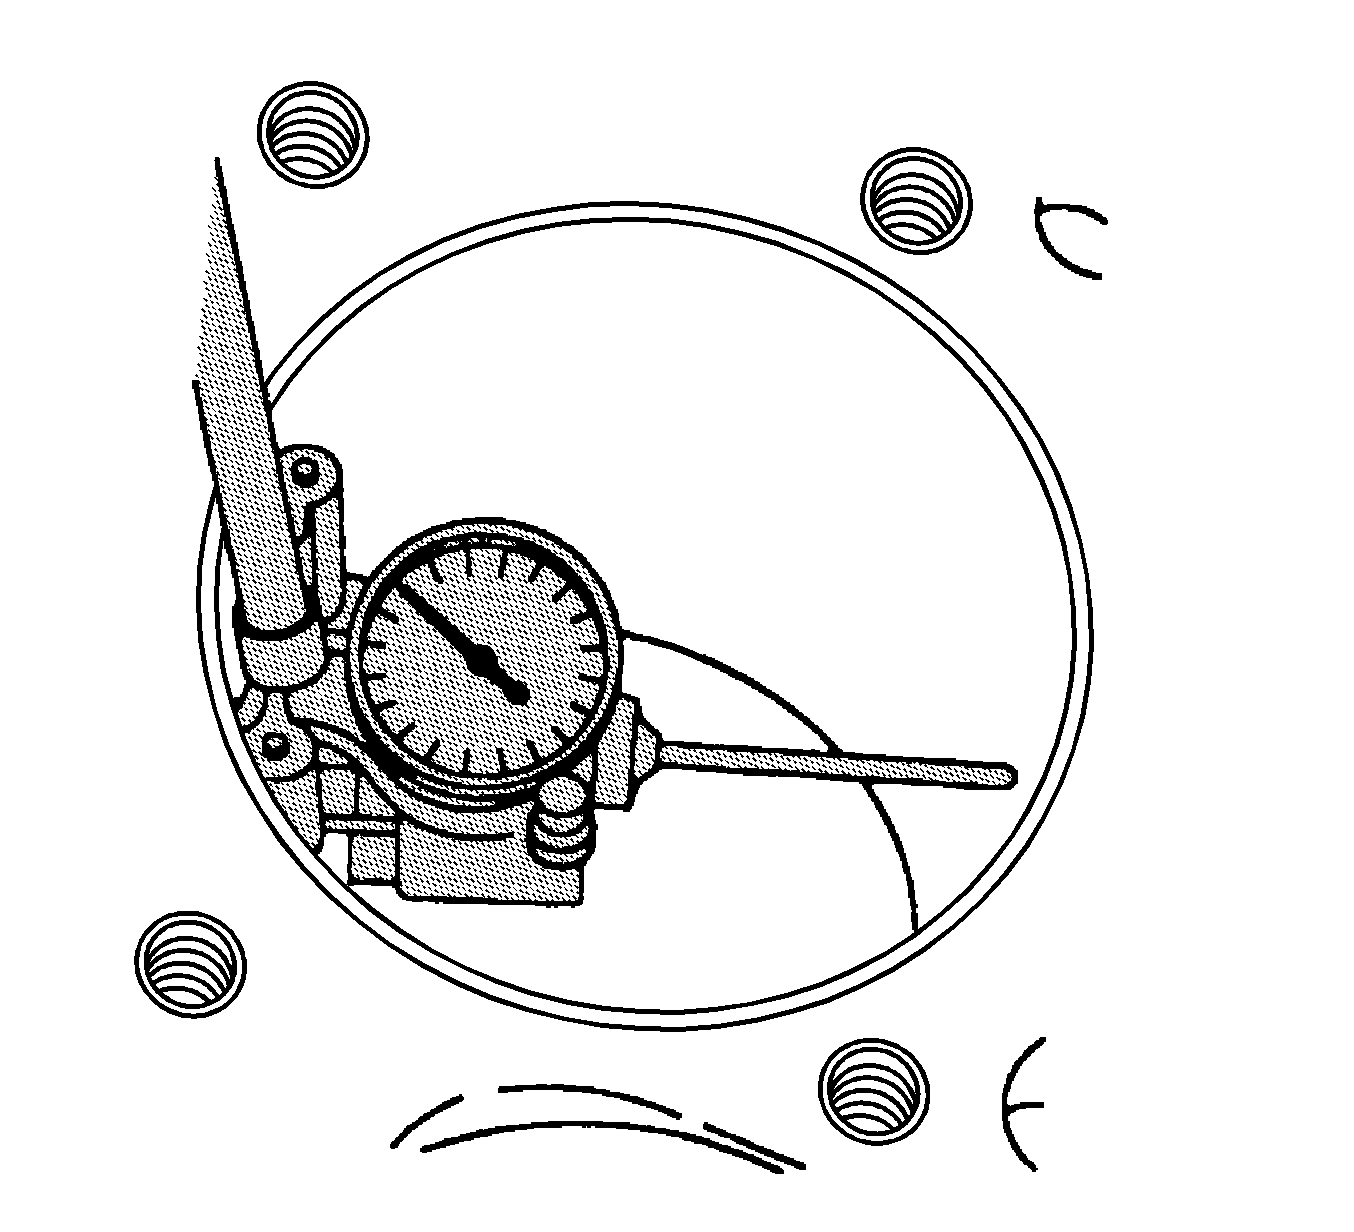
Tools Required
J 36660-A Torque Angle
Meter

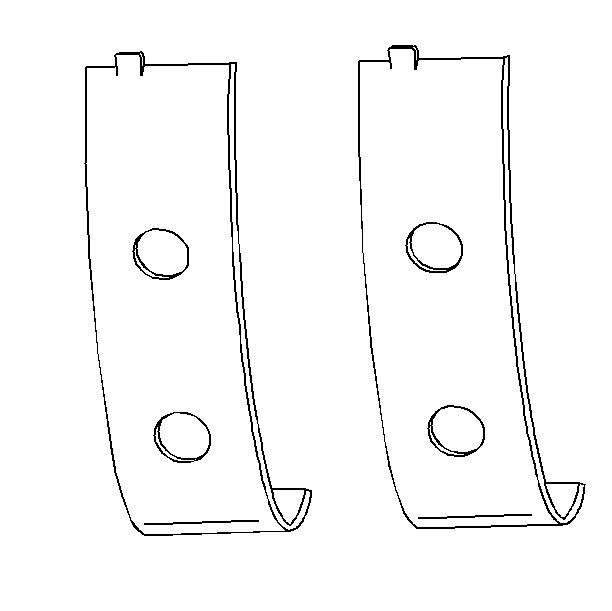
The engine bearings are of the precision insert type. The bearings are
available for service use in standard and various undersizes.
Notice: Do not scrape, shim, or file bearing inserts. If the bearing surface
of the insert is touched with bare fingers, the skin oil and acids will etch
the bearing surface.
- Inspect the bearing surfaces for the following conditions:
| • | Embedded foreign material |
| • | If you find foreign material, determine its nature and source. Inspect
the oil pan sludge and residue. |
| • | Uneven side-to-side wear. |
| • | If you find uneven wear, check for a bent crankshaft or tapered bearing
journals. |
- Inspect the outer surfaces for the following conditions:
| • | Surface wear indicates either movement of the insert or high spots in
the surrounding material (spot wear). |
| • | Overheating or discoloration |
| • | Looseness or rotation indicated by flattened tangs and wear grooves |
- Inspect the thrust surfaces of the main thrust bearing for the
following conditions:
| • | Grooving (Grooves are caused by irregularities of the crankshaft
thrust surface.) |

Important: If bearing failure is due to other than normal wear, investigate bearing
failure carefully . Inspect the crankshaft or connecting rod and the bearing
bores carefully.
- Inspect the connecting rods or main bearing bores using the following
procedure:
| 4.1. | Tighten the bearing cap to specifications. |
| 4.2. | Measure the bore for taper and out of round. |
| 4.3. | No taper or out of round should exist. |
- Measure the bearing clearance accurately in order to determine
the correct replacement insert size. There are two methods to measure bearing
clearance. Method A gives more reliable results and is preferred.
Important:
| • | Method A yields measurement from which the bearing clearance can
be computed. |
| | Method B yields the bearing clearance directly. Method B does not give
any indication of bearing run-out. |
| • | Do not mix inserts of different nominal size in the same bearing
bore. |
- Choose a method of bearing clearance measurement.
In order to measure bearing clearance using Method A, use the following
procedure:
- Measure the journal diameter with a micrometer in several places,
approximately 90 degrees apart. Average the measurements.
- Measure the taper and runout. Refer to
Engine Mechanical Specifications
for allowable limits.
- Install the bearing inserts. Tighten the bearing cap bolts or
nuts to specification. Refer to
Engine Mechanical Specifications
.
Important:
| • | Measure the connecting rod ID in the same direction as the length
of the rod. |
- Measure the ID with an inside micrometer.
- Select a set of bearing inserts that will produce the desired
clearance.
- If the specified clearances cannot be met, the crankshaft journal
must be reconditioned. Install undersized bearing inserts. Replace both bearing
shells as a set.
In order to measure bearing clearance using Method B, use the following
procedure:
- Clean the used bearing inserts.
- Install the used bearing inserts.
- Place a piece of gaging plastic across the entire bearing width.
Notice: In order to prevent the possibility of cylinder block or
crankshaft bearing cap damage, the crankshaft bearing caps are tapped into
the cylinder block cavity using a brass, lead, or a leather mallet before
the attaching bolts are installed. Do not use attaching bolts to pull the
crankshaft bearing caps into the seats. Failure to use this process may damage
a cylinder block or a bearing cap.
- Seat the bearing cap carefully by lightly tapping the bearing cap with
a suitable tool.
- Install the bearing cap bolts or nuts.
Tighten
| • | Tighten the main bearing cap bolts evenly to 50 N·m
(37 lb ft). |
| • | Turn the main bearing cap bolts evenly an additional 77 degrees.
Use the J 36660-A
. |
| • | Tighten the rod cap nuts evenly to 20 N·m (15 lb ft). |
| • | Turn the rod cap nuts evenly an additional 75 degrees. Use the J 36660-A
. |
Notice: Use the correct fastener in the correct location. Replacement fasteners
must be the correct part number for that application. Fasteners requiring
replacement or fasteners requiring the use of thread locking compound or sealant
are identified in the service procedure. Do not use paints, lubricants, or
corrosion inhibitors on fasteners or fastener joint surfaces unless specified.
These coatings affect fastener torque and joint clamping force and may damage
the fastener. Use the correct tightening sequence and specifications when
installing fasteners in order to avoid damage to parts and systems.
Important: Do not rotate the crankshaft.
- Remove the bearing cap, leaving the gaging plastic in place. It does
not matter whether the gaging plastic adheres to the journal or to the bearing
cap.
- Measure the gaging plastic at its widest point with the scale
printed on the gaging plastic package.

- Remove all traces of the gaging plastic after measuring.
- Select a set of bearing inserts that will produce the desired
clearance. Refer to
Engine Mechanical Specifications
. Replace both bearing shells as a set.


