Coolant Concentration Testers
Use coolant testers J 26568
or J 23688
in order to check the
antifreeze protection of the coolant. The markings of the refractometer must
be correct. Unless J 23688
or J 26568
has a provision for temperature
correction, test the temperature at which J 26568
or J 23688
is calibrated. If the
coolant is warmer or cooler, the reading may be incorrect. Follow the manufacturer's
directions on using J 26568
or J 23688
.
Testing Procedure
Tools Required
| • | J 23688 Coolant Tester
(Fahrenheit Scale) |
| • | J 26568 Coolant Tester
(Centigrade Scale) |
Important:
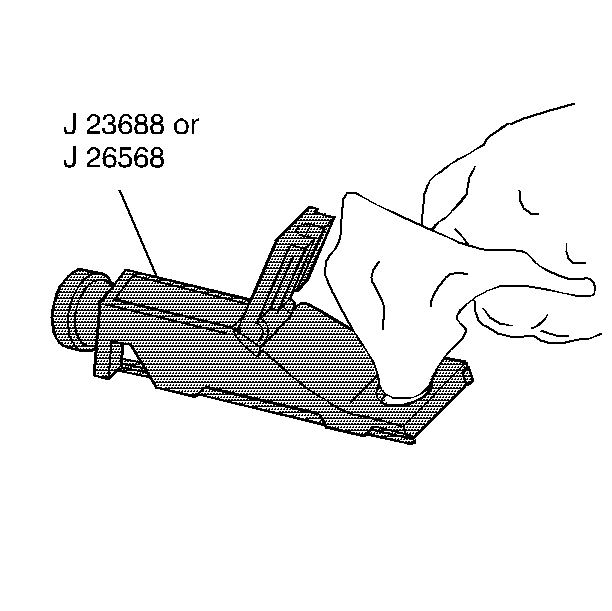
| • | Before each use, lift up the plastic cover at the slanted end
of the J 23688
or J 26568
, exposing the measuring window and the bottom
of the plastic cover. |
| • | Wipe the measuring window with a tissue or a clean, soft cloth. |
| • | Close the plastic cover. |
- Release the tip of the pump from the coolant tester housing. J 23688
or the J 26568
.
- Do not remove the clear plastic pump from the J 23688
or the J 26568
.

- Insert the tip of the pump into the surge tank. The tip of the pump
must be below the level of the coolant.
- Press the bulb. Release the pump bulb in order to obtain a sample
of the coolant.
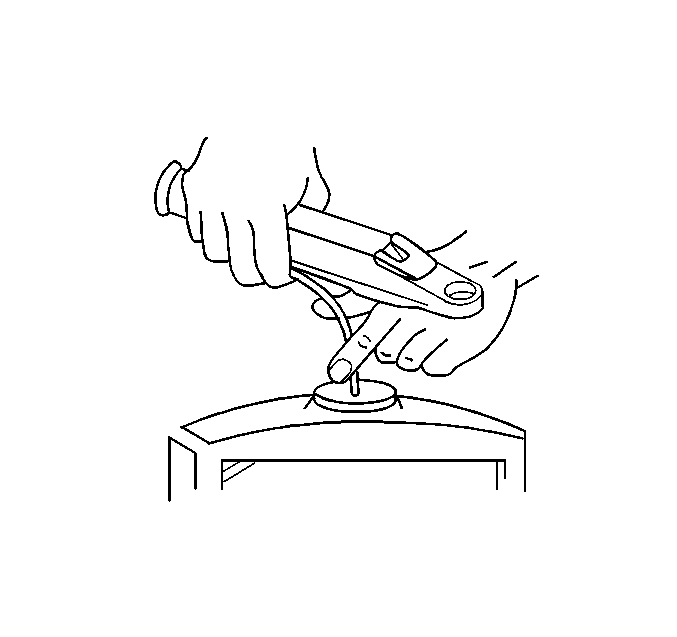
- Insert the tip of the pump into the cover plate opening.
- Press the pump bulb. Allow a few drops to fall onto the measuring
surface. Do not open the plastic cover when taking readings because any water
evaporation can change the reading.

- Point the coolant concentration tester toward any light source. Look
into the eyepiece.
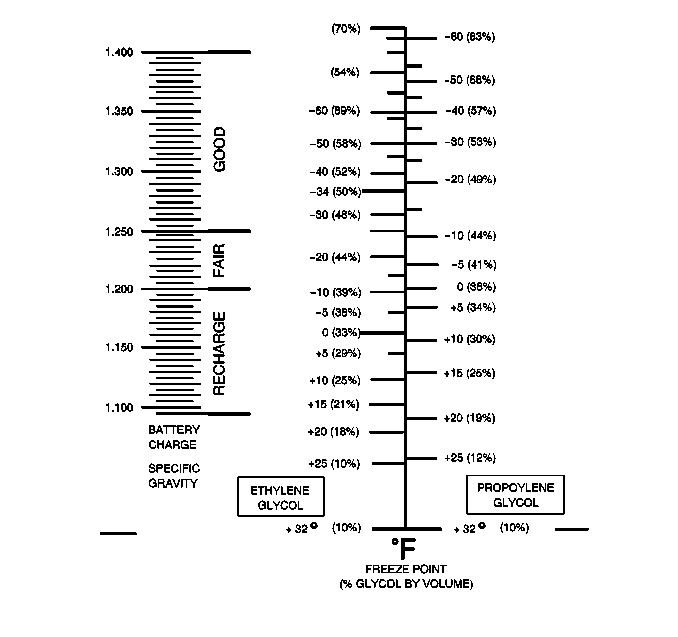
| • | The coolant protection reading is at the point where the dividing
line between light and dark crosses the scale. Antifreeze protection is the
scale on the right. |
| • | The temperature scale is reversed from a standard thermometer
scale. |
| • | Below zero readings are on the upper half of the scale. |

- If the readings are not clear, properly clean and dry the measuring
surface. Conduct a new test.


