For 1990-2009 cars only
Removal Procedure
- Raise the vehicle. Support the vehicle. Refer to General Vehicle Lifting and Jacking in General Information.
- Remove the drive axle. Refer to Drive Axle On-Vehicle Service.
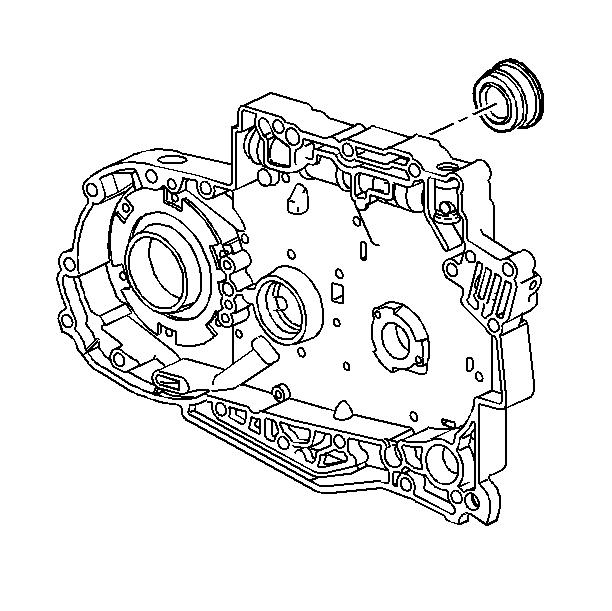
- Pry out the seal with a screwdriver or other suitable tool. Do not damage the seal bore.

Installation Procedure
Tools Required
| • | J 34115 Drive Boot Installer |
| • | J 37292-B Tear-Away Axle Seal Protector |
- Lubricate the seal lip with a light wipe of transmission fluid.
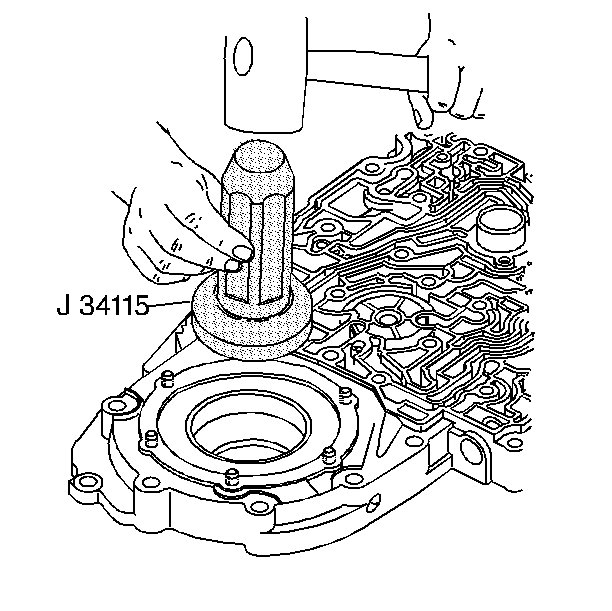
- Install a new seal, using the J 34115 .
- For the right side axle seal, install the J 37292-B . Install the J 37292-B in a position so that the tool can be pulled out after drive axle installation (T-handle between the 5 and 7 o'clock position).
- Install the drive axle. Refer to Drive Axle in Drive Axle On-Vehicle Service.
- On the right side, remove the J 37292-B by pulling in line with the handle. Make sure that the J 37292-B is removed completely and that no pieces remain inside the transmission.
- Inspect for leaks.
- Inspect the fluid level.
- Adjust the fluid level.

Important: Carefully guide the axle shaft past the lip seal. In order to avoid damage to the seal, do not let shaft splines contact any part of the lip-seal surface.
