For 1990-2009 cars only
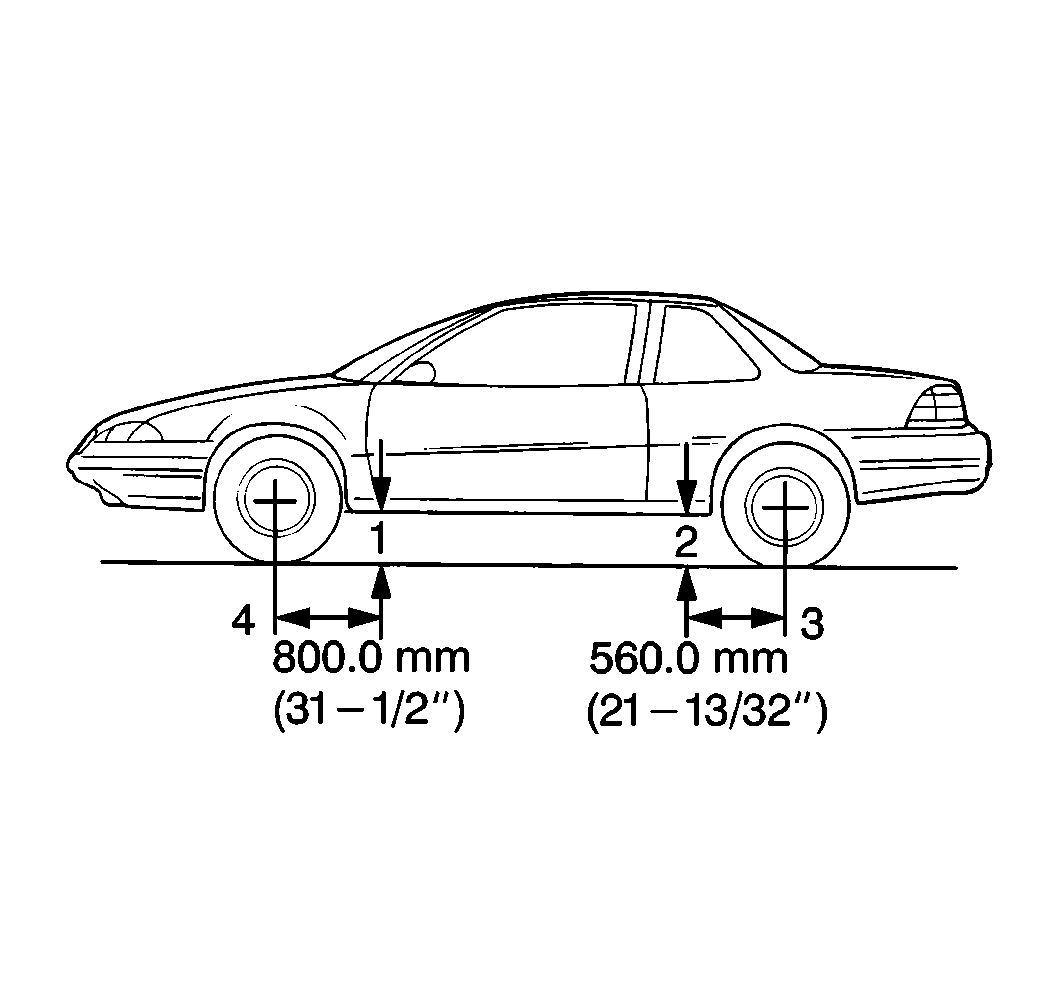
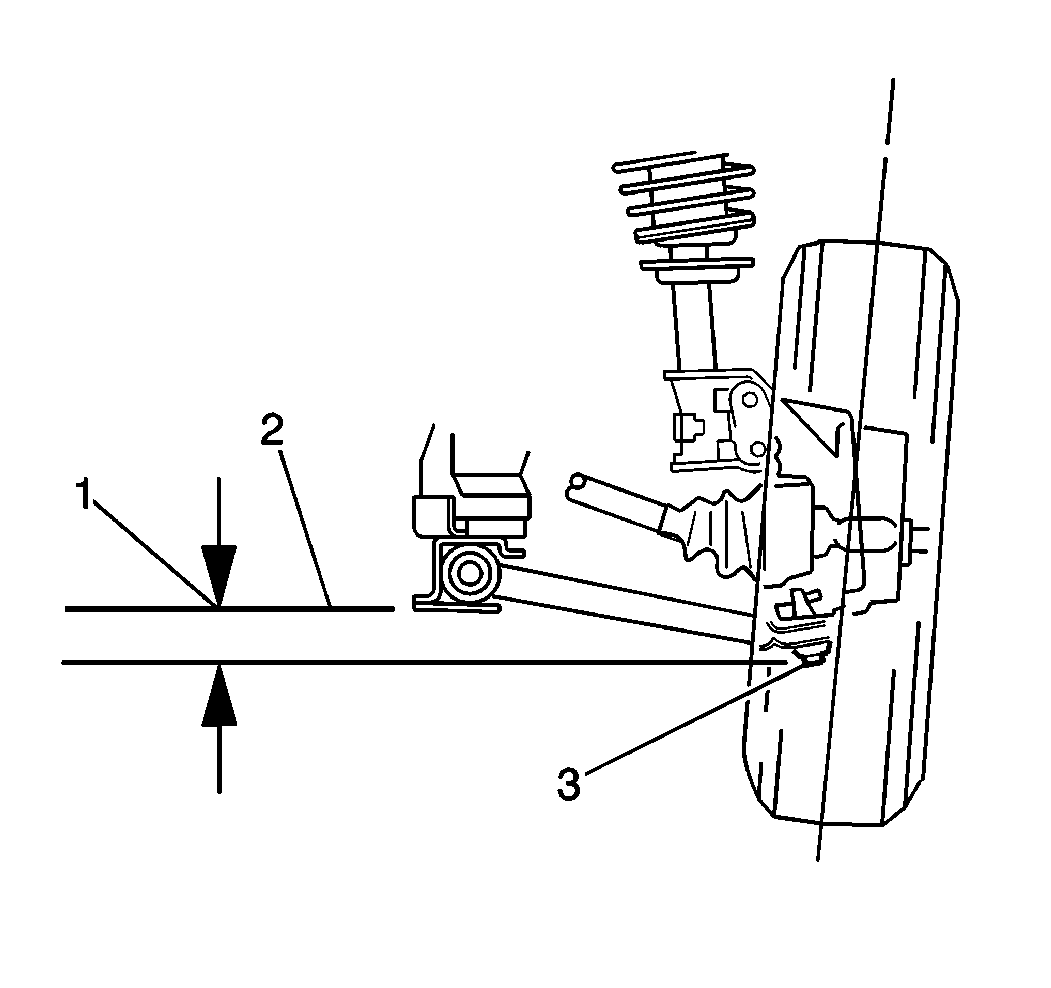
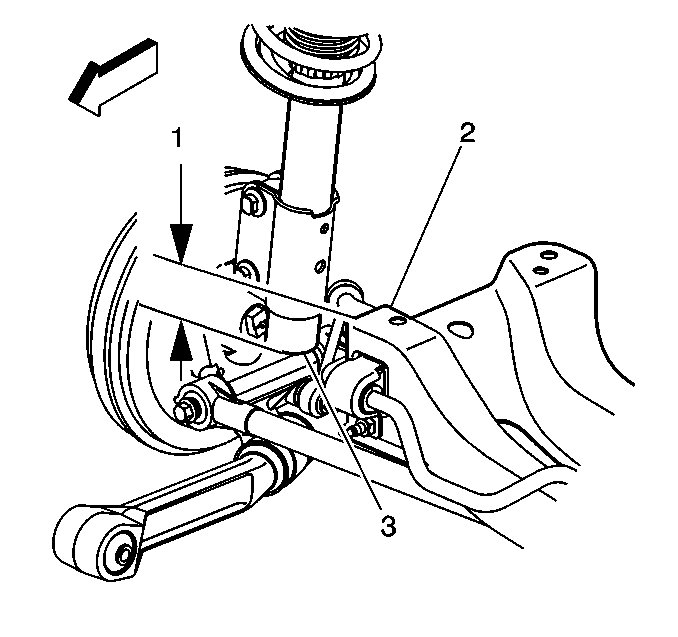
Trim Height Measurement Locations
Prior to measuring the vehicle trim height, prepare the vehicle as follows:
- Fill the gas tank.
- Properly locate the spare tire and the tools.
- Remove any of the ice, the snow or the mud from the vehicle.
- Set the front and the rear tire pressures within plus or minus 20 kPa (3 psi) of the recommended pressure as shown on tire placard. If two load conditions are shown on placard, use the lower load condition.
- Close the engine compartment hood and all of the doors.
- Up to 7 kg (15.5 lbs) may be left in the trunk if it is located approximately on the vehicle centerline. Remove any items necessary in order to meet these requirements.
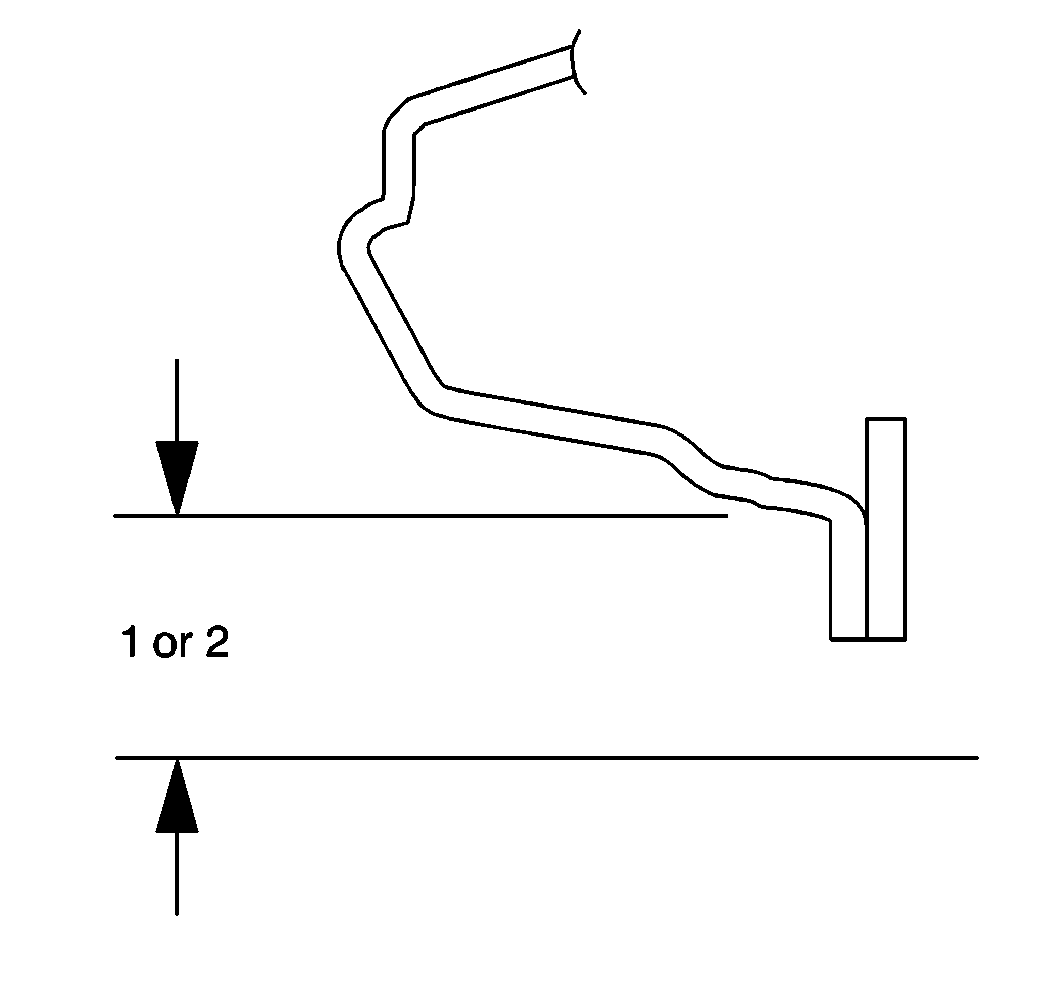
- Measure the trim height as follows for the Z and 1 dimensions:
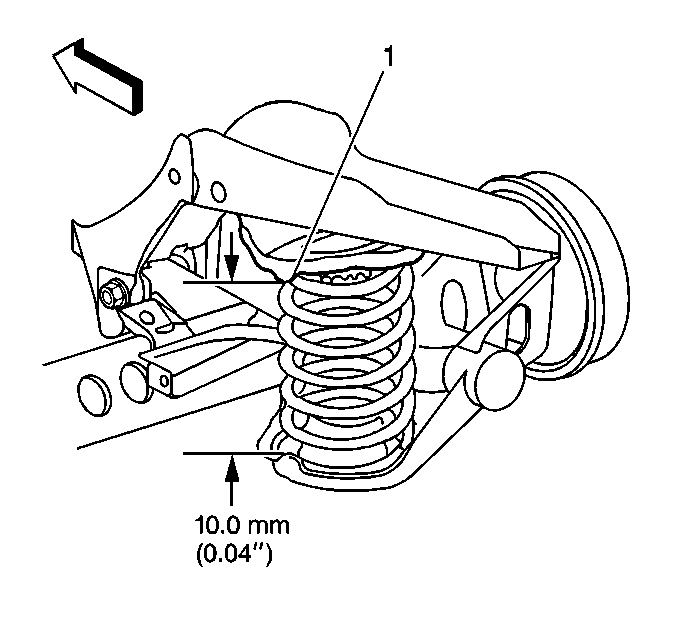
- Measure the trim height as follows for the 2 dimension.
| 7.1. | Lift the front bumper of the vehicle approximately 38.0 mm (1½ in). |
| 7.2. | Remove your hands gently. |
| 7.3. | Allow the vehicle to settle. |
| 7.4. | Repeat this procedure a total of three times. |
| 7.5. | Measure the 1 and Z dimensions. Push the front bumper down approximately 38.0 mm (1 1/2 in). Gently repeat twice for a total of 3 times. Measure the Z and 1 dimensions. True heights are the average of the high measurements and the low measurements. |
| 8.1. | Lift the rear bumper of the vehicle up to approximately 38.0 mm (1½ in). Remove hands gently. |
| 8.2. | Let the vehicle settle. |
| 8.3. | Repeat this procedure a total of three times. |
| 8.4. | Measure the 2 dimension. Push the rear bumper down approximately 38.0 mm (1 1/2 in). Gent remove your hand and let the vehicle rise on its own. Repeat twice for a total of 3 times. Meaure the 2 dimension. True heights are the average of the high measurements and the low measurements. |
