For 1990-2009 cars only
Removal Procedure
- Open and support the liftgate.
- Remove the tail lamps. Refer to Tail Lamp Assembly and /or Backup, Sidemarker, Stop, Turn Signal Bulb Replacement in Lighting Systems.
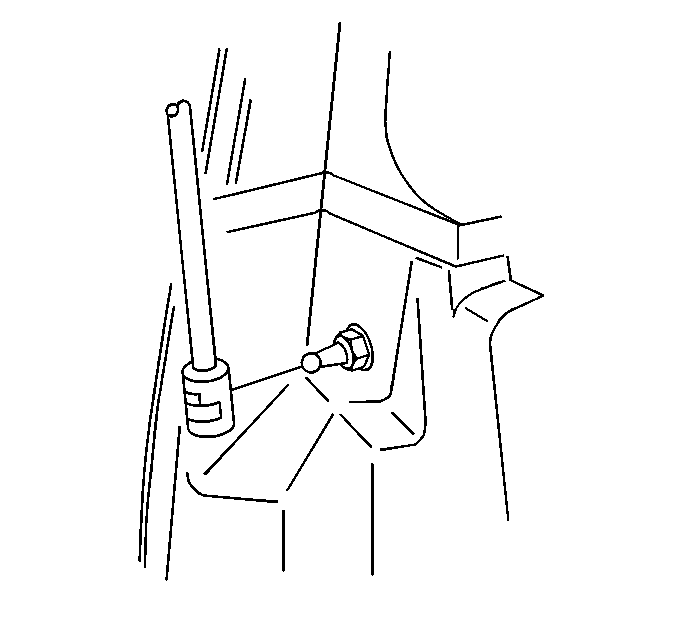
- Lift up the snap ring retainer on the bottom of the assist rod struts using a small flat-bladed tool.
- Remove the bottom of the strut from the ball stud on the body.
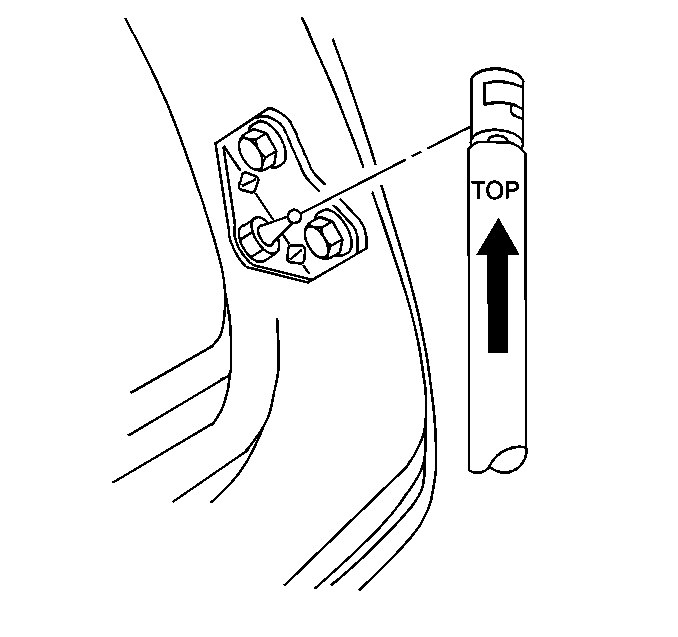
- Lift up on the snap ring at the top of the strut using a small flat-bladed tool.
- Remove the top of the strut from the ball stud.
- Remove the strut from the vehicle.
Caution: When a lift gate hold open device is being removed or installed, provide alternate support to avoid the possibility of damage to the vehicle or personal injury.


Installation Procedure
- Align the top of the strut with the ball stud on the liftgate.
- Press on the top of the strut to install onto the ball stud.
- Align the bottom of the strut to the ball stud on the body.
- Press on the bottom of the strut to install onto the ball stud.
- Install the tail lamps. Refer to Tail Lamp Assembly and /or Backup, Sidemarker, Stop, Turn Signal Bulb Replacement in Lighting Systems.
- Remove the support, and close the liftgate.
Important: The top of the liftgate strut is marked with the word TOP and an up-arrow.


