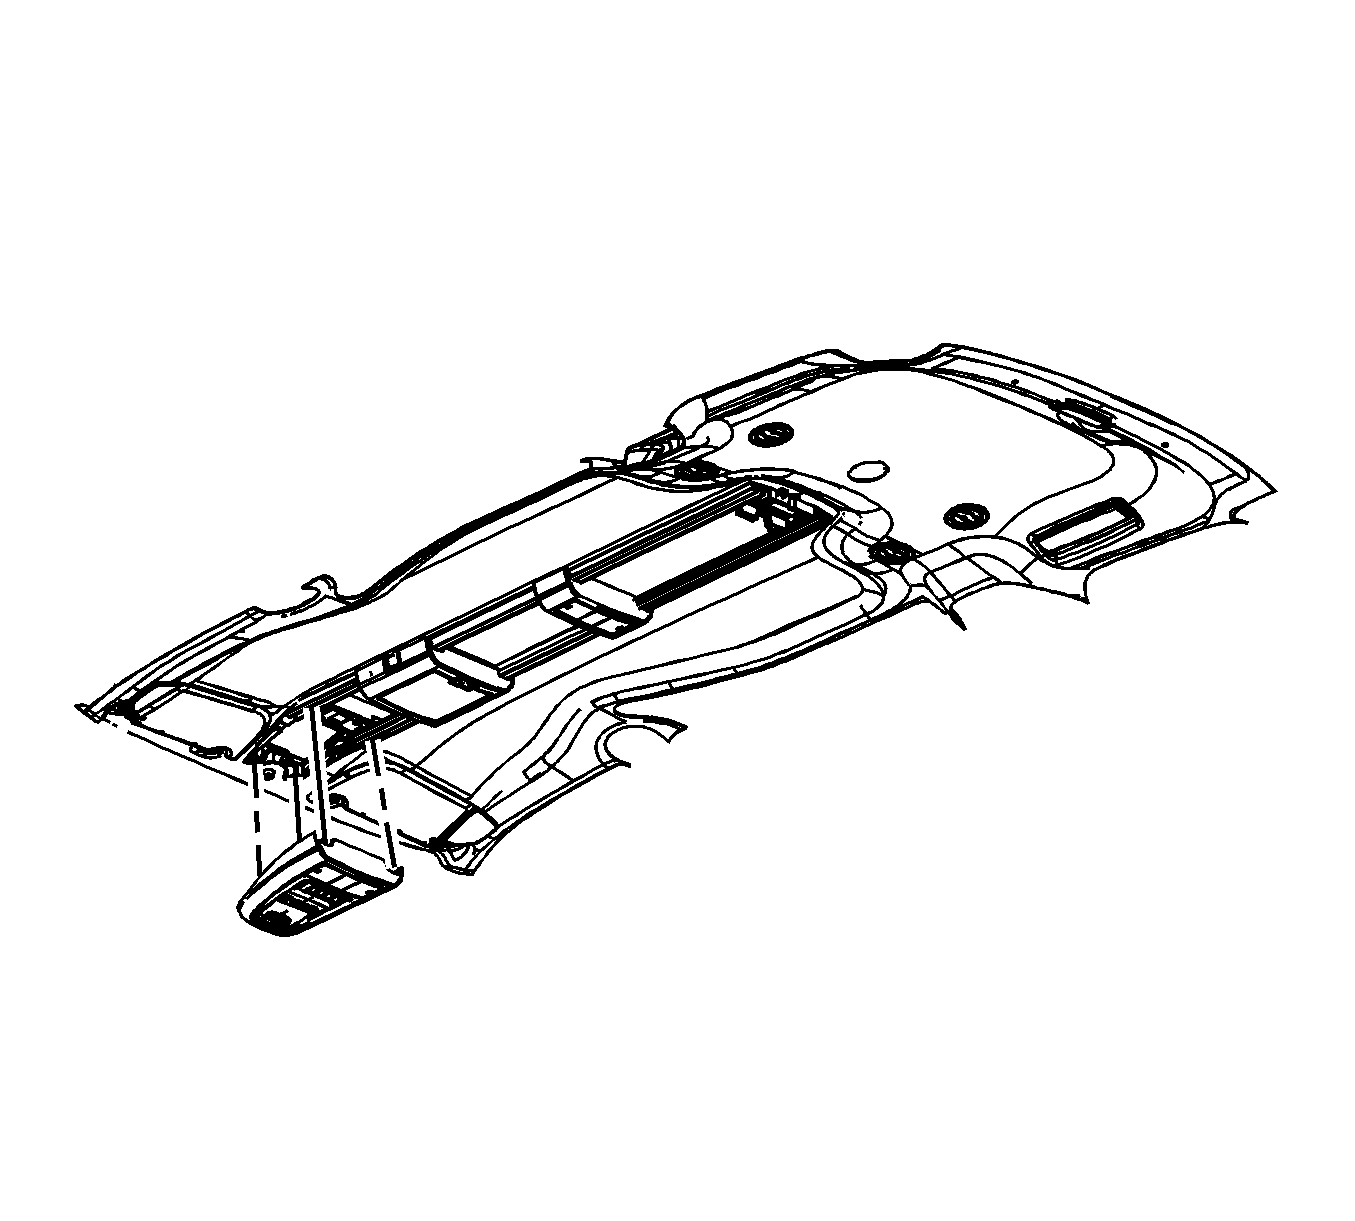
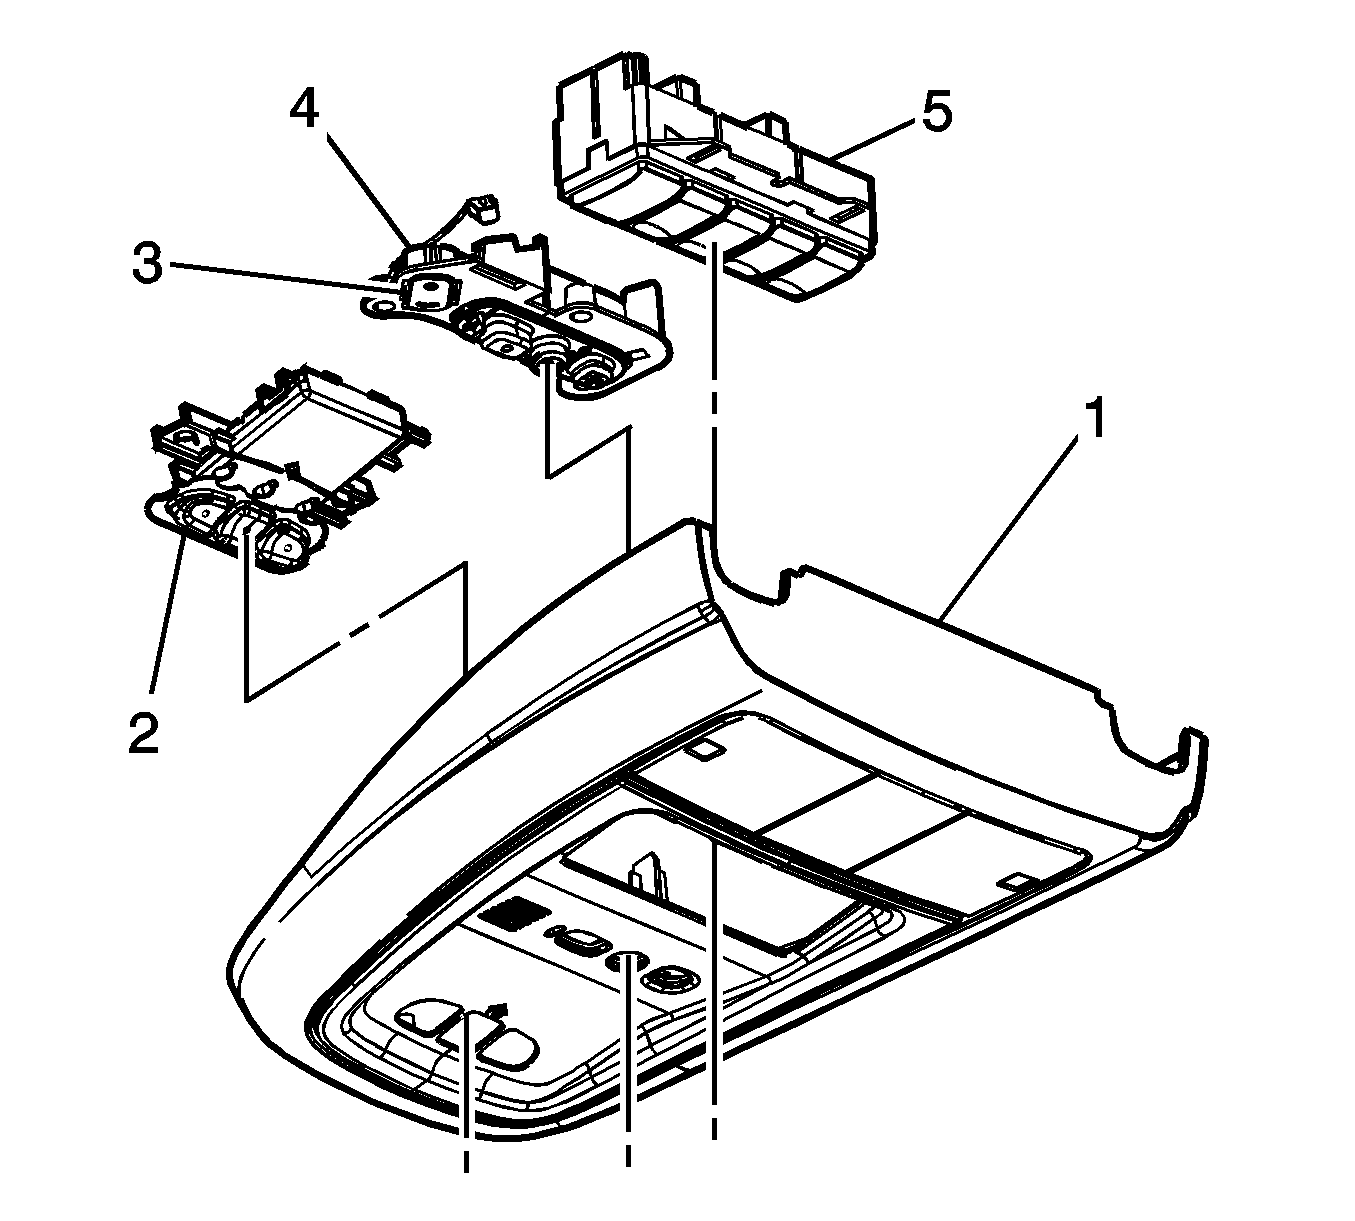
For 1990-2009 cars only
Removal Procedure
- Remove the courtesy lamp lens.
- Remove the screw near the courtesy lamp.
- Grasp the overhead console and pull downward in order to disengage the fasteners.
- Disconnect the electrical connectors from the overhead console.
- Remove the screws securing the OnStar® button assembly (4) to the overhead console.
- Remove the OnStar® Microphone from the OnStar® button assembly. Refer to Mobile Telephone Microphone Replacement .


Installation Procedure
- Install the OnStar® Microphone into the OnStar® button assembly. Refer to Mobile Telephone Microphone Replacement .
- Position the OnStar® button assembly (4) to the overhead console.
- Install the screws to secure the OnStar® button assembly to the overhead console.
- Connect the electrical connectors.
- Align the overhead console within the vehicle.
- Press up on the overhead console engaging the fasteners in order to secure the console to the vehicle.
- Install the overhead console screw.
- Install the courtesy lamp lens.

Notice: Refer to Fastener Notice in the Preface section.
Tighten
Tighten the nuts to 2 N·m (18 lb in).

Tighten
Tighten the screw to 2 N·m (18 lb in).
