Itch/Squeak/Rattle Type Noise From Door Header Sealing Area While Driving (Replace Front/Rear Upper Auxiliary Weatherstrip)

| Subject: | Itch/Squeak/Rattle Type Noise From Door Header Sealing Area While Driving (Replace Front/Rear Door Upper Auxiliary Weatherstrip) |
| Models: | 2003-2004 Cadillac CTS |
| Built Prior To October, 2003 (10/03) |
Condition
Some customers may comment on an itch/squeak/rattle type noise from the door header upper sealing area.
Cause
This condition may be due to the door upper auxiliary weatherstrip rubbing the painted surface of the door header.
Correction
Replace the front/rear door upper auxiliary weatherstrip. An improved weatherstrip with flocking material was put into production prior to October, 2003 and is now available from GMSPO. Refer to the appropriate procedure in this bulletin.
Front Door Replacement Procedure
- Lower the window to the full down position.
- Remove the front side door power mirror. Refer to Mirror Replacement-Power in the Doors sub-section of the Service Manual or SI document #763637.
- Remove the front side door window outer belt sealing strip from the door pinch-weld flange. Refer to Sealing Strip Replacement-Front Door Window Belt Outer in the Doors sub-section of the Service Manual or SI document #763727.
- Remove the front side door window INNER weatherstrip. Refer to Weatherstrip Replacement-Front Door Window--Inner in the Doors sub-section of the Service Manual or SI document #796097.
- Remove/reposition the front side door window weatherstrip (channel) from the door frame.
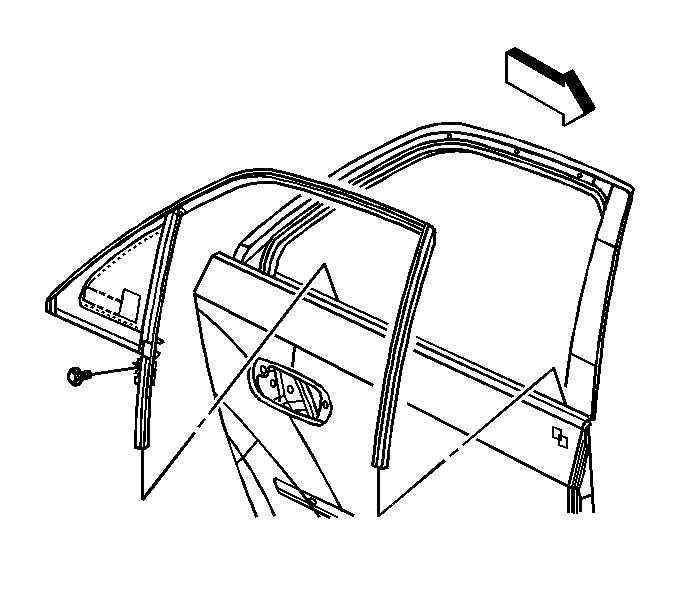
- Remove the front side door upper auxiliary weatherstrip (molding) from the door frame.
- Install the front side door upper auxiliary weatherstrip (molding) onto the door frame.
- Install/reposition the front side door window weatherstrip (channel) to the door frame.
- Install the front side door window INNER weatherstrip. Refer to Weatherstrip Replacement-Front Door Window--Inner in the Doors sub-section of the Service Manual or SI document #796097.
- Install the front side door window outer belt sealing strip to the door pinch-weld flange. Refer to Sealing Strip Replacement-Front Door Window Belt Outer in the Doors sub-section of the Service Manual or SI document #763727.
- Install the power mirror. Refer to Mirror Replacement-Power in the Doors sub-section of the Service Manual or SI document #763637.
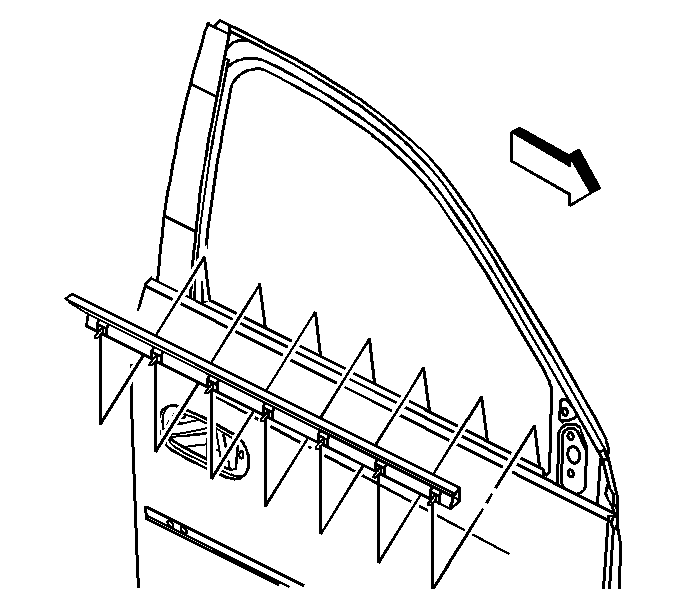
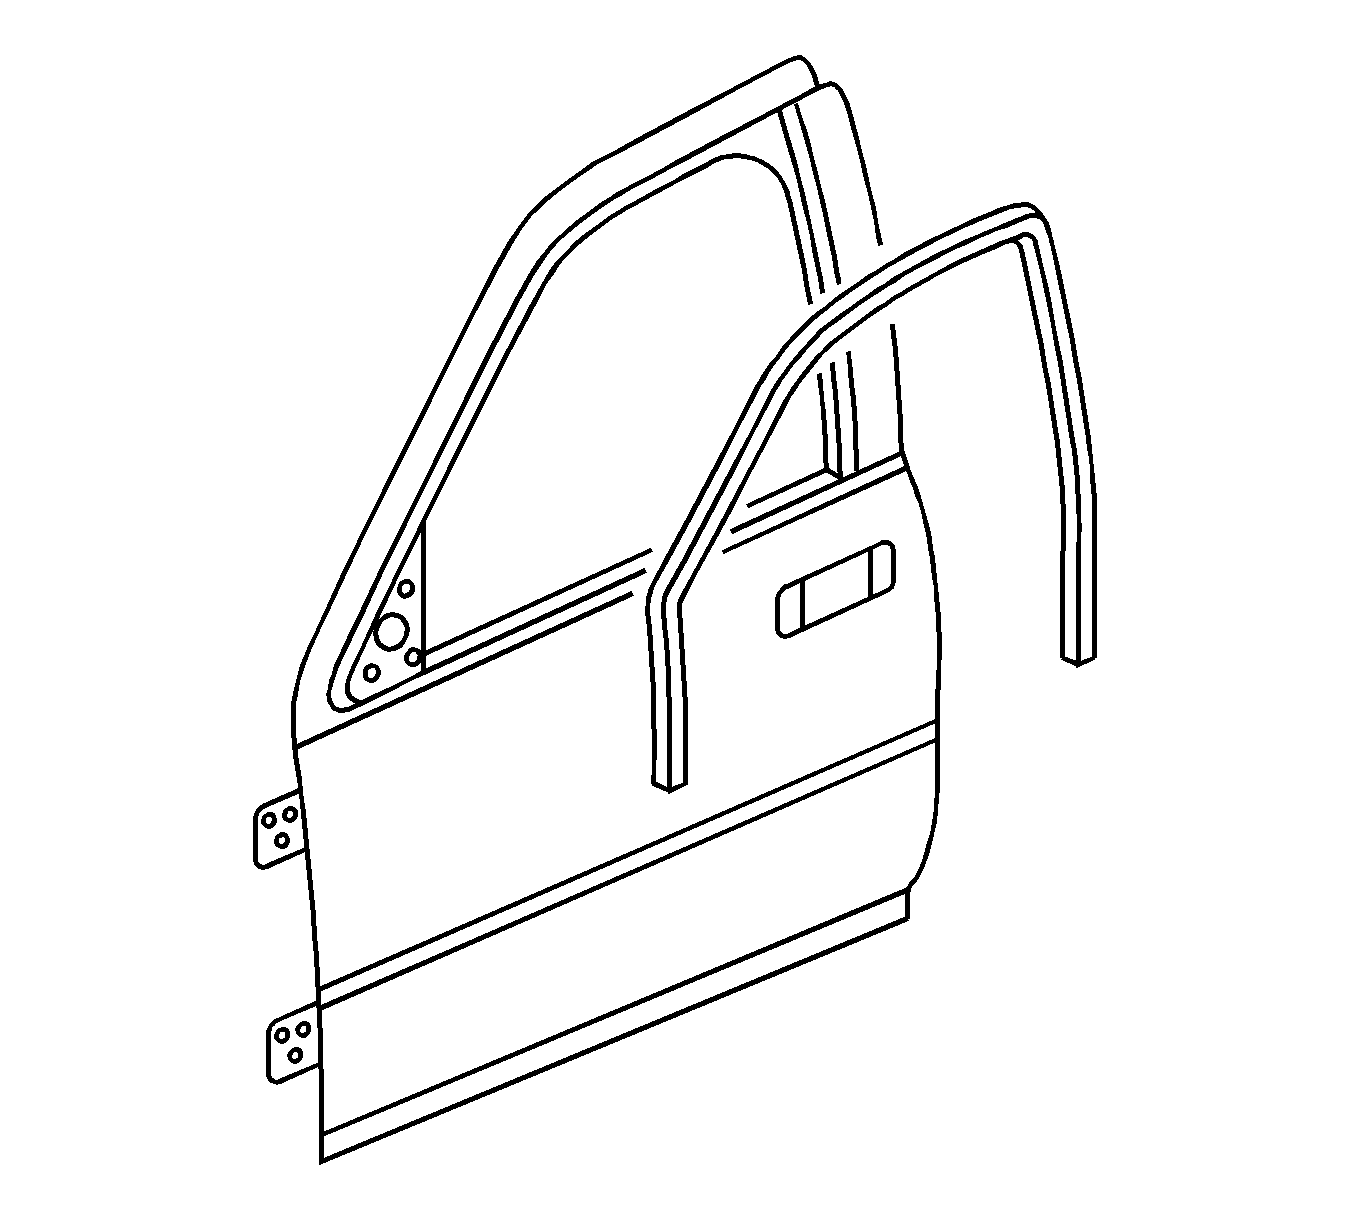
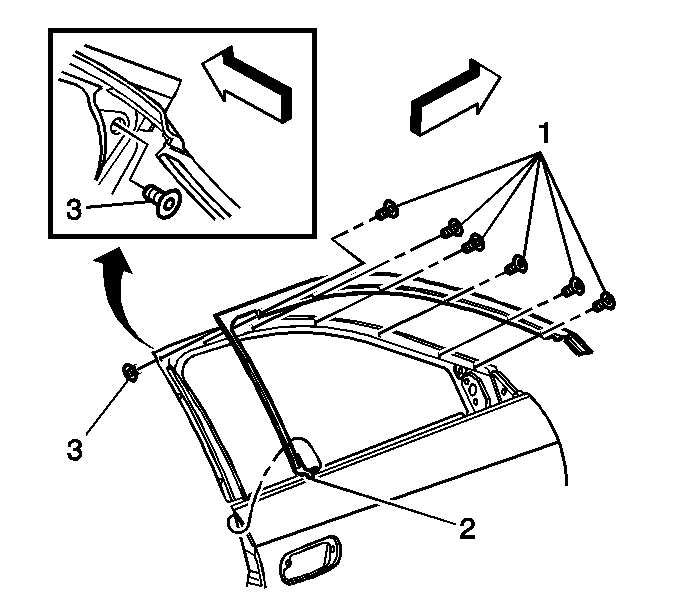
| 6.1. | Remove the screws (1,3) from the front side door upper auxiliary weatherstrip. |
| 6.2. | Remove the push-in fastener (2). |
| 6.3. | Remove the upper auxiliary weatherstrip. |

| 7.1. | Install the screws (1,3). |
Tighten
Tighten the screws starting at the rear and working
forward to 2N·m (18 lb in).
| 7.2. | Install the push-in fastener (2). |


Rear Door Replacement Procedure
- Lower the rear side door window to the full down position.
- Remove the rear side door stationary window/division channel (weatherstrip) from the door. Refer to Window/Division Channel-Rear Door Stationary in the Doors sub-section of the Service Manual or SI document #762120.
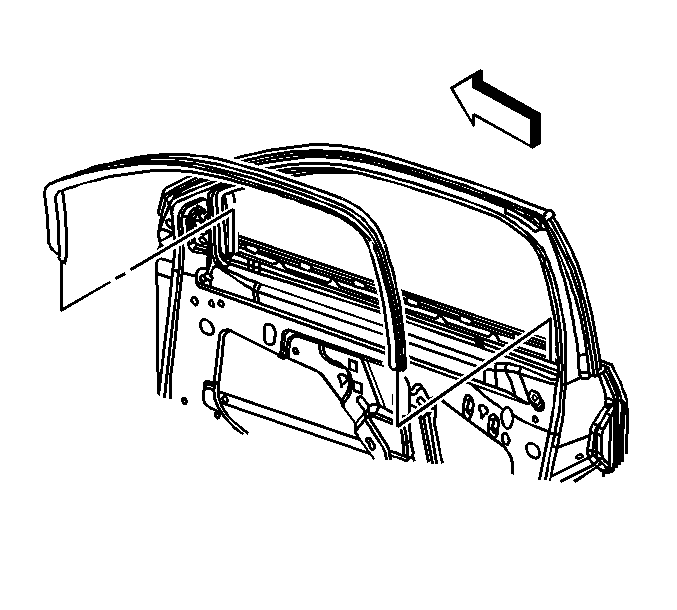
- Remove the rear side door upper auxiliary weatherstrip (molding) from the door frame.
- Install the rear side door upper auxiliary weatherstrip (molding) onto the door frame.
- Install the screws.
- Install the rear side door stationary window/division channel (weatherstrip) to the door. Refer to Window/Division Channel-Rear Door Stationary in the Doors sub-section of the Service Manual or SI document #762120.
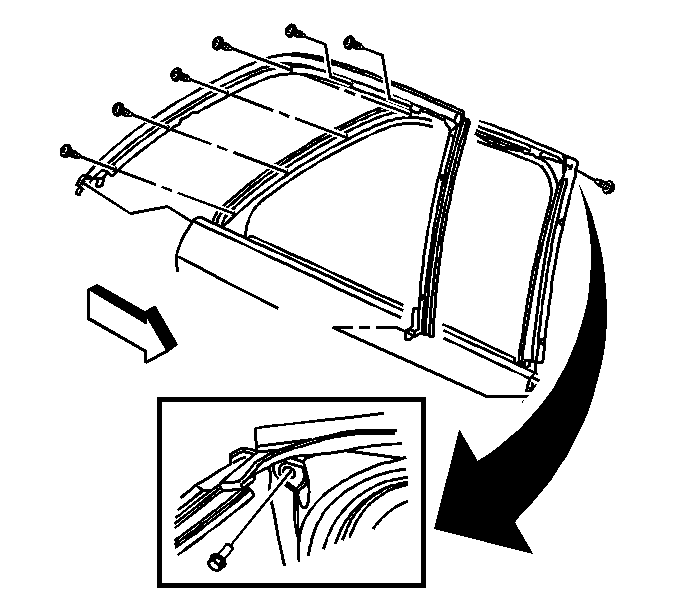
| 3.1. | Remove the screws from weatherstrip. |
| 3.2. | Remove the upper auxiliary weatherstrip. |

Tighten
Tighten the screws starting at the rear and working
forward to 2N·m (18 lb in).

Parts Information
Part Number | Description |
|---|---|
25770751 | W/Strip-FRT S/D UPR AUX LH |
25770752 | W/Strip-FRT S/D UPR AUX RH |
25770753 | W/Strip-RR S/D UPR AUX RH |
25770754 | W/Strip-RR S/D UPR AUX LH |
Parts are currently available from GMSPO.
Warranty Information
For vehicles repaired under warranty, use:
Labor Operation | Description | Labor Time |
|---|---|---|
C1105 | Weatherstrip, Front and Rear S/D Upr Aux,RIGHT-Replace | 0.7 hr* Front |
1.2 hr* Rear | ||
C1106 | Weatherstrip,Front and Rear S/D Upr Aux, LEFT-Replace | 0.7 hr* Front |
1.2 hr* Rear | ||
*This labor time is updated from the current Labor Time Guide. The next update of the Labor Time Guide will contain this change. | ||
